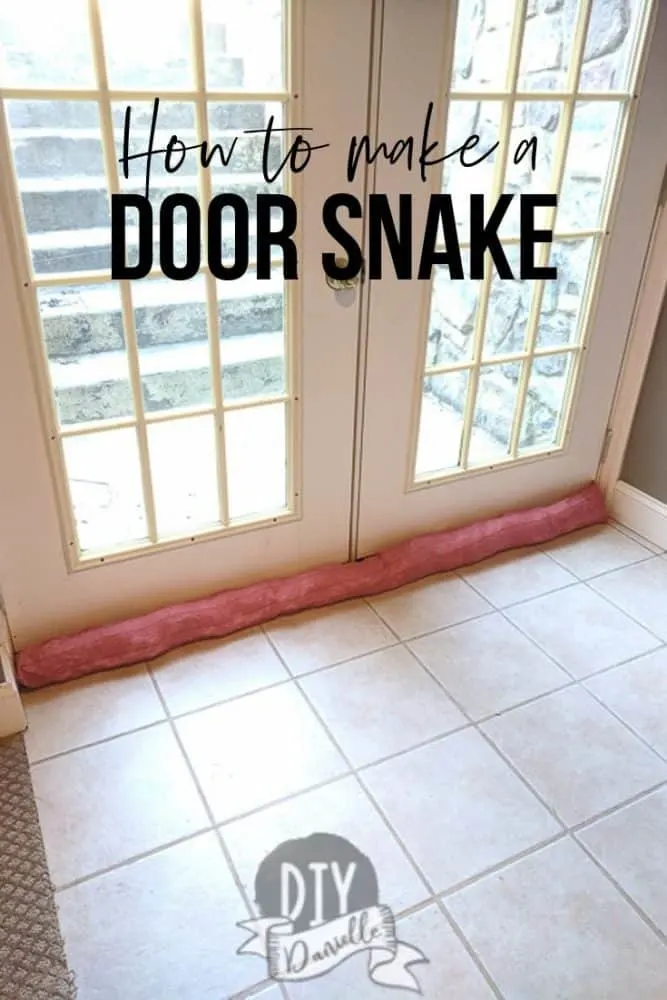
These DIY door snakes help cut down on drafts coming through your doors. Make your own, starting with making a custom door snake pattern for your door.
This post may contain affiliate links which may earn me commissions should you click through them and take certain actions. As an affiliate for Amazon, Cricut, xTool, Home Depot, and other sites, I earn from qualifying purchases. Please DIY carefully. View my full legal disclosures here.
Please read the whole post so you don’t miss any important information!
We have two doors in our home where a lot of drafts come in. One is the kitchen door and the other area is the two glass doors to exit the basement. The doors are beautiful, but the drafts have to go. Saving money on electric is important to us- and so is staying warm!
I made a couple of door snakes to help combat the cold, and tomorrow I’ll show you the other steps we took to help reduce the heat loss in our home.
New to sewing? Check out my Sewing 101 post with links to other beginner projects, tutorials on basic sewing skills and more!
Here’s the long and detailed tutorial. Skip to the end for the video showing my process!
Making a Door Snake Pattern
While I could easily give you a pattern for a door snake, it’s better if you make your own pattern. Your door may be a different size than mine or maybe you need it to fit a certain area. I’ll give you my measurements and you can decide if you need to adjust yours.
Whenever you create a pattern, you need to take some measurements. Start by measuring the width of your doorway.
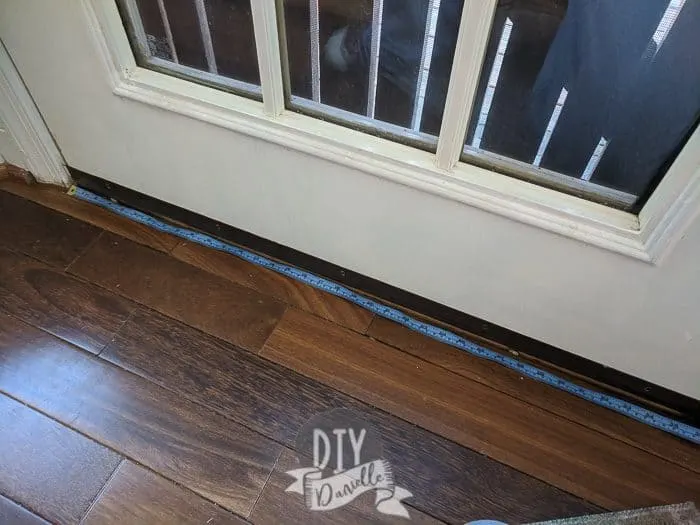
You want to add your seam allowance- this is the area past where you sew (where the raw edges are). Most people add 1/4″ or 1/2″. In this case, I added 1/2″. I find that I like to use a generous seam allowance, plus it’s easier to tack 1″ onto all of my measurements than 1/2″.
Why 1″? Well if you add 1/2″ to each side, that’s an extra 1″… make sense?
Here’s the calculations in action.
Basement Double Doors
My basement double doors were 73.5″ long from side to side. I added 1″ to the measurements so my final cut of fabric needed to be 74.5″ long.
Kitchen Door
My kitchen door was 36″ wide. I added 1″ so my final cut of fabric was 37″ long.
The Height of the Fabric
The height of your cut of fabric will affect how tall and round your snake is… in other words, it’ll make your snake fatter or thinner than mine!
I folded my fabric over and made it 6.5″ (which really 13″ unfolded). You can make yours thinner if you don’t like how fat mine is!
Final measurements for the fabric cuts were 74.5″ x 13″ and 37″ x 13″!
Sewing a Door Snake
Sewing these is easy. Here’s how…
Supplies
- Durable fabric: You could use a fabric such as a quilting cotton, or really anything you want, but I like to choose fabrics for these that are easy to wash and durable over time.
- Scrap fabric or premium fiber fill
Tutorial
Start by cutting your fabric. Make sure you’ve washed and ironed your fabric to make this easier.
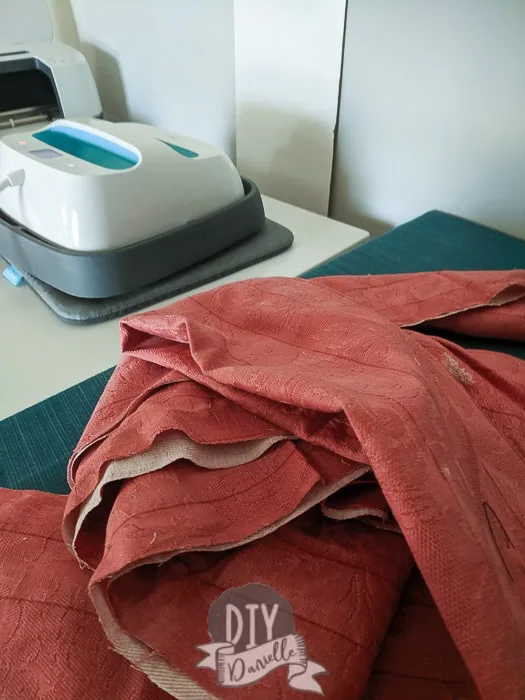
Fold your fabric over so the 13″ is 6.5″ folded over, right sides together. Pin.
Sew one of your short sides, then sew about 40% of the way up your long side. Stop. Backstitch.
Leave a gap big enough to comfortably fit your hand through.
Start sewing at that point, making sure to backstitch at the beginning. Finish sewing your long and other short side.
Turn your snake right sides out.
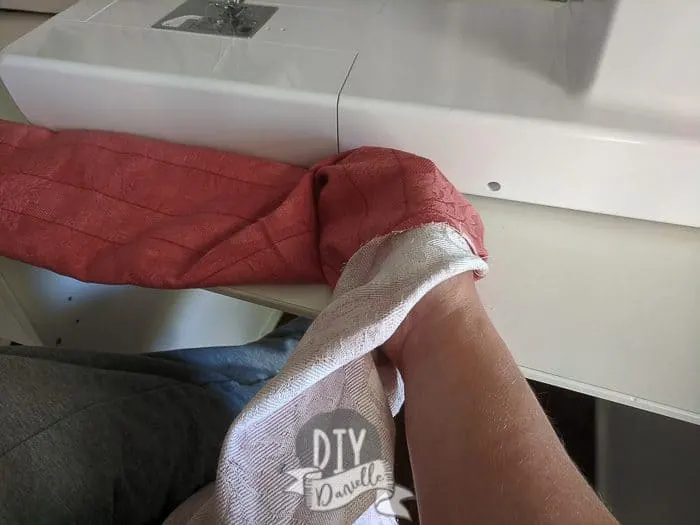
Stuff with polyfill or use an upcycled blanket or whatever you have on hand. Old fabric will make this lumpier and heavier than polyfill will, but I like that because the weight keeps the snake in place.
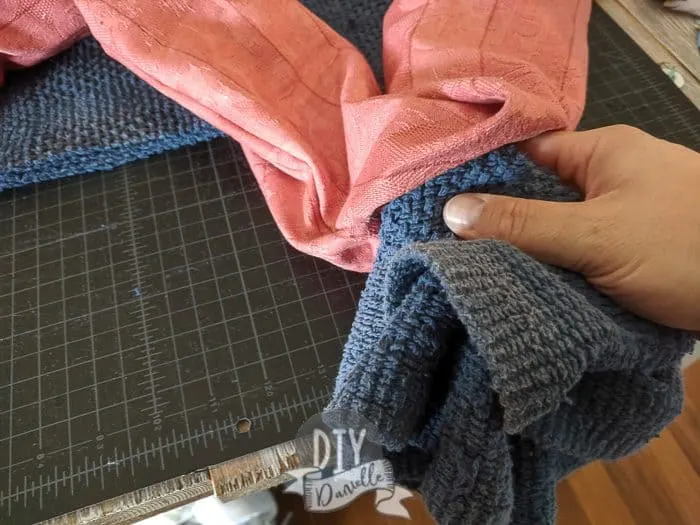
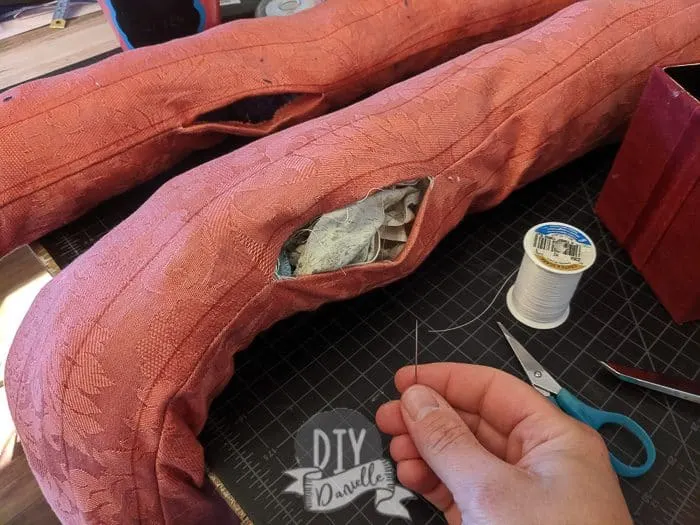
Once stuffed completely, sew up your opening. A ladder stitch is ideal for this.
Here’s the video tutorial:
Please share and pin this post! If you make this project, share it in our Stuff Mama Makes Facebook Group. We have regular giveaways for gift cards to craft stores. You can also tag me on Instagram @doityourselfdanielle; I love seeing everything you make!
