Design your own DIY Capybara shirt with easy steps! Perfect for capybara lovers who want unique, custom apparel. Download the digital pattern now!
My kids are REALLY into capybaras and I needed get them a couple of plain purple shirts for an event. I decided to add iron on vinyl to the shirts with their favorite animal on it!
This is going to be a pretty basic tutorial because I didn’t take pictures during the process. If you’ve haven’t used iron-on vinyl before, here’s a tutorial on how to apply iron on vinyl.
This post may contain affiliate links which may earn me commissions should you click through them and take certain actions. As an affiliate for Amazon, Cricut, xTool, Home Depot, and other sites, I earn from qualifying purchases. Please DIY carefully. View my full legal disclosures here.
The majority of my content is generated by me, as are 99% of the photos and videos, but I utilize technology for titles, descriptions, video editing out all of my ums, and occasionally for text overlay on images.
Please read the whole post so you don’t miss any important information!
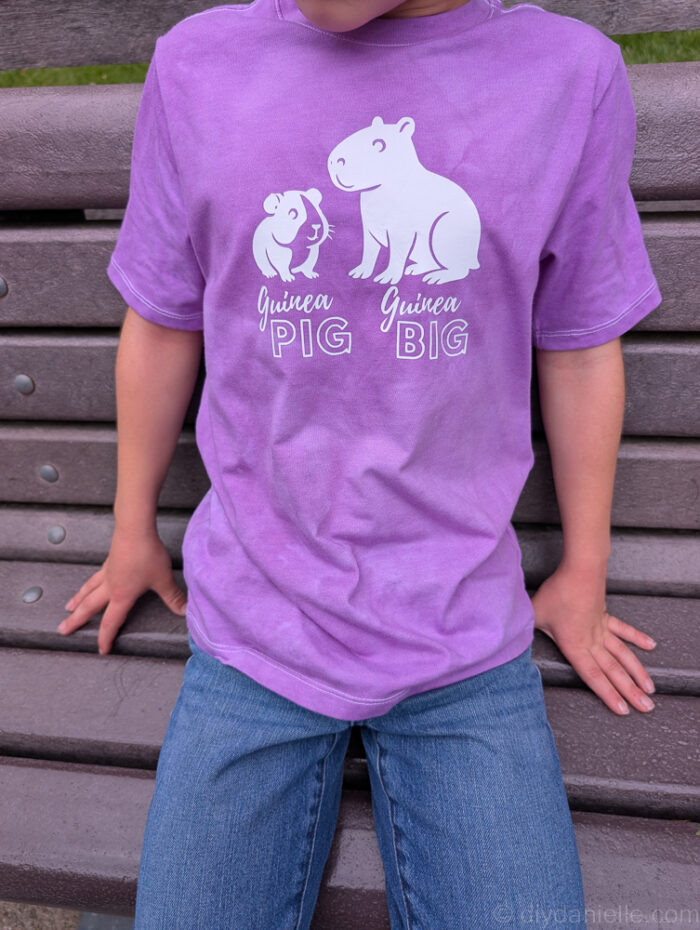
We love guinea pigs too, if you haven’t been following the blog for awhile, so when I saw a meme that said capybaras should have been called guinea bigs, I KNEW I needed a shirt that said it! Even though I think capybaras should probably be the ones called guinea pigs—- they do look a LOT like swimming pigs.
DIY Capybara Shirt
Project Supplies
- Cricut Maker 3 https://cricut.pxf.io/GjNaNm
- Standard Cutting Mat https://cricut.pxf.io/doxyj7
- Smart Iron On https://cricut.pxf.io/JrN5ke (I used white or black as I made two shirts)
- Plain or colored shirt. I took a white shirt and dyed it purple for this project.
Step by Step Instructions
Step 1 Design: Create or select your design in Cricut Design Space.
Step 2 Mirror: Turn on Mirror before cutting (for iron-on projects).
Step 3 Material Setting: Select “Iron-On” as your material.
Step 4 Place Vinyl: Put the shiny (clear) side down on the Cricut mat.
Step 5 Load Mat: Load the mat into the machine.
Step 6 Cut: Press the “Go” button to begin cutting.
Step 7 Unload & Weed: Remove excess vinyl using a weeding tool.
Step 8 Apply: Place design on fabric (shiny side up) and press with heat (follow vinyl’s instructions).
Step 9 Peel Carrier: Let cool (warm or cold peel as directed), then peel off clear backing.
If you make a mistake, you can actually remove iron on vinyl if needed.
My son wants a capybara birthday party this year so I may need to whip up a few of these as favors for everyone to wear. Because these are super cute!
Please share and pin this post! You can also post your project and tag the DIYDanielle team on Instagram @doityourselfdanielle!