Create a calming, sensory-friendly DIY fidget board using reversible sequin fabric. Fun, therapeutic, and perfect for kids and adults alike!
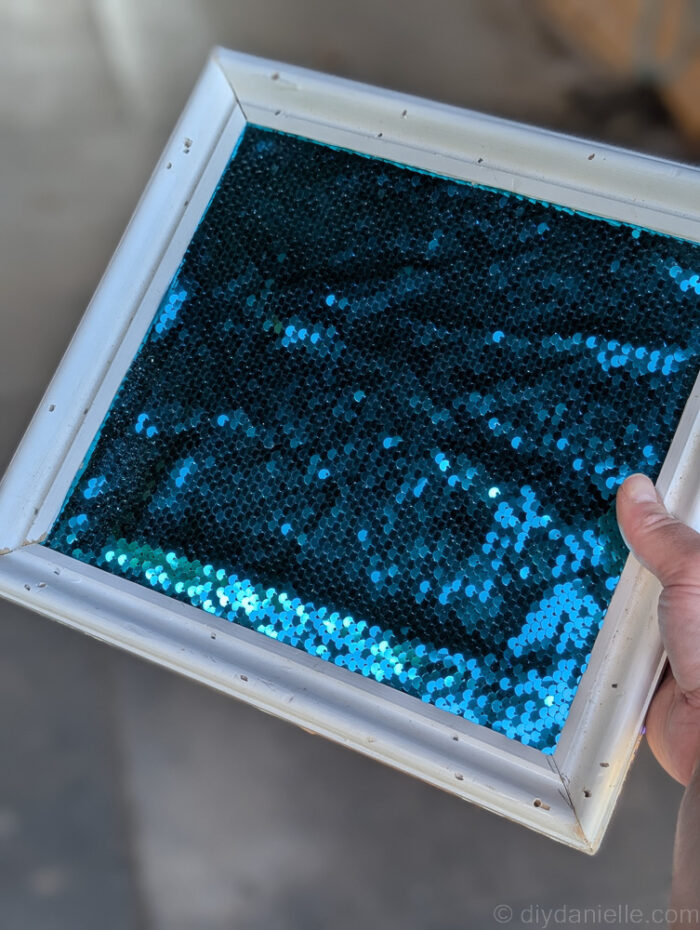
Have you ever seen those shirts or pillows made with reversible sequin fabric? The kind you can brush back and forth to reveal different colors or designs? My kids love them—and honestly, so do I! But as they get older, those sequin shirts become harder to find in larger sizes. So when I saw a fidget board made with sequin fabric, I thought it would be the perfect addition to my therapy office. It’s calming, sensory-friendly, and fun for all ages. Here’s how I made my own DIY sequin fabric fidget board.
This post may contain affiliate links which may earn me commissions should you click through them and take certain actions. As an affiliate for Amazon, Cricut, xTool, Home Depot, and other sites, I earn from qualifying purchases. Please DIY carefully. View my full legal disclosures here.
The majority of my content is generated by me, as are 99% of the photos and videos, but I utilize technology for titles, descriptions, video editing out all of my ums, and occasionally for text overlay on images.
Please read the whole post so you don’t miss any important information!
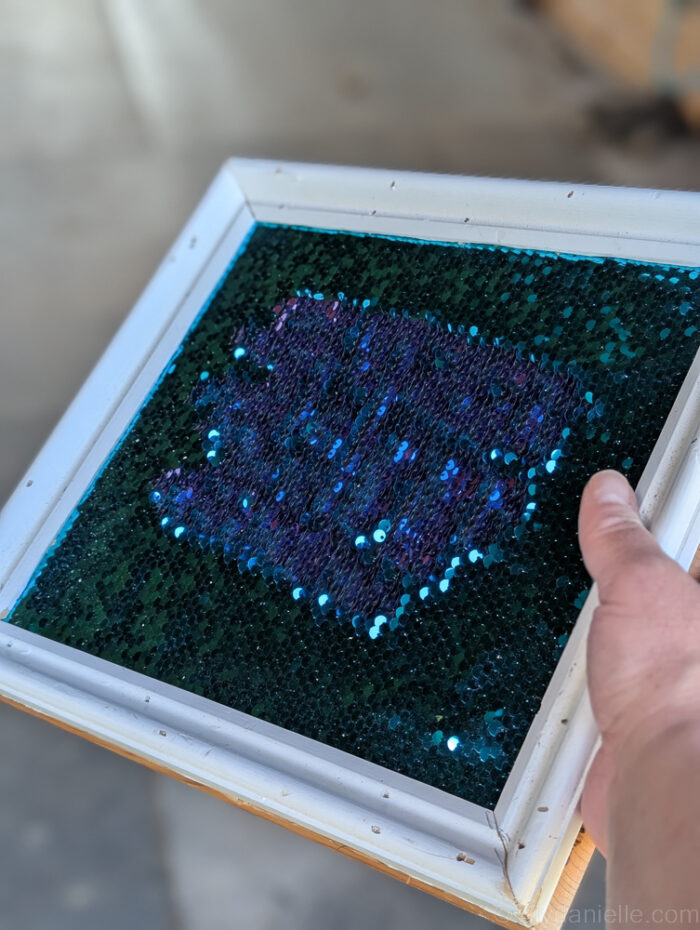
DIY Sequin Fabric Fidget Board
Project Supplies
- A lap-sized piece of wood (scrap wood works great)
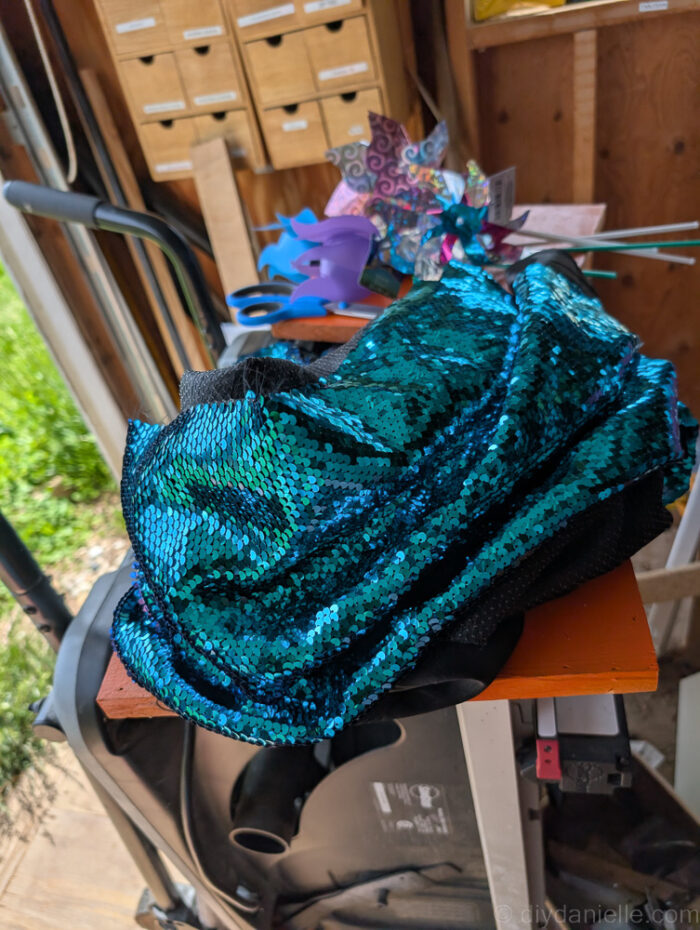
- Sequin fabric: https://amzn.to/3TdGvoJ
- 5-in-1 Multi-Tacker Stapler and Brad Nailer Multi Tool and 3/8 in. Heavy Duty Staples (5000 Pack) homedepot.sjv.io/N9EQaV
- Trim pieces (cut to frame the board)
- Scissors (sharp enough to cut through sequins)
- Sandpaper
- Optional: Paint or wood finish for the back and frame
Step by Step Instructions
Step 1: Choose and prep your wood
Select a piece of wood that’s a comfortable lap size. If needed, sand the edges and especially the bottom side—this part will remain exposed and should be smooth.
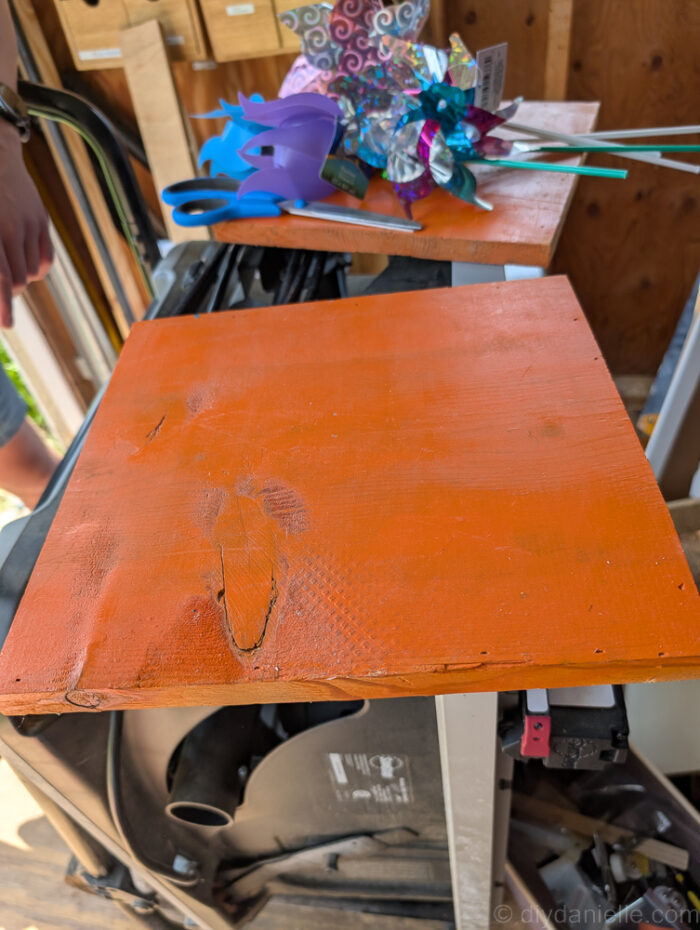
Step 2: (Optional) Paint or finish the back
If you’d like the back of your board to have a more finished look, now’s the time to paint or stain it.
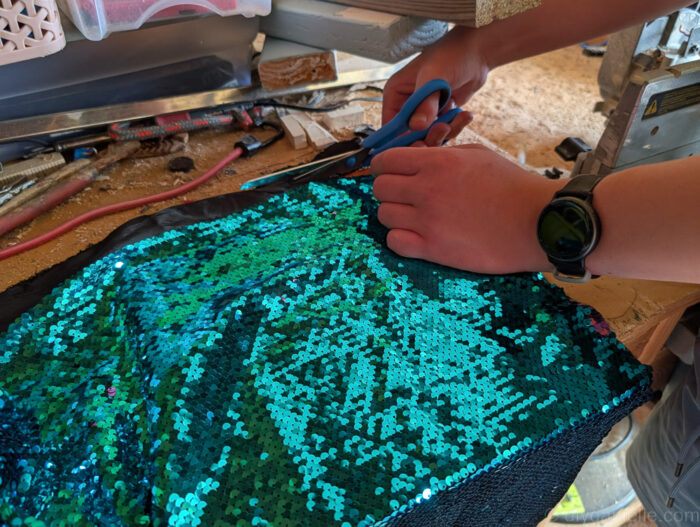
Step 3: Cut your sequin fabric
Trim your sequin fabric to match the size of your board. It can be a bit tricky to cut through sequins, but a sharp pair of scissors will make it easier.
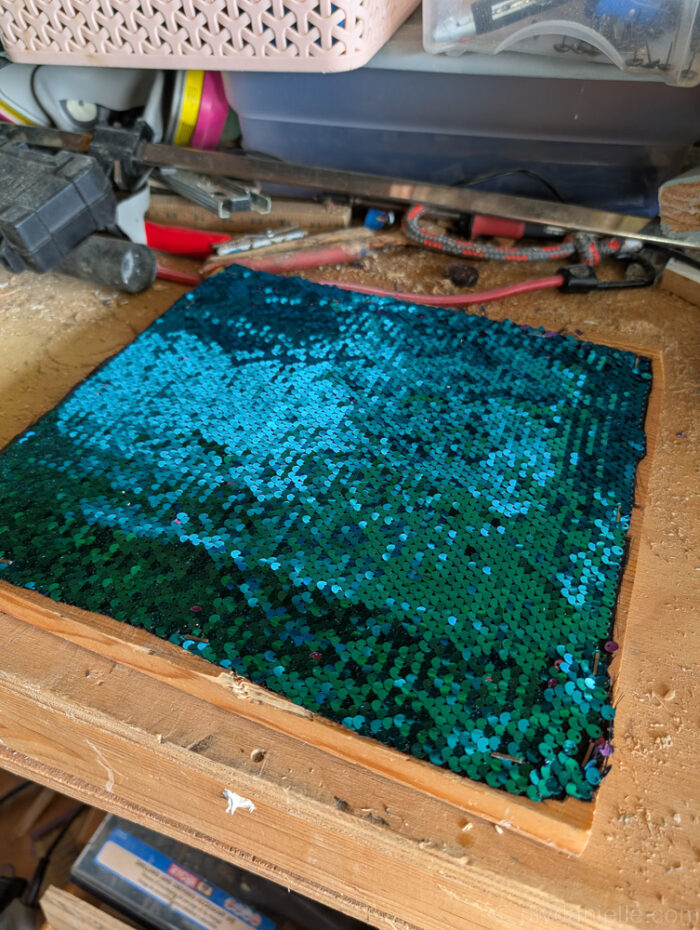
Step 4: Staple the fabric to the board
Use your heavy-duty stapler to attach the sequin fabric to the top side of the board. Only staple around the edges, leaving space to cover the staples with trim later.
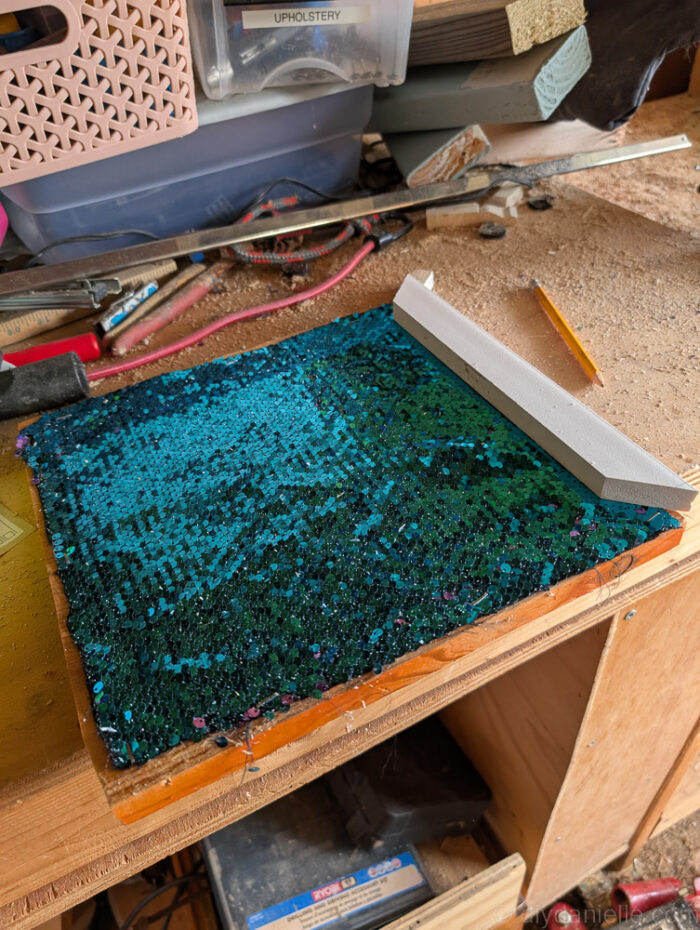
Step 5: Add the trim
Cut your trim pieces at 90° angles to create a frame around the edges of the fabric. Secure them over the stapled edges to finish the look.
Optional improvements
I plan to recreate this using a thinner piece of wood and trim with a built-in slot, which would frame the fabric even more cleanly.
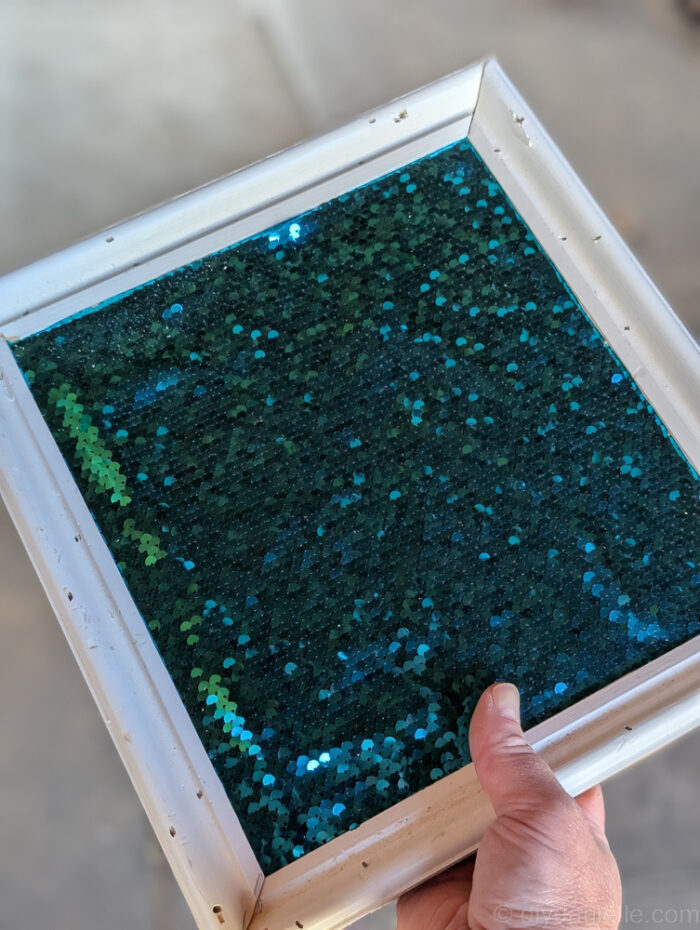
And that’s it! This is such an easy project that adds a great sensory element to any space. It’s a hit in my therapy office, and I already have plans to make a few more.
Please share and pin this post! You can also post your project and tag the DIYDanielle team on Instagram @doityourselfdanielle!