Create a bioactive rat enclosure that’s easy to maintain and fun for your pets with tunnels, digging spots, and natural cleaning. DIY guide inside!
We did a bioactive cage for our ball pythons and I decided to do the same for our rats because I like these so much. I really like the natural look to it and I want the enclosures to be as engaging as possible for the animals.
Having an enriching environment for them makes their lives so much more fulfilling and it’s a lot of fun to watch them dig.
This post may contain affiliate links which may earn me commissions should you click through them and take certain actions. As an affiliate for Amazon, Cricut, xTool, Home Depot, and other sites, I earn from qualifying purchases. Please DIY carefully. View my full legal disclosures here.
The majority of my content is generated by me, as are 99% of the photos and videos, but I utilize technology for titles, descriptions, video editing out all of my ums, and occasionally for text overlay on images.
Please read the whole post so you don’t miss any important information!
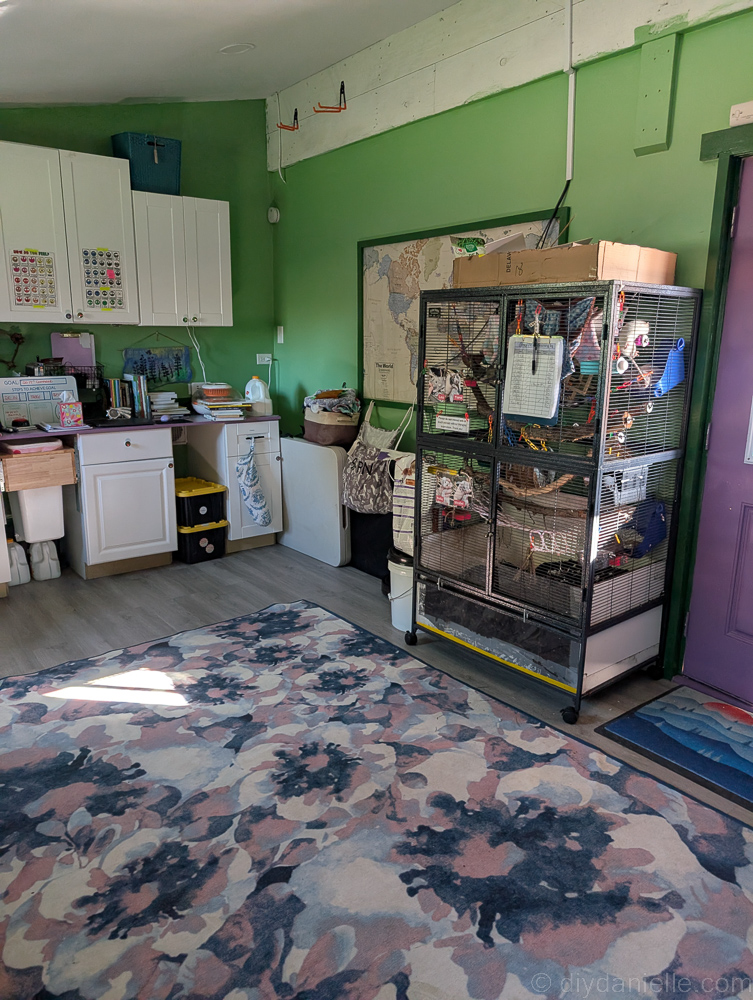
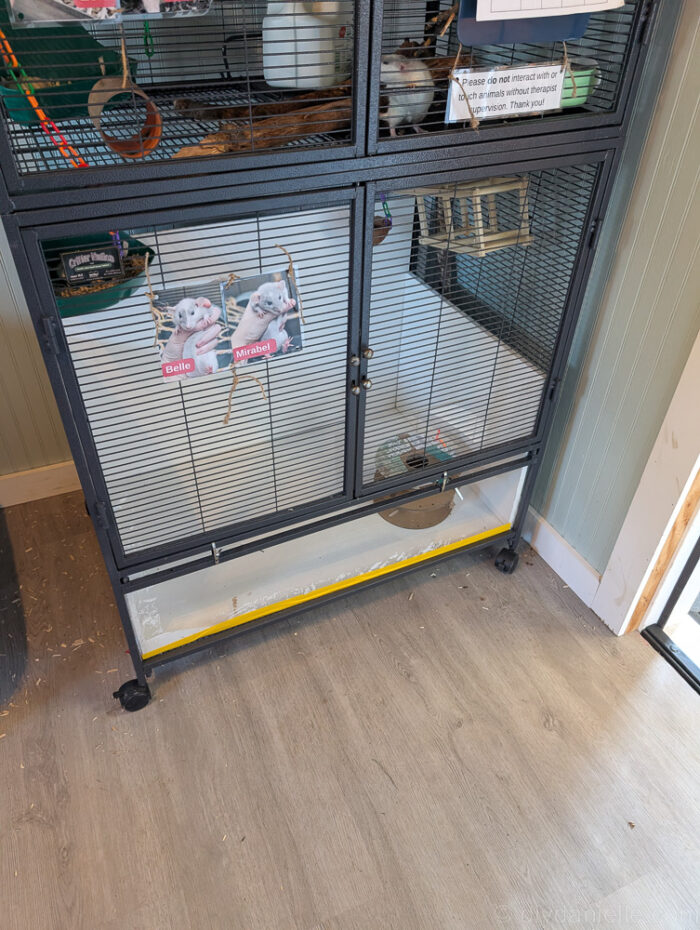
DIY Semi Bioactive Rat Enclosure
*This is technically semi bioactive as the separate litter boxes should still be regular bedding and cleaned regularly. Bioactive critters can’t keep up with the poo production from animals like rats, guinea pigs, etc.
Project Supplies
- Gorilla Waterproof Patch & Seal Tape, Clear Tape, 4″ x 8′ (Pack of 1) – Permanent Weather Resistant Seal for Leaks and Repairs: https://amzn.to/4l9kK60
- Clear acrylic
- 1/4 in to 3/4 in pvc board
- Utility knife
- Flat edge
- Measuring tape
- Soil mixture
- Sticks and rocks
- Pvc pipe
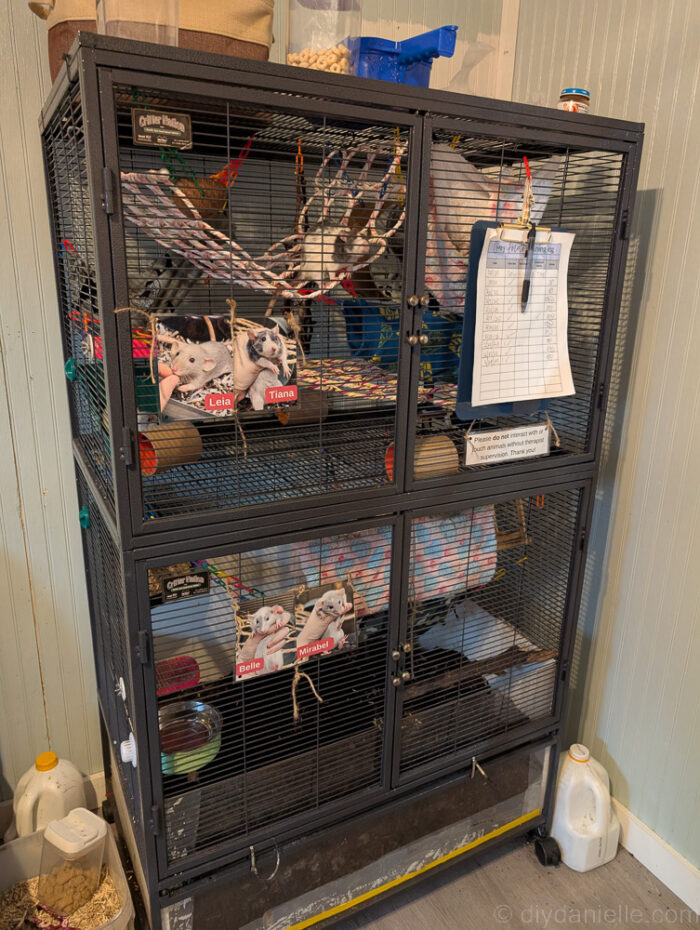
- Critter Nation Cage
- Bugs: Isopods, Springtails
Step by Step Instructions
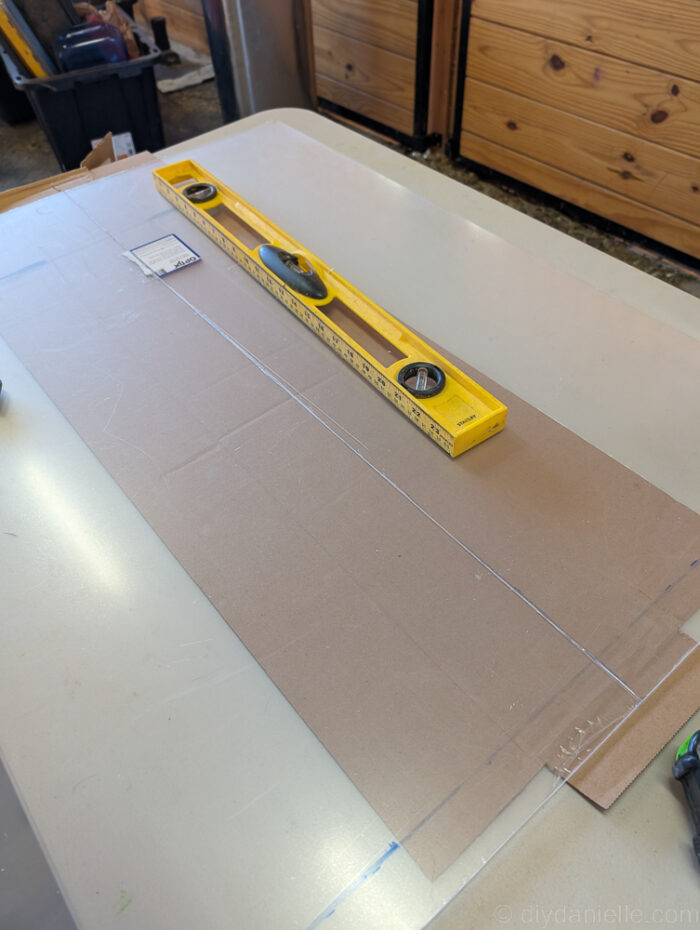
Step 1: Measure your sides and determine what size each side needs to be.
Step 2: Cut your PVC board to fit. You’ll need one bottom piece, two side pieces, and one back piece. I had some scrap 3/4″ PVC board which was great, but I ended up buying 1/4″ for the back and bottom because it was a lot cheaper and unlike the snake enclosure, the wire of the Critter Nation cage should be enough to support the PVC board staying in place.
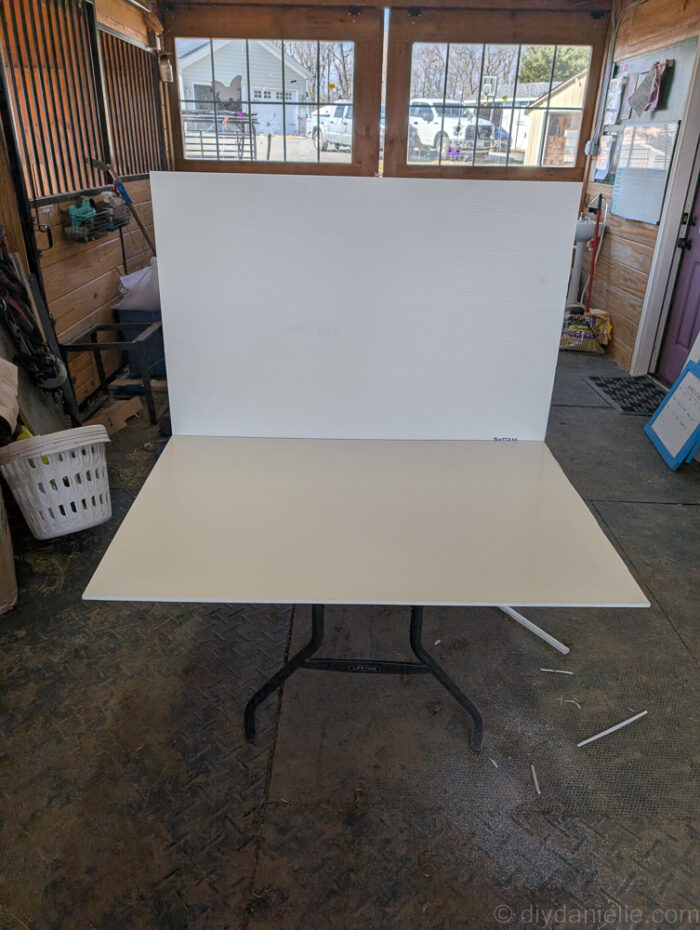
I used clear acrylic for the front because I wanted to be able to see into the digging area. You could certainly use clear acrylic for the entire thing, but I believe the PVC is a little cheaper.
Step 3: Start by tucking your bottom piece in to the bottom of your Critter Nation cage. You cannot put this together outside of the cage, unless you disassemble the whole cage (possibly- I didn’t try it).
Place your back piece and your sides.
Step 4: Use the patch and seal tape to tape the pieces together.
I thought this stuff worked really well to assemble it all, but the rats do chew on it so you don’t achieve full waterproofing. You could alternatively try to find an animal safe caulk, but my understanding is that they’ll probably eat that too. Realistically rats eat everyyyything.
Your last piece will be the front which you will also use the tape to attach to the rest of the pieces. Don’t forget to attach them all to the bottom as well.
Having the waterproofing tape allows you to add water to the soil and keep it relatively moist for the bugs and so it doesn’t get too dusty. And it keeps your cage when you put water in it.
Step 5: You’re going to make your own mix of dirt for the bottom. Everyone has a different opinion about what to use.
I started with some clay pebbles for a drainage later and while those worked great for my snake enclosure, the rats just mixed them all in. So I would probably skip this or try to add some type of barrier to keep them from mixing it all in. If you have an extra wire divider that might work.
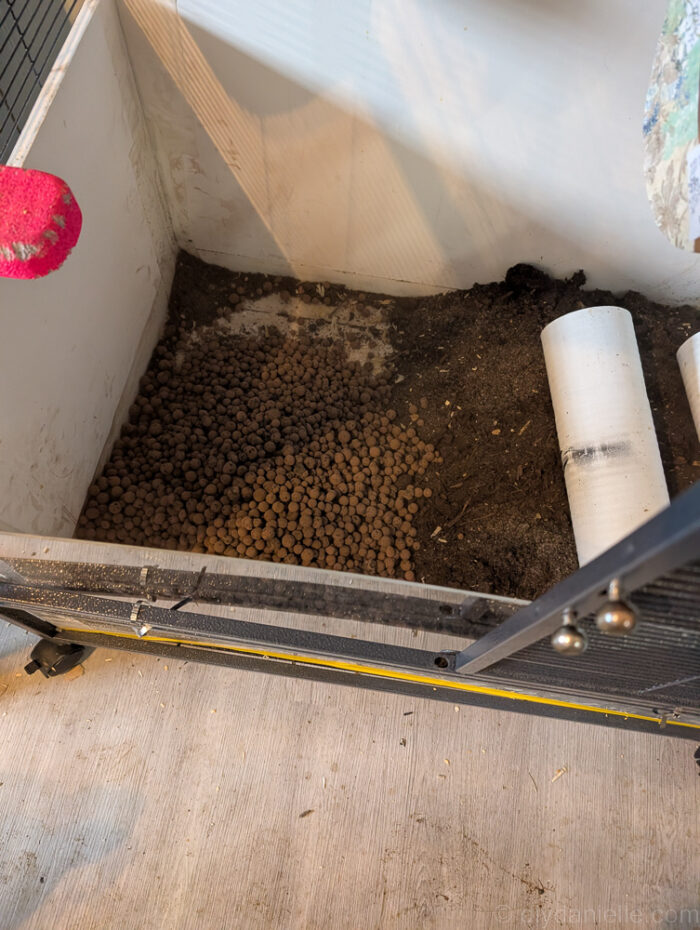
For the soil, I mixed:
- 60% organic topsoil
- 30% play sand (it’s a good idea to rinse this but I didn’t)
- 10% Ecoearth or some type of compost mix (clean)
I used a scoop and got the approximate amount of each- I did a basic mix, added it all, then reevaluated if I needed more to fill it further. I needed to run back to the store. You’ll obviously go through quite a bit more topsoil than compost mix. I did NOT want to do math.
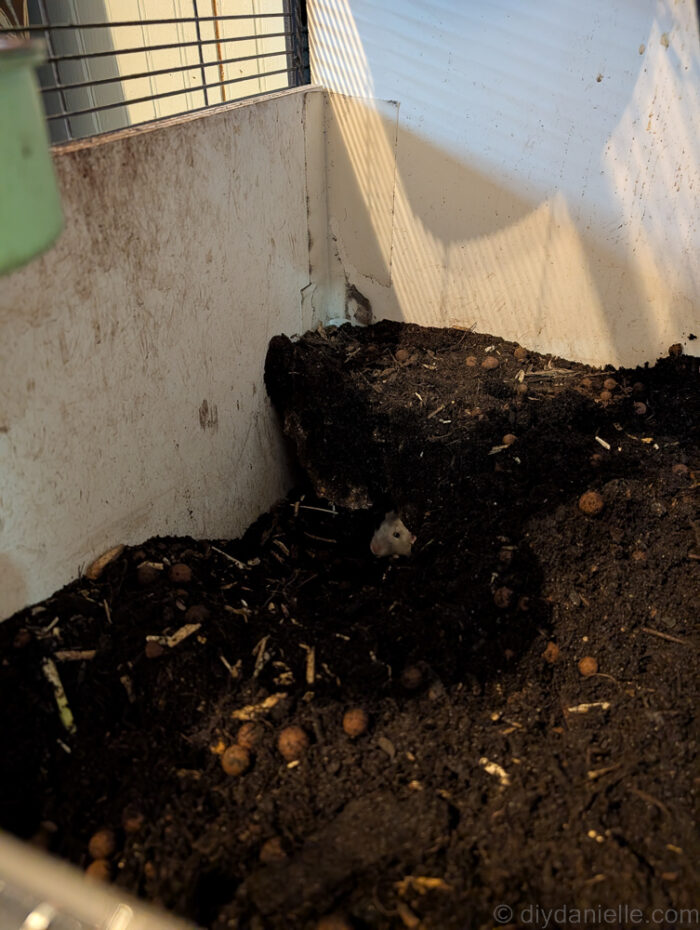
You don’t want your dirt to be too high because they will kick it out… They’re going to kick it out regardless so keep that in mind. But if it’s all the way to the top, you’re really going to lose a lot of dirt pretty quickly.
My final fill line was probably 60% of the way to the top and I still lose dirt pretty frequently. Watching them kick it out is hilarious. You can be sitting there and suddenly get a face full of dirt. They dig very violently.
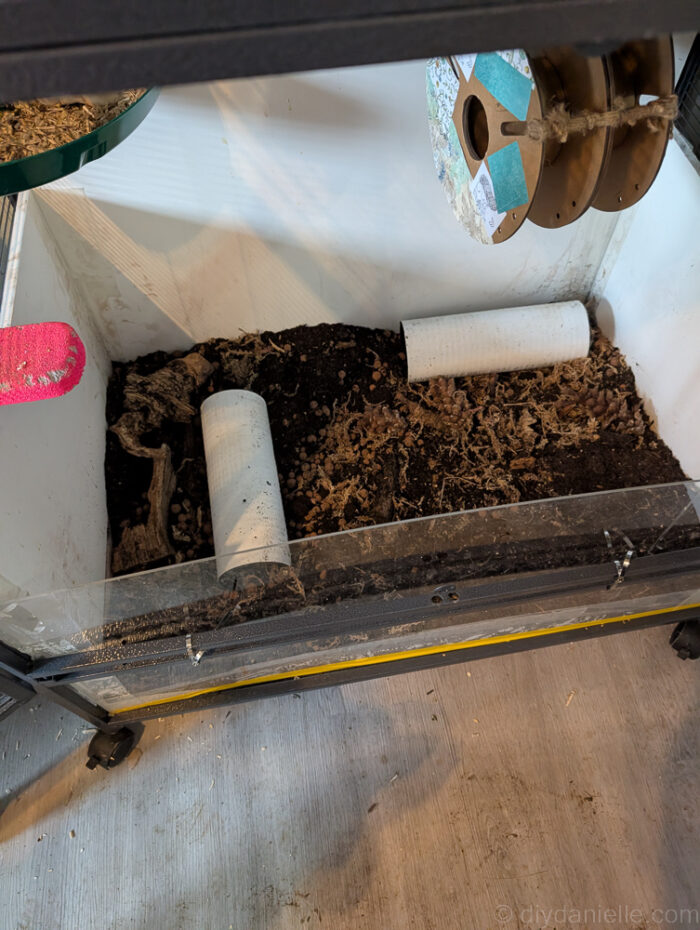
Step 6: I added in some different sticks and some rocks that I had washed off. I wanted them to have more than just dirt in there. I like to use sticks that are safe for the rats to chew on seeing they don’t make good decisions. Apple tree branches work well.
I really like that the sticks allowed them to build a bit of a house under the soil. It gave their caves a little extra support.
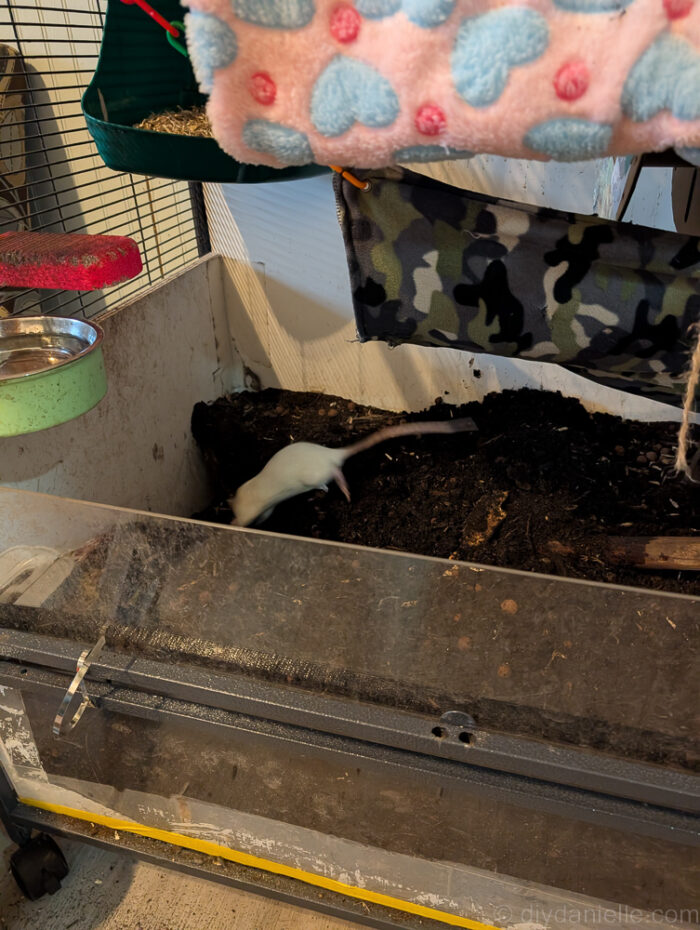
I also added a few PVC pipes that were big enough for them. This isn’t as attractive and they do eat them, but I like to have some things taking up the space so I didn’t need to use as much dirt.
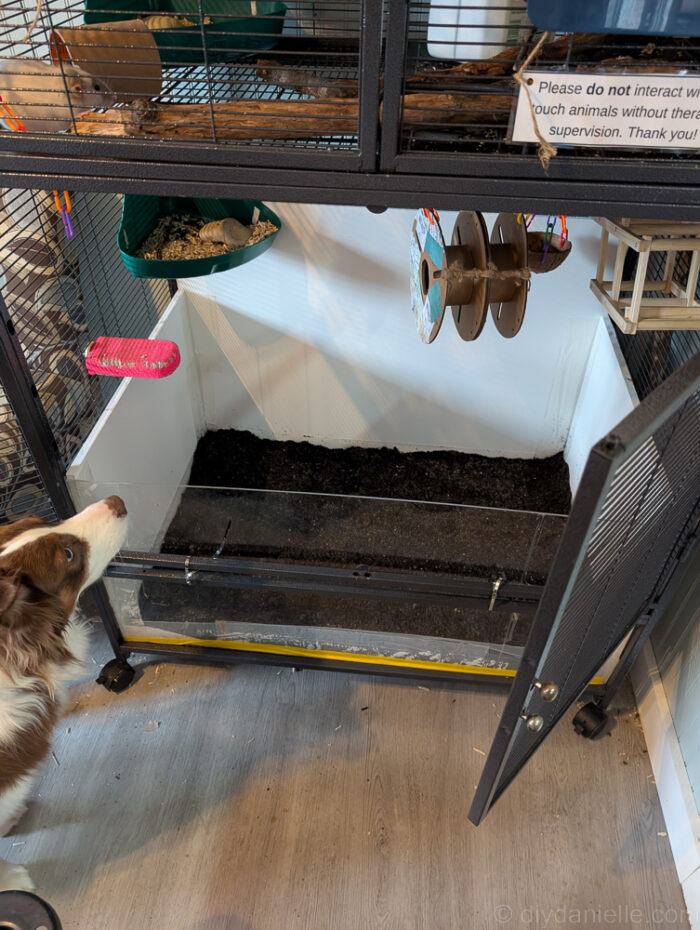
You want to make sure that your enclosure has some litter boxes that are up above. Those should have a different type of bedding in there. The goal is for your rats to use those as litter boxes and not to use the bottom base.
Step 7: Once you get it all set up, you can add some bugs called isopods or springtails. These bugs help break down things in the soil such as urine, mold, and poo. These bugs can do a really good job of maintaining the bottom of your enclosure AS LONG AS your rats are predominantly using the litter boxes.
Those litter boxes will still need to be changed pretty frequently, but you won’t need to change the bottom bioactive base at all (or as frequently).
You occasionally want to add some water to moisten the soil. With my ball python enclosure, I keep the soil quite damp so the humidity in the cage stays high for the snakes. My rats don’t require this so I just mostly make sure it’s a little bit damp. I usually empty their water in there when I go to clean and refill it.
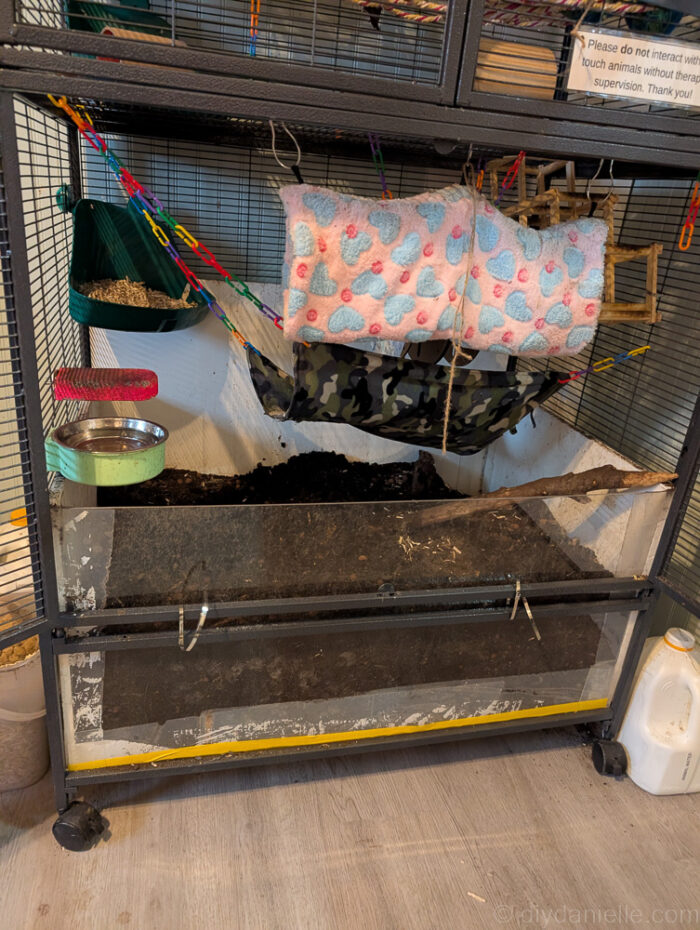
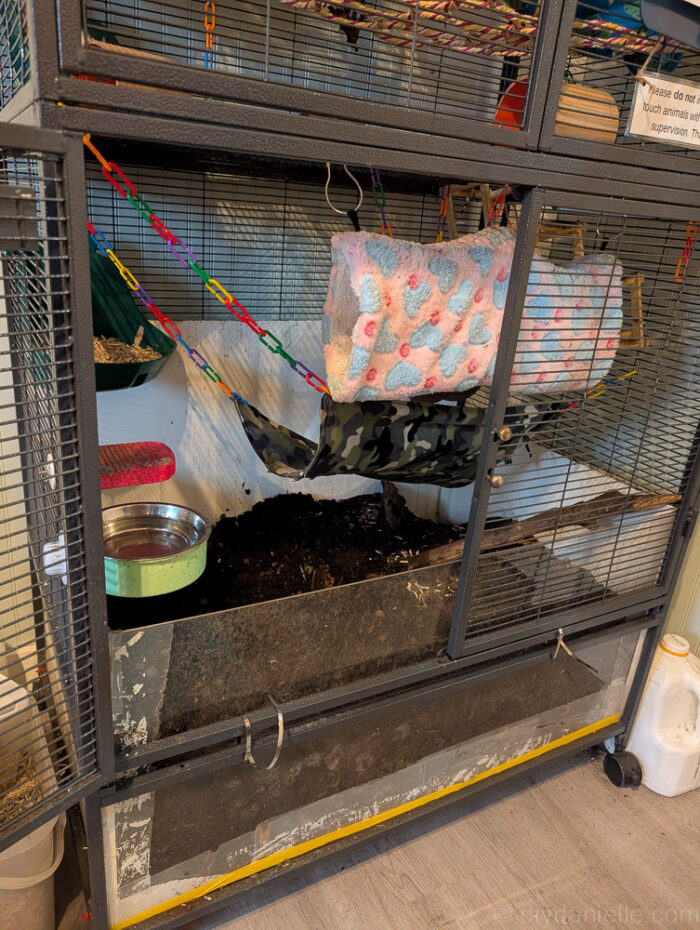
Overall, this cage has been excellent and I really really enjoy how much they enjoy digging around. I love when they dig a tunnel near the front so that I can see the tunnel in through the acrylic.
My dog thinks they are a fantastic television show.
Rats really like to dig things up so it helps to bury treats and their feed in the soil and let them find it. Again, this is a matter of enriching their environment and giving them fun stuff to do.
Please share and pin this post! You can also post your project and tag the DIYDanielle team on Instagram @doityourselfdanielle!