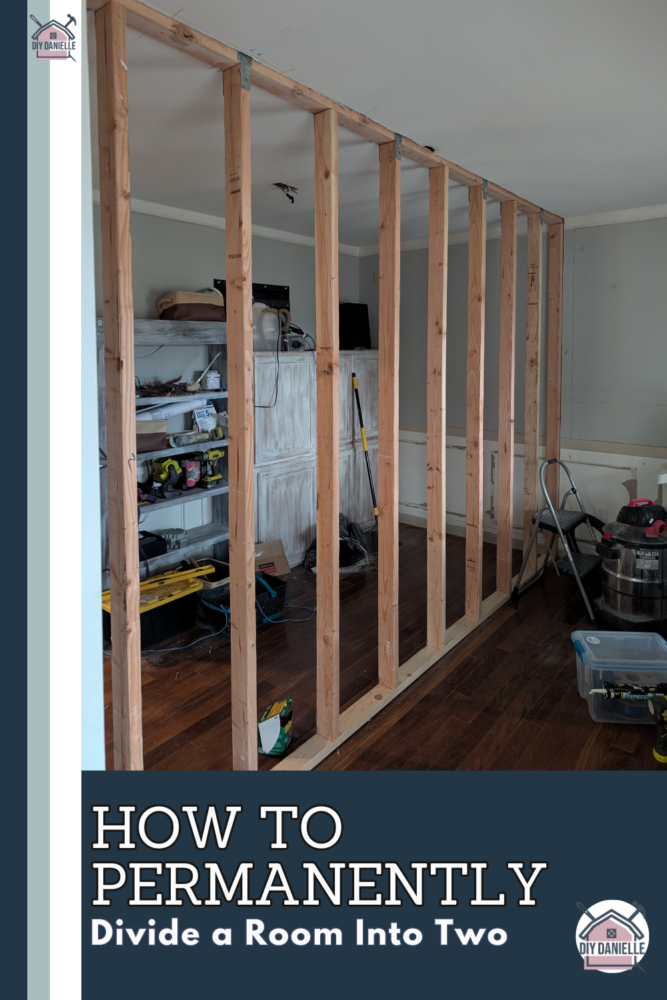
Learn how we divided one room into two by framing a new wall. Tips, lessons learned, and step-by-step insights from our project to build a room divider wall.
We’ve been working on a home addition for a while, but we really struggled with deciding the most economical way to make the changes that we wanted.
We finally ended up solidifying on updating our current garage into living space, and then building a new garage to attach to it. This addresses our lack of pantry, and gives us a more economical way to get the project finished.
In order to do this project and get a pantry, however, we needed to divide our current teeny dining room into a pantry and hallway. The room was previously the room that just held all of our random stuff. Not ideal. And also not ideal to move everything everywhere in order to do this project, but we managed.
We could have hired someone to do the project and honestly we probably should have. It was kind of a painful process that took so long because we were doing it in between having jobs and kids etc.
But it came out really nice and I’m very pleased with the whole process.
This post may contain affiliate links which may earn me commissions should you click through them and take certain actions. As an affiliate for Amazon, Cricut, xTool, Home Depot, and other sites, I earn from qualifying purchases. Please DIY carefully. View my full legal disclosures here.
The majority of my content is generated by me, as are 99% of the photos and videos, but I utilize technology for titles, descriptions, video editing out all of my ums, and occasionally for text overlay on images.
Please read the whole post so you don’t miss any important information!
Dividing a Room in Two By Building a Wall
Project Supplies
- Drywall
- Drywall Mudding Supplies
- Primer PVA
- Paint
- 2x4s
- Screws
- Drywall Screws
- Level
- Measuring Tape
Step 1: Measuring and Planning
We needed to start by deciding what size to make each part of the space. We had our draftsman include that in the addition plans and used his measurements.
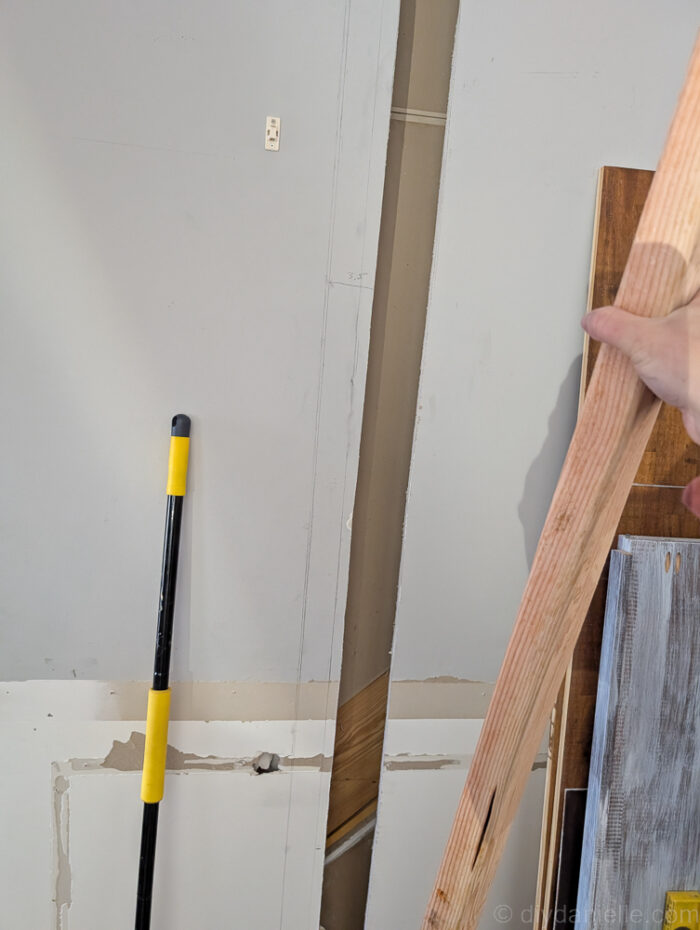
We started by marking off where the room would be divided. This was pretty brutal. We’d measure for one side and it would be perfect and then we’d measure from the other side and it wouldn’t be. The reality is that rooms are often not perfectly square. This is a huge pain point for me and it’s really hard as a non-professional builder to accept this and move on. We did a lot of back and forth measuring and trying to figure out how to make it perfect.
We finally realized that there was no way to fix it because it wasn’t our fault. We did the best we could getting the perfect measurements. We marked out where framing for the dividing wall would go. Then we used the JobPlus to cut out the drywall in those areas.
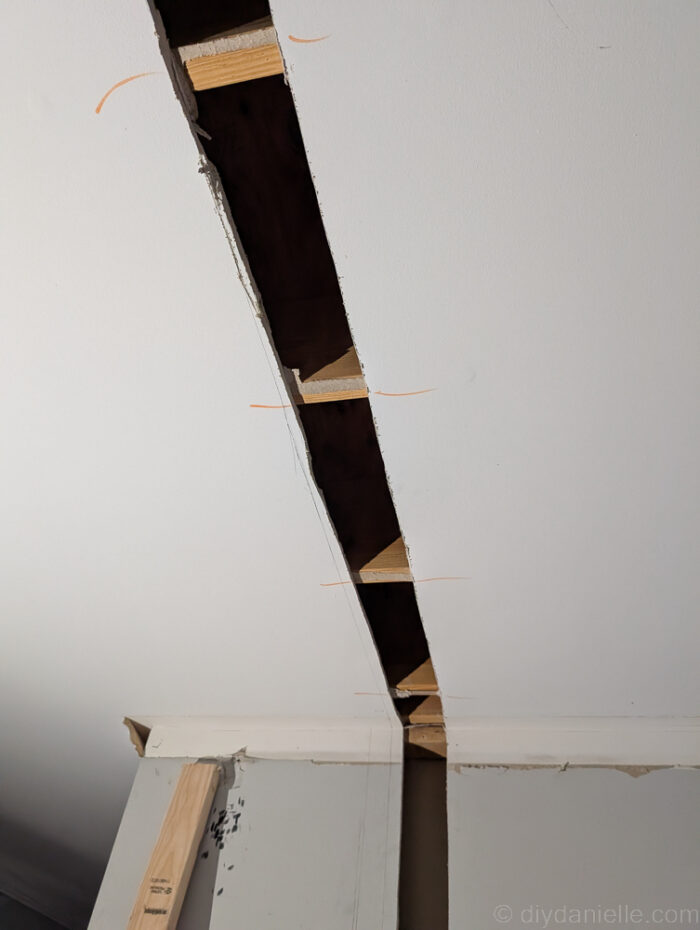
You MUST be careful not to hit the ceiling studs (Or are they considered floor joists for the floor above? I don’t know. Don’t hit them.).
We ended up screwing in the 2×4 across the ceiling first, then attaching the 2×4 for the floor.
We used brackets from Simpson strong tie to attach the 2x4s vertically to support the wall, but the downside to doing this is that the metal brackets prevent you from attaching cabinets to the wall easily in the upper area.
We managed this, but in retrospect, maybe I should have just screwed the vertical 2x4s in the hard way.
I attached the brackets before I attached the vertical ones because we needed to do a little bit more measuring and strategizing to get those attached.
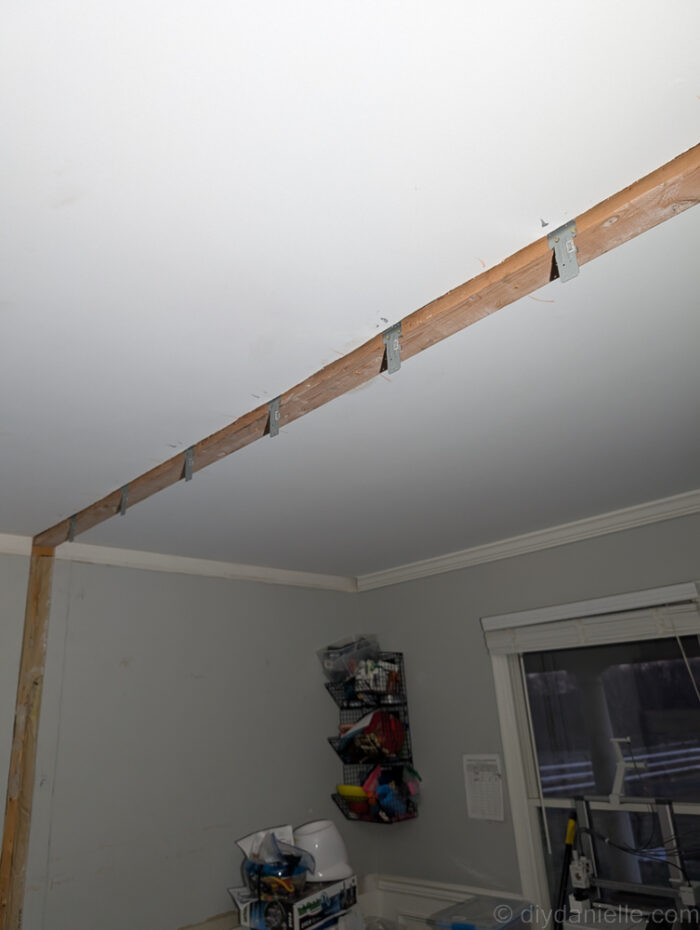
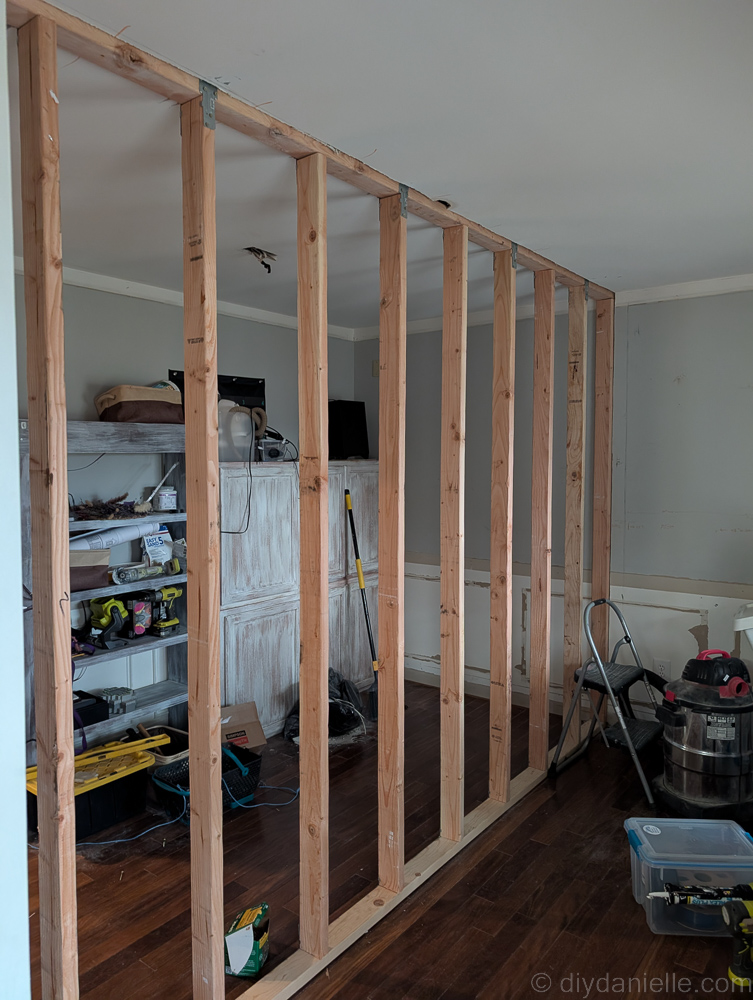
I placed my vertical 2x4s 16-in on center, using brackets both on the bottom and top.
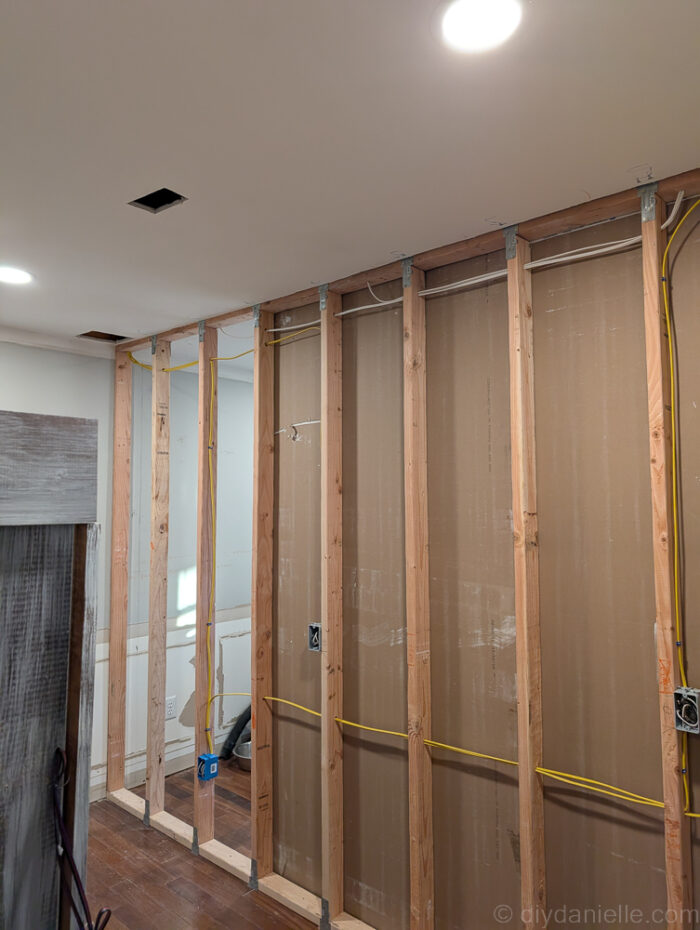
There were also vertical 2x4s on both sides (inside the wall). The CORRECT way to do this is to cut the drywall— don’t place the vertical 2x4s on the drywall and screw through. Why not? Not sure exactly. It’s wrong though.
Now we had drywalling to do at this point, but we knew that the electrician was going to be coming out that week. They would need access to the area and the walls.

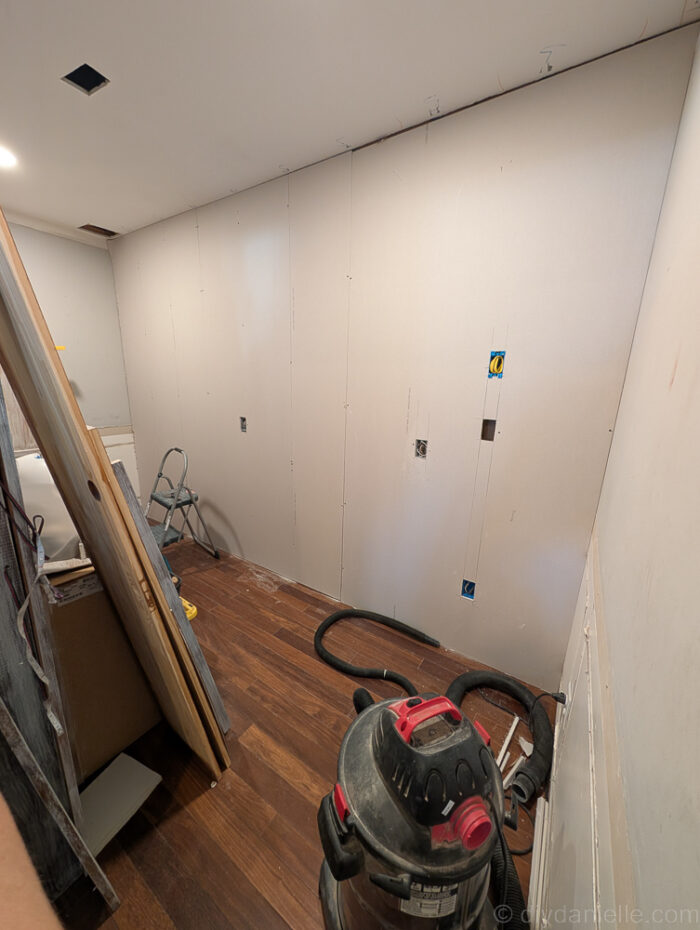
We placed a few of the drywall panels where we knew there wouldn’t be any outlets. Otherwise we left it open for them to work.
The electricians came and we showed them where we wanted all of the outlets, and we also had them installed two puck lights on each side, as well as switches to turn the lights on and off.
This is the opposite side, which will be the future hallway (and also have lockers for closets, etc.). I didn’t have the electrician add plugs on this side of the wall because it’s expensive and we didn’t need them. I debated it because I was concerned that this wouldn’t be to code without them, but I imagine the outlet straight ahead on the small wall will likely get moved onto the longer wall eventually when we do the full reno.
The pantry has a freezer and a mini fridge so we wanted those on outlets so they could be powered by our generator if the power went out. This was a little bit more expensive than we planned, but it was worthwhile.
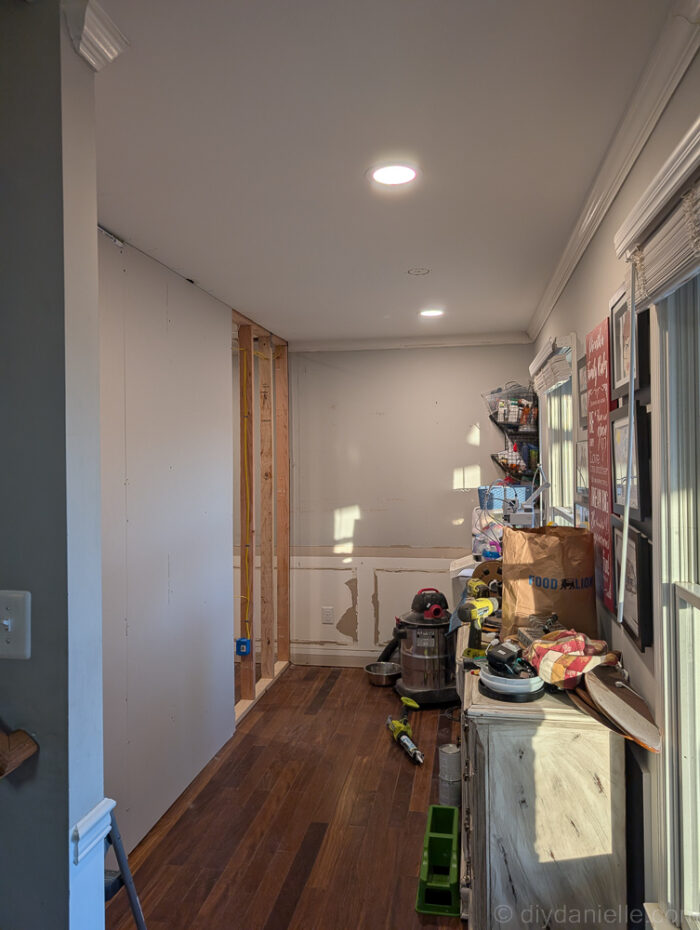
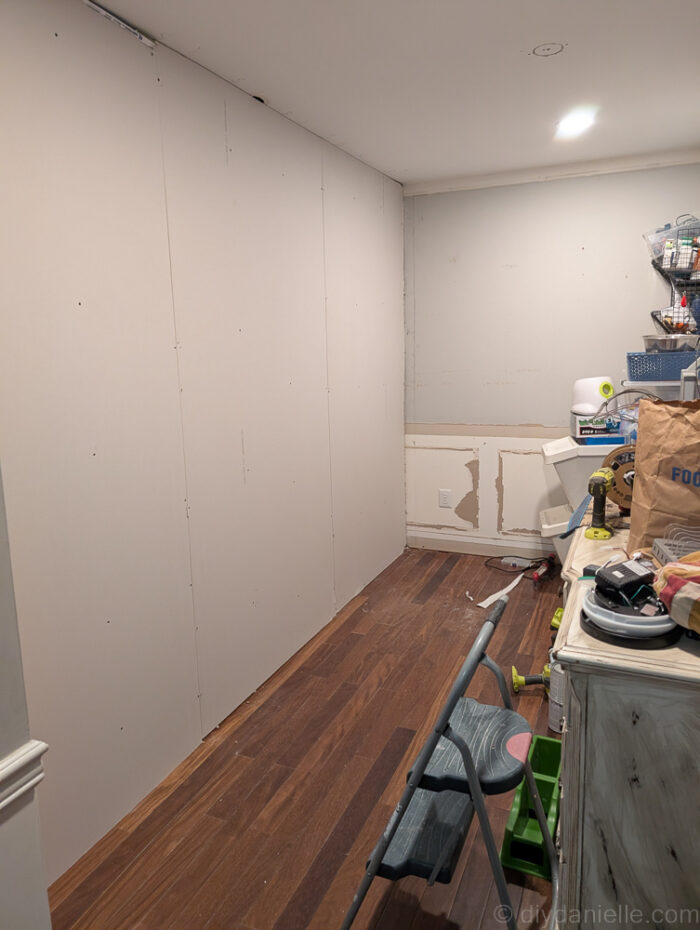
Once the electricians were finished, we completed putting up drywall.
This is the pantry side:
This is the hallway side:
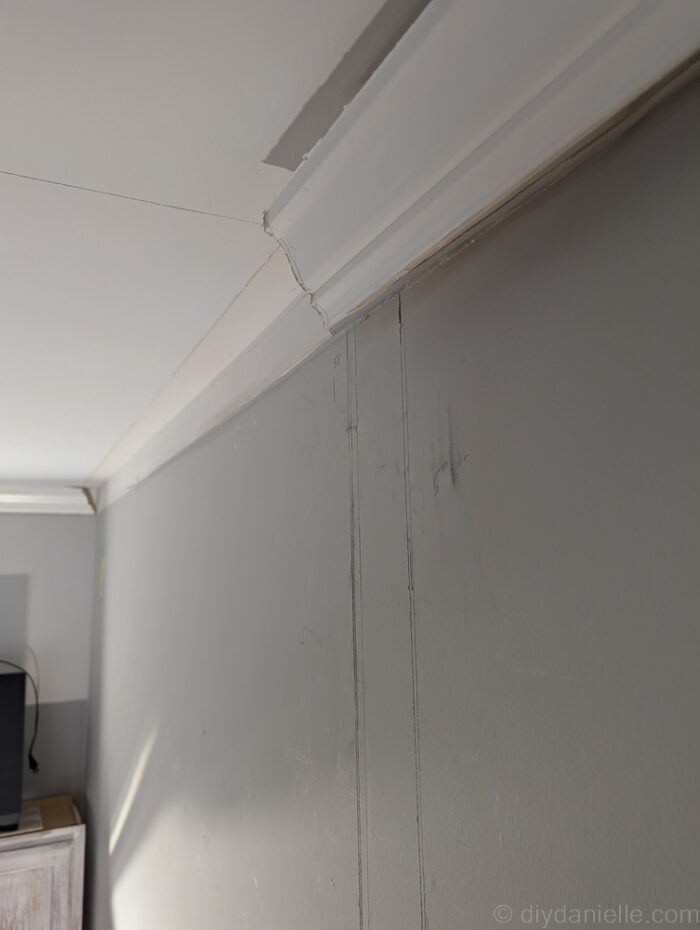
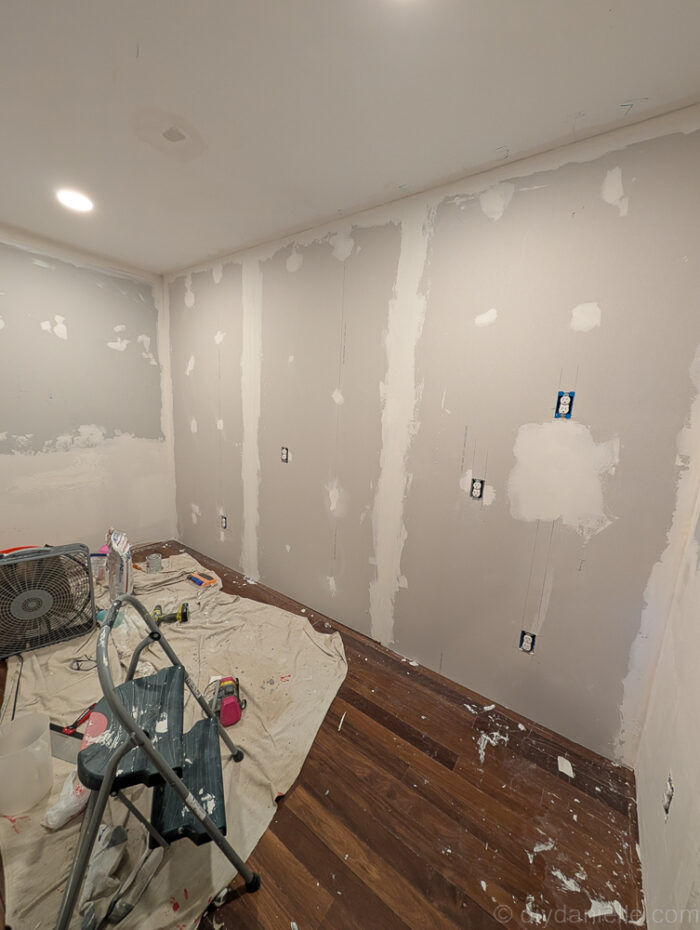
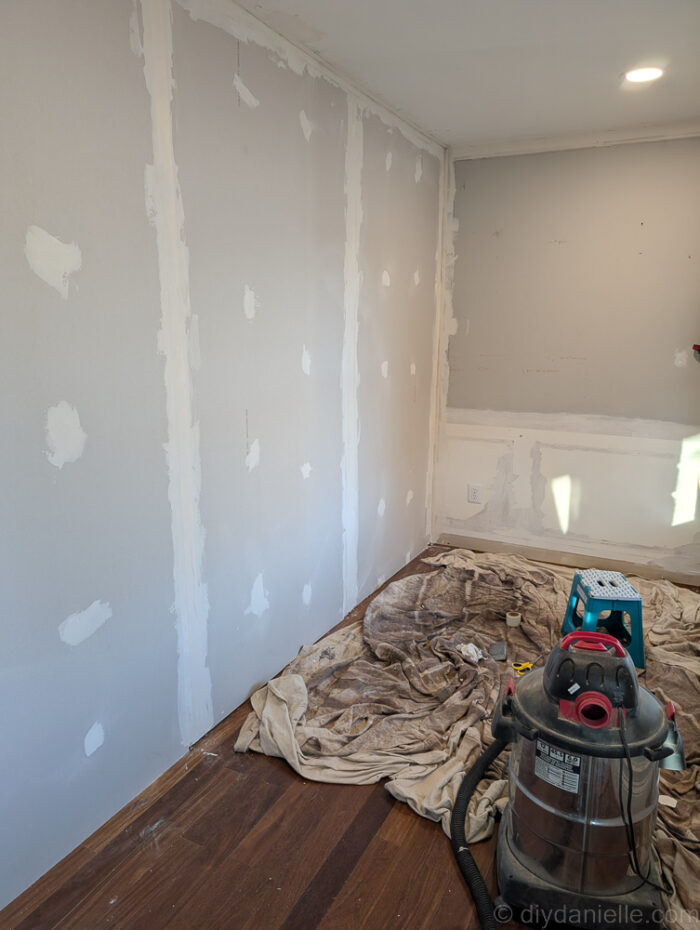
I taped and mudded everything, including repairing the walls on the opposite side where I removed trim. This did a ton of damage and it was honestly super inconvenient to fix the old drywall that I destroyed removing trim. Installing fresh drywall would have been easier. See this below? Suuuuuckkked.
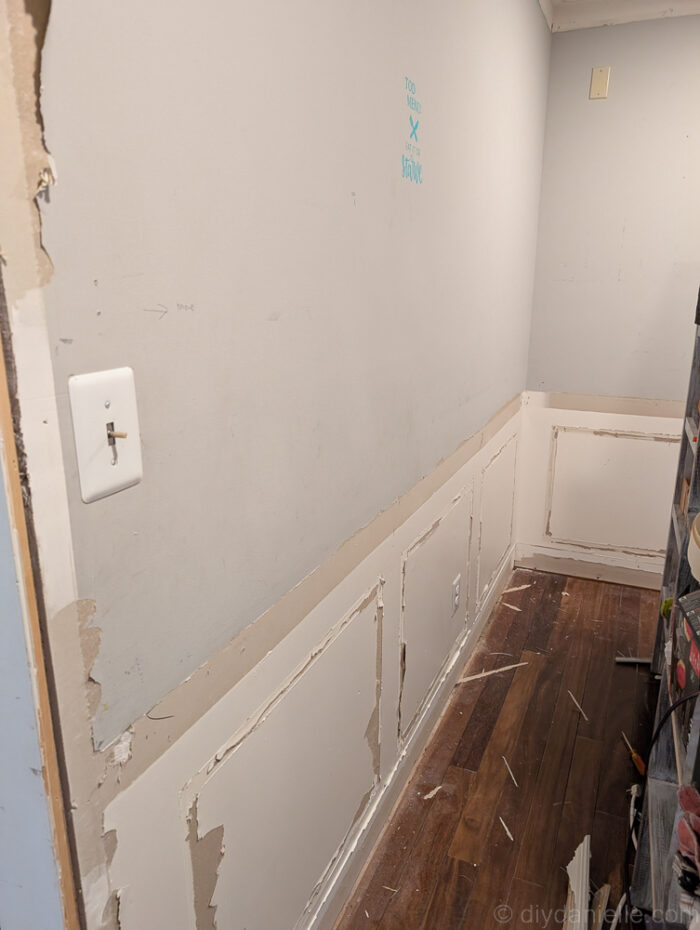
The excess yuck needed to be removed to make it flat-ish, then the raw areas needed a special primer before anything else was done.
This was my first time mudding and drywalling so it was definitely good to rip off that Band-Aid and learn that skill. It wasn’t awful, but it requires some patience because each layer needs time to dry.
I also discovered that mud gets on the floor worse than paint so I should have put down a mat before doing the work. Hindsight is 20/20 and my floor is a mess.
Pantry side:
Hallway side:
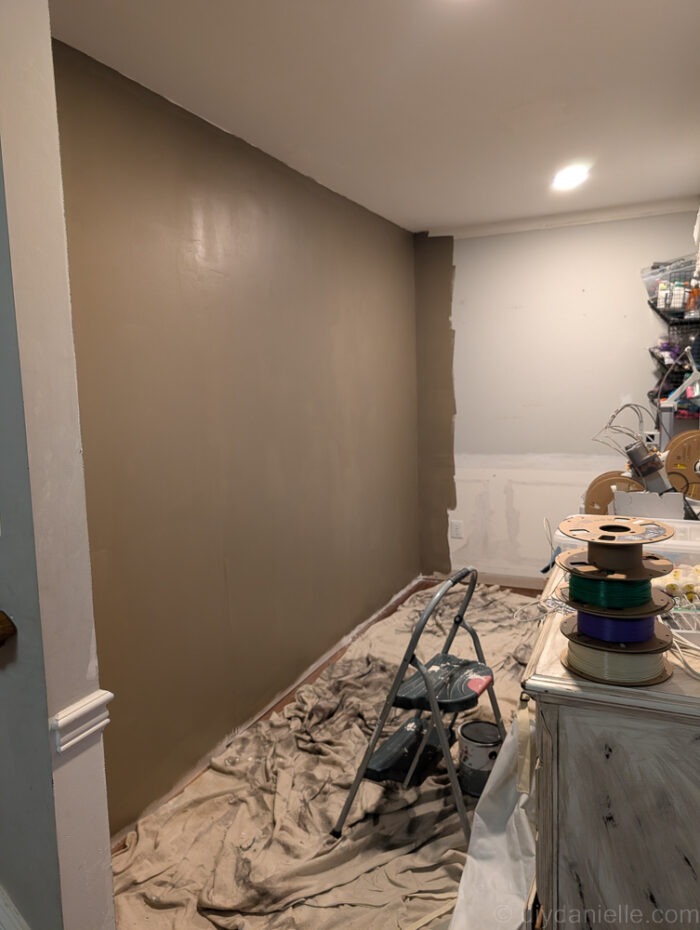
Once everything was sanded and looking good, I was able to prime and then paint the walls. I’ll need to put on the trim again and paint that as well at some point. But I’m converting the rooms first.
Pantry:
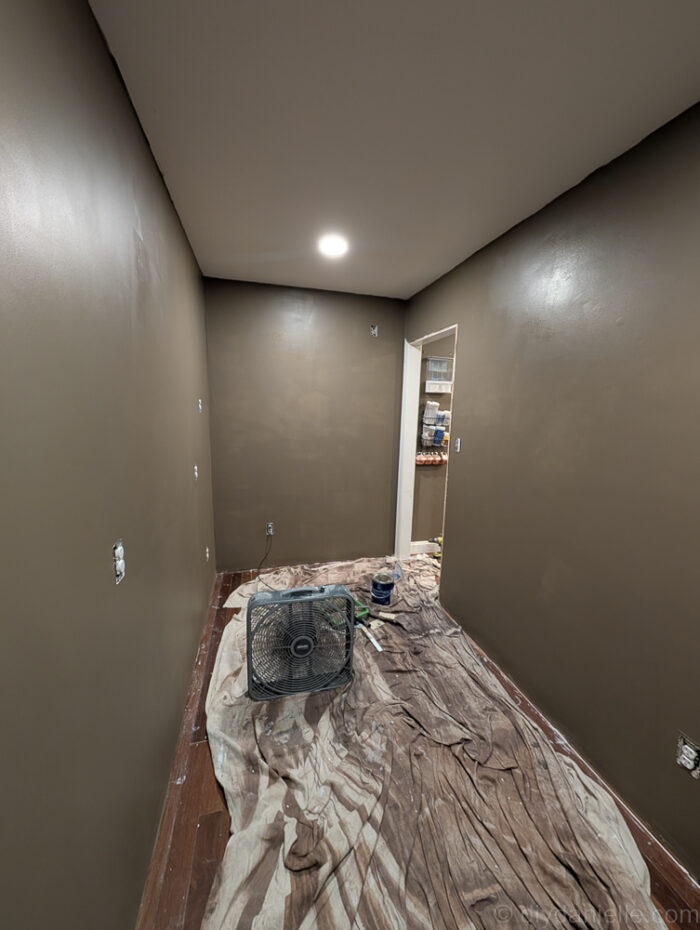
Hallway:
Keep an eye out for the post about our new pantry, as well as our hallway entry with lockers. I’m so so close to finished!
Other DIYs related to this project:
- DIY Pantry
- DIY Mudroom/Hallway
- How to Drywall
- How to Divide a Room with a New Wall
- Final Living Room Reveal
Please share and pin this post! You can also post your project and tag the DIYDanielle team on Instagram @doityourselfdanielle!