Learn how to make a durable and convenient laundry bag that can go straight into the washing machine. This step-by-step tutorial provides easy instructions and tips for creating a washxable laundry bag.
One of my pain points with many of the laundry baskets and bags that you can buy on the market for laundry is that the bags tend to be prone to mold if you store wet towels in them. But the bags also aren’t washable- It’s almost like they intend for you to need to replace them routinely. I decided to just make my own washable bags for my kids’ towel laundry bin.
These are really easy to make and they can be thrown through the wash with the rest of your clothing. Just dump the clothing out before so they don’t all get lumped together.
This post may contain affiliate links which may earn me commissions should you click through them and take certain actions. As an affiliate for Amazon, Cricut, xTool, Home Depot, and other sites, I earn from qualifying purchases. Please DIY carefully. View my full legal disclosures here.
Please read the whole post so you don’t miss any important information!
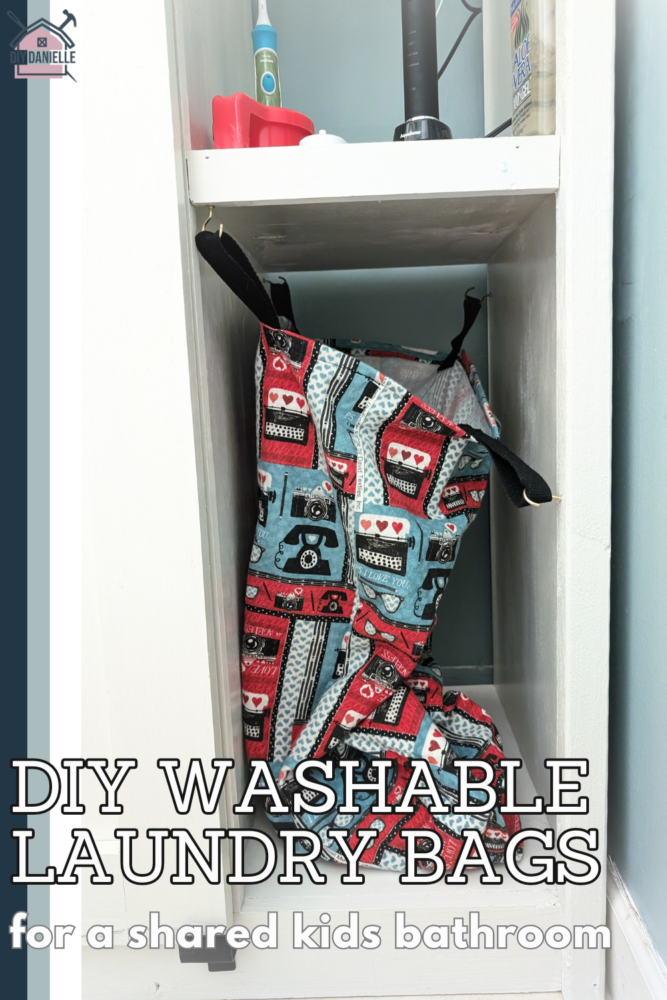
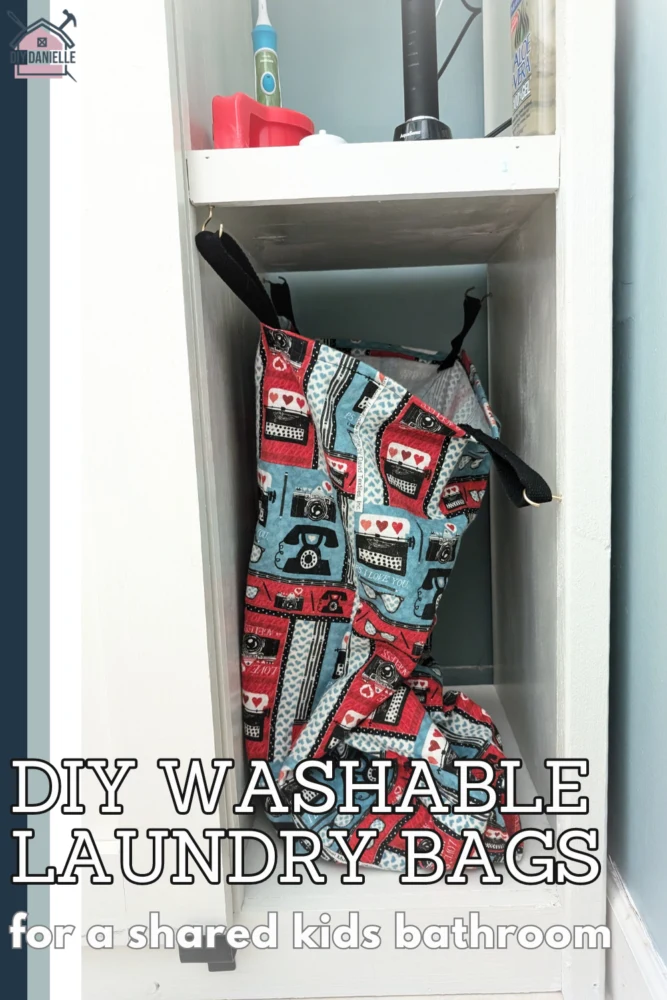
DIY Washable Laundry Bag
Choosing the Right Fabric
You have a lot of choices in terms of the right fabric for this project. PUL, polyurethane laminate, would work well and it’s somewhat waterproof, but it’s also pricey. Cotton fabric and flannel are both affordable and easy to work with.
The main rule is to choose a fabric that can withstand how you wash your towels. If you wash them with hot water, choosing a fabric that can withstand that is important.
Supplies
- Flannel Fabric
- Sewing machine
- Screw hooks
- Strap Fabric (cotton webbing): https://amzn.to/4ciHY48
- Measuring tape
- Scissors
- Pins or clips
Closures: Some people might like to use a zipper or drawstring. This bag will get a lot of wear and tear, however, so I opted to skip adding a zipper or drawstring. We don’t need them. The straps work well for transporting the bags without anything spilling out. Any other closure isn’t likely to get used and will add work and cost to this project.
Tutorial
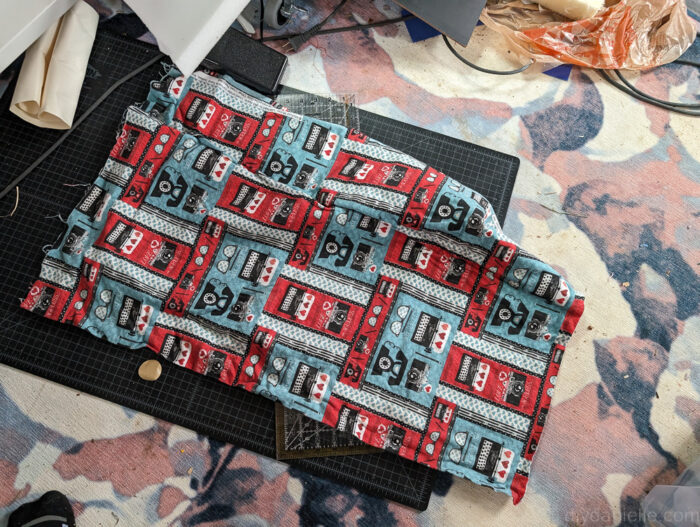
Step 1: I started with some affordable flannel fabric. I measured the space that I wanted it to go into to ensure that I had the right height, width, and depth for my bag.
My measurements were:
I cut the one large piece of fabric, ensuring that the design was in the correct direction. This is important if your fabric is bi-directional. It didn’t matter with my hedgehog fabric, but the vintage fabric bag needed to be in the right direction.

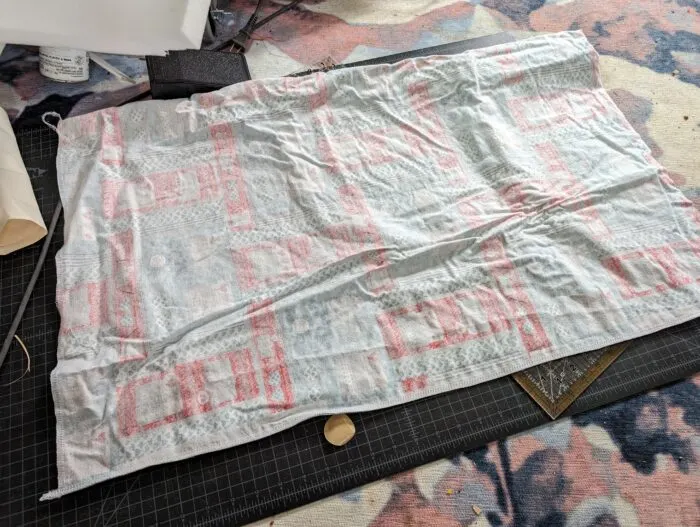
Step 2: Once I cut the large piece, I folded it over Right sides together.
I sewed along the side and the bottom, making sure to backstitch over any areas that might get a lot of wear and tear.

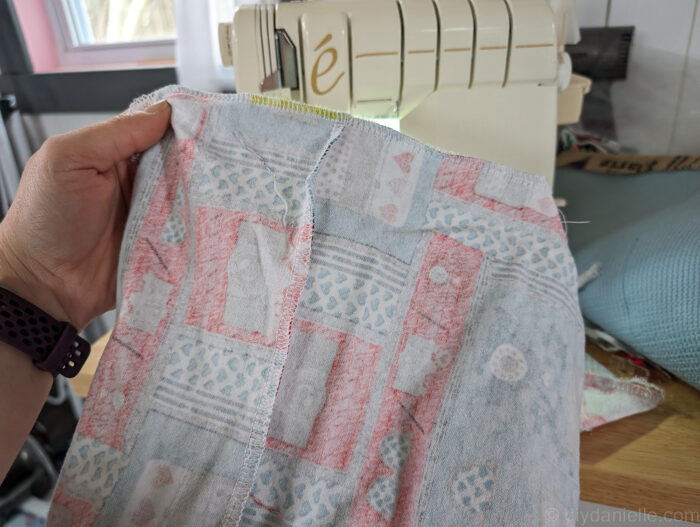
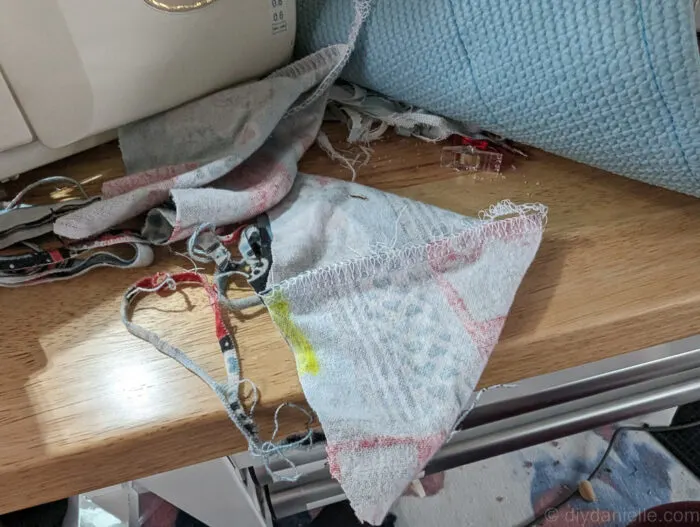
Step 3 (optional): If you want, you can skip this step. I wanted a boxy bottom to my bag so I pinched the triangle section at the bottom, sewed across the line, and cut off the excess. I marked my spots in advance.
You pinch the fabric where the yellow lines are so the inner fabric where the yellow line is meets the inner fabric of the side. I hope that makes sense… it’s hard to explain in a photo.


It’s a neat way to make your bag look a little more custom, but it is just cosmetic. It will make your bag a little shorter so you have to adjust for that in your measurements.
You can see here where the corners of the bag have been cut off and sewed. I used a serger instead of my sewing machine, but reinforced with my sewing machine as well to improve the durability of my bag and to prevent fraying.
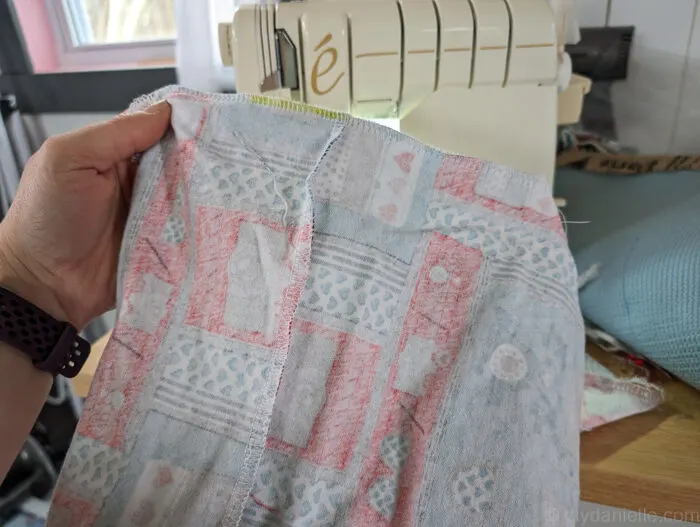
You’ll have two triangles like this leftover after.

Step 4: Once that was done I hemmed the top of the bag. To do this, I folded it over twice and then sewed a straight stitch all the way around.
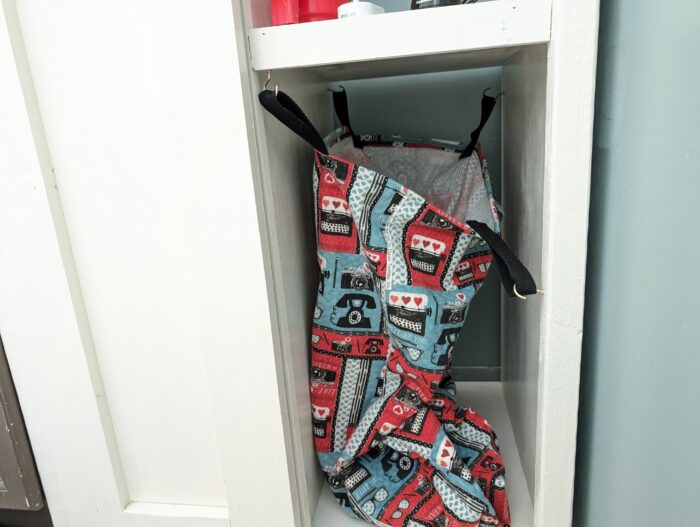
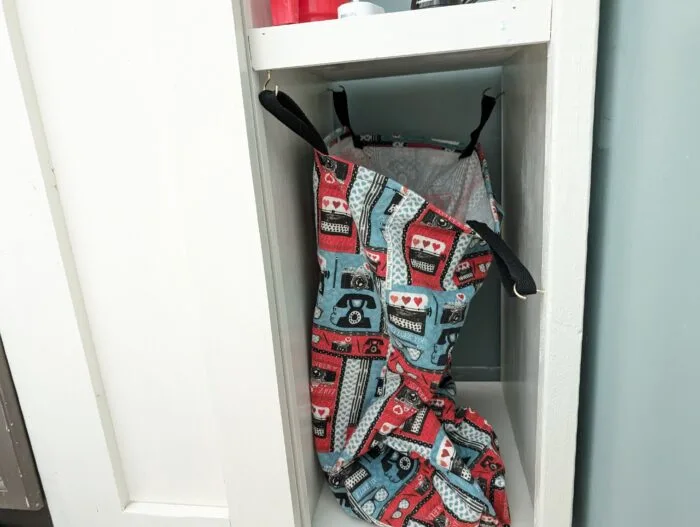
Step 5: I cut four straps from the Cotton webbing, folding them over, and then sewing them to each corner of the fabric bag.

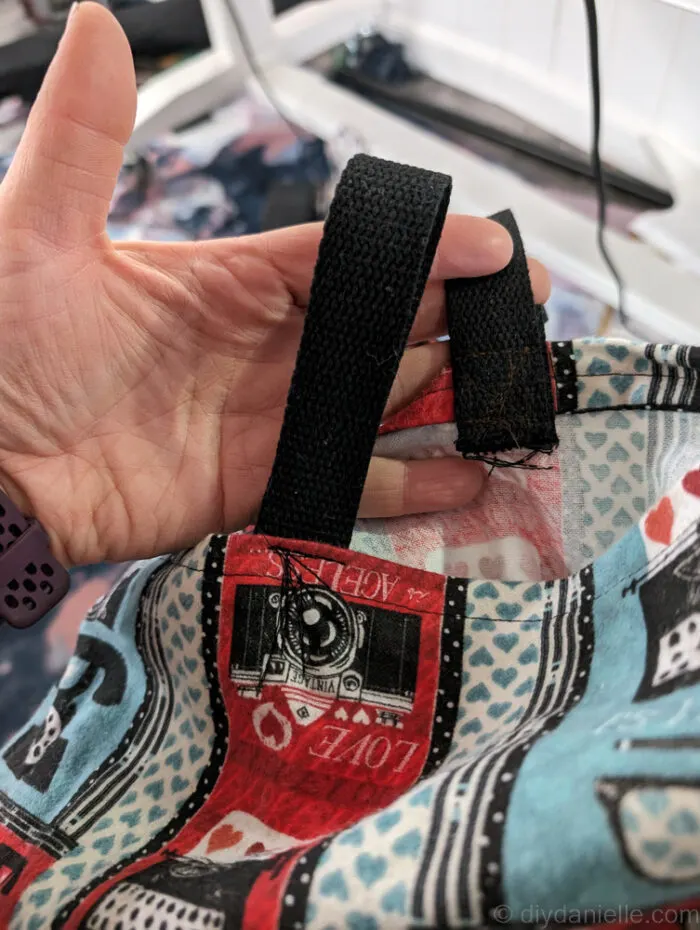
Always make sure to backstitch as you go over these straps because they get a lot of wear and tear.
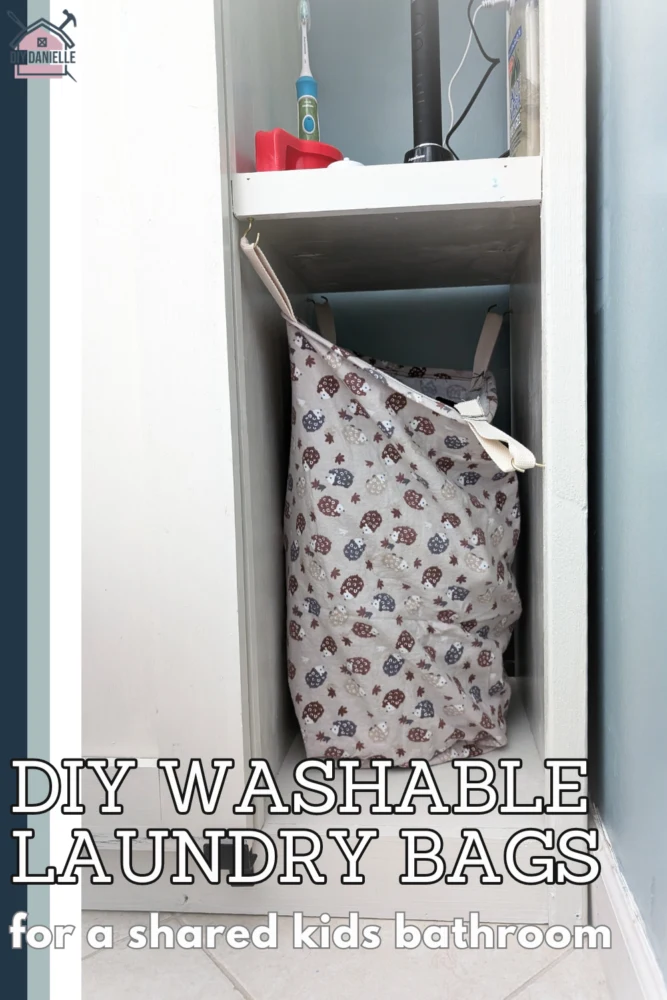
Step 6: Once you’re done, you can just hang it up using some screw hooks. I wanted to use three or four of the hooks so it was easy for the kids to get the towels inside the bag.
When we need to do the laundry, we just grab the bag full of towels and bring it downstairs. The bag goes in with the towels and gets washed. And when everything is dry, it comes back upstairs and can be reused.
The second bag is in rotation when the other one is in the wash. This is really convenient for us.


Conclusion
These have been SO useful and they’re still going strong, even though it’s taken me months to actually write and publish this blog post. They routinely go through the washing machine without problems. I LOVE them. I will eventually replace our other laundry bags with something like these as they wear out because they are so useful.
I love being able to wash the bags each time they’re used. It gives us a handy way to carry the clean laundry back upstairs without dirtying it. I don’t need to haul around plastic laundry baskets, or wipe them out if they get dirty from dirty laundry (we have a farm so dirt and hay come in with the clothing). They also fold up nicely to store when not in use. Having two allows us to rotate which is in the wash vs. in use.
Make sure to take some pictures and share them in the Stuff Mama Makes Facebook group if you make these, leave a comment, or share it in a comment on the Pinterest pin! I love seeing everyone’s projects!

Please share and pin this post! If you make this project, share it in our Stuff Mama Makes Facebook Group. We have regular giveaways for gift cards to craft stores. You can also tag me on Instagram @doityourselfdanielle; I love seeing everything you make!