

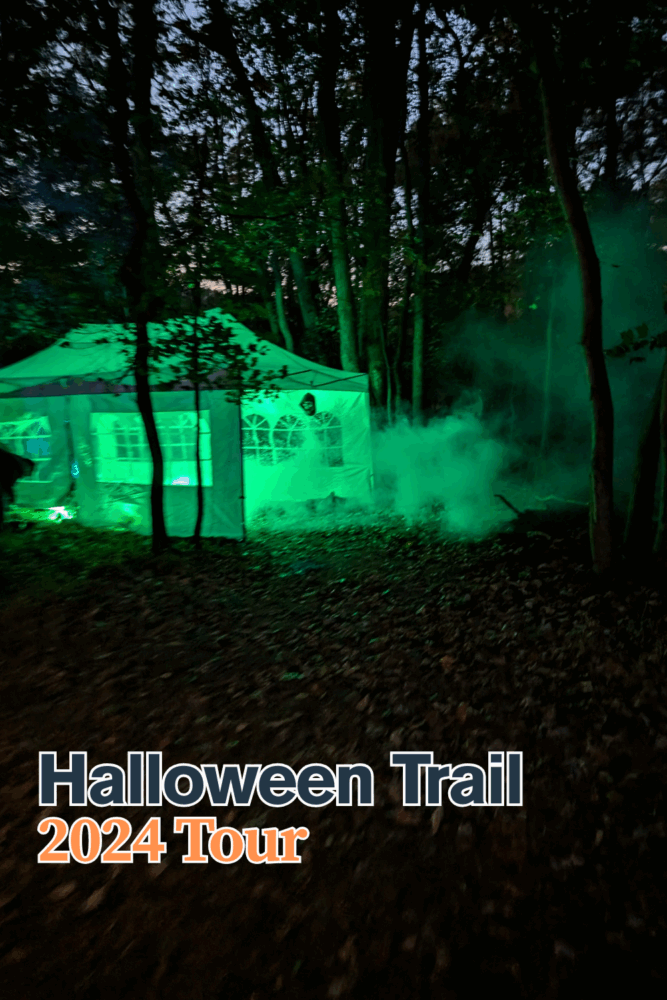
Create a spooky DIY swamp with fog and green lasers for your Halloween trail! Perfect for outdoor haunts and creepy walkthroughs.
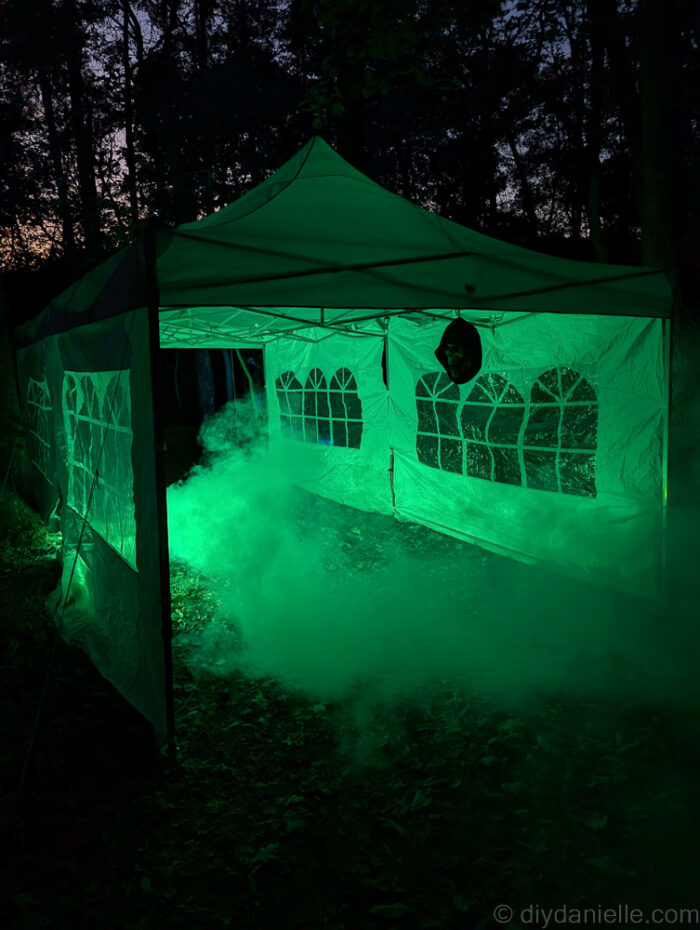
We went to Hershey Park this year for their Halloween celebration and it was so impressive. One of our favorite things was how their swamps were set up. They had lots of fog from a fog machine and then used green lasers to give you an effect that made you feel like you were swimming through water. It was such a weird effect and I wanted to replicate it at home.
It’s a little trickier on an open Trail as the fog doesn’t build up as much. But we were able to make it work and I think we’ll do it better next year with a few more lasers.
This post may contain affiliate links which may earn me commissions should you click through them and take certain actions. As an affiliate for Amazon, Cricut, xTool, Home Depot, and other sites, I earn from qualifying purchases. Please DIY carefully. View my full legal disclosures here.
The majority of my content is generated by me, as are 99% of the photos and videos, but I utilize technology for titles, descriptions, video editing out all of my ums, and occasionally for text overlay on images.
Please read the whole post so you don’t miss any important information!
DIY Spooky Swamp Halloween Decoration
Project Supplies
- Fog Machine: https://amzn.to/43DpQB3
- Fog Machine Juice: https://amzn.to/4jNMGuB
- Tent: https://amzn.to/4kY60pI
- Tarps (Ideally black)
- Lasers: https://amzn.to/4jNXM2t
- Grab a bunch of junk to hang in the tent that are swamp-ish
Step by Step Instructions
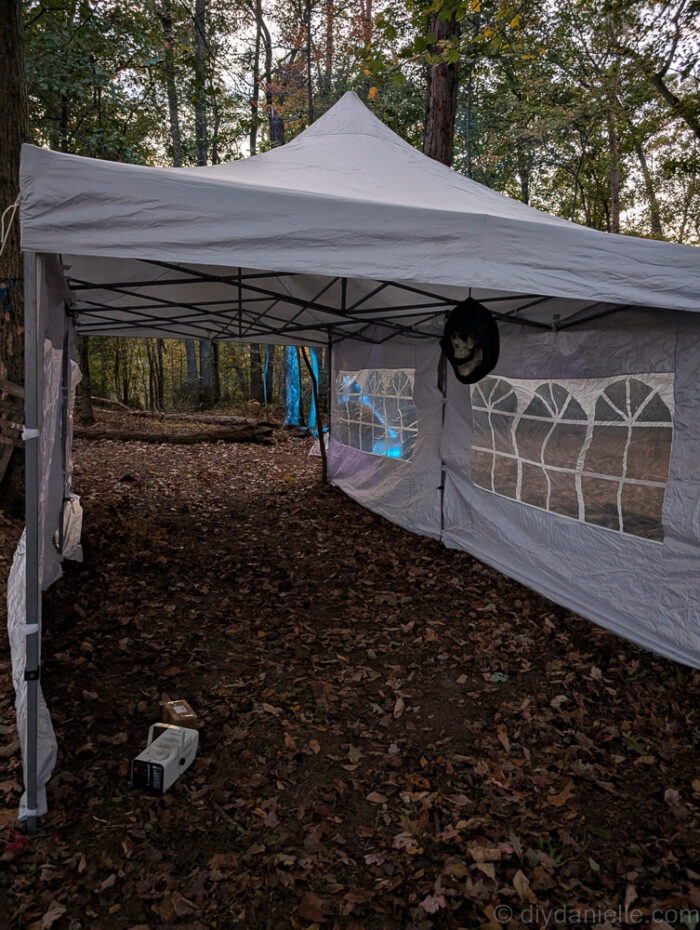
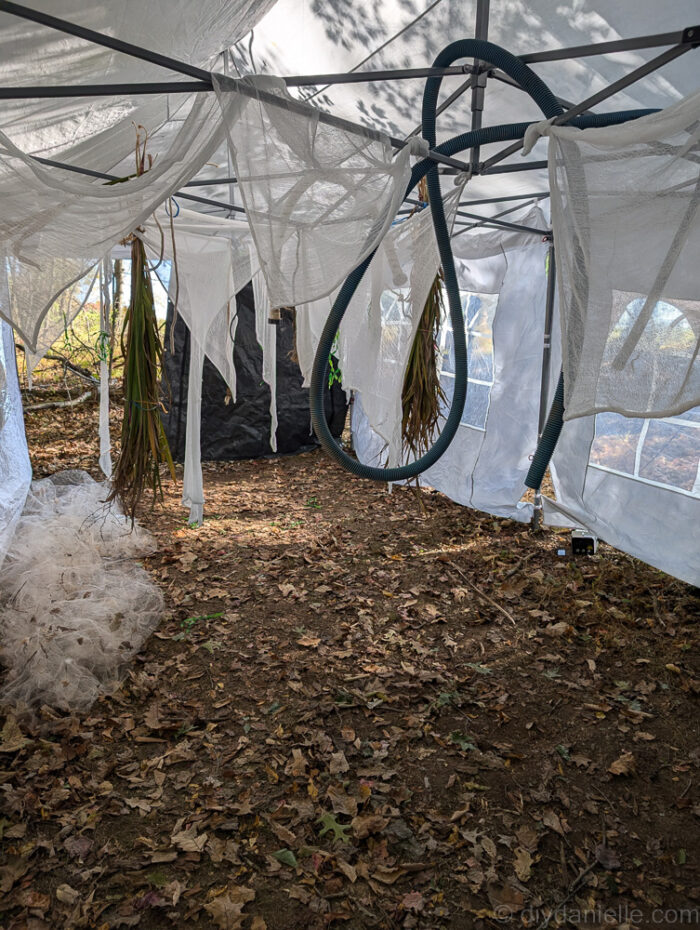
Step 1: You want to set up some sort of tent or walk-through area that’s going to block out wind.
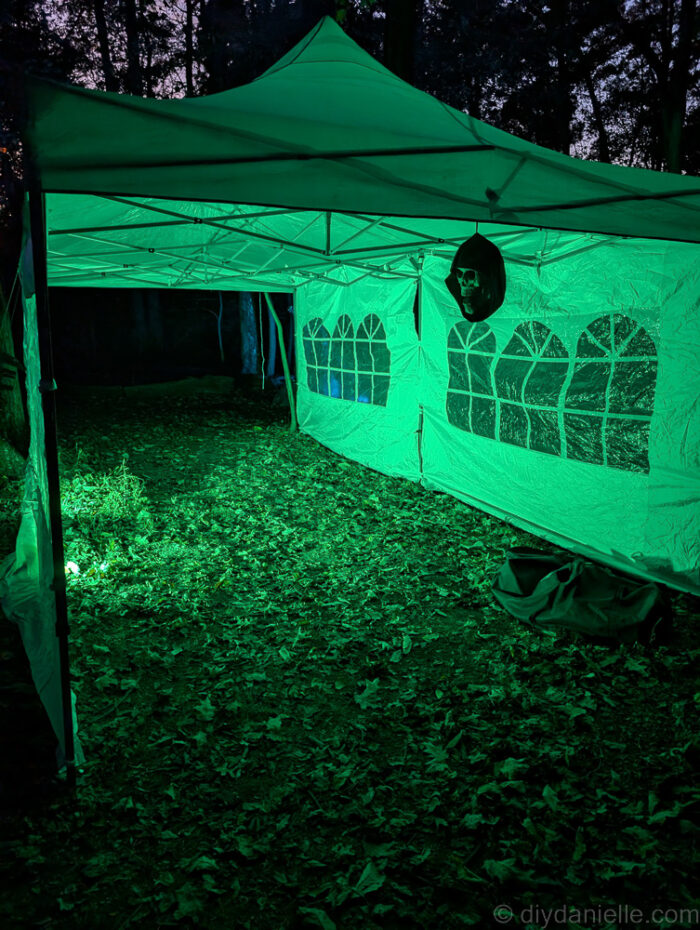
Step 2: Set up your fog machine fill the inside of the tent.
Step 3: Setup at least one laser but I think two or three would have been better.
You really need to try this out at night to get it right. It’ll take some experimenting and moving around the fog machine and the lasers. Just make sure the lasers won’t point into anyone’s face. The goal is to keep pointing right above the ground.

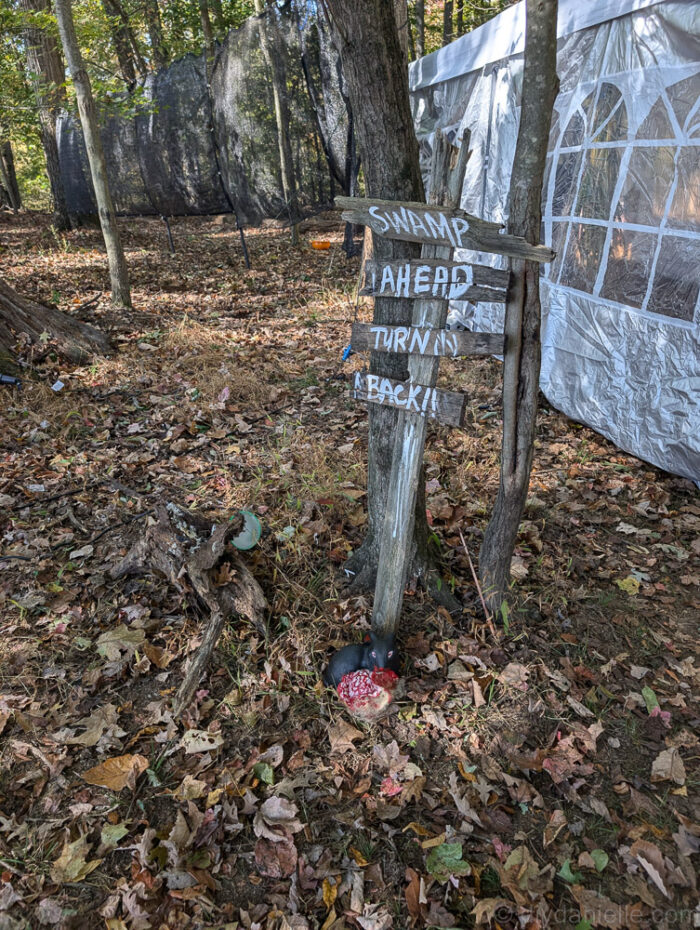
Step 4: I made a quick sign that said “swamp ahead turned back” using pallet wood.
We hung old tubes and other junk from the ceiling of the tent. I also had cut down some old plants and hung them upside down to give a more wooded look to the area. We hung snakes upside down and spiders.
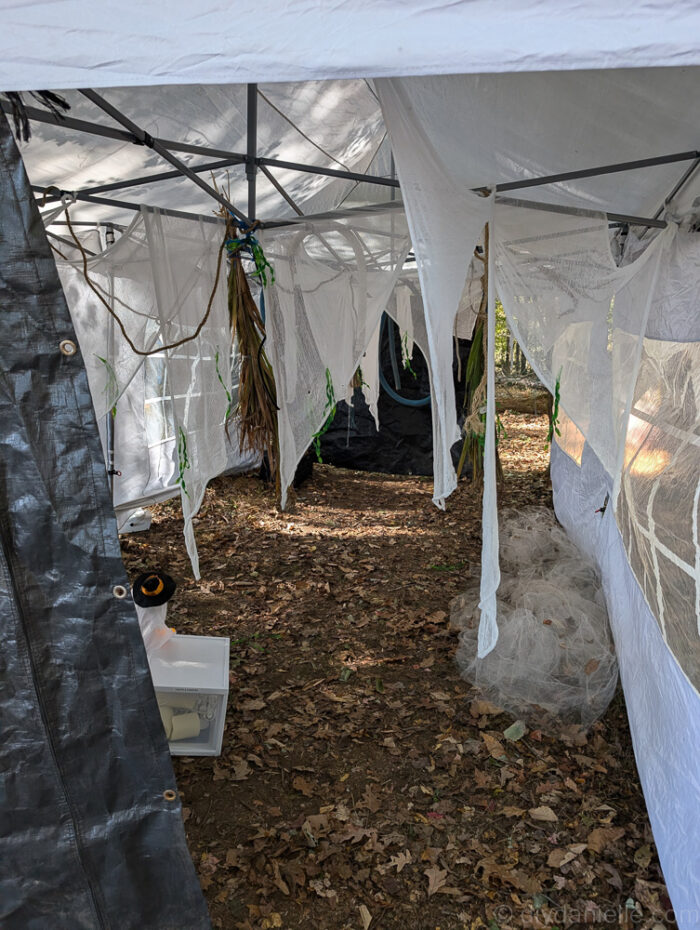
Step 5: We wanted to make sure there weren’t any major tripping hazards, but that there was lots of stuff for them to be distracted by and need to walk around.
The one thing that we did add was bird netting to the floor. It created an interesting effect, but it was a bit of a tripping hazard.
Ideally, I would have blocked out the windows on the sides of this tent because it let in a little bit of light that I didn’t want.
You can’t see it in the pictures but in the video tour from 2024 you’ll see that we added tarps to the front and back of this tent so that it kept the fog in a little bit better. The tarp was opened a bit so that they knew where the entrance was.
This was a huge hit and a lot of fun. While I didn’t like the windows for letting in extra lighting, it did give us an opportunity to freak out the kids by hitting the windows while they went by.
Please share and pin this post! You can also post your project and tag the DIYDanielle team on Instagram @doityourselfdanielle!
- DIY Heads on Sticks Tutorial: https://diydanielle.com/heads-on-sticks-halloween/
- DIY Zombie Rabbits Tutorial: https://diydanielle.com/zombie-rabbits-halloween-decorations/
- DIY Puking Skeletons Tutorial: https://diydanielle.com/puking-skeleton-in-bath-halloween/
- DIY Halloween Trail Tour 2024: https://diydanielle.com/diy-halloween-trail-2024-annual-tour/