
Free 3D print file for a snake basking ledge! Perfect for reptile enclosure corners, with screw holes for secure mounting. Durable and easy to install.
Upgrade your reptile’s habitat with this 3D-printed snake basking ledge, designed for the corner of your enclosure. Crafted from durable black PETG, this ledge provides a sturdy, elevated spot for your snake to bask and relax. The built-in screw holes make installation easy, especially in PVC enclosures where it can be securely attached to the walls. Perfect for enhancing your reptile’s environment, this corner basking ledge is both functional and sleek, offering your pet a cozy space while maximizing the use of enclosure space.
This post may contain affiliate links which may earn me commissions should you click through them and take certain actions. As an affiliate for Amazon, Cricut, xTool, Home Depot, and other sites, I earn from qualifying purchases. Please DIY carefully. View my full legal disclosures here.
The majority of my content is generated by me, as are 99% of the photos and videos, but I utilize technology for titles, descriptions, video editing out all of my ums, and occasionally for text overlay on images.
Please read the whole post so you don’t miss any important information!
3D Printed DIY Basking Ledge
Project Supplies
- Bambu A1 Combo with AMS Light https://amzn.to/48ZQdCh
- PETG Filament: Black: https://amzn.to/3ACR1Aa
- Version 1: https://makerworld.com/en/models/845922#profileId-793024
- Version 2:
Printing the 3D Model
Given that the 3D printer does the bulk of the work, I’m not going to give you the full tutorial on this one- if you’re having issues, let me know.
I printed these in PETG because it’s less expensive, but PLA should work as well.
The one thing to remember is that I am using a PVC enclosure- this means I can screw things into it. If you have glass- don’t. You may be able to use silicone to attach it to glass, but I’m not familiar with this.
Version 1: Small Basking Ledge for a Reptile
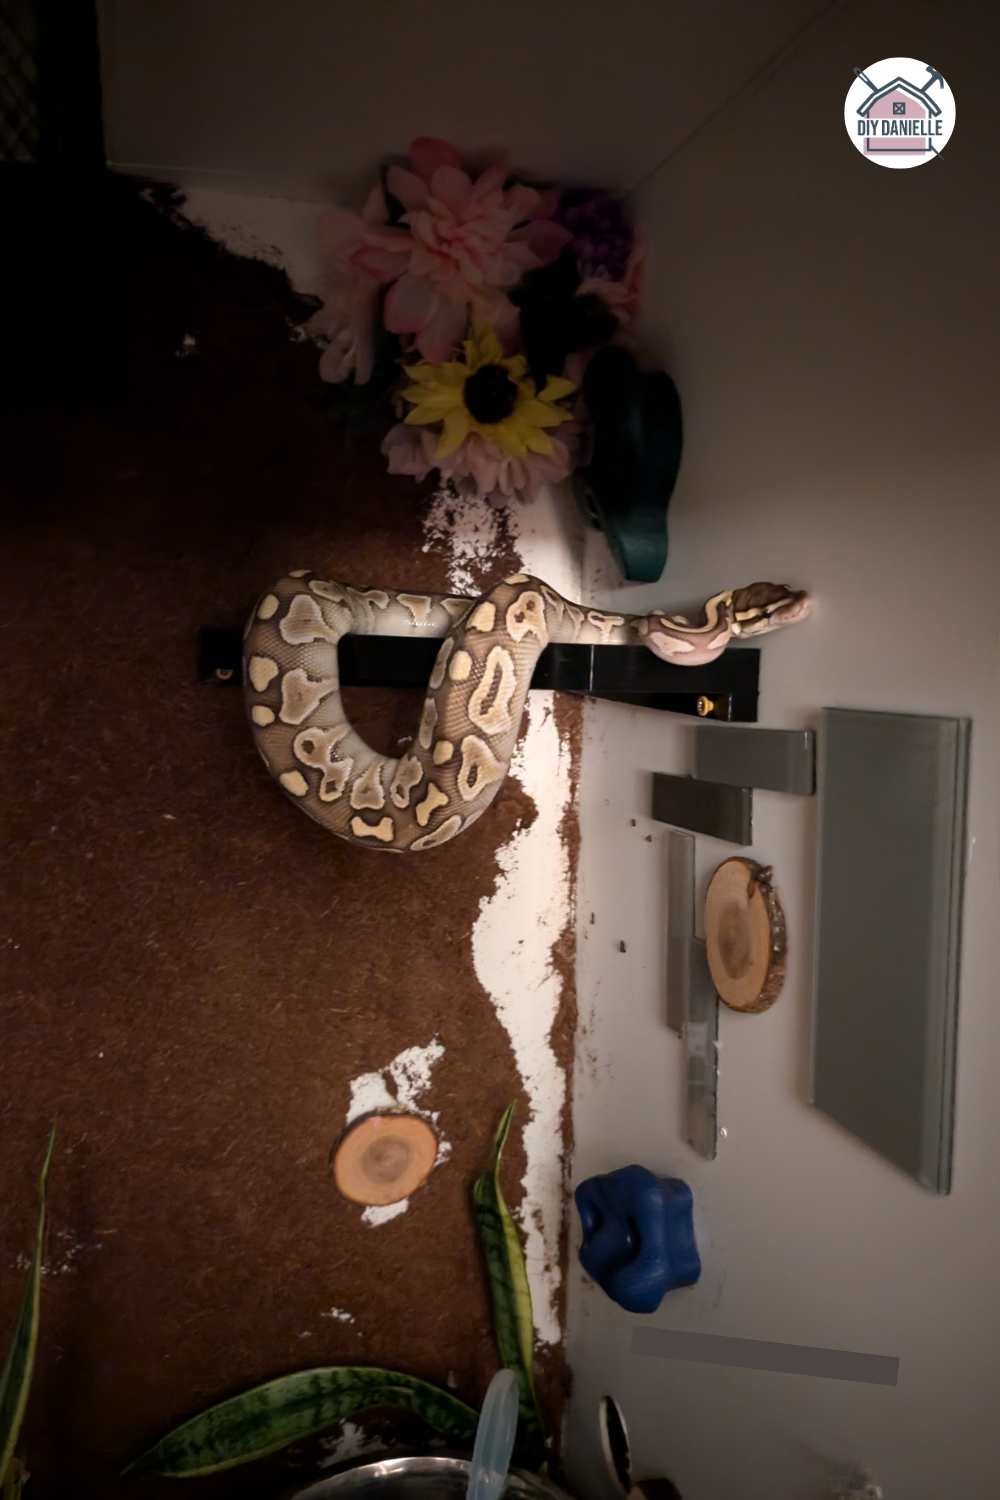
This first version was a smaller print because it’s for the corner of my 2 year old ball python’s enclosure. She’s a smaller snake at this age, and my printer bed is only so big. I found that the screw holes in the back corner were hard to screw into so I’m moving the holes for version 2 of this corner ledge. But it was manageable. Make sure to use screws that won’t poke out the back of your enclosure.
This is a photo showing the underneath of the basking ledge. There’s four screw holes to use but I found the corner to be a little tricky so I only put one screw in the corner.

This photo shows the black basking ledge from a straight on view. The top is fairly textured which is nice because my snake isn’t slipping around on it.

Here’s a photo of my ball python on the ledge. It’s not a great photo because I had to take it in the dark. As you can see she’s a bit big for it and might benefit from something to hang on to.

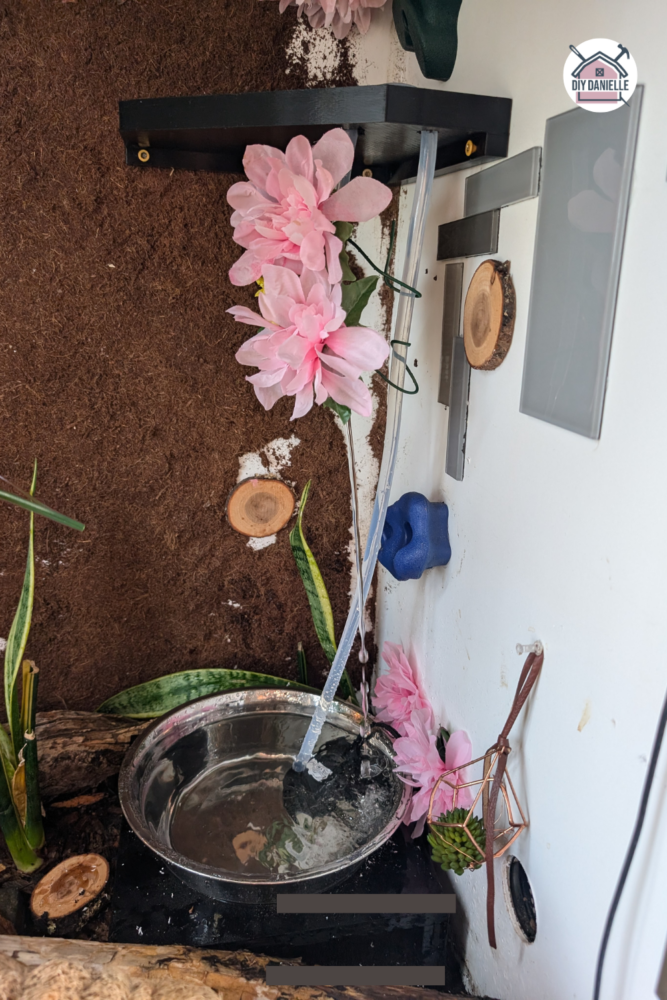
I ended up using my screwdriver to drill a hole in the bottom and I added tubing to run water as a waterfall down through it. I’m not sure I love this. It has a tendency to splatter out. But the waterfall effect seems to be impacting my enclosure humidity level (which has been raised) which is nice. I just need to figure out a way to keep it from ending up in the soil and not the bowl again. I don’t really want to be replacing the water every few hours.
Overall, this is a pretty solid print with a few adjustments that I’m making for my larger snake.
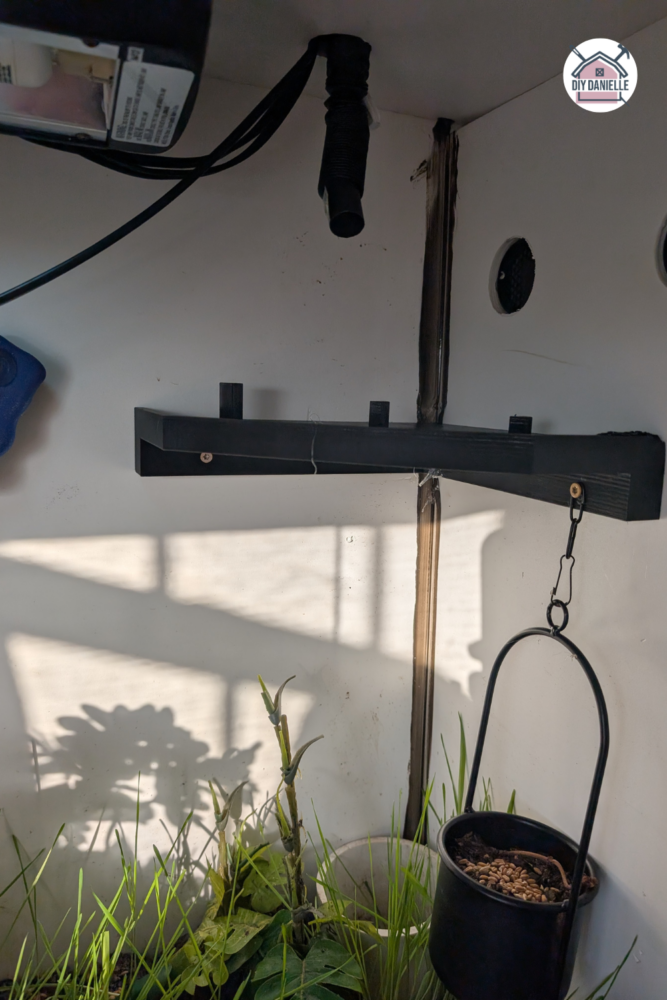
Version 2: Larger Basking Ledge Designed for a Snake
For the second version, I added some drainage holes which I don’t know are necessary, but I figured I’d add them anyways.
I also added some posts so that the snake can hold on to something if they desire. I realized one day that she almost slipped off the ledge when I was going to feed her and it would have been nice for her to have something to wrap around. The texture of the 3D print seems to work well to help her maintain her hold, but the second version has some posts to wrap around. I’m hoping it will make it even more comfortable for the snakes.
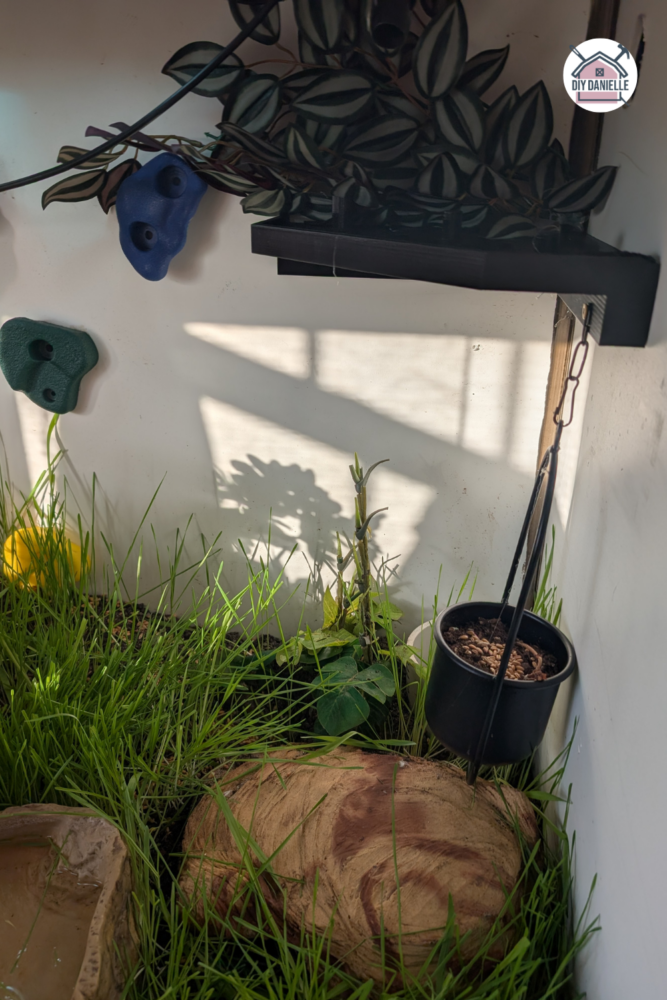
Excuse how bare it is…. we really need to work on his enclosure. I HATE the white walls, particularly with the black caulk (mistakes were made).
Please share and pin this post! You can also post your project and tag the DIYDanielle team on Instagram @doityourselfdanielle!
