
Remove DIV Tags from HTML using this simple web tool. This is great for Blogger to WordPress Transfers.
This post may contain affiliate links which may earn me commissions should you click through them and take certain actions. As an affiliate for Amazon, Cricut, xTool, Home Depot, and other sites, I earn from qualifying purchases. Please DIY carefully. View my full legal disclosures here.
The majority of my content is generated by me, as are 99% of the photos and videos, but I utilize technology for titles, descriptions, video editing out all of my ums, and occasionally for text overlay on images.
Please read the whole post so you don’t miss any important information!
I recently moved from Blogger (Blogspot) to WordPress. I’ve need to do some adjustment to my blog post formatting. Blogger added a lot of div code throughout my post that could interfere with formatting.
Why remove div tags?
Well, used improperly, they can change the appearance of your blog post. They can also make entire sections look like one big paragraph to your ad network, preventing the network from spacing ads properly throughout your post. This means less income for you.
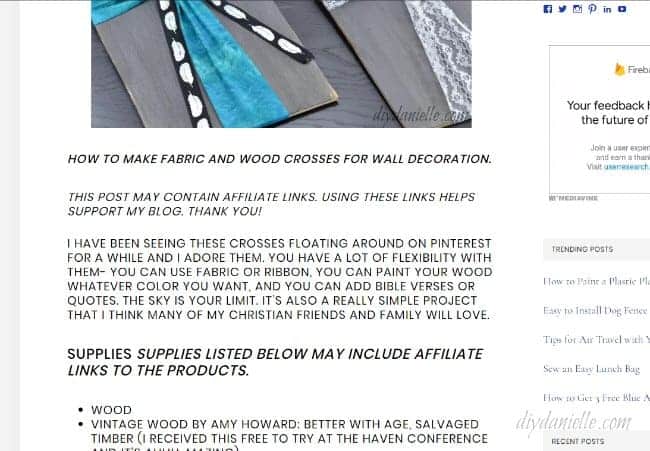
The DIV code in this post is messing up the blog post’s formatting.
While you may be able to find a plug-in to remove all the div code from your website in one fell swoop, I wanted to go through my posts one by one. My husband made me this cool tool to make that happen.
DIV Code Removal Tool
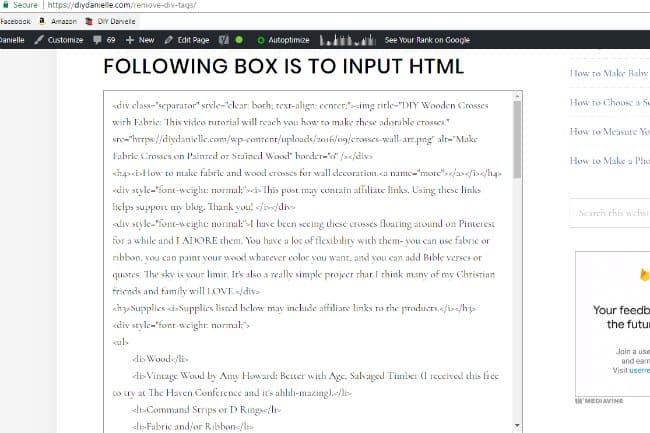
Following box is to input html
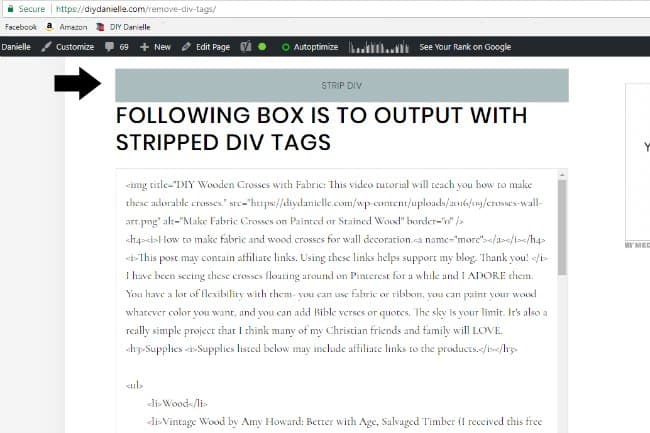
Following box is to output with stripped div tags
How to Use the DIV Code Removal Tool
We made this tool to be easy to use. You could easily do the same thing with Regexr, but this is super simplified for the people who hate code and don’t understand any of it. What the tool does is remove ALL the DIV code from your HTML.
First, go to your blog post that you want to remove the DIV code from.
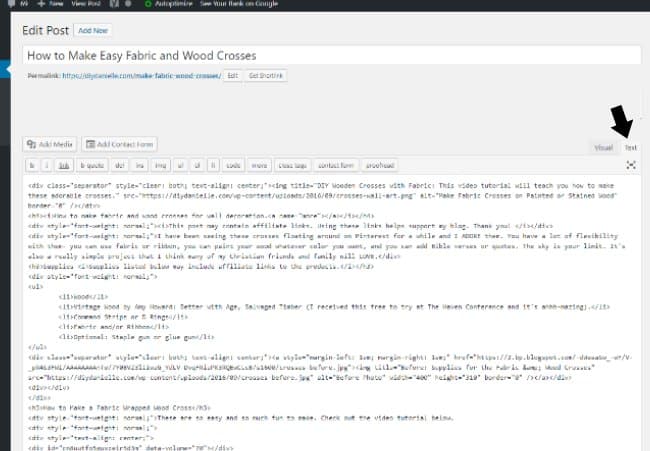
Go to the “text” tab. Select all. Copy. Paste it into the top box of our tool.
Click “Strip div.”
Go to the output box, select all, and copy the code.
Go back to your blog post, delete the code from the text tab, and replace it with the code from the output box.
Flip to your visual editor to make sure everything transferred. You’ll likely need to make some adjustments to your post still for formatting, but the divs should be completely gone. I ended up doing some simple fixes on the post below and need to do a few more before I click ‘Update’ but it’s much easier without the DIV codes interfering.

Once you’ve got everything how you want it, click UPDATE.
Hope this helps!
Danielle and Brandon
While the blog doesn’t focus on technology generally, you can find my other technology related posts here: Technology Posts from DIYDanielle.com
Please share and pin this post! You can also post your project and tag the DIYDanielle team on Instagram @doityourselfdanielle!