
Learn how to build custom DIY drawers with ease! Save money, avoid mistakes, and upgrade your space with this beginner-friendly woodworking guide.
Building your own drawers is one of the most practical woodworking projects you can take on. Whether you’re upgrading your kitchen, organizing a bathroom nook, or adding storage to your garage, DIY drawers can save you a lot of money compared to buying custom options.
That said, making drawers—especially dealing with drawer slides and measurements—can be tricky. I’ve had a few failed attempts and a few wins, and I’m sharing what I’ve learned to help you succeed on your first (or next) try.
This post may contain affiliate links which may earn me commissions should you click through them and take certain actions. As an affiliate for Amazon, Cricut, xTool, Home Depot, and other sites, I earn from qualifying purchases. Please DIY carefully. View my full legal disclosures here.
The majority of my content is generated by me, as are 99% of the photos and videos, but I utilize technology for titles, descriptions, video editing out all of my ums, and occasionally for text overlay on images.
Please read the whole post so you don’t miss any important information!
What I’ve Learned About Building Drawers
Before jumping into the tutorial, here are some key lessons from my trial-and-error drawer builds:
- Measure carefully before ordering drawer slides – Drawer slides require precise spacing. Double-check the gap requirements listed in the slide’s instructions.
- Not all drawer slides are the same – Choose the right type for your project (side-mount, under-mount, soft-close, etc.).
- Your drawer height can be minimal – For example, a kitchen Tupperware drawer only needs to be a few inches tall to hold containers. Taller sides just waste wood.
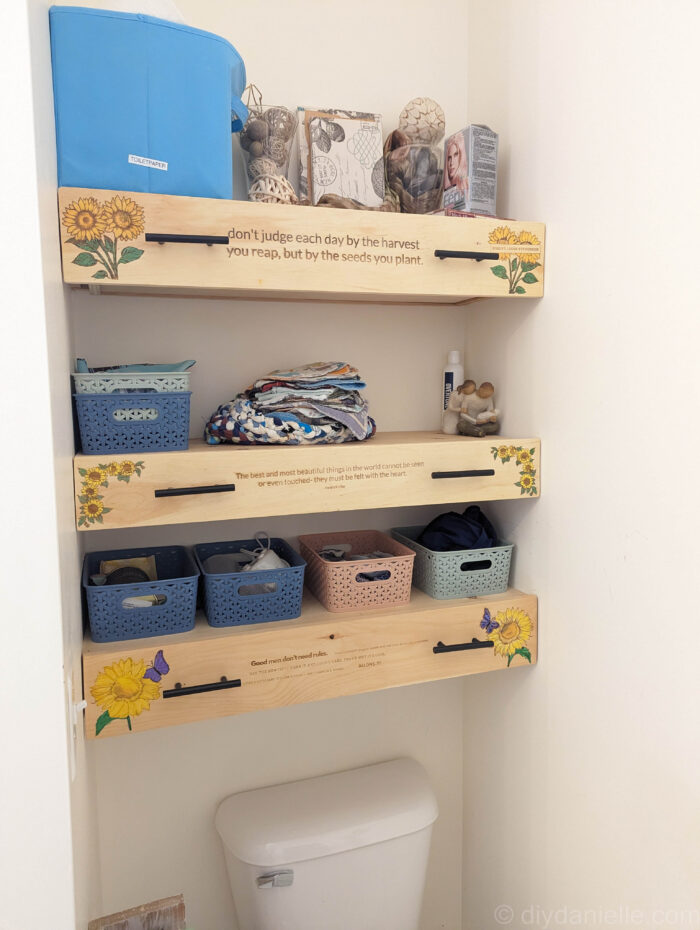
- Leave proper clearance on both sides when fitting drawers to a space like above the toilet (like ours)– This allows your drawers to open and close smoothly. You don’t want a perfect fit.
How to Make Drawers
Project Supplies
- 3/4″ Purebond Plywood, Birch https://homedepot.sjv.io/10eem
- 1/4″ 4×8 Purebond Plywood https://homedepot.sjv.io/7m20NQ
- Table Saw/Router
- Ryobi Drill https://homedepot.sjv.io/a1EdkQ
- Sander- Ryobi Cordless CAT Sander https://homedepot.sjv.io/x9xJ4d
- Kreg Pocket Hole System (big one) https://homedepot.sjv.io/2rPRxg
- Kreg Pocket Hole Screws in Big Box https://amzn.to/3VgDsKW
- Measuring tape with all of the markings https://amzn.to/3GTWNhc
- Wood Glue https://homedepot.sjv.io/5b4JQo
- 3/4″ solid wood (for drawer front)
- Drawer slides
- Drawer knobs or handles
- Laser engraver (optional, for decorative fronts)
- Acrylic markers (optional): https://amzn.to/448euoT
Step by Step Instructions
Step 1: Measure Your Space
Start by measuring your cabinet or shelf opening to determine the size of the drawer box and drawer front. Adjust measurements based on the slide requirements.
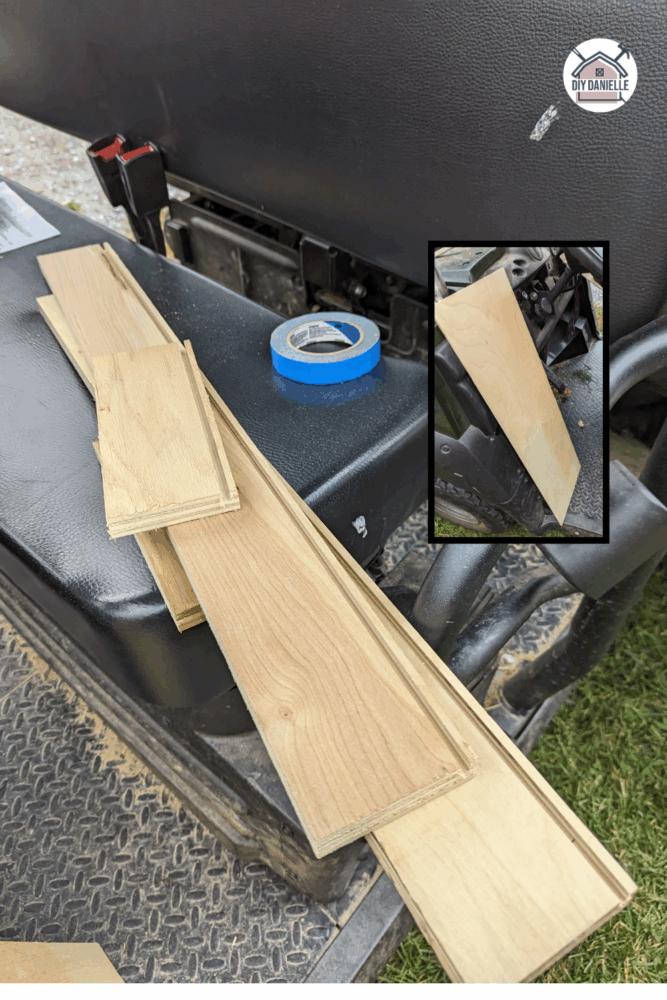
Step 2: Cut the Drawer Pieces
Cut the following from your 3/4″ plywood:
- 2 side panels (full depth of the drawer)
- 1 front and 1 back panel (width = opening – side panel thickness – slide clearance)
Cut a 1/4″ plywood panel for the drawer bottom.
Step 3: Cut the Bottom Groove
Use a table saw or router to cut a 1/4″ deep groove along the bottom edge of each side, front, and back panel. This is where the drawer bottom will slide in.
Step 4: Assemble the Drawer Box
Attach the two side panels to the back panel using pocket holes and wood glue.
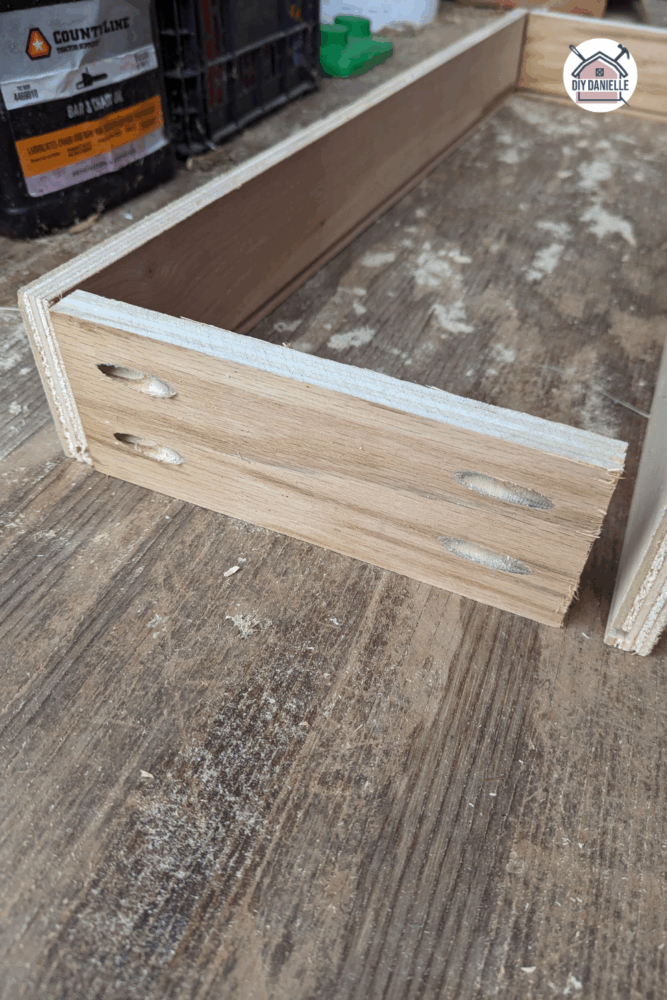
Add wood glue into the grooves and slide in the 1/4″ plywood bottom.
Attach the front panel to complete the box.
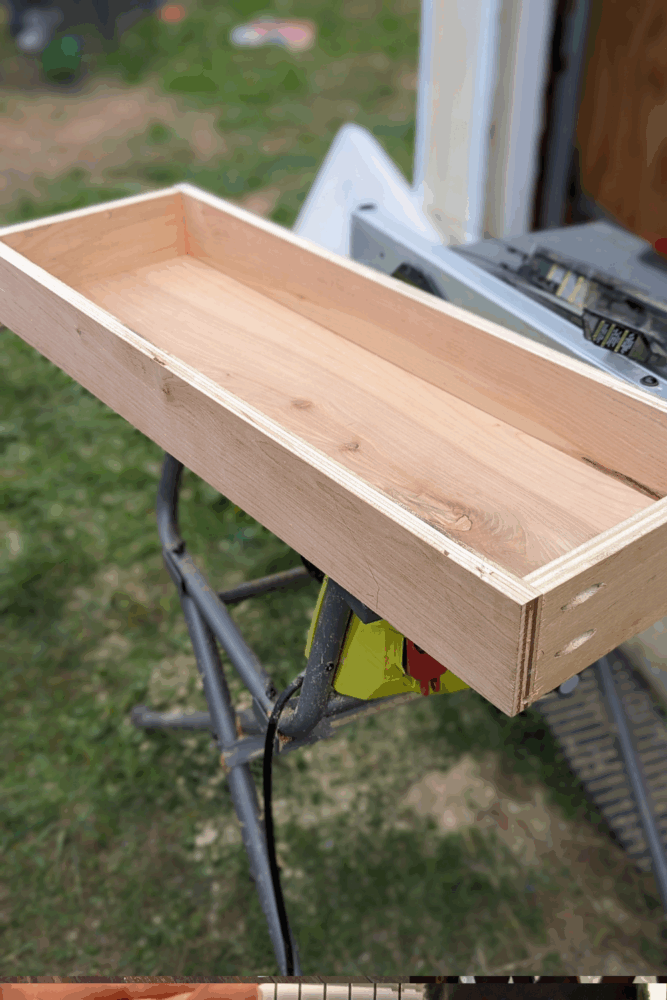
Step 5: Sand and Prep
Once dry, sand all sides and edges smooth. Wipe away dust.
Adding the Drawer Front
Step 6: Cut the Drawer Front
Cut a piece of 3/4″ solid wood (like pine) slightly larger than the drawer box front. Make sure there’s about 1/4″-1/2″ clearance on either side so it doesn’t rub against adjacent supports or walls.
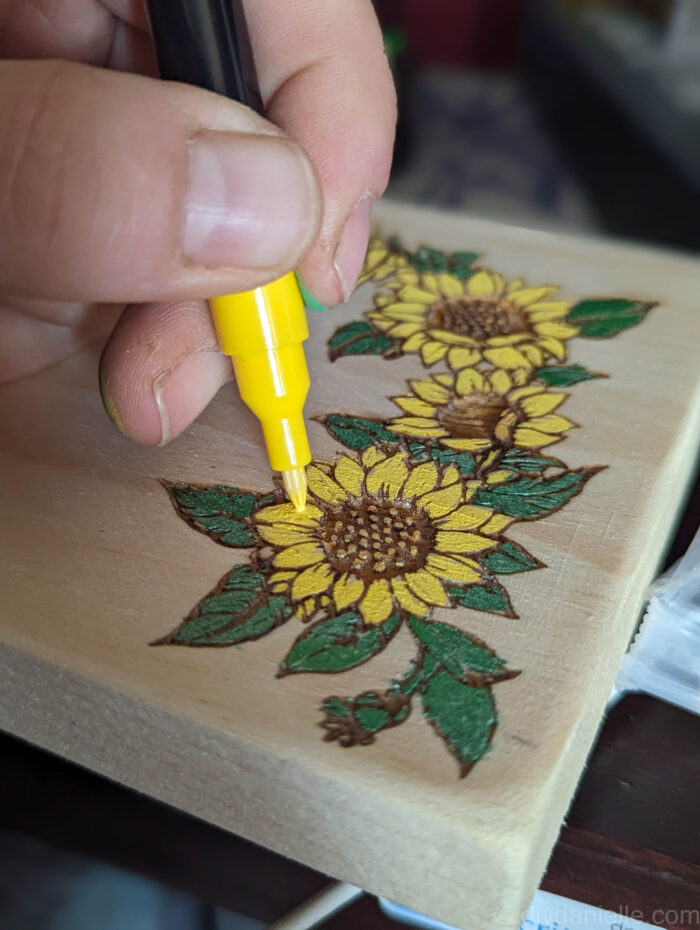
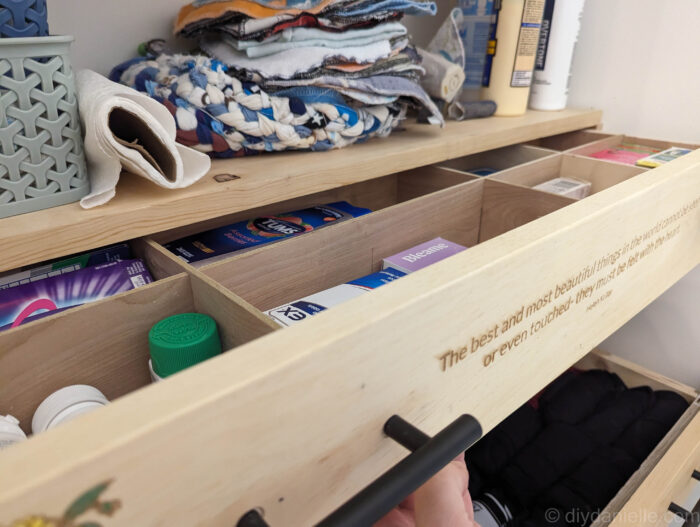
Optional: Use a laser engraver to add a design, and fill it in with acrylic markers.
Step 7: Mount the Drawer Slides
Mount the drawer slides to the side of the drawer box and the cabinet supports or side cleats. Never mount drawer slides directly into drywall—use wood strips anchored to studs or drywall anchors for secure mounting.
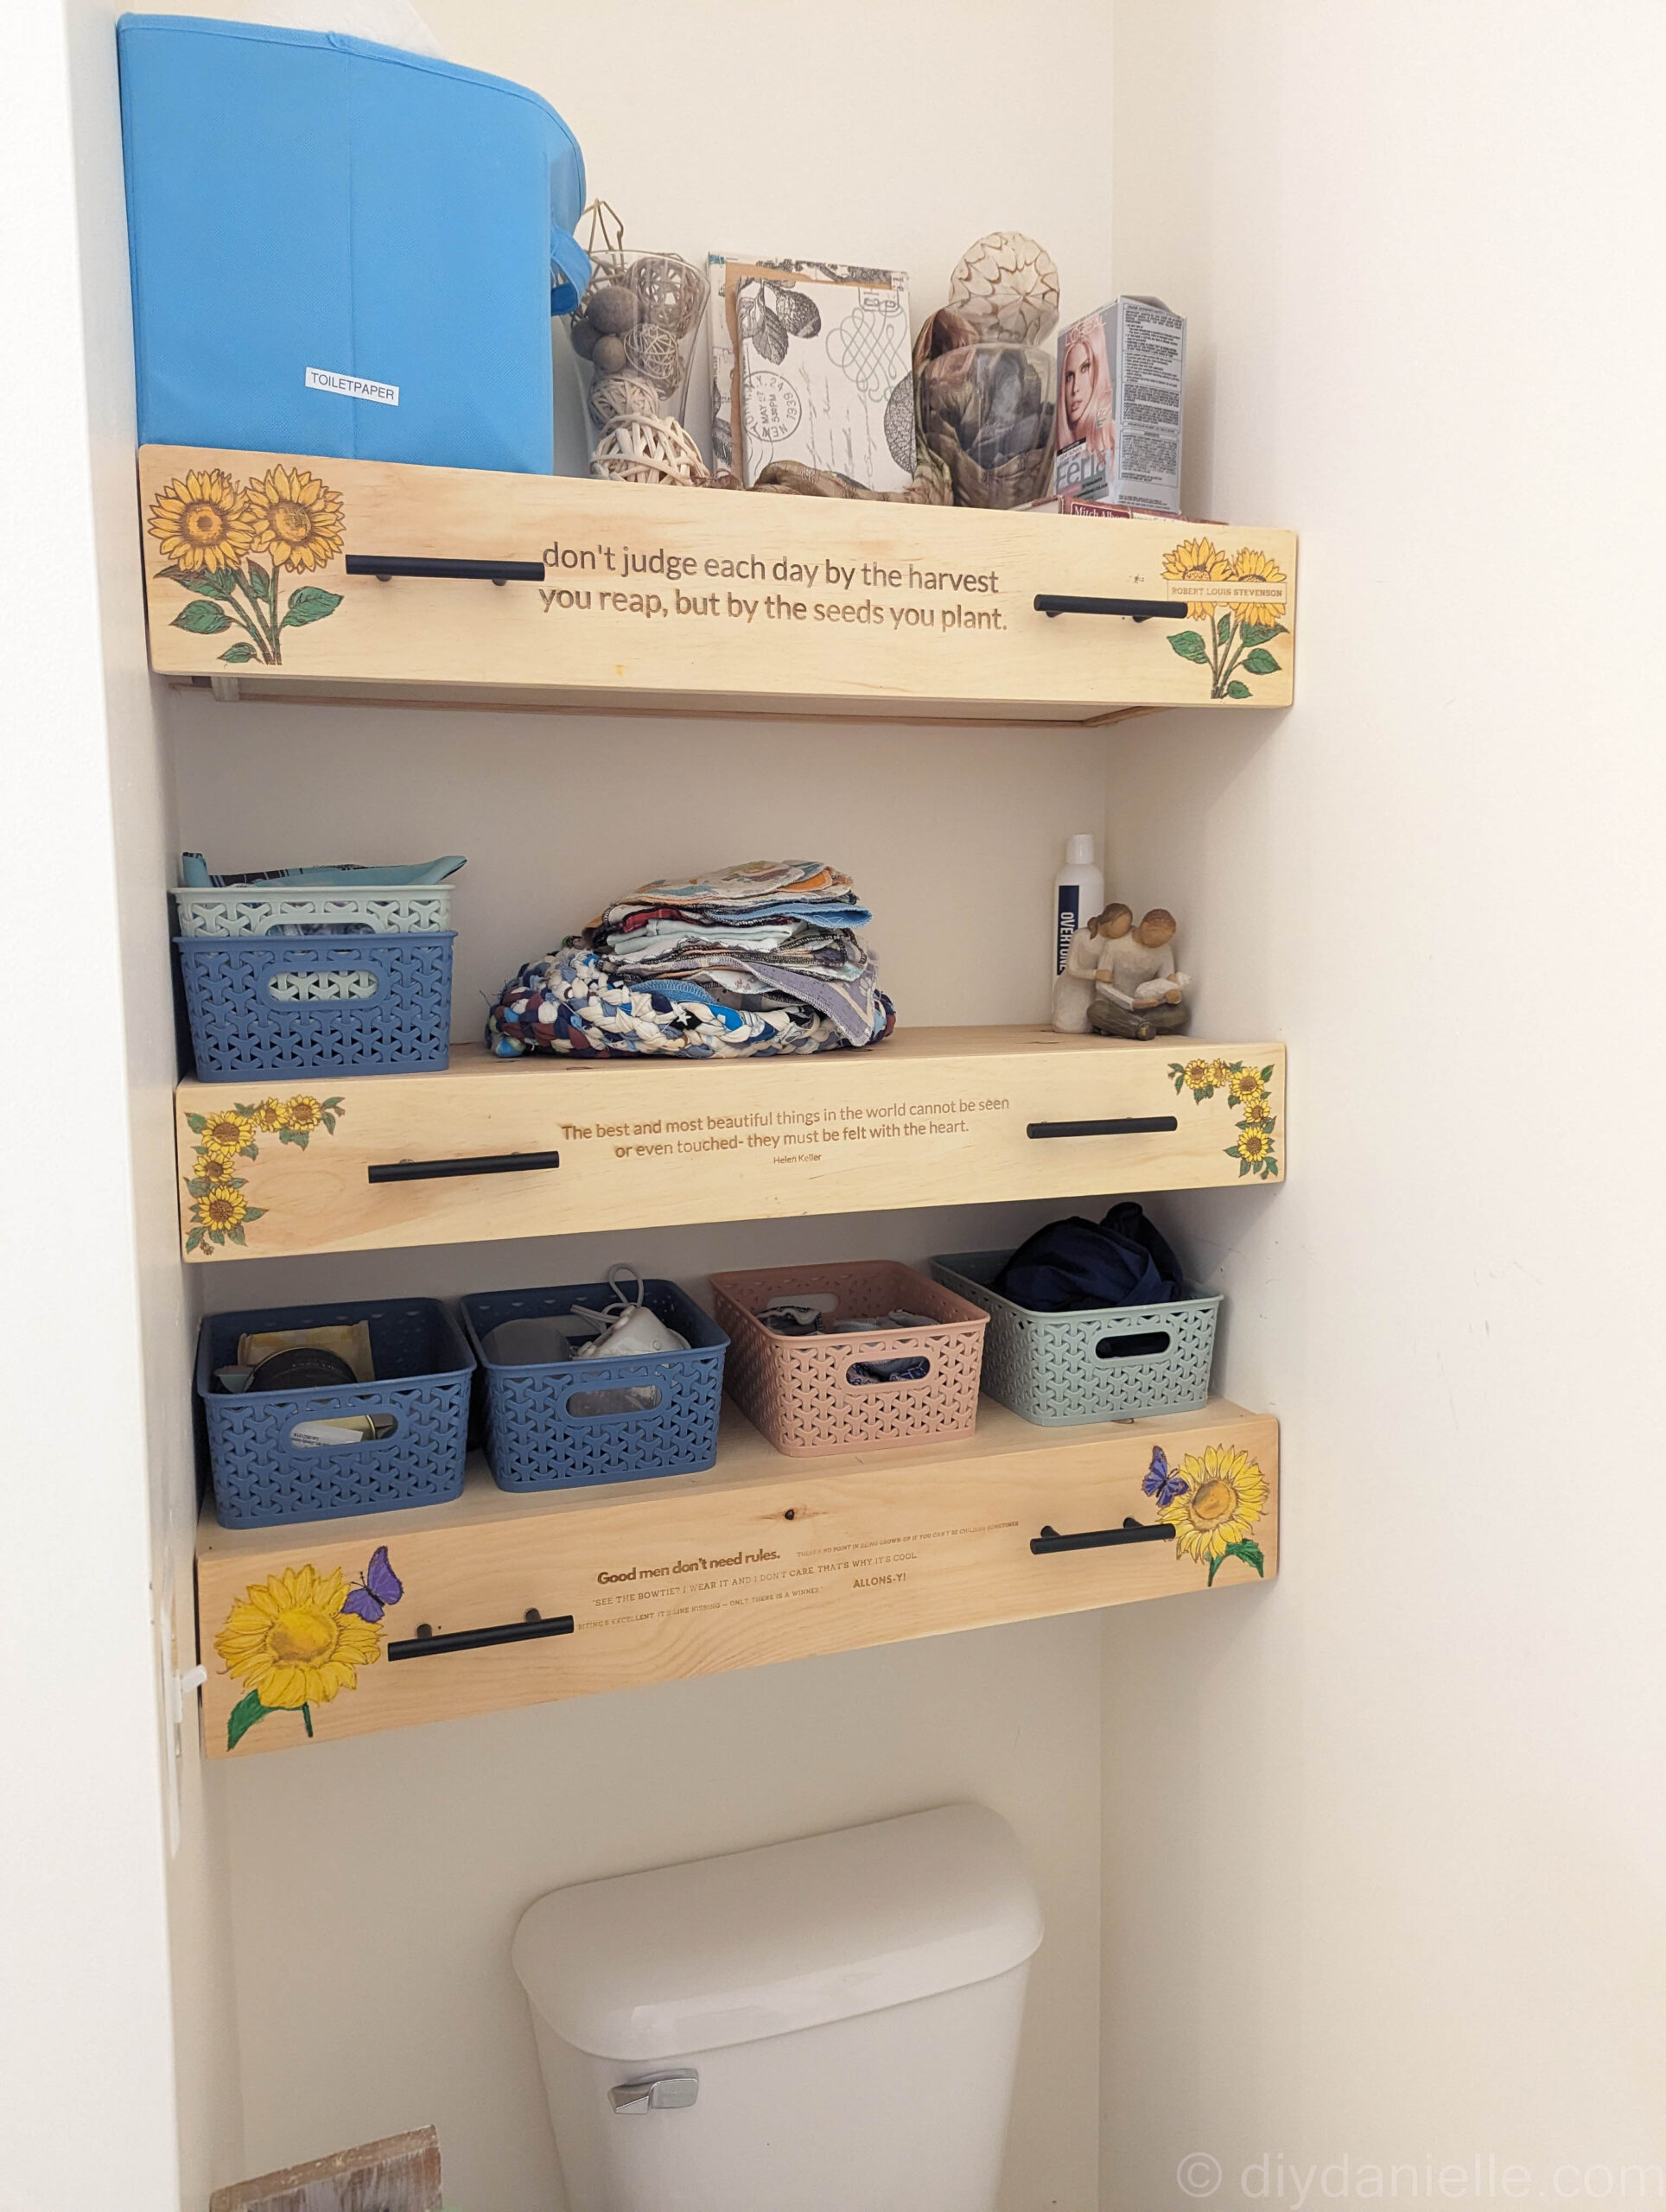
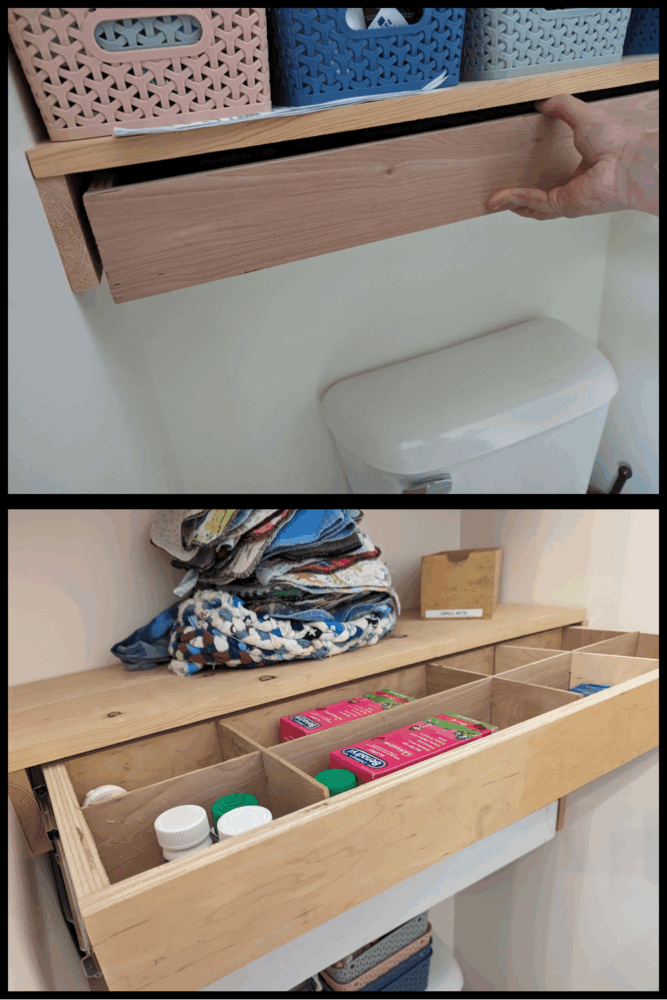
As you can see in the bottom photo below, I added drawer dividers to mine to help organize and keep the medicine drawer tidy.
Step 8: Attach the Front Panel
With the drawer installed, align and clamp the front panel in place. Glue it on and let it dry completely.
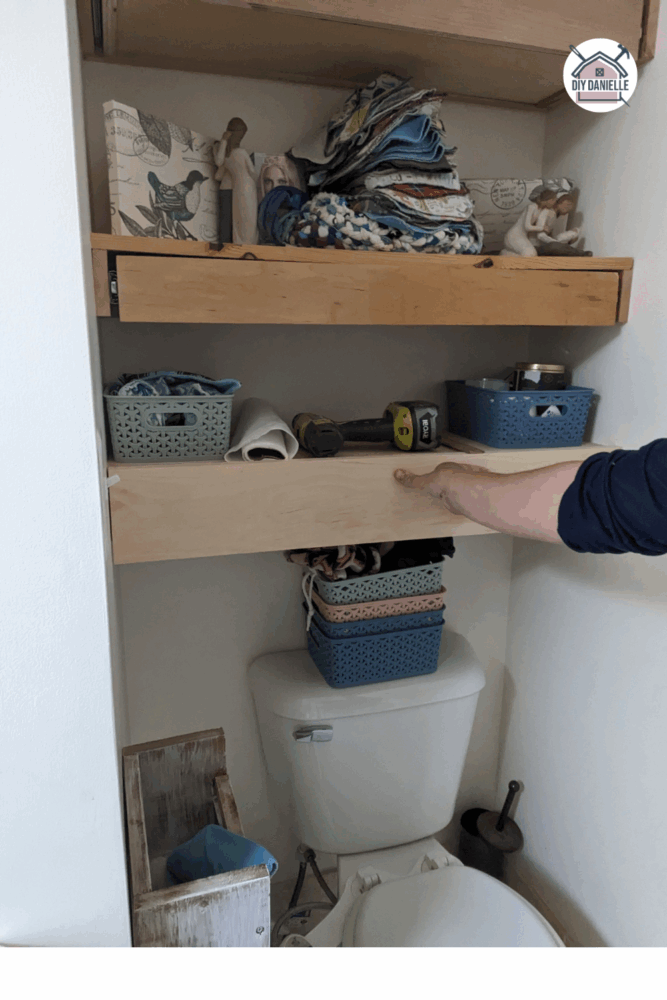
The photo below shows the blank piece of wood for the front panel being held up. If you note on the left, there’s a light switch. MAJOR issue… If I needed that drawer to open further than the light switch, I’d be out of luck. Fortunately it worked out. That’s called PURE LUCK.
I tend to make things exactly the right size though and opening and closing is tricky… I needed to make my front panels slightly less wide so I had plenty of leeway for easy opening and closing.
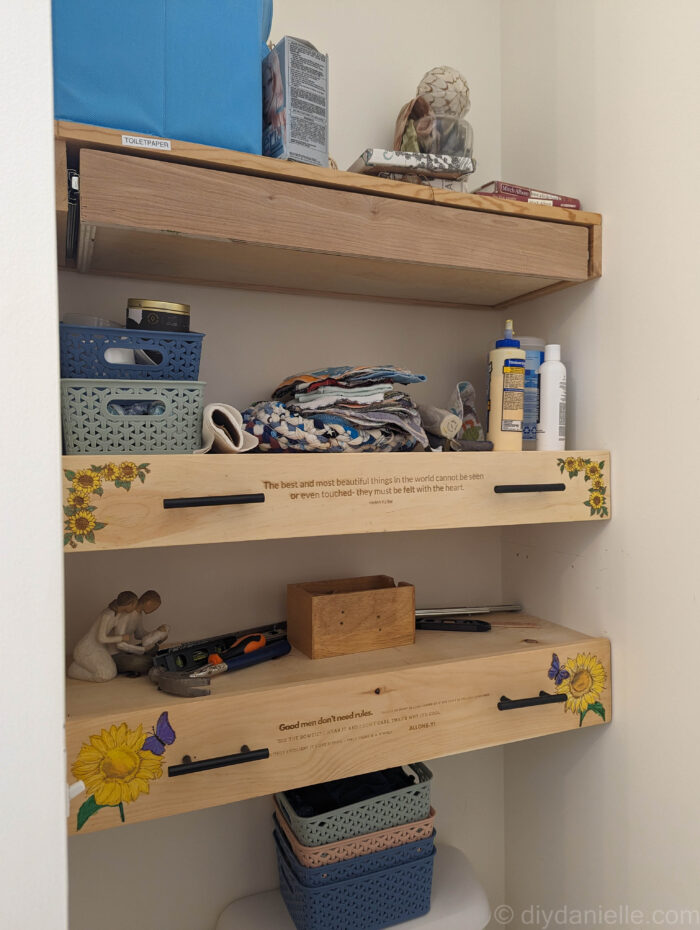
Here’s a photo with two fronts installed and one not…
Step 9: Add Finishing Touches
- Attach your drawer pulls or knobs.
- Add drawer dividers.
- Optionally, paint or seal the wood for a polished, long-lasting finish.
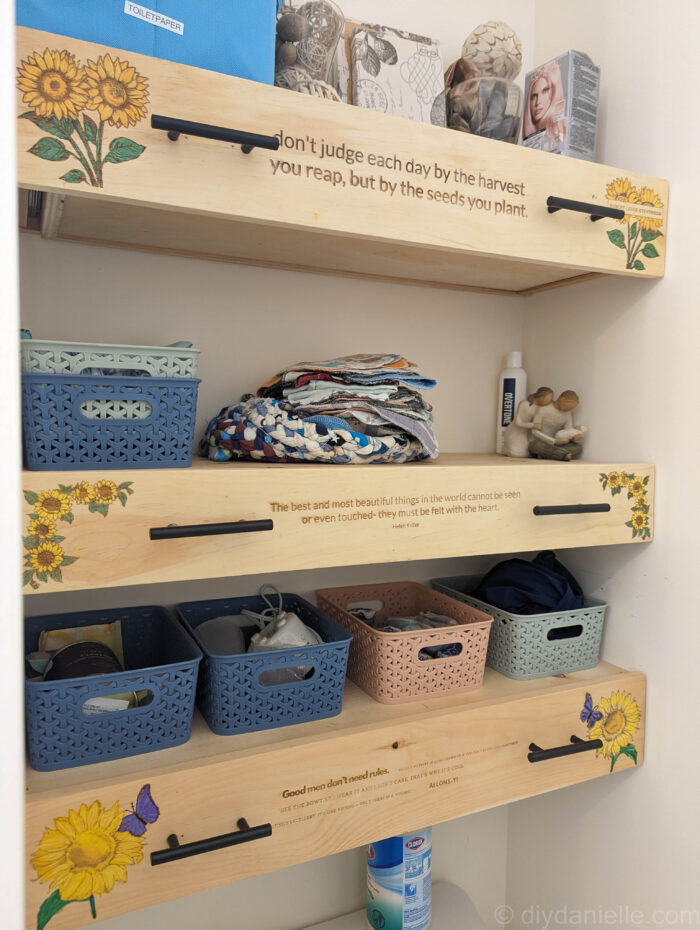
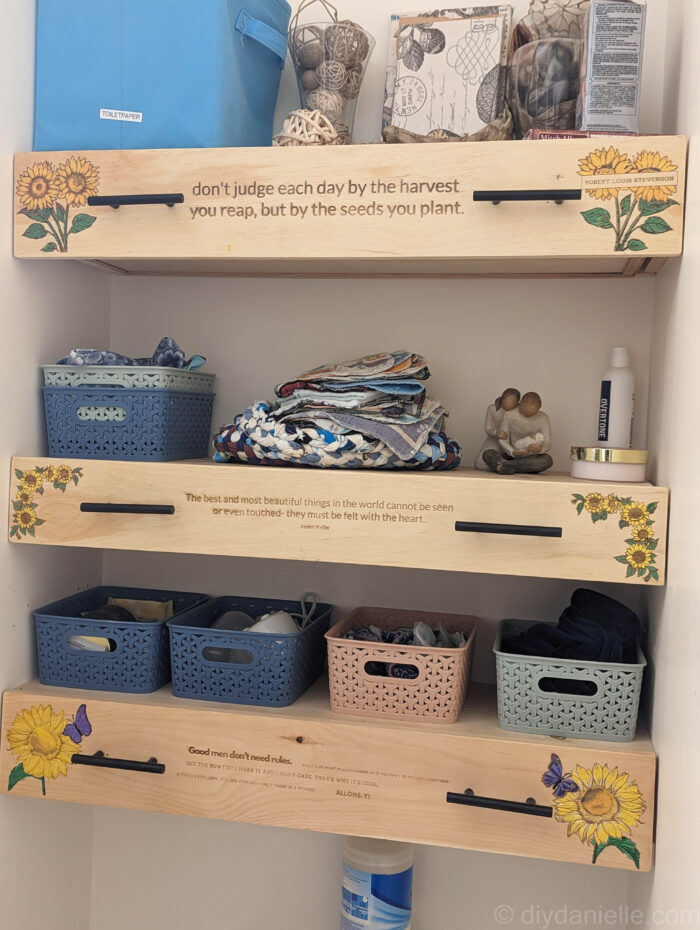
I use small baskets for the open shelves. I LOVE how these drawers came out. They’re super useful and I just need to do a decent replication in our 1/2 bath downstairs.
Final Thoughts on DIY Drawer Projects
Building drawers is a great way to level up your woodworking skills while creating functional, custom storage. While sizing and hardware can be frustrating at first, once you get the hang of it, it’s incredibly satisfying (and addicting!) to make your own.
Related Posts You Might Like:
- A Guide to Drawer Slides: https://diydanielle.com/guide-drawer-slides/
- How to Make Quick and Easy DIY Drawer Stoppers: https://diydanielle.com/quick-and-easy-diy-drawer-stoppers/
- How to Install Drawer Pulls: https://diydanielle.com/how-install-drawer-pulls/
Please share and pin this post! You can also post your project and tag the DIYDanielle team on Instagram @doityourselfdanielle!
This is so helpful and well-explained! I feel really inspired and will definitely save this post. Can’t wait to try it myself when I have more time. Thank you for sharing!