
Learn the best ways to clean your hairbrush. This includes how to remove tangled hair, clean, and sanitize brushes.
Keeping your hairbrush clean is more than just a matter of hygiene—it can significantly impact the health and appearance of your hair. Over time, hairbrushes can accumulate hair, oil, product residue, and even dust, which can be redeposited onto your hair with each stroke.
Regular cleaning of your hairbrush will ensure that your hair remains as clean and healthy as possible. Here’s a comprehensive guide on how to properly clean your hairbrush, ensuring it remains in top condition.
This post may contain affiliate links which may earn me commissions should you click through them and take certain actions. As an affiliate for Amazon, Cricut, xTool, Home Depot, and other sites, I earn from qualifying purchases. Please DIY carefully. View my full legal disclosures here.
Please read the whole post so you don’t miss any important information!
Why Clean Your Hairbrush?
Before diving into the cleaning process, it’s important to understand why keeping your hairbrush clean is crucial:
- Removes old hair: Frees the brush of tangled strands that can pull or break new hair.
- Eliminates buildup: Clears out oils, dead skin, and product residues that can make hair look greasy or dull.
- Maintains brush integrity: Helps prolong the life of the hairbrush, so it continues to perform well.
I have two hair brush styles that I like and I don’t want to replace them unnecessarily. One is my detangling brush and the other is my Wet Brush detangling brush. Could I replace them? Yeah. They’re only $6-8 each. But I would rather keep items, particularly plastic ones, for their full lifespan.
What You’ll Need
Gathering the right tools before you start will make the cleaning process easier:
- A fine-toothed comb or another brush: I like to use the cheap men’s combs like these https://amzn.to/4dmOh7V
- Scissors
- Shampoo (gentle or clarifying) or Blue Dawn
- Baking soda (optional for deep cleaning)
- An old toothbrush
- Warm water
- A towel or cloth
Step-by-Step Cleaning Process
First, if you have a specialty brush, you may want to check wash instructions for it. You don’t want to ruin your brush unnecessarily. I have cheap brushes so I wasn’t worried about ruining them.
1. Remove Hair
Start by removing all the hair from the bristles. You can use the end of a comb to lift the hair away from the base of the brush. For stubborn strands, snipping them with scissors can make removal easier. This is particularly important if you have a round brush as long hair may loop around the brush many times.
While I used the two brushes that I was washing to remove hair in the photo below, frequently I just use the cheap men’s combs. They’re easy to clean out and work well.
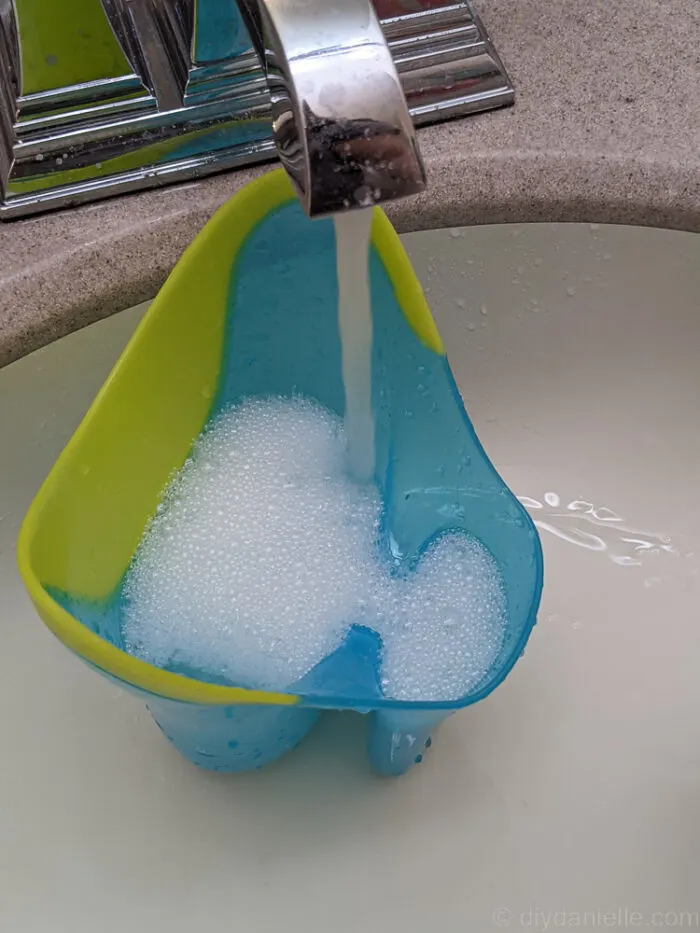
2. Prepare Cleaning Solution
Mix a small amount of shampoo with warm water in a bowl. I like to use HOT water… but make sure it’s not so hot that it will melt the plastic.
For a deeper clean, especially if you use a lot of hair products, adding a teaspoon of baking soda can help break down buildup.
Alternatively, you could also try something like Blue Dawn (my preference) instead of shampoo, particularly if your shampoo won’t work for this purpose. The type of shampoo makes a big difference.

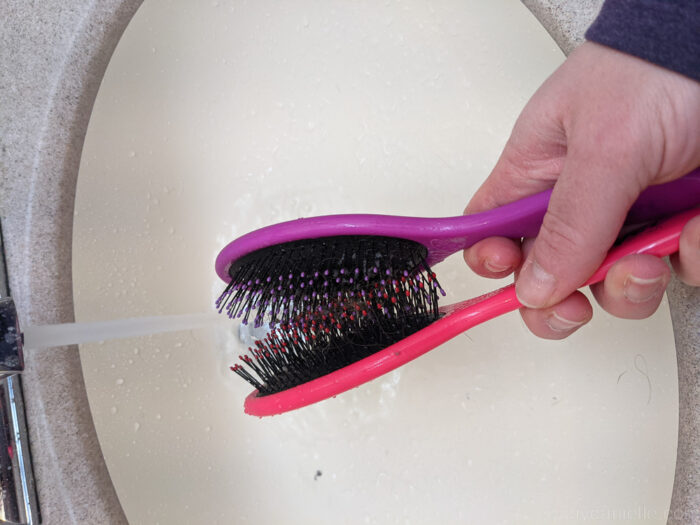
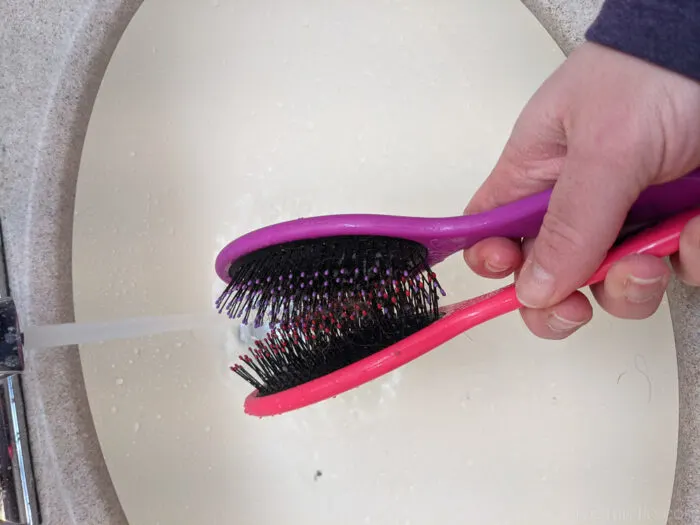
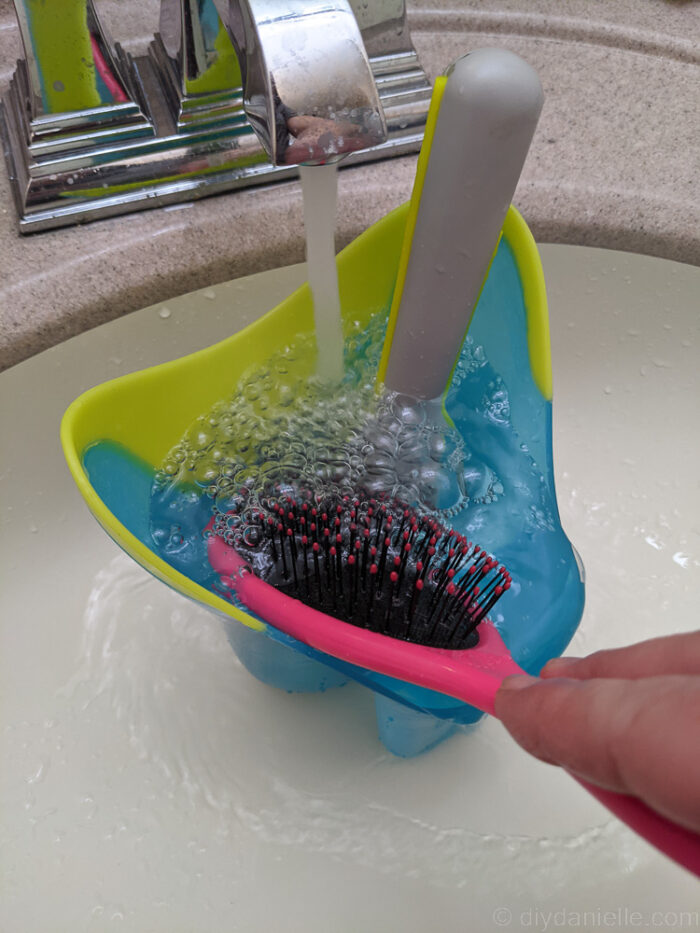
3. Soak and Scrub
If your brush is made of plastic and doesn’t have a padded base, you can soak it in the cleaning solution for about 10-15 minutes. For brushes with wooden handles or padded bases, avoid soaking as this can cause damage. Instead, dip the bristles in the solution.
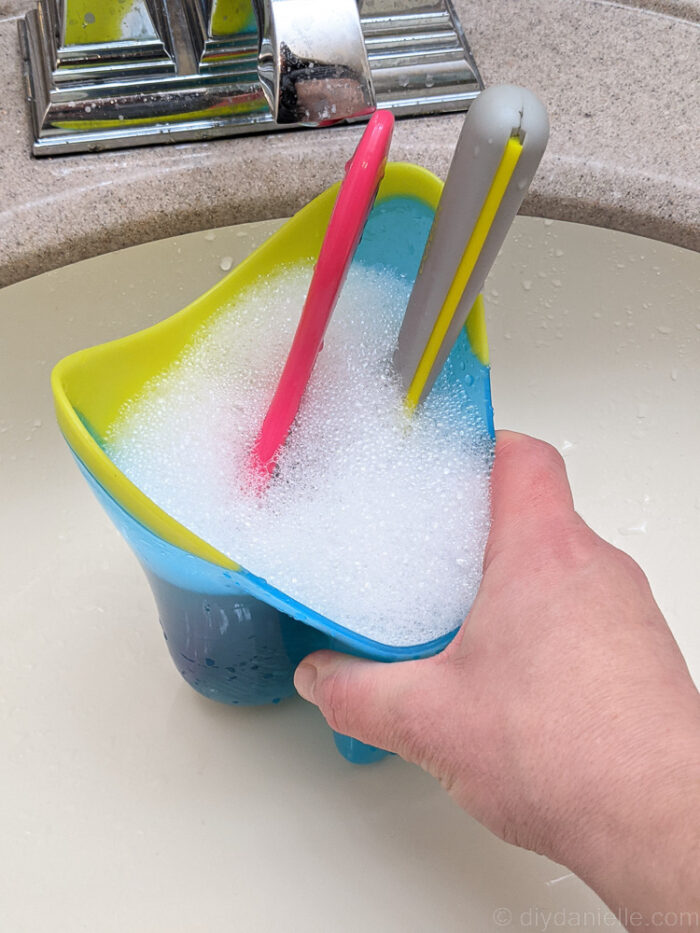

Use an old toothbrush to scrub between the bristles. This helps in removing the gunk and residue effectively. Make sure to clean both the bristles and the base of the brush.
4. Rinse Thoroughly
After scrubbing, rinse the brush under running warm water. Make sure all soap and debris are washed out. For brushes that shouldn’t be soaked, be careful to keep the handle and padding dry.

5. Dry the Brush
Shake out the excess water and lay the brush on a clean towel with bristles facing down. This position allows air to circulate and dries out the bristles completely. Avoid using the brush until it is thoroughly dry.
Look how clean these are now! What a HUGE difference!
Hair Brush Maintenance Tips
- Regular cleaning: Clean your hairbrush weekly or bi-weekly depending on usage.
- Avoid sharing brushes: This helps prevent the spread of scalp conditions and keeps your brush cleaner.
- Inspect regularly: Check for signs of wear or damage that could affect the brush’s performance.
Conclusion
Maintaining a clean hairbrush is essential for keeping your hair healthy and your brush functioning properly. With these simple steps, you can ensure that your brush stays clean and effective, making your hair care routine more hygienic and beneficial.
Please share and pin this post! If you make this project, share it in our Stuff Mama Makes Facebook Group. We have regular giveaways for gift cards to craft stores. You can also tag me on Instagram @doityourselfdanielle; I love seeing everything you make!

