
Learn how to sew a DIY dog crate cover with this easy step-by-step guide. Make your crate cover cozy, stylish, and washable.
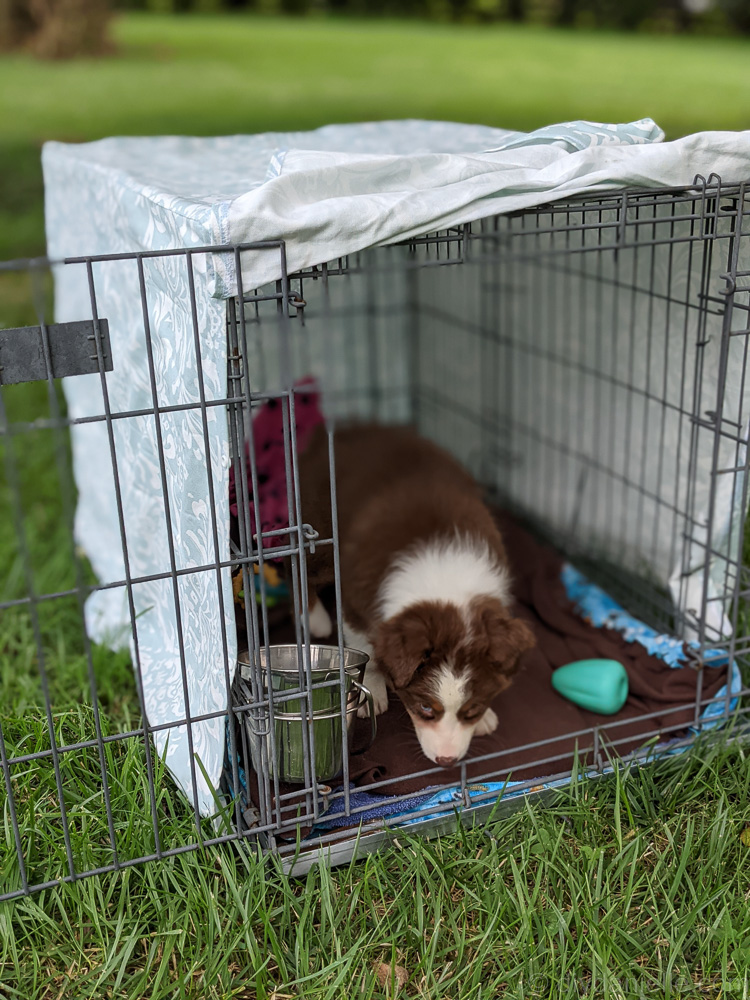
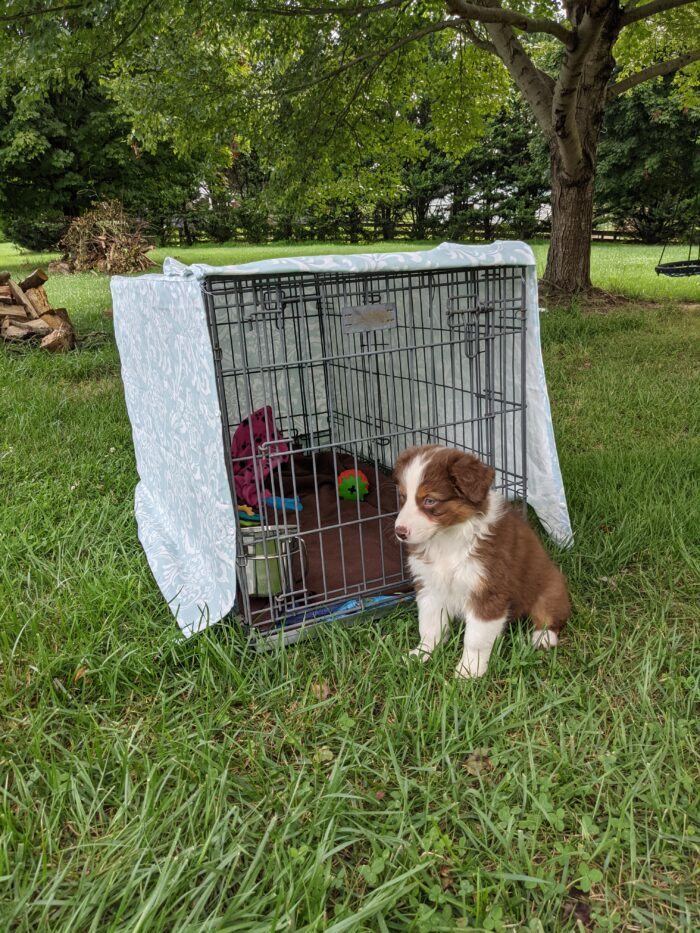
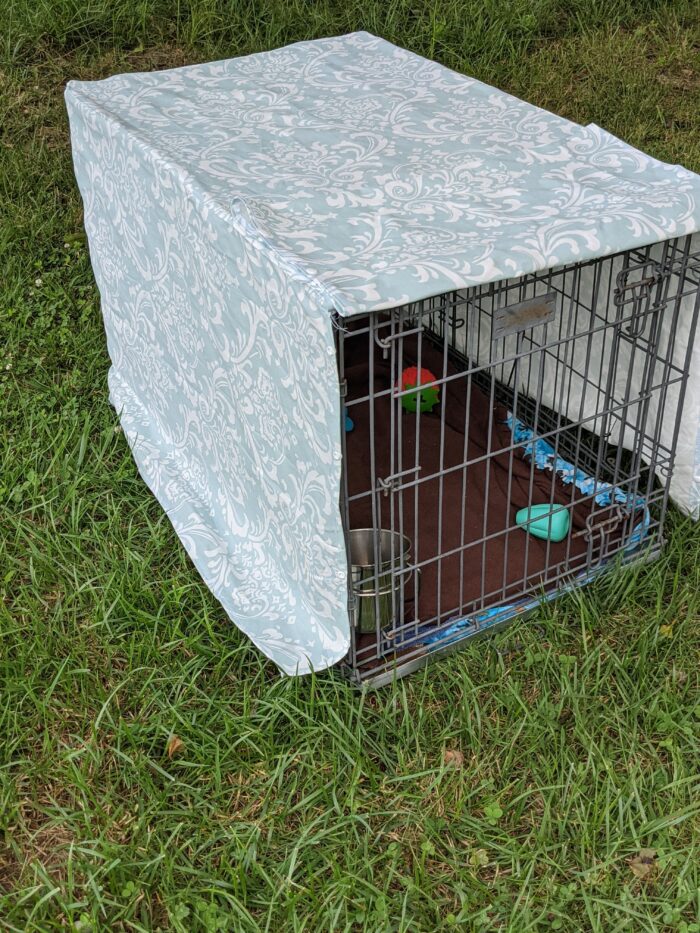
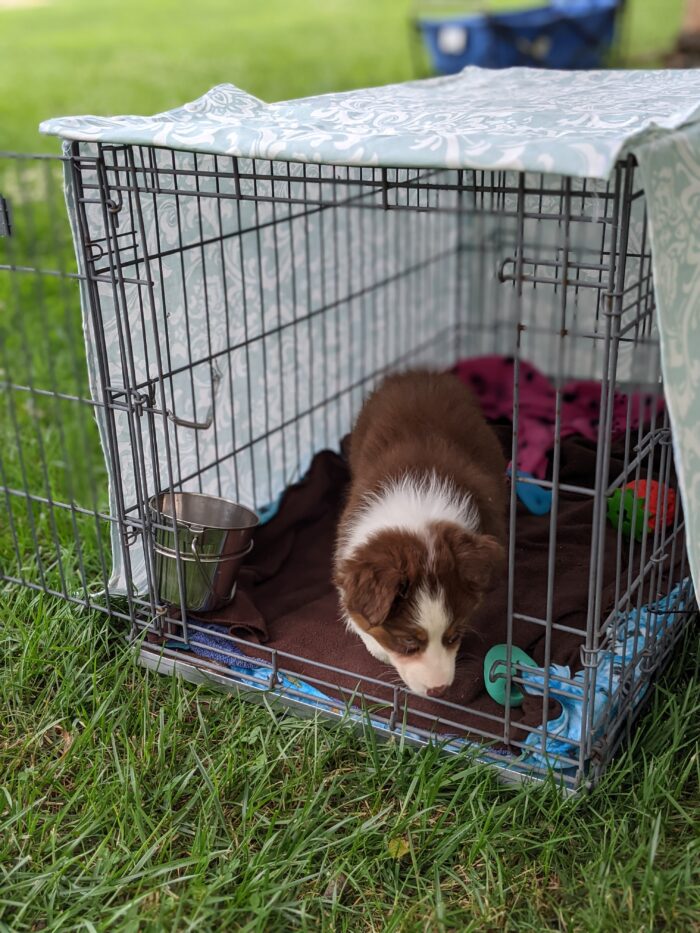
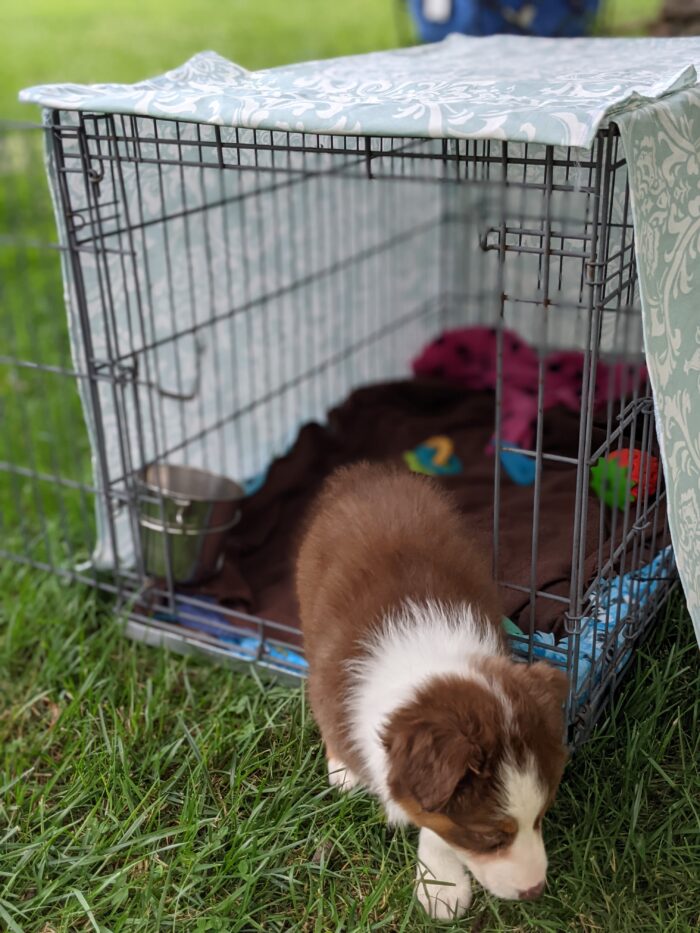
Dog crate covers are pretty easy to make with some basic sewing skills. Crate covers give the dog a quiet, calm place to relax, sleep and eat without a lot of visual input or chaos from outside the crate. Just keep in mind that most clever puppies can pull this into their crate and nom nom on it, so ensure you are careful. Older dogs may appreciate this more and be less likely to decide it’s a snack! Unnecessary vet bills are no fun.
This post may contain affiliate links which may earn me commissions should you click through them and take certain actions. As an affiliate for Amazon, Cricut, xTool, Home Depot, and other sites, I earn from qualifying purchases. Please DIY carefully. View my full legal disclosures here.
The majority of my content is generated by me, as are 99% of the photos and videos, but I utilize technology for titles, descriptions, video editing out all of my ums, and occasionally for text overlay on images.
Please read the whole post so you don’t miss any important information!
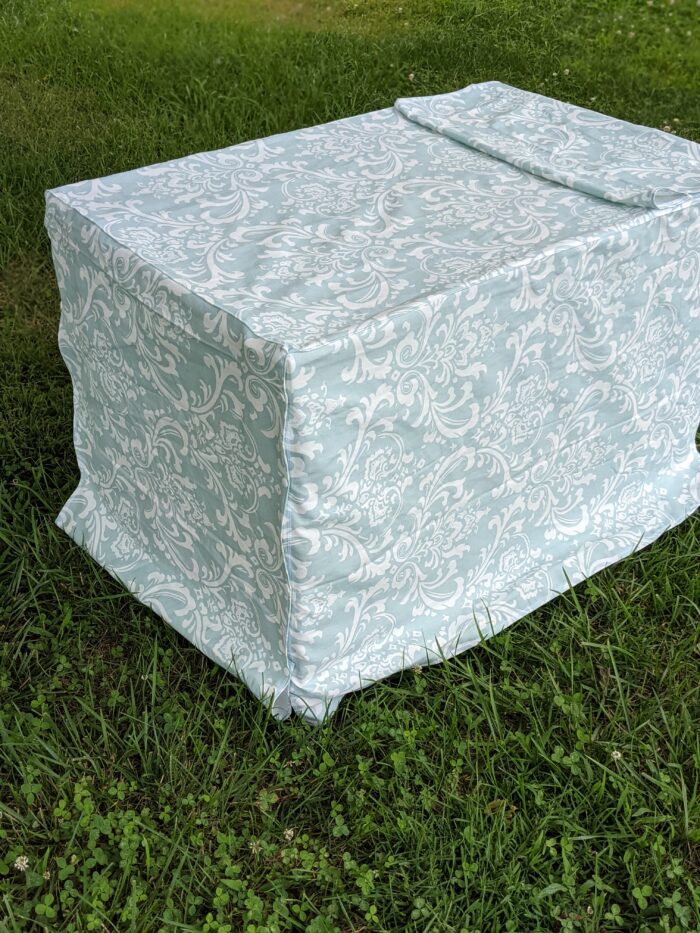
DIY Dog Crate Fabric Cover
🧵 Supplies You’ll Need:
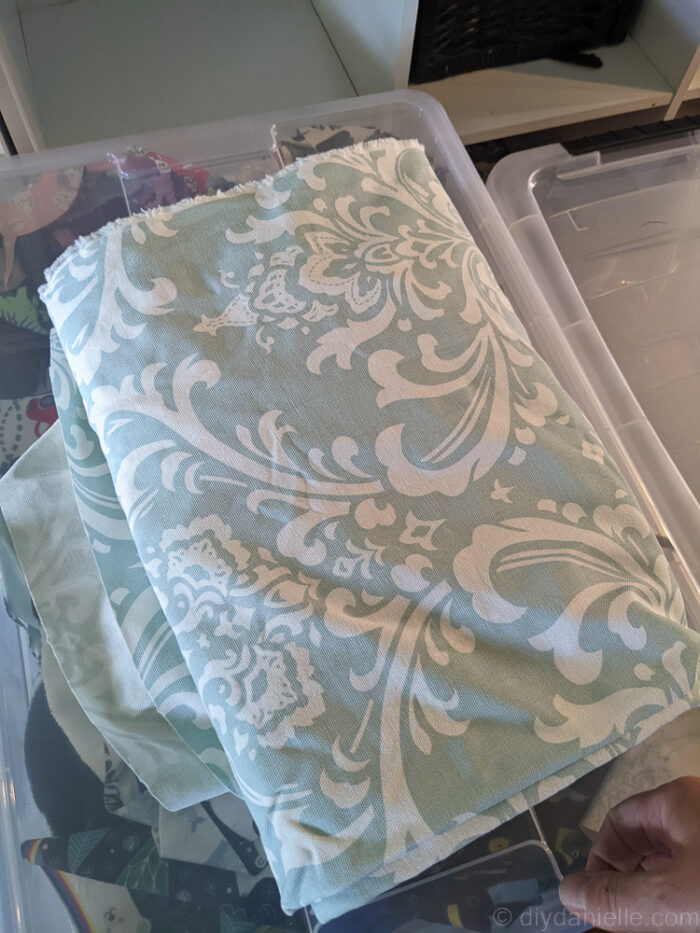
- Fabric: Pick something that’s durable and easy to wash. Something like flannel is pretty affordable and washable. I used a really nice fabric that’s meant for upholstery because I had a bunch from a big fabric sale. I wouldn’t spend money on upholstery fabric for this normally.
- Measuring tape
- Matching thread
- Scissors or rotary cutter
- Sewing machine
- Pins or clips
- Iron and ironing board (optional but helpful)
- Velcro or ties (optional, for keeping flaps up)
✂️ Step-by-Step Instructions:
Step 1: Measure Your Dog Crate
Measure all sides of your crate:
- Optional: Measure door opening if you want to create flaps
- Width (side to side)
- Height
- Depth (front to back)
Step 2: Cut Your Fabric
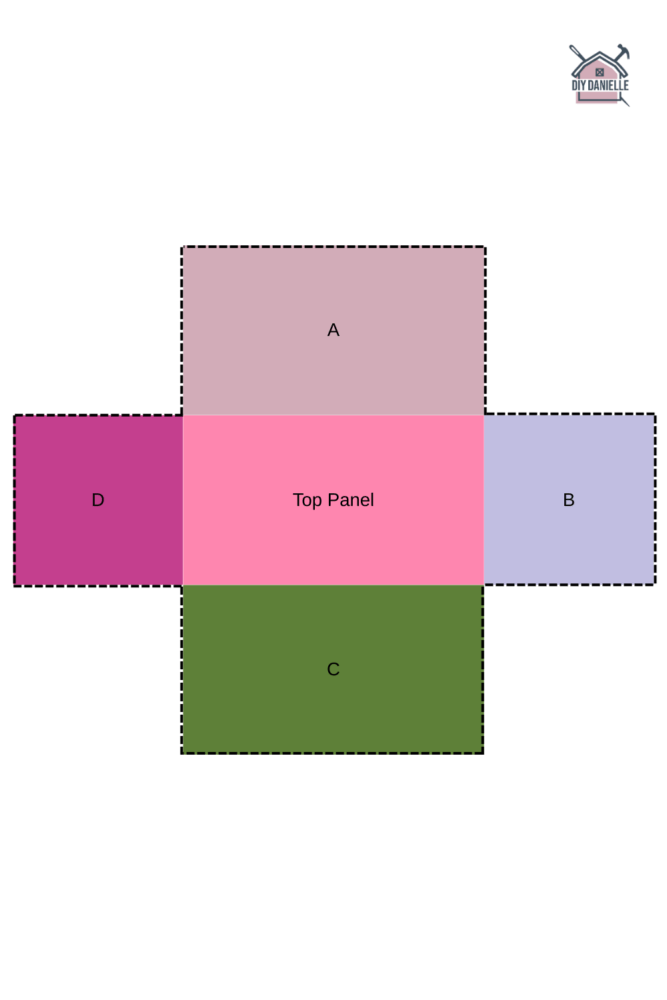
Based on your measurements, cut out the following pieces:
- Top panel – width x depth
- A/C 2 side panels – depth x height (cut 2)
- B Back panel – width x height
- D Front panel (optional flap) – width x height
Add ½” seam allowance to all sides.
You should have 2 side pieces that are the same size and 2 front/back pieces that are the same size… then you’ll have a top piece.
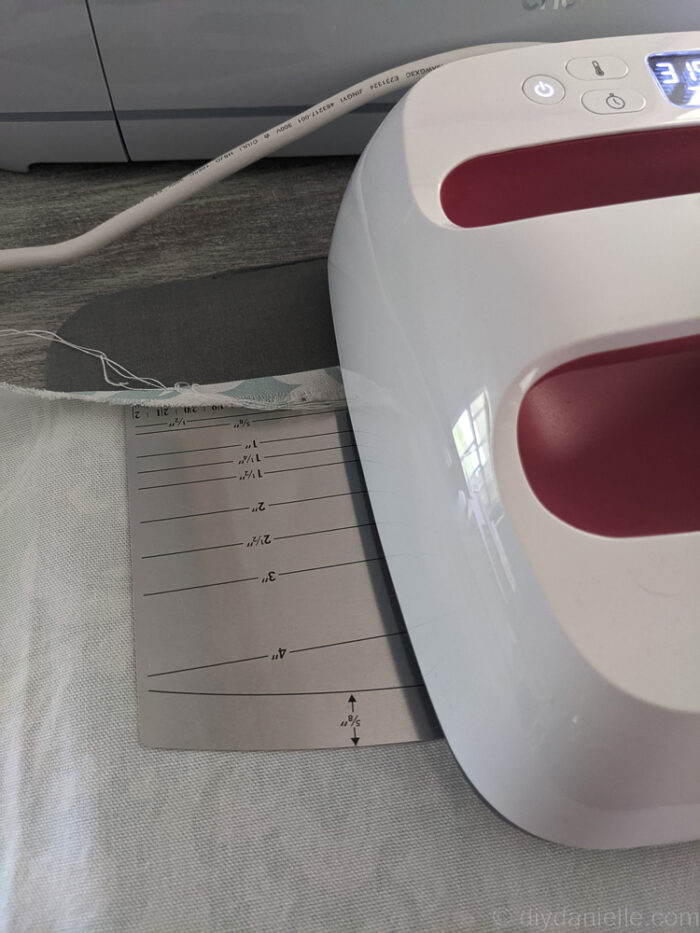
Step 3: Hem All Edges
You want to hem all of the panels except for the top panel before you sew them together… it’s simply easier.
If you plan to attach the panels together with the exception of the front panel, you can hem as seen in the diagram below. The arrows represent where raw edges will be sewn together.
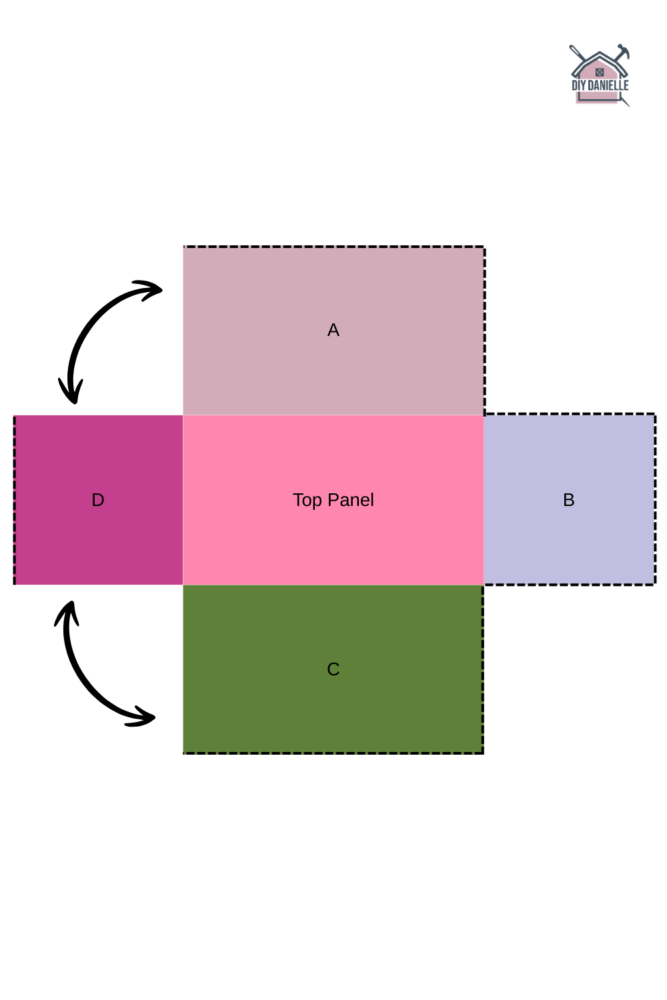
If you want each side to be an individual flap, you can hem all of the dotted line areas as seen in the diagram below.
To hem, fold each raw edge over twice (¼” each time), press with iron, and sew to create clean hems. This helps prevent fraying.
Step 4: Sew the Panels Together
How you sew these together depends on how you want to make your crate cover… in both cases, you start by attaching all of the panels to the top panel.
- Attach each side panel to the top panel first, sew right sides together. Flip right side out and top stitch.
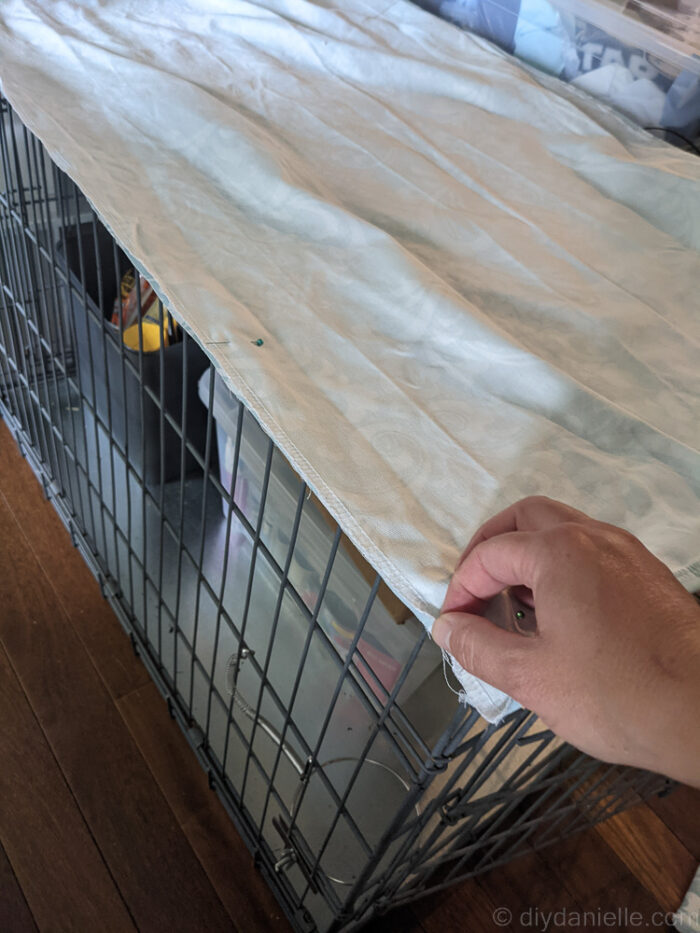
- Then sew the back panel to the top, right side together. Flip right side out and top stitch.
- Repeat with the front flap.
If you want to sew your crate cover like in diagram A, you’ll place sides A/D right sides together and sew. Then you’ll place sides C/D right sides together and sew.
If you decided to go with Diagram B, you are letting each flap hang down loose on their own.
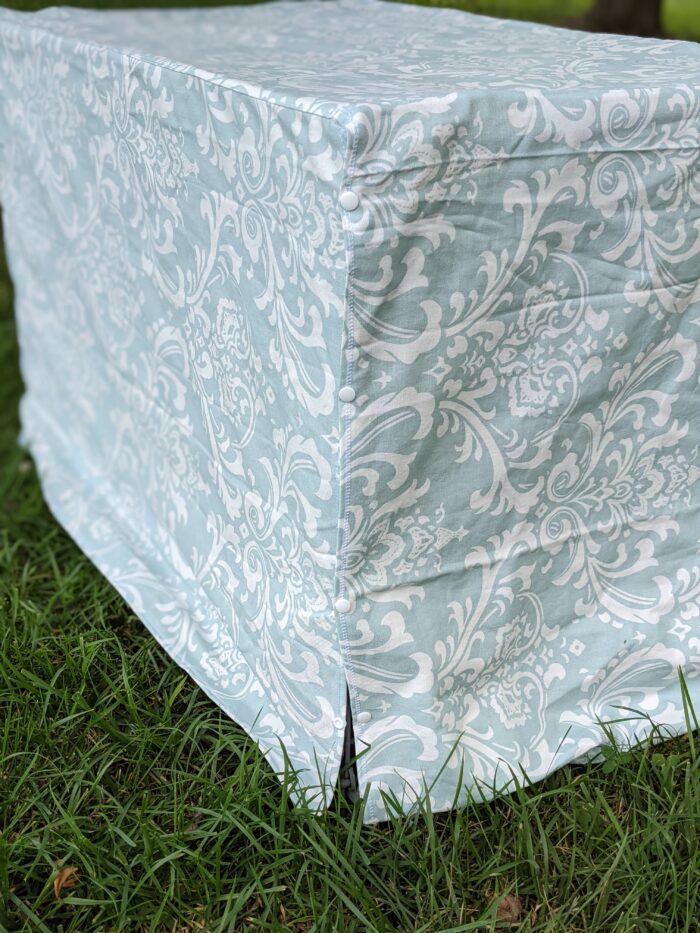
Step 5: Add Finishing Touches
- Add Velcro or ties to the sides so you can roll up the side panels when needed.
I used snaps to attach my sides because I find them durable and easy to add.

Step 6: Try It On!
Place the cover over the crate to check fit. Adjust or hem more as needed for a snug look.
🐶 Tips:
- Use a washable fabric—dogs can be messy!
- Choose fabric that complements your home décor.
- You can even line it with fleece for warmth in colder months.
A custom crate cover is an easy sewing project that makes your dog’s space more calming and cozy. Plus, it hides the crate so it blends in better with your room.
Please share and pin this post! You can also post your project and tag the DIYDanielle team on Instagram @doityourselfdanielle!