Build your own DIY farm stand with these easy steps! Includes basic instructions and a woodworking plan is available as well.
With the current egg supply chain issues and prices, I decided to finally build the farm stand that I’ve been planning for the past year or two. This was one of those projects that I’m embarrassed that I procrastinated on because it was quite fast to build. The painting took me a bit more time, but it was a pretty low key project. The final results are really satisfying! What do you think?
This post may contain affiliate links which may earn me commissions should you click through them and take certain actions. As an affiliate for Amazon, Cricut, xTool, Home Depot, and other sites, I earn from qualifying purchases. Please DIY carefully. View my full legal disclosures here.
The majority of my content is generated by me, as are 99% of the photos and videos, but I utilize technology for titles, descriptions, video editing out all of my ums, and occasionally for text overlay on images.
Please read the whole post so you don’t miss any important information!
How to Build a Farm Stand
Supplies
- For the Legs: 2x4x8s, pressure treated https://homedepot.sjv.io/GJY4m
- For the Rest of the Structure: 2x4x8s, prime stud https://homedepot.sjv.io/m535PM
- T-11: I used a thicker piece that I had leftover for the back, but used 1/4″ for the rest because it was cheaper and lighter weight.
- Ryobi Drill https://homedepot.sjv.io/a1EdkQ
- Sander- Ryobi Cordless CAT Sander https://homedepot.sjv.io/x9xJ4d
- Ryobi Table Saw https://homedepot.sjv.io/JrGdXa
- Miter Saw https://homedepot.sjv.io/BXrdaL
- Kreg Pocket Hole System (big one) https://homedepot.sjv.io/2rPRxg
- Black barn/fence paint
Measurements for the Finished Product with the Planters: 76.25″ wide x 87″ tall x 37″ deep
Measurements for the Finished Product without Planters: 48.75″ wide x 87″ tall x 37″ deep
Step by Step Process
You can find the woodworking plan for this project in my store, but I’m going to walk you through the basic process for building the farm stand.
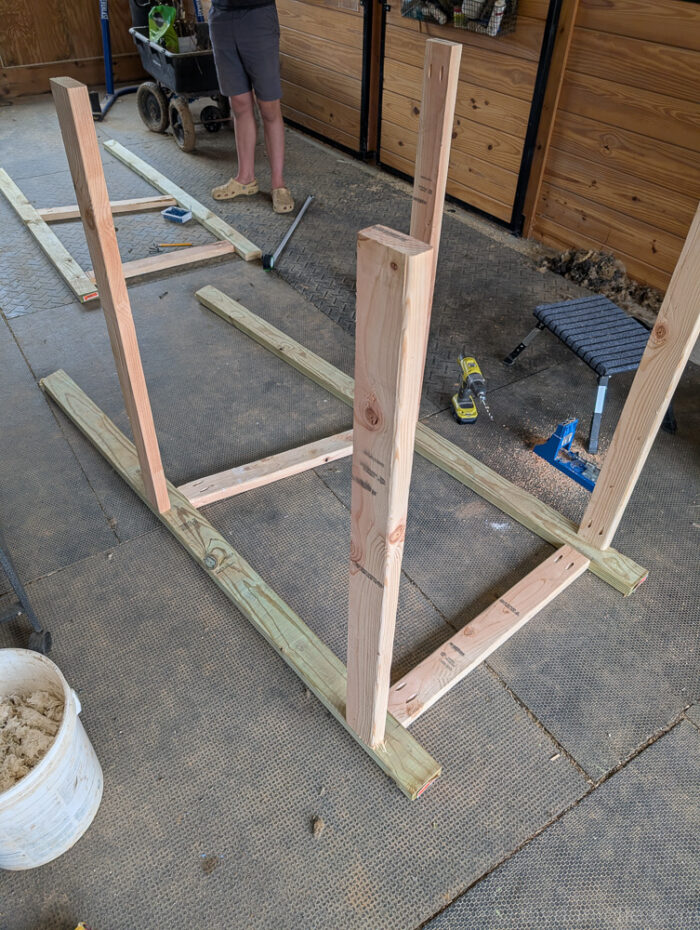
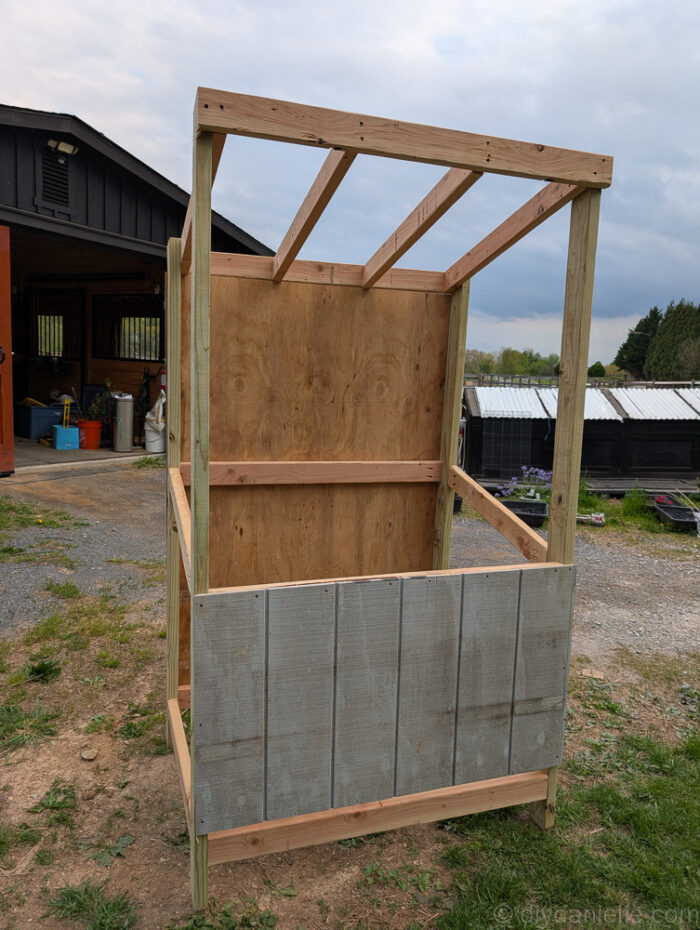
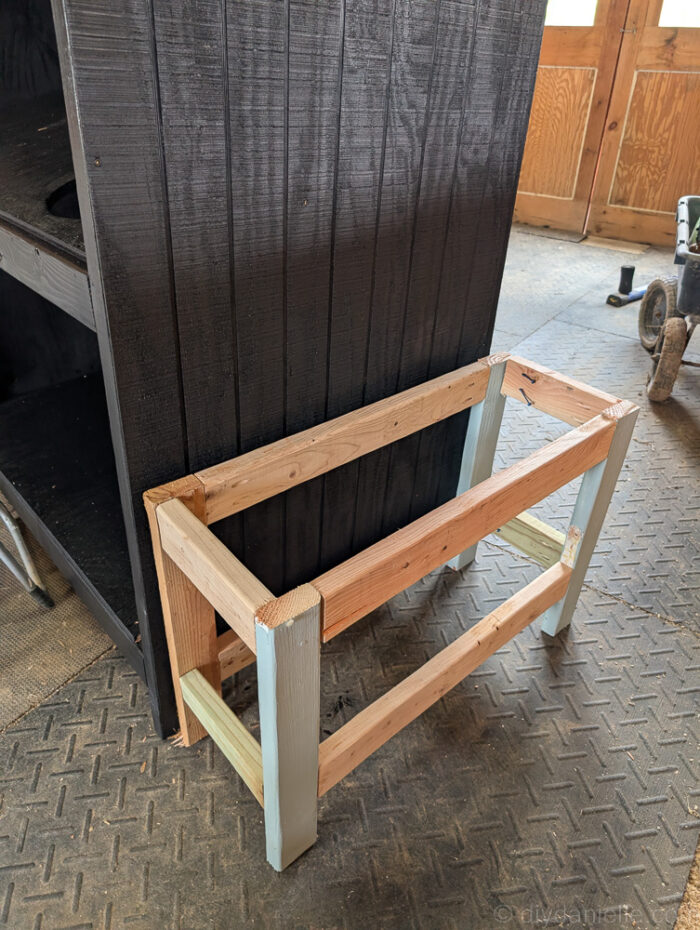
Step 1: Build the frame of the stand.
We used pocket screws for a lot of this, built the sides first, then connected them with the trim pieces for the front and the back.
Once built, the frame looked like this:
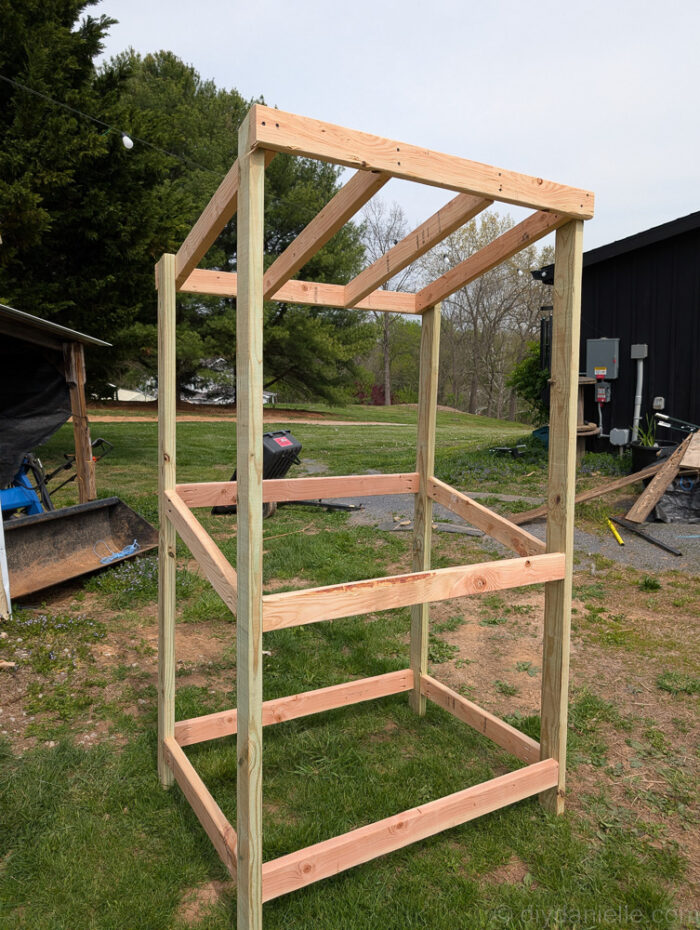
Step 2: Add wood to the sides and back.
We added T-11 for the back, sides, and (in the picture) the front. I ended up deciding to remove the front piece.
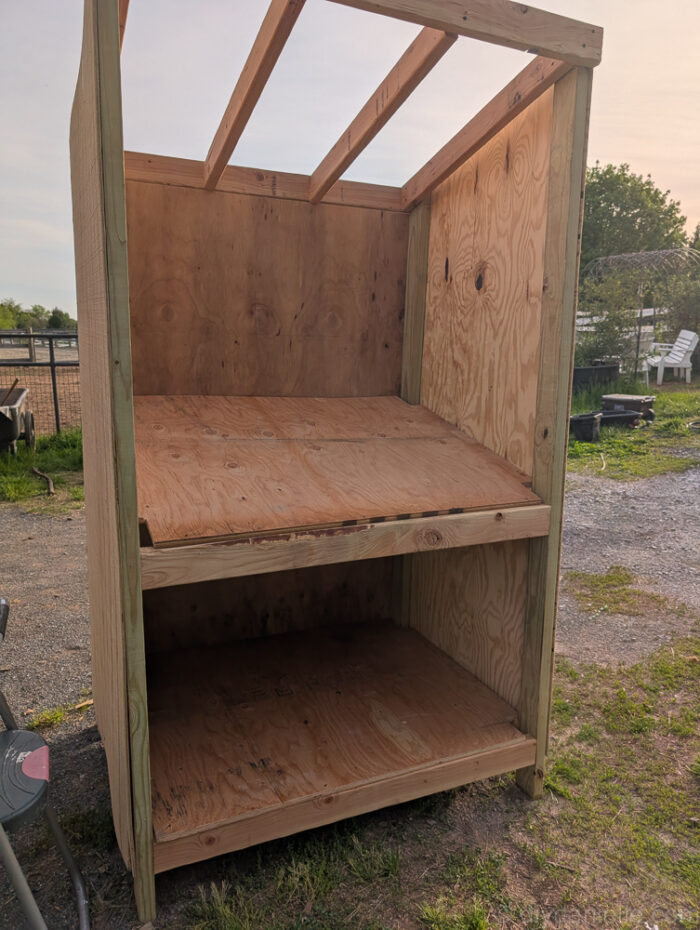
Step 3: Cut the wood for your countertop and bottom shelf.
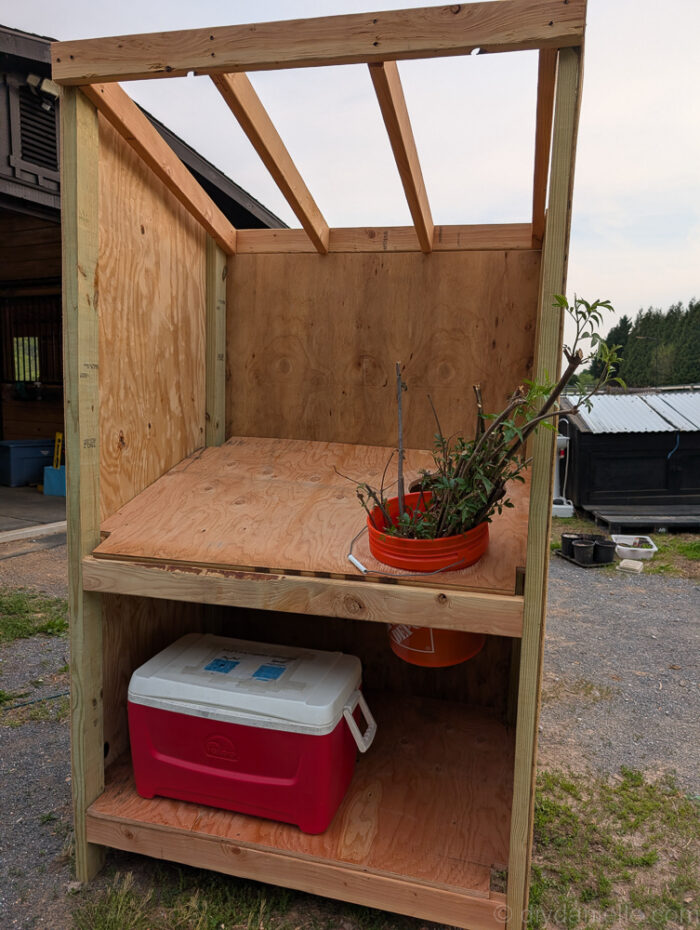
Step 4: Cut a hole for the cooler if desired, and any 5 gallon buckets (or otherwise).
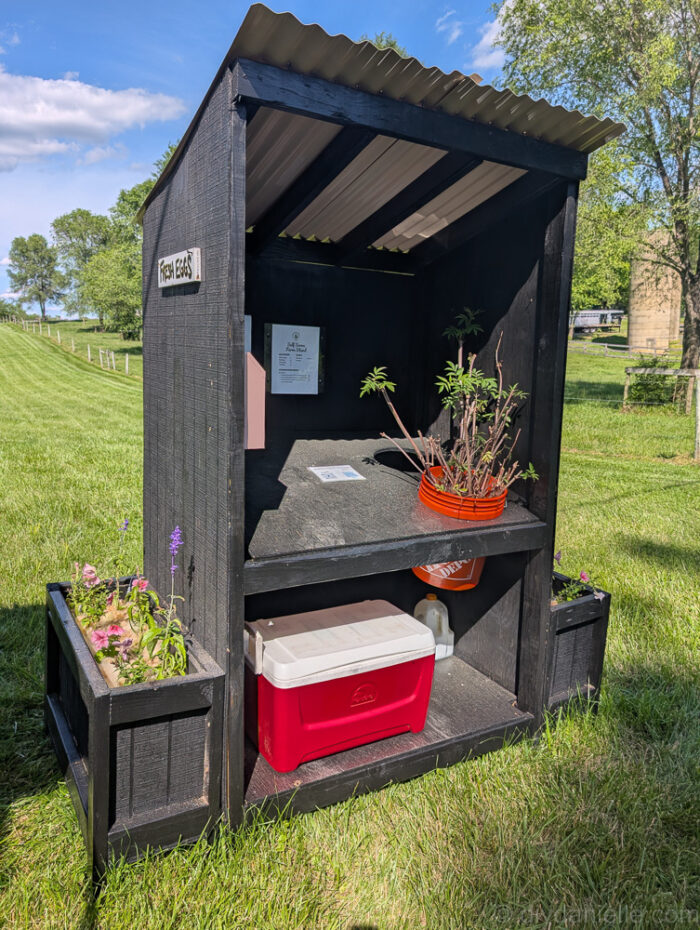
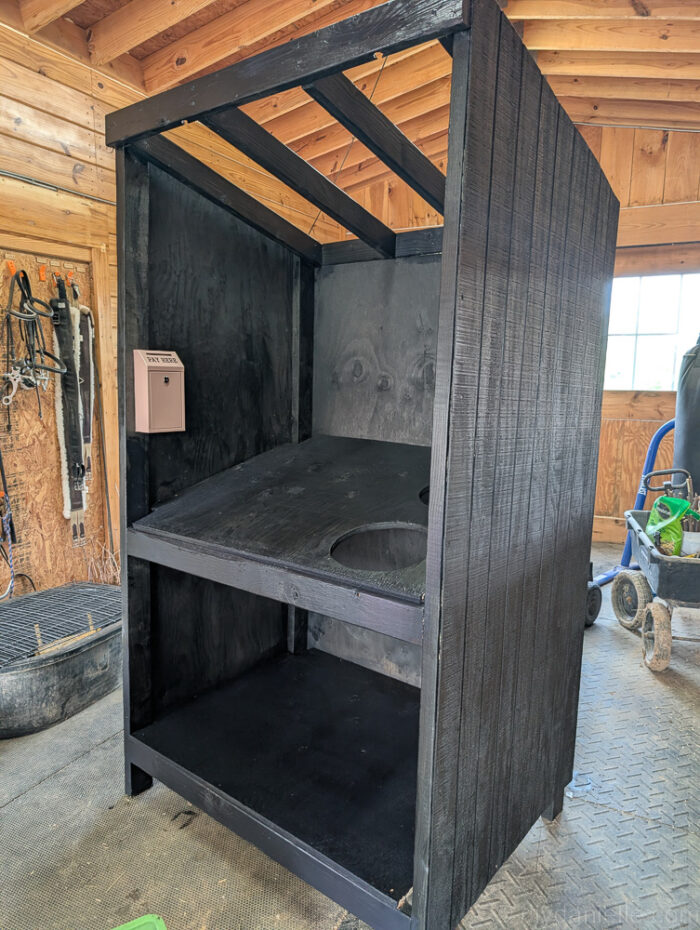
Step 5: Paint and add a cash box. You want to ensure this is screwed into the stand so it can’t be easily stolen.
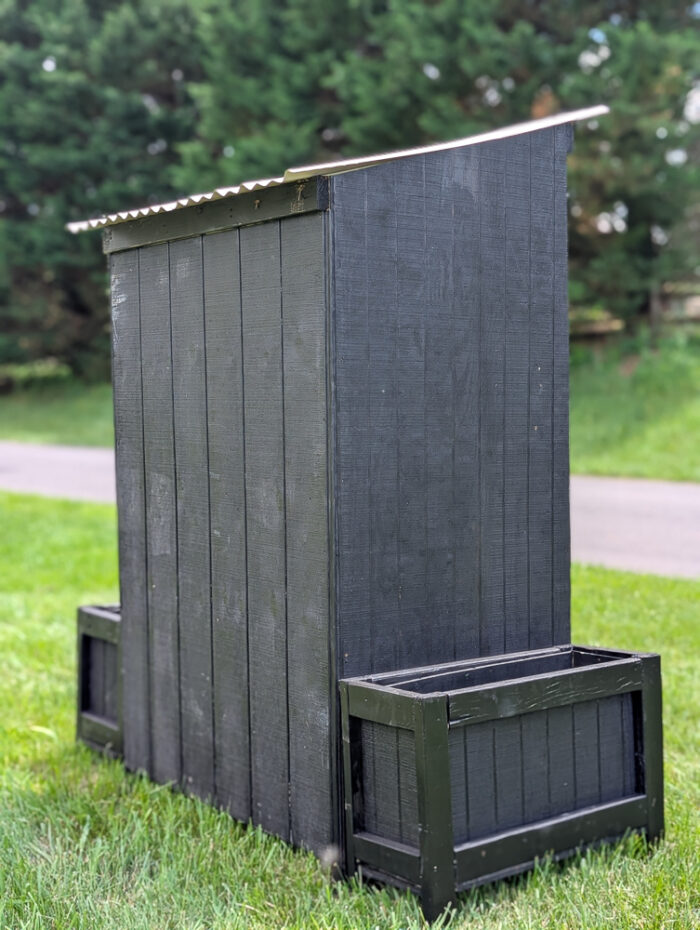
Step 6: I also built planters to attach to either side. I need to fill them with soil and plants still, but I think this is a lovely touch to the stand.
Step 7: Move the stand down to the curb, and attach the planters and roof.
I attached the roof after moving because the roofing choices I prefer are either sharp (metal panels) or easily breakable (the plastic panels). Even if I’d used plywood and shingles, this would make the stand heavier so I likely would have finished it by the curb.
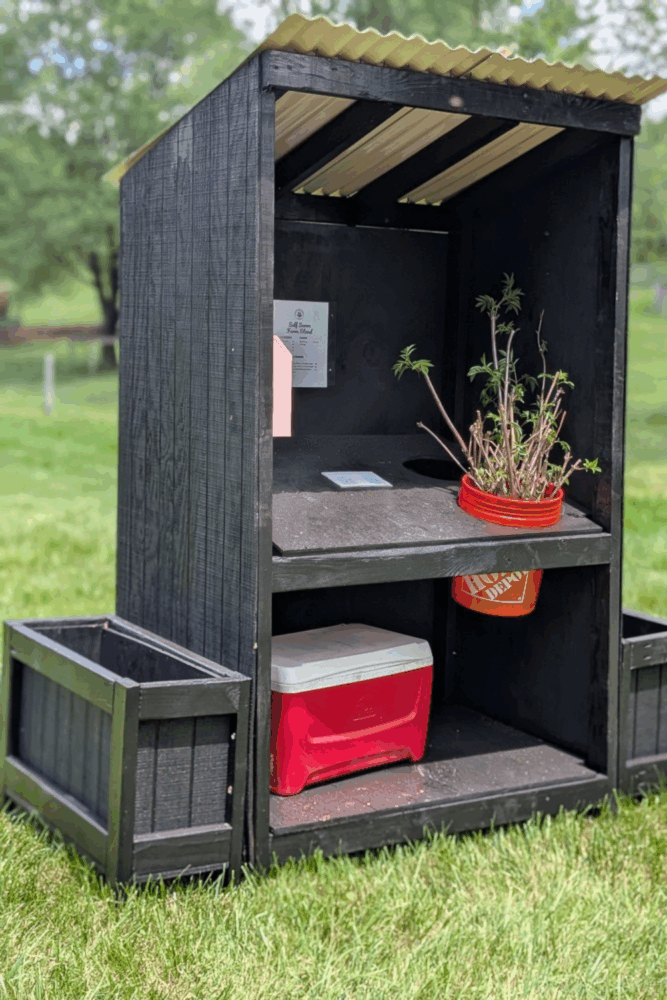
And here it is!
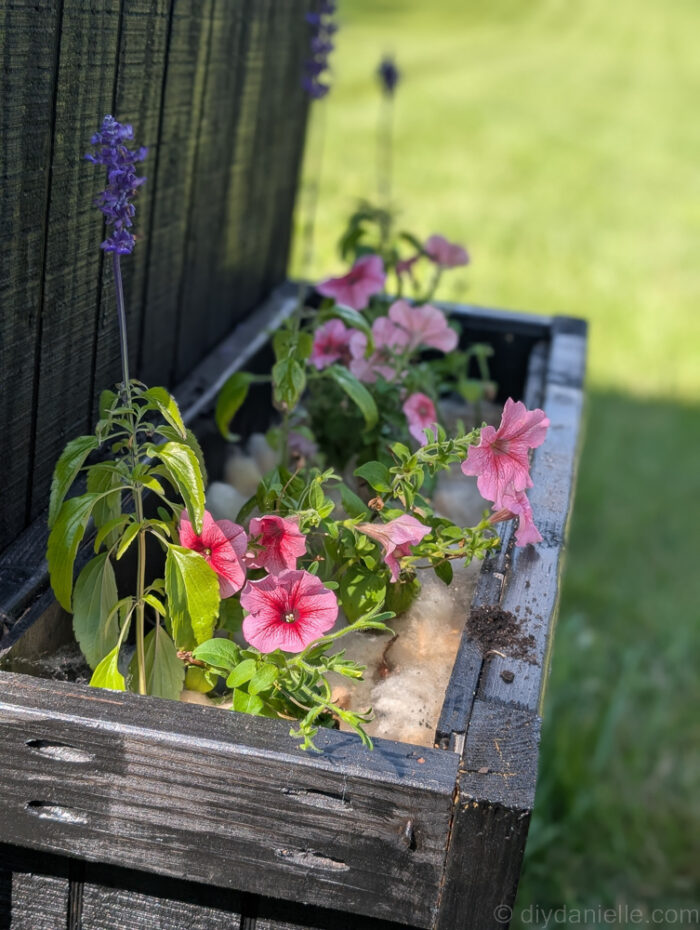
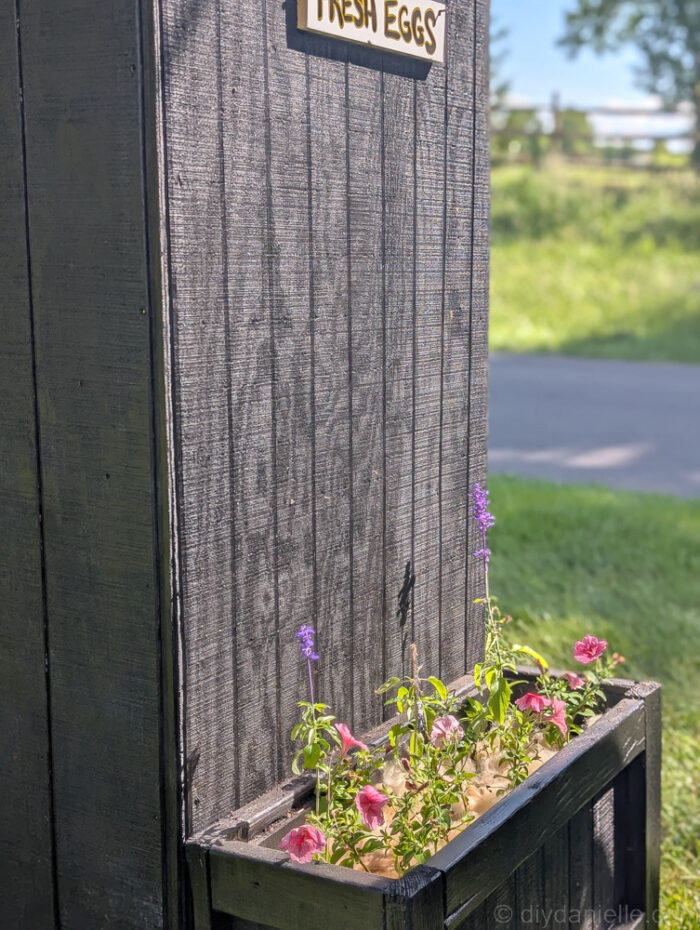
We finally added flowers and it looks SO PRETTY!
If you want the full plan, make sure to check out the woodworking plan for this DIY Farm Stand in my store! Thanks!
Please share and pin this post! You can also post your project and tag the DIYDanielle team on Instagram @doityourselfdanielle!