Create a stylish DIY WiFi password sign for your home! Customize it to keep guests connected while adding a personal touch to your decor.
I wanted to make a gift for a family member last year and I realized that they frequently host events, but don’t have the Wi-Fi password somewhere easily accessible. Many of the people they host are business people who might need access to Wi-Fi and they often have guests stay for a weekend.
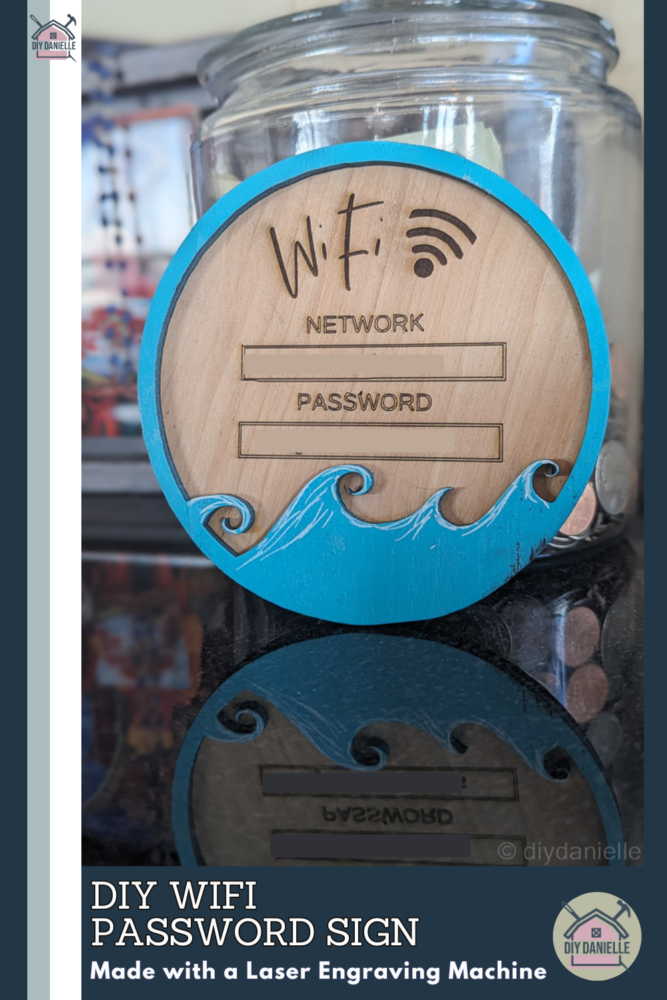
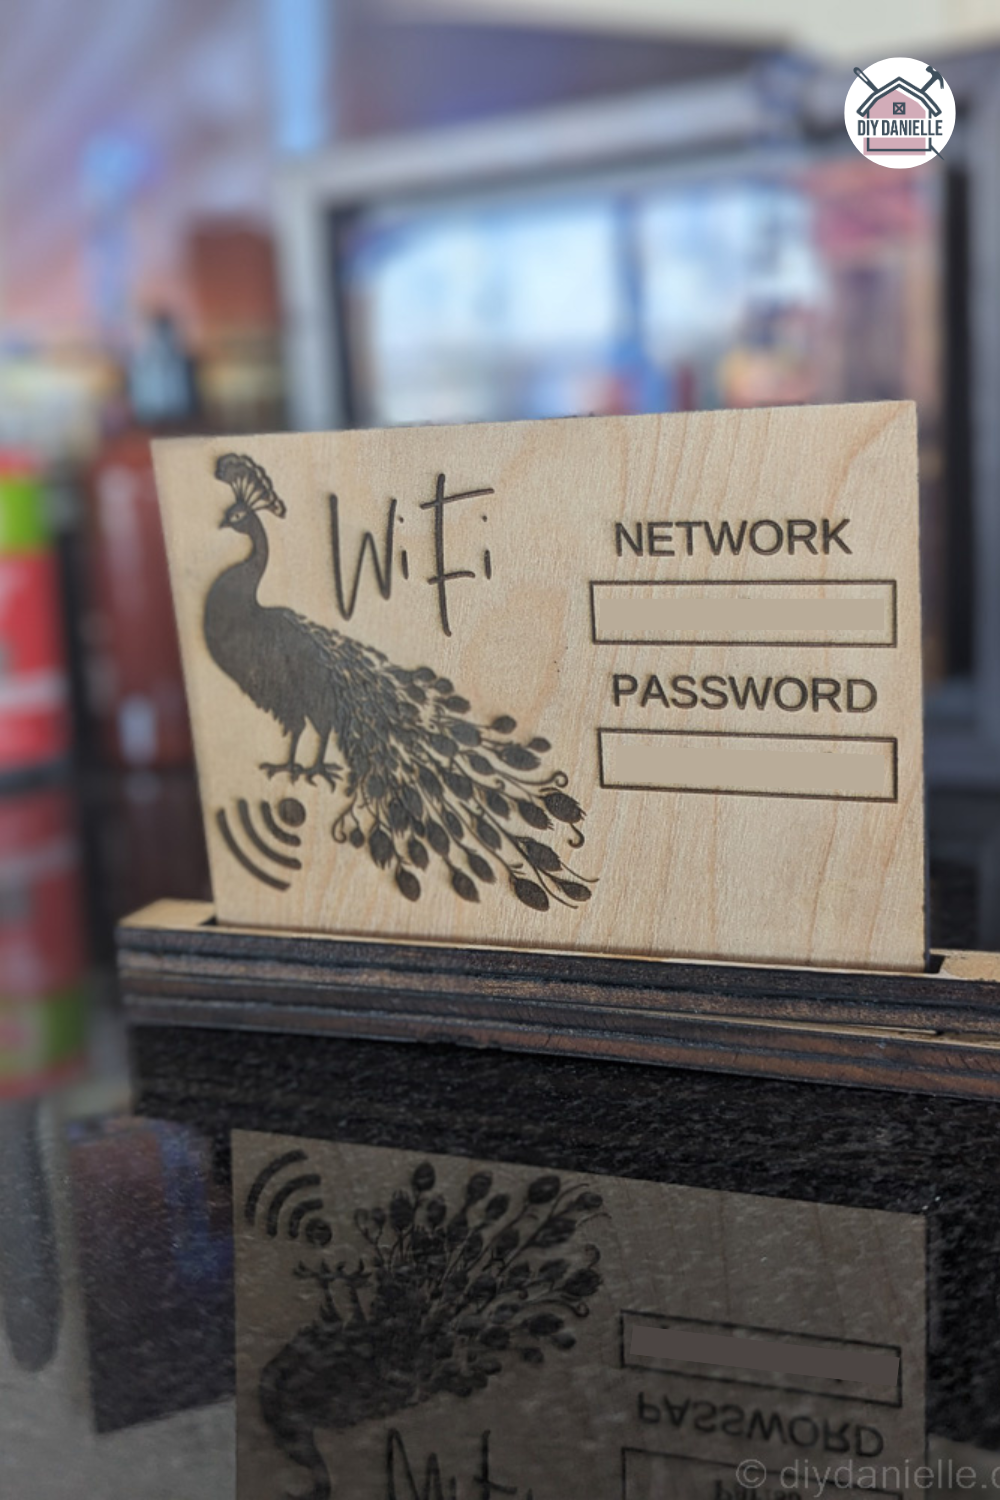
I decided to make her two Wi-Fi signs to use in her home that match her home decor. She really loves peacocks and this was a combination gift with the laser engraved box and DIY coasters. One of the password signs had a peacock on it and the other one was more representative of the ocean.
I used a laser engraver to cut out some of the designs and to engrave the password and network name.
Alternatively, you could use a special chalkboard tape or white board tape in that zone if they have a tendency to change password and network names frequently.
This post may contain affiliate links which may earn me commissions should you click through them and take certain actions. As an affiliate for Amazon, Cricut, xTool, Home Depot, and other sites, I earn from qualifying purchases. Please DIY carefully. View my full legal disclosures here.
The majority of my content is generated by me, as are 99% of the photos and videos, but I utilize technology for titles, descriptions, video editing out all of my ums, and occasionally for text overlay on images.
Please read the whole post so you don’t miss any important information!
DIY WiFi Sign
Project Supplies
- Wood Glue https://homedepot.sjv.io/5b4JQo
- xTool M1 Laser Cutter http://shrsl.com/3v9vq
- Honeycomb Riser http://shrsl.com/3yxwg
- Air Assist http://shrsl.com/3yxv6
- Acrylic Paint Markers: https://amzn.to/4hYeU6j or acrylic paint
- Mod Podge: Matte https://amzn.to/3uZFoRf
- Wood: Balsawood 3mm http://shrsl.com/40aun
Step by Step Instructions
Step 1: To begin, I got my supplies out for my laser engraver. I designed the images, and setup my M1 to cut the exterior of each section, and to engrave the other parts.
Step 2: Setup the machine to cut the shape of the exterior out, as well as the frame such as on the sign with the ocean, and then let it engrave/cut. I had it engrave the WiFi password and network name as well.
Step 3: Once it’s finished, you can paint the individual pieces. I like to do this before gluing them together, which prevents issues such as paint getting splattered on the wrong section.
Step 4: After the paint dries, glue the sections together!
You can also mod podge over the design, assuming you aren’t using white board or chalkboard, so it seals the whole thing. But I don’t think it’s necessary as this isn’t an item that gets a lot of handling or will get worn out over time.
Information on Each Design
Peacock WiFi Sign
The first Wi-Fi sign with the peacock is just a rectangle of 3 mm wood that was engraved. I cut additional pieces and glued them together to create a base for it. I think it would have been a lot easier to use some woodworking tools to create the base, however. Laser engraving is often quite a bit faster than laser cutting, particularly if you have a lot of pieces to cut. But I like that it gives me the ability to cut small pieces more easily.

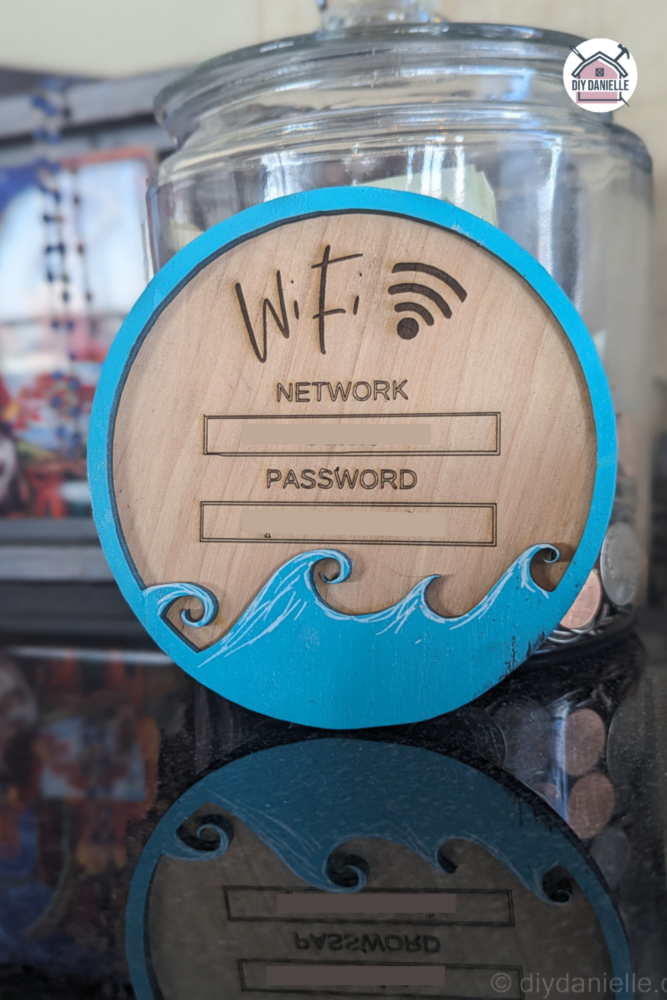
Ocean Themed WiFi Sign
The second Wi-Fi sign is a circle that I cut out and engraved, and a frame piece that was glued on top. The frame piece has the ocean design on it.
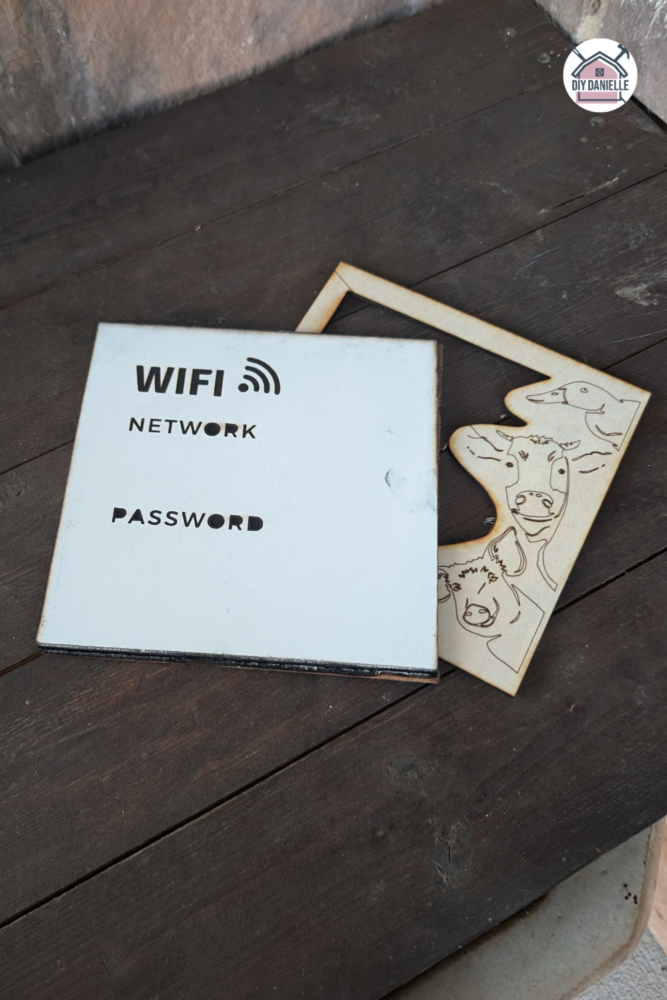
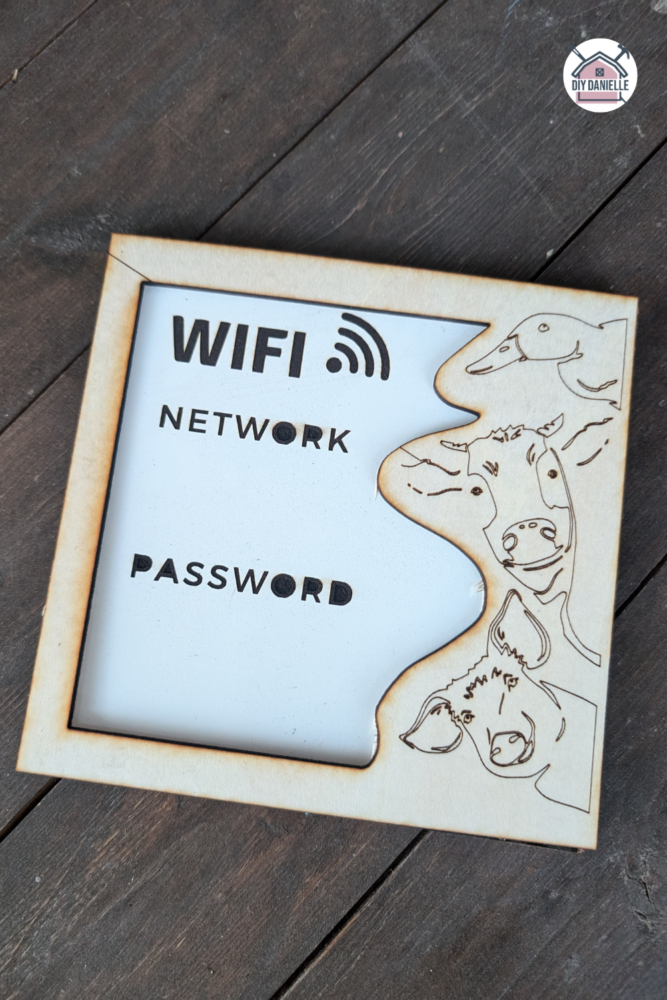
Farm Themed WiFi Sign
I made this for my animal-assisted therapy practice waiting room. I deviated from using 3mm wood and used some whiteboard for the base (allowing me to write the password in with dry erase markers), and then to cut the frame out of wood.

Please share and pin this post! You can also post your project and tag the DIYDanielle team on Instagram @doityourselfdanielle!