Discover how to make a durable clear tarp with grommets. Our easy steps ensure a sturdy, waterproof cover perfect for any use.
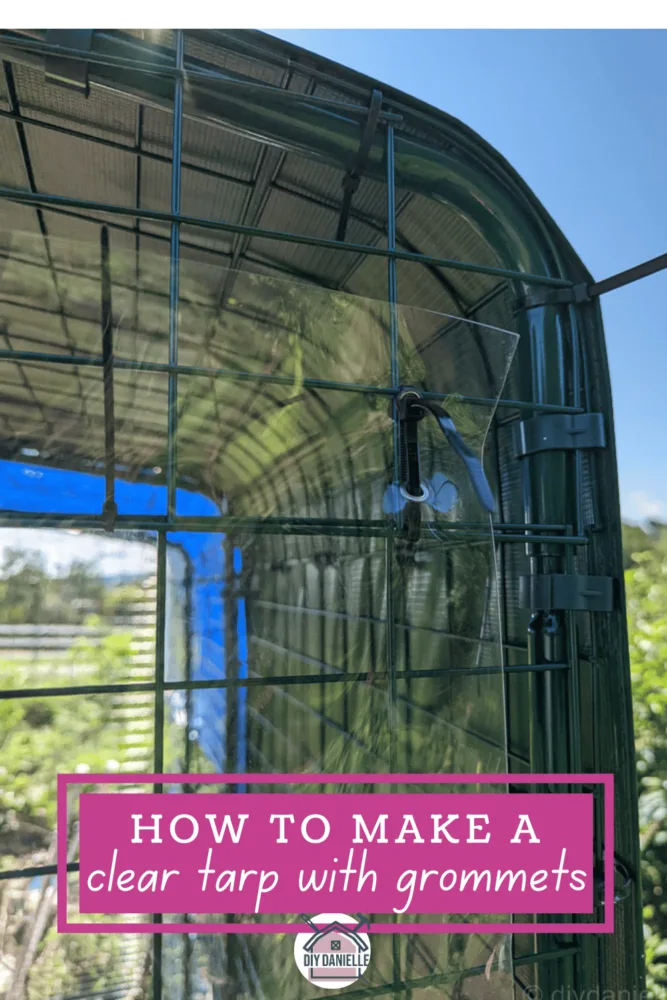
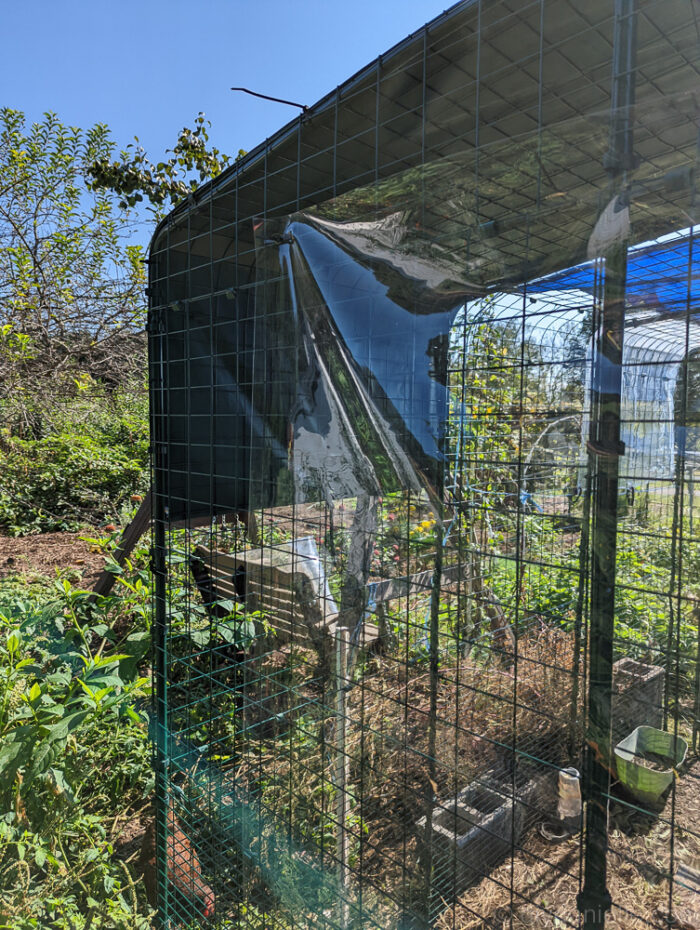
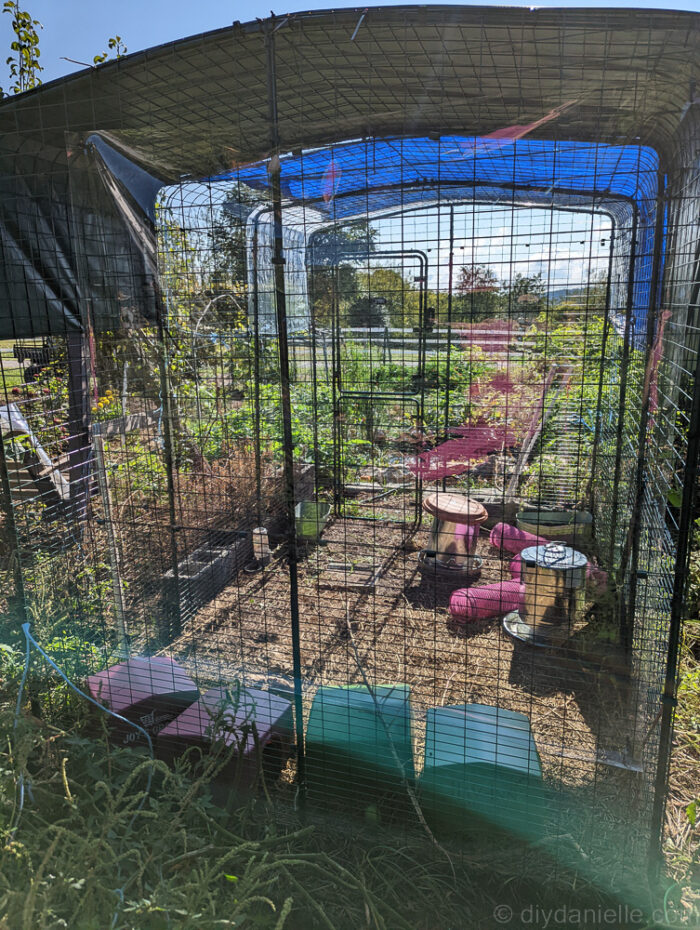
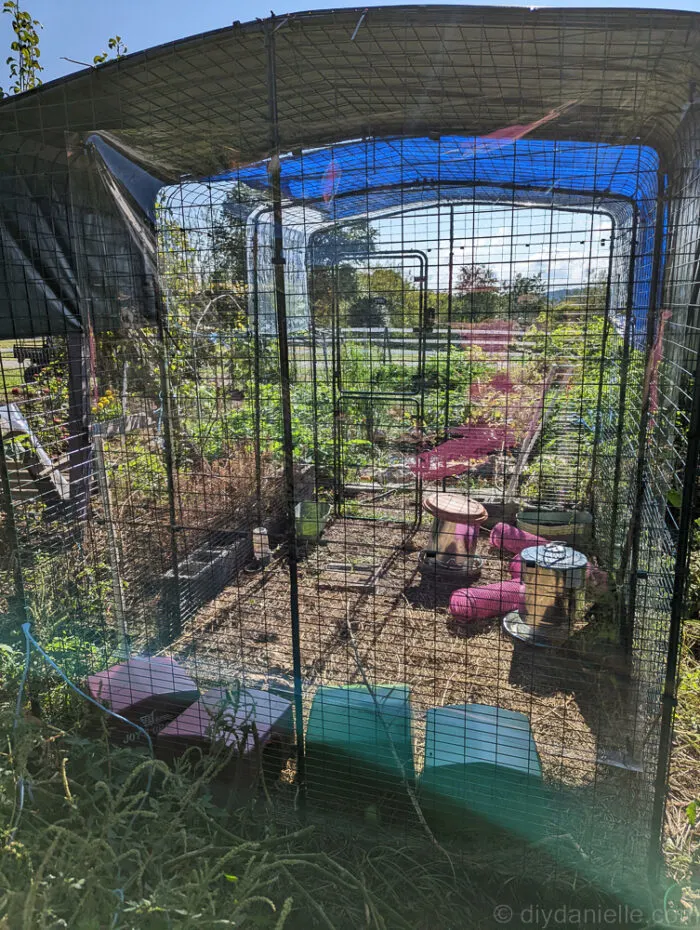
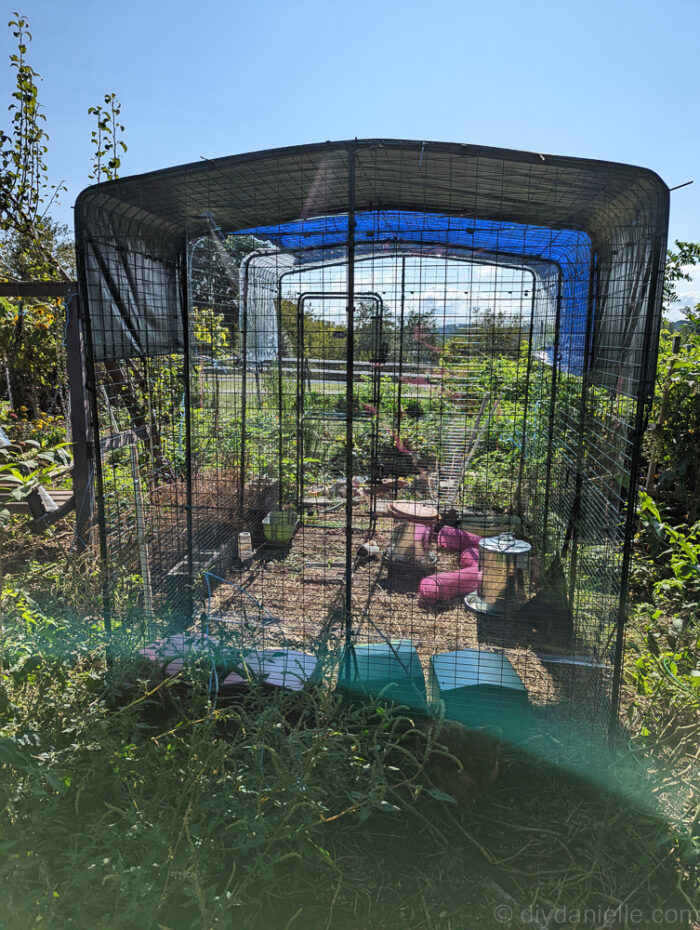
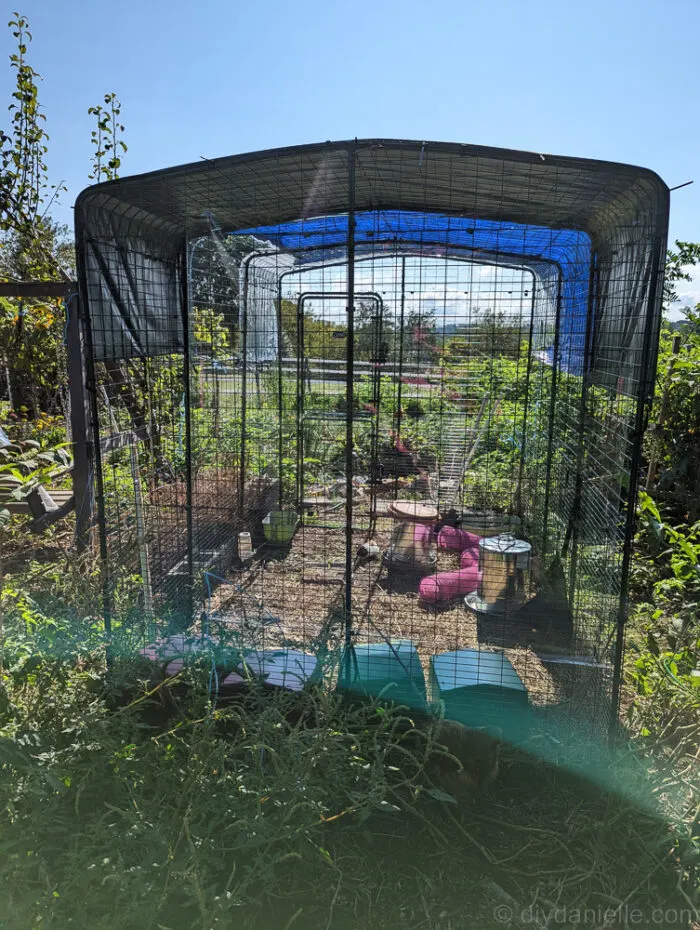
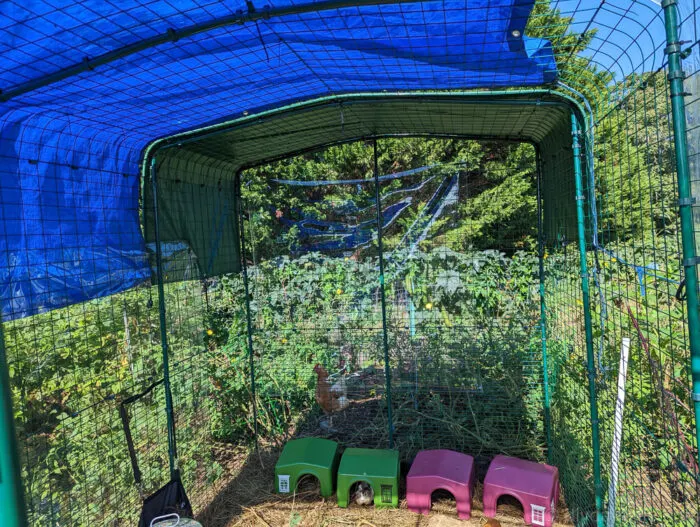
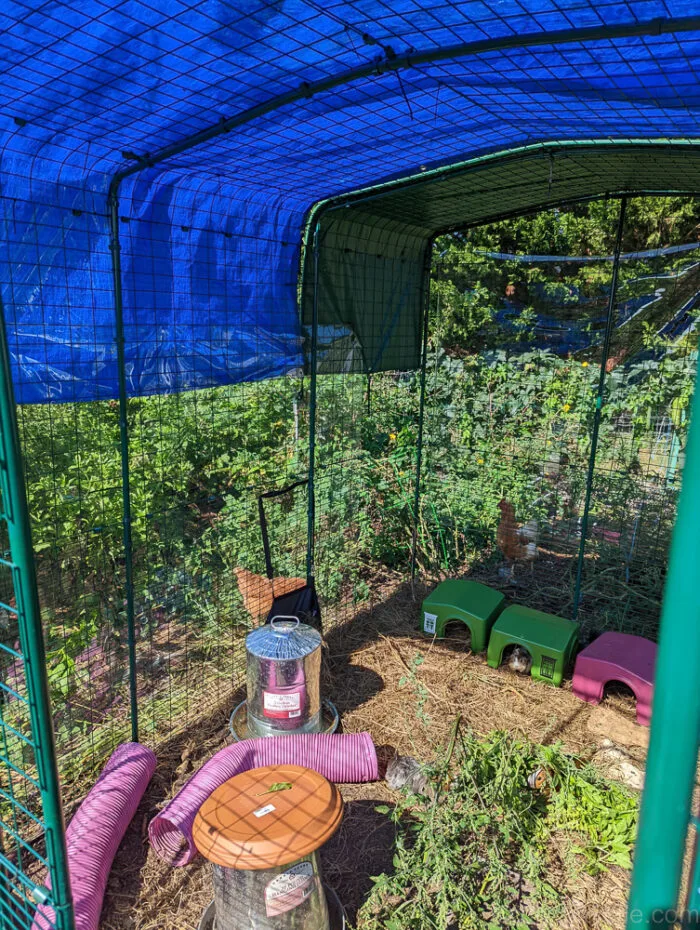
We use clear tarps in the winter to cover up the outdoor runs for our guinea pigs, rabbits and chickens. I make sure they don’t cover the whole cage because I don’t want them to block the airflow and ventilation for the animals. The goal is to provide a little extra warmth and protection from wind.
This post may contain affiliate links which may earn me commissions should you click through them and take certain actions. As an affiliate for Amazon, Cricut, xTool, Home Depot, and other sites, I earn from qualifying purchases. Please DIY carefully. View my full legal disclosures here.
Please read the whole post so you don’t miss any important information!
Making your own tarps is very easy and it allows you to choose how thick you want the plastic to be. I like not being limited by what’s available at the store and I want to make sure the tarps will last a long time. I’m going to go over how to make these yourself. Let’s get started.
Clear tarps allow sunlight in, but block the wind and rain. They keep the outdoor run a little warmer.
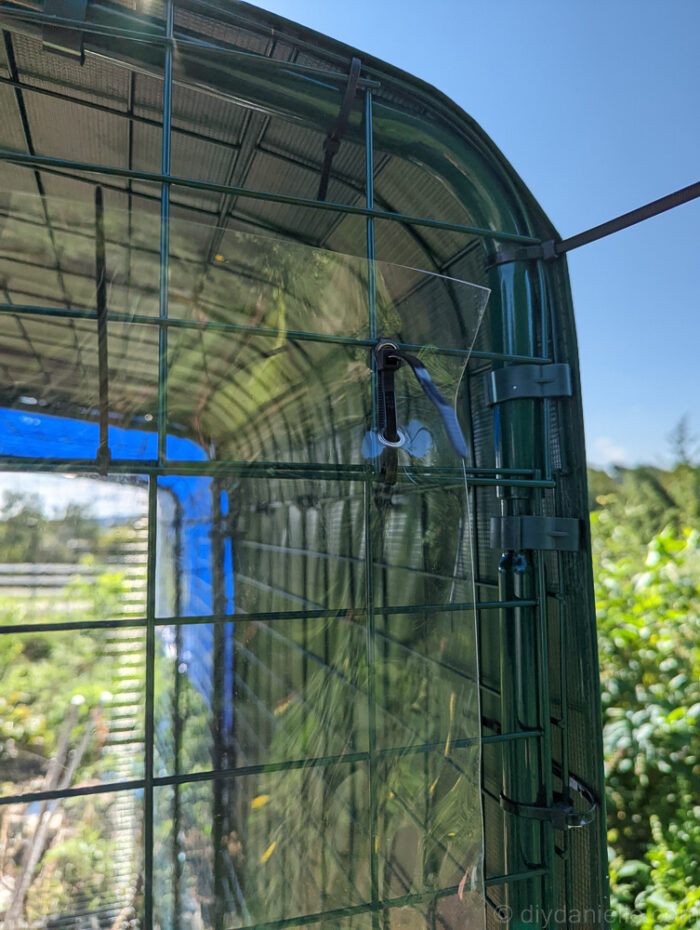
Grommets allow us to connect the tarps to the run without wind, blowing the tarps around and ripping through the fabric. The grommet reinforces the area where the grommet is and a sturdy grommet will help protect the life of the tarp.
How to Make a Clear Tarp with Grommets
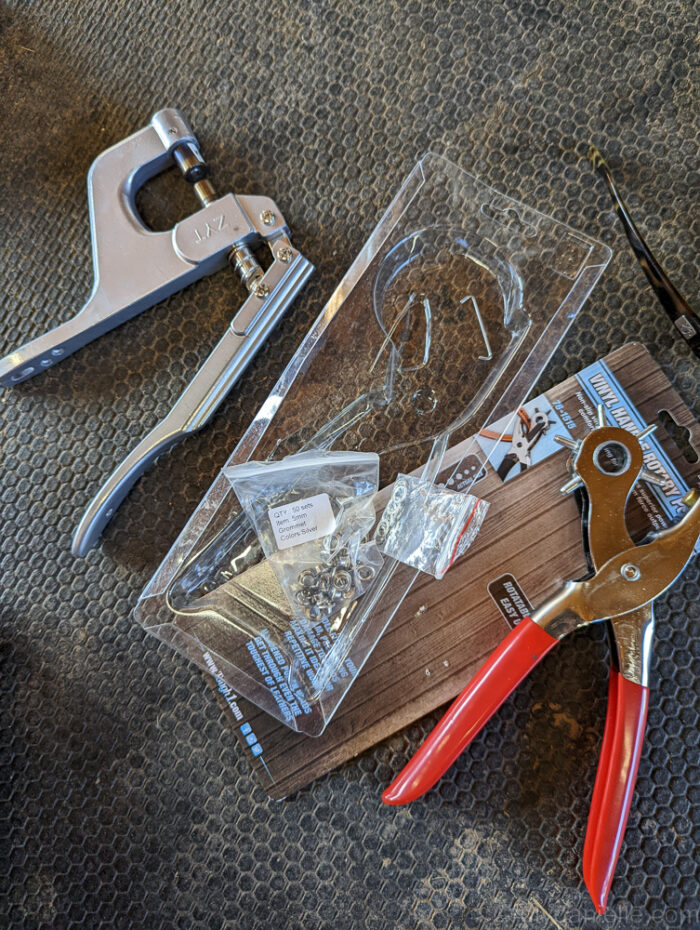
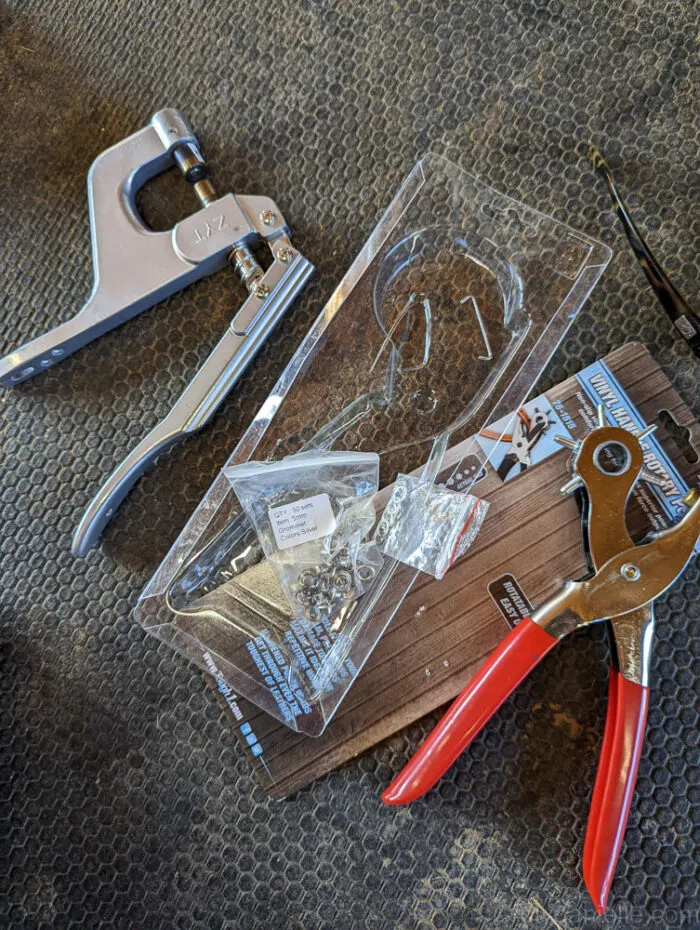
Supplies
- Grommets: https://kamsnaps.com/collections/grommets/products/grommets
- Grommet Press: This kit looks like it would have what you need to get started, but you tend to need the right size dies to go with your grommet size so be careful about ordering the correct thing. https://kamsnaps.com/collections/snap-press/products/rivet-grommet-magnetic-snap-press-bundle-for-snap-tabs-key-fobs
- Ultra Clear 30Gge Clear 30Yd Vinyl Outdoor Fabric: This was pretty thick and you could go thinner to save money on the vinyl, but I think I got this at a steep discount at the time.
- Measuring tape with all of the markings https://amzn.to/3GTWNhc
- SHARPIE Permanent Markers Variety Pack, Featuring Fine, Ultra-Fine, and Chisel-Point Markers, Black, 6 Count https://amzn.to/46kKIfW
- Gingher Inc, 10″ https://amzn.to/3WAGYnn
- Alternative to scissors: Cordless electric scissors work well too: https://amzn.to/3WkNsp1
Tutorial
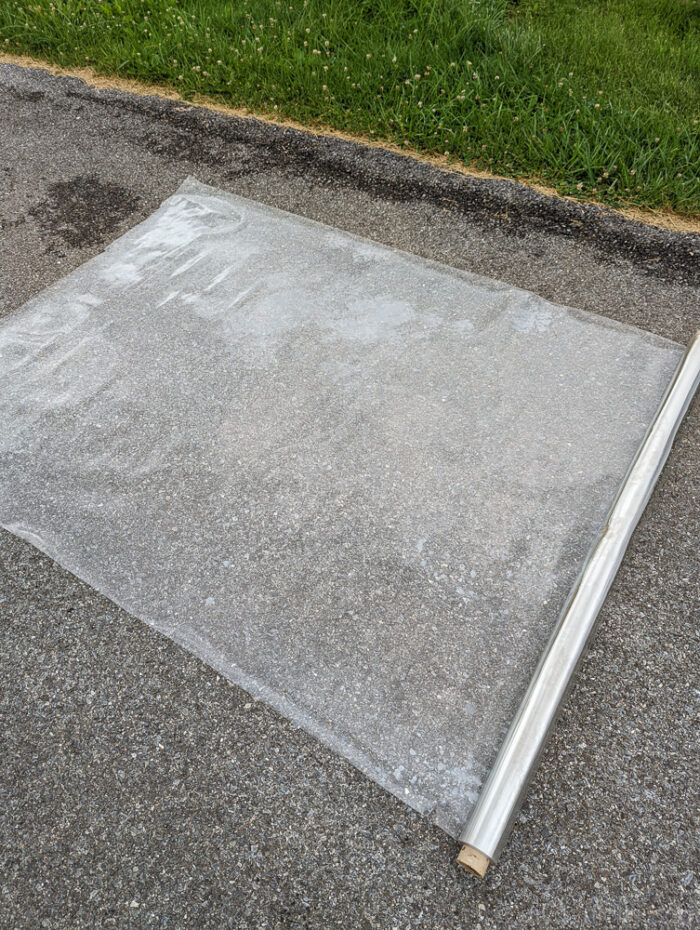
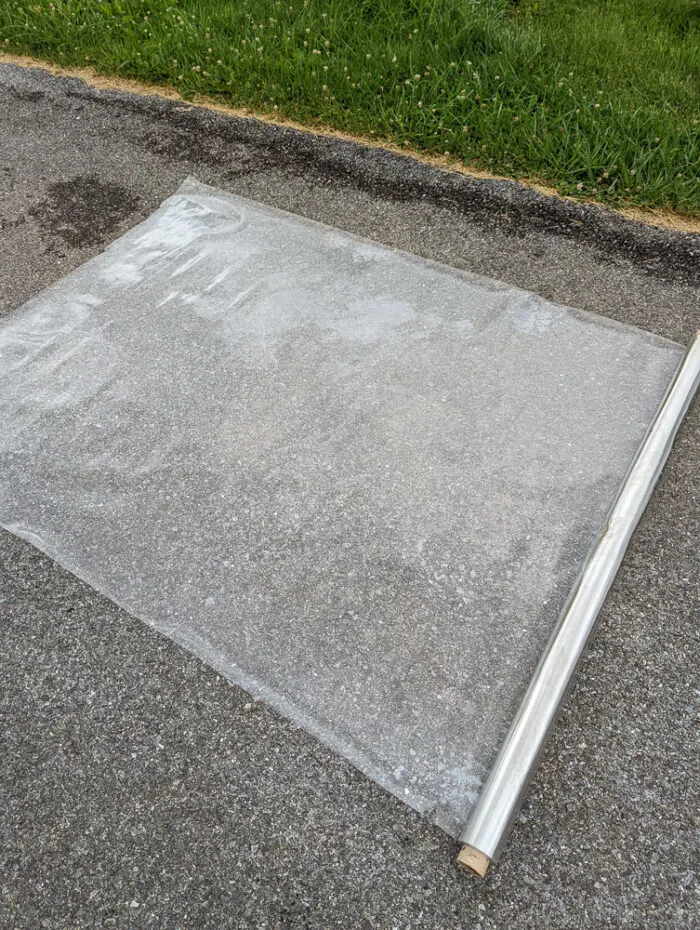
Step 1: Start by measuring your outdoor run and decide on how large you want each tarp to be. I prefer to do multiple tarps that are smaller because large tarps are very hard to pull off if they’ve got snow or ice on them.
Smaller tarps are also easier to put on, provided that you ensure that you can reach all parts of the tarp to put it on the shelter.
Step 2: Lay your plastic out flat and use a ruler and marker to mark where you want to cut the plastic. If your plastic is wrinkled or folded over in any way, letting it lay flat in heat can be helpful.
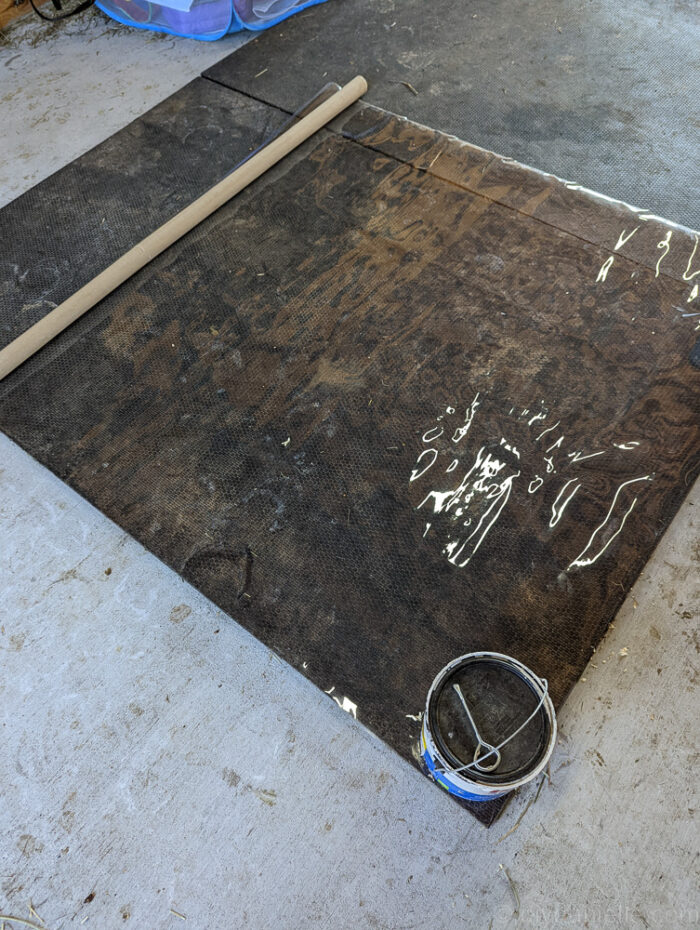

Sometimes you can lay some fabric over the plastic and iron it, but you have to be very careful or you might melt your plastic. I find laying it in the sun in hot weather works well too.
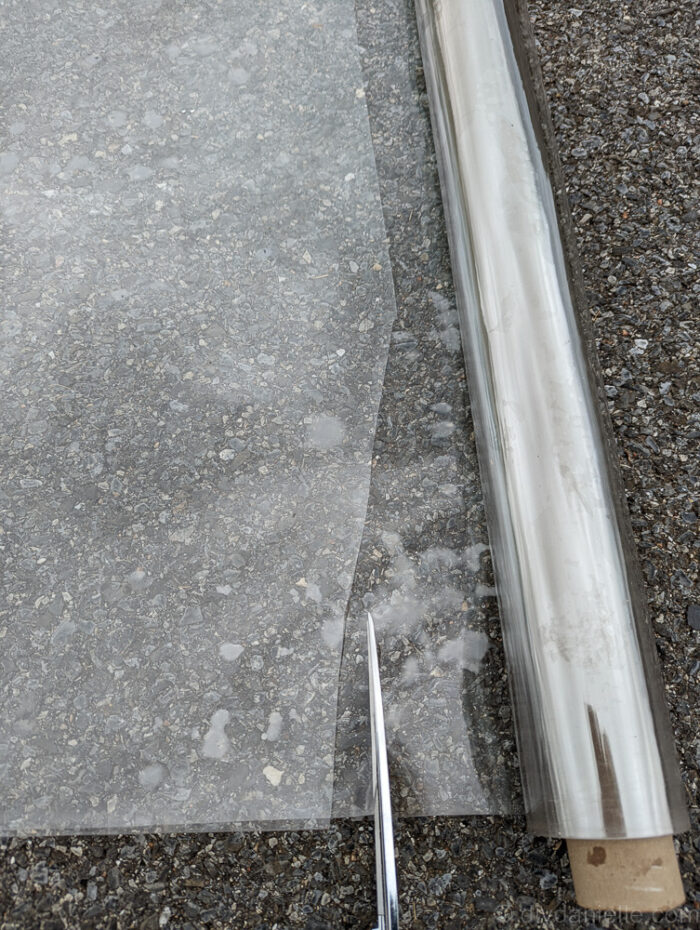
Step 3: Cut your plastic carefully.
Use leftover plastic to cut small squares that are a little bit larger than your grommets.

Step 4: Use a hole punch to punch a hole in the center of each square.
Also use the hole punch to punch holes in the areas where you want your grommets to be on the tarp.
Step 5: If you want, you can use thick fabric to reinforce the edges of your tarp. This could be useful so you can see where the edges of the tarp are. It also helps stabilize the tarp and The grommet area. I skipped this because I like how the tarps are invisible without this feature. My plastic is also very thick, so I don’t anticipate that the additional reinforcement is necessary.
But if you’re interested, you can buy fabric or wide bias tape that’s wider than your grommet. Then just sew that on along your edges.
Step 6: Once you’re ready to install the grommets, you can align the scrap with your first hole that is on your tarp. Place the male end of your grommet through those two holes.
Add the female end on top on the opposite side.
Use your grommet pliers to squeeze the female end and male end together.
This should connect the grommets and they should be sturdy at this point. Repeat with your other holes on the tarp.
Step 7: Hang your tarp and use zip ties or other clips to attach the tarp to your run.


In the warm weather, make sure you remove these so your shelter doesn’t get too hot. I like to remove them as soon as the weather is above freezing at night.
You can keep the cardboard rolls and roll the tarps up in the summer when they’re not in use. This will help protect them from any issues.
Please share and pin this post! If you make this project, share it in our Stuff Mama Makes Facebook Group. We have regular giveaways for gift cards to craft stores. You can also tag me on Instagram @doityourselfdanielle; I love seeing everything you make!