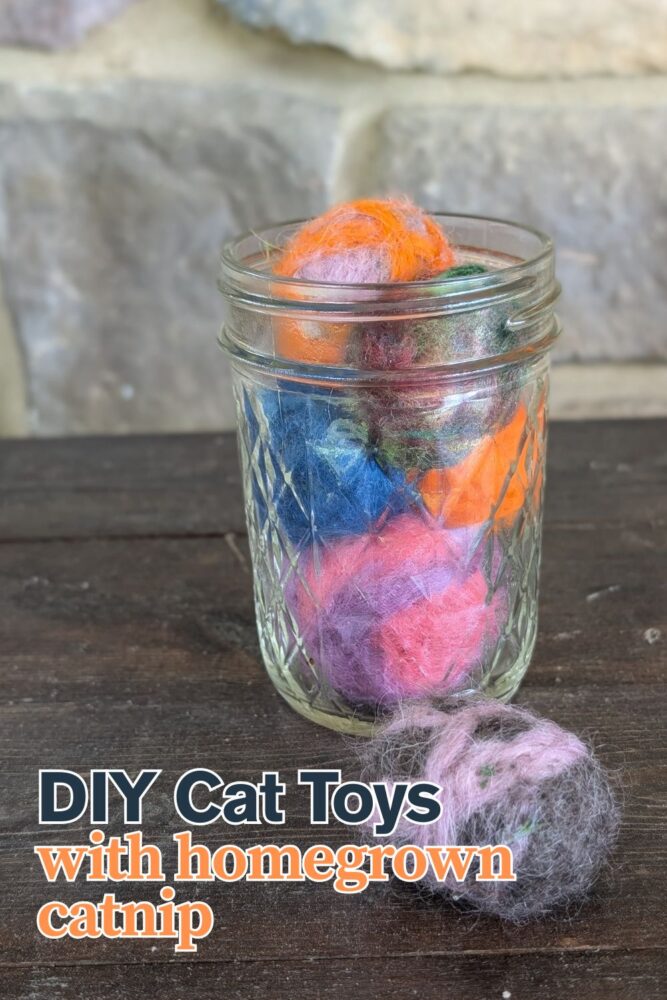
Make your own DIY cat toys using homegrown catnip! Easy, fun, and budget-friendly projects that your cat will love to play with.
Growing catnip is really easy, as is growing cat mint. Both are enjoyed by cats and are great for making cat toys with.
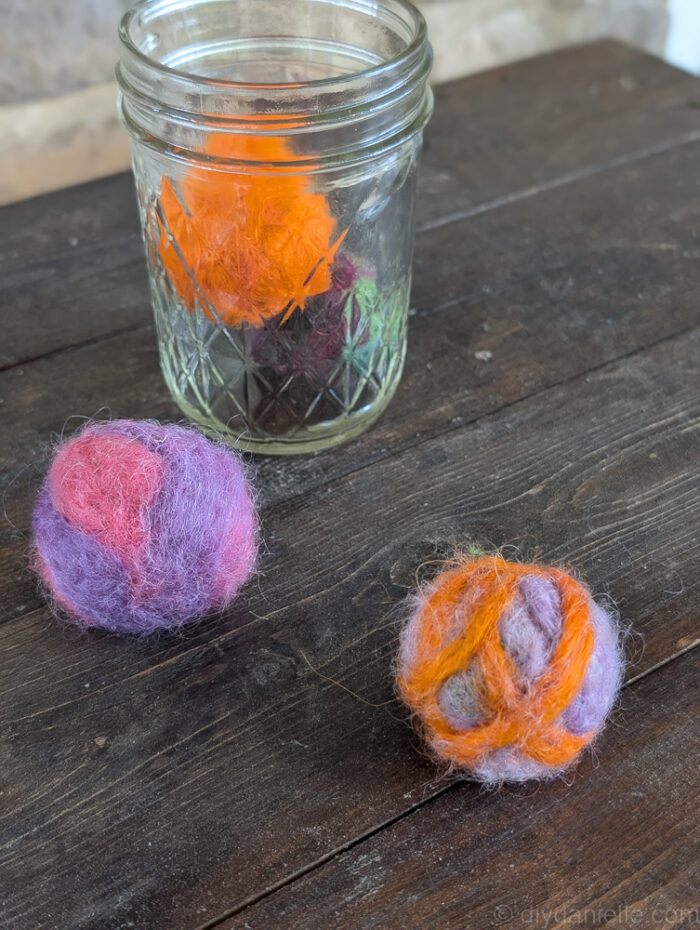
There are so many different ways to make cat toys with catnip, but today I’m going to talk about one of my favorite methods, which is needle felting the toys.
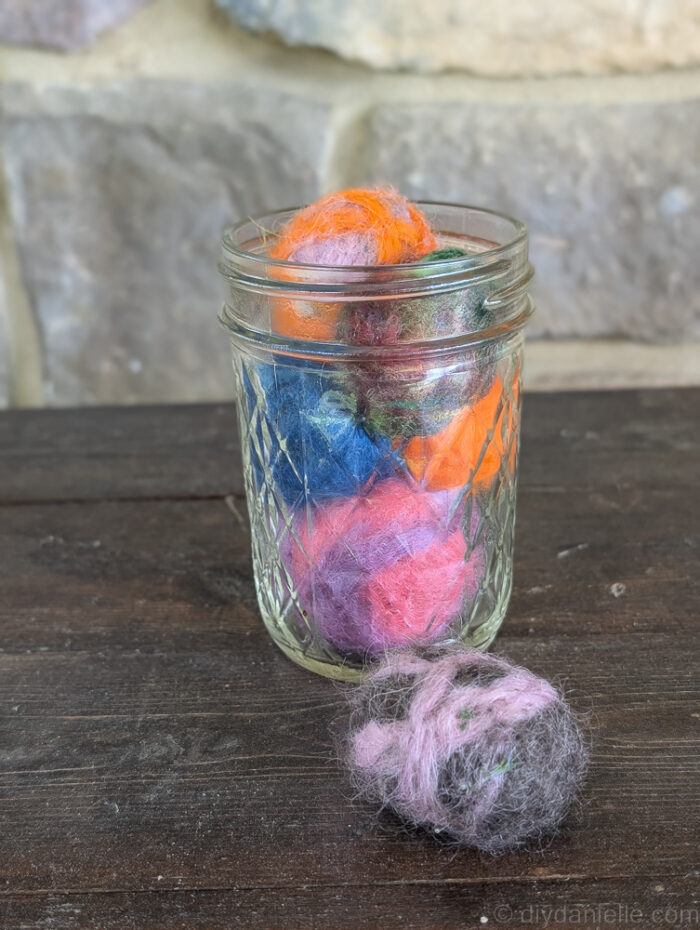
Generally I make these into balls, but you can also make them in other shapes as well.
This post may contain affiliate links which may earn me commissions should you click through them and take certain actions. As an affiliate for Amazon, Cricut, xTool, Home Depot, and other sites, I earn from qualifying purchases. Please DIY carefully. View my full legal disclosures here.
The majority of my content is generated by me, as are 99% of the photos and videos, but I utilize technology for titles, descriptions, video editing out all of my ums, and occasionally for text overlay on images.
Please read the whole post so you don’t miss any important information!
DIY Cat Toys with Catnip
Project Supplies
- Fresh or dried catnip or cat mint
- Mason jar or old spaghetti jars, etc. thoroughly cleaned out: https://amzn.to/3TZ4usl
- Needle felting needles… you’ll get a bunch in this felting kit: https://amzn.to/44NfGNs
- Wool roving: https://amzn.to/40dE9dy
- Optional Bells: https://amzn.to/3GM0mJ1
- Foam pad or felting pad: https://amzn.to/4kESO90
Step by Step Instructions
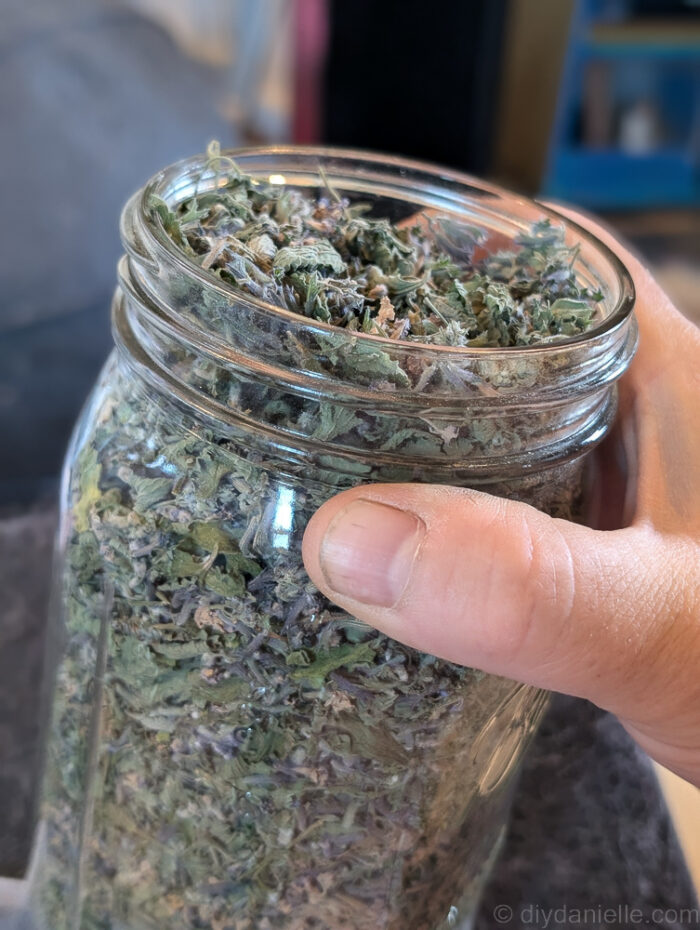
Step 1: Harvest and dry your cat nip or cat mint.
Bundle it and hang it upside down to dry. You could also dry it in a dehydrator.
Once thoroughly dry, store your catnip in a mason jar in a cool dry place until you’re ready to make your toys.
Step 2: When you’re ready to sit down and felt your toy, go ahead and pull out your pad for felting on. I use upcycled foam from shipping stuff, but you can also purchase a really nice foam pad that’s specifically made for felting. I really like the wool ones.
You’ll also want your needles, dry catnip/mint and your wool roving. If you’re using bells, you can grab those too.
Step 3: I take a section of wool roving that’s about the size of the ball I want to make. I flatten it out and place my dried catnip on top. If desired, I also add two bells (One Bell won’t make a pretty sound).
Then I wrap the wool roving around it all, squishing it into a little ball (or other shape).
Step 4: I use my felting needles to poke through the wool and felt it all together. This requires a lot of poking over and over again for quite a period of time. You want to be very careful not to hit the bells which is why I dislike using them sometimes.
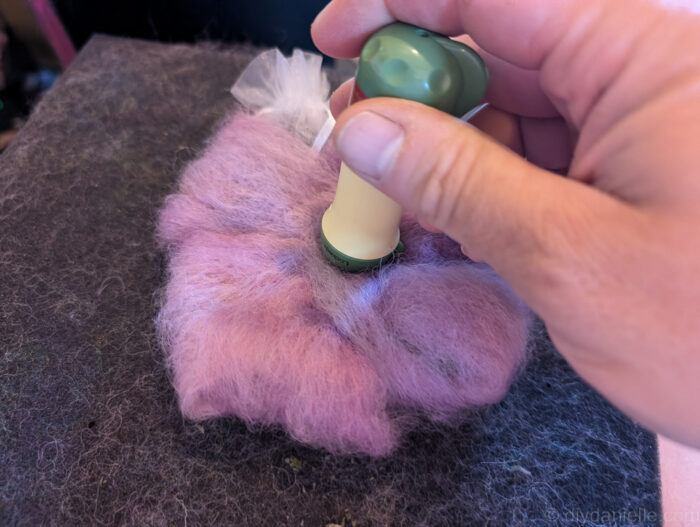
You’ll work your way around the entire felted circle making sure all the little pieces are tucked in around the bells and catnip.
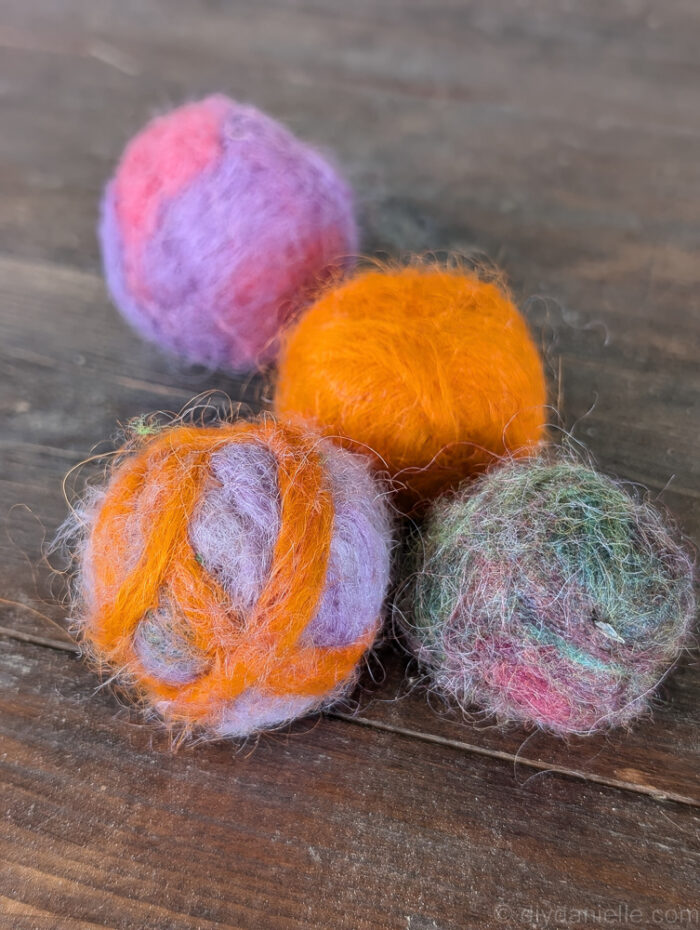
This is a lot of repetition and you can add other colors of roving if you want on top as well. There’s a lot of options for designs that you can add to these if you’re feeling creative. However, an animal is going to eat these so don’t go too crazy.
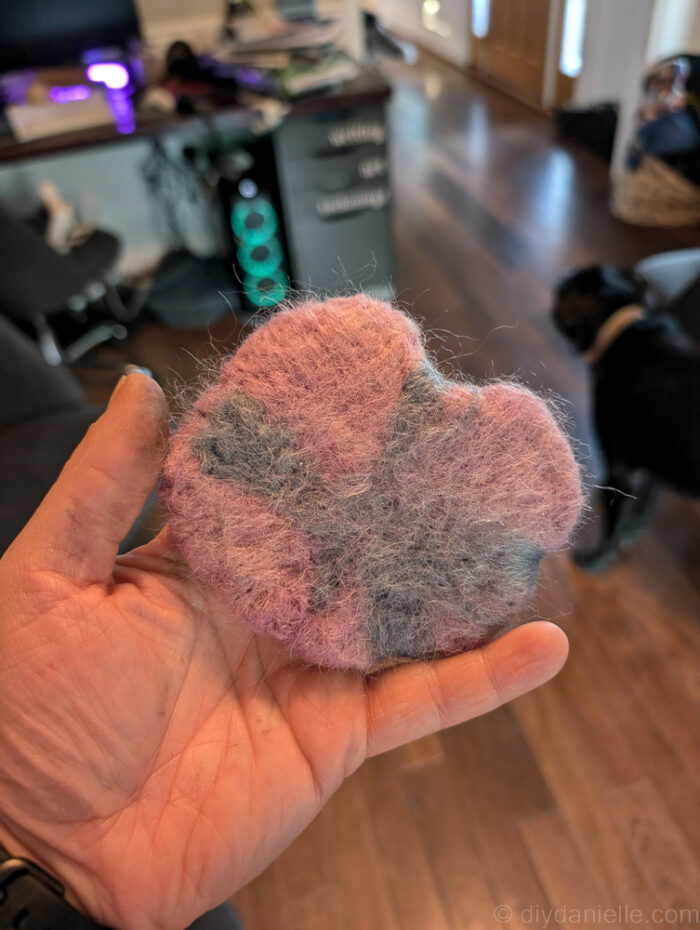
Mine usually end up pretty fuzzy which you can fix if you desire, but again- an animal’s mouth is going on this. It will likely be fairly fuzzy eventually anyways. I find wet felting tends to be less fuzzy after but I tried it with this and I felt like the smell of the catnip isn’t as strong (in fairness, I’m not a cat, nor do I have a cat, so maybe they’ll still love it).
As you can see with the one below, I didn’t make this one round. It’s a flat one. I’ve also done hearts and a mouse shape.
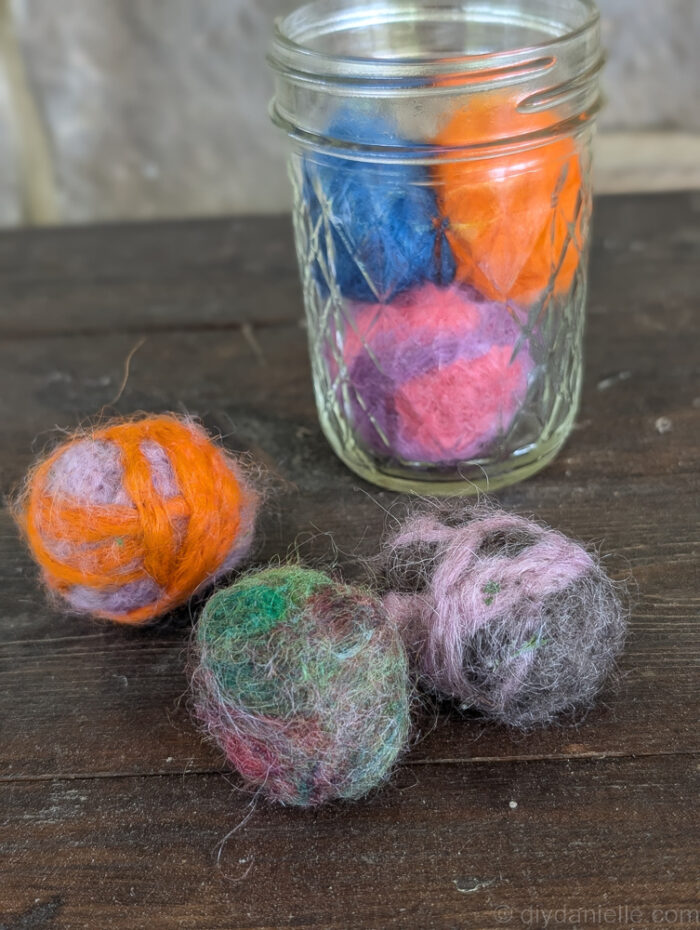
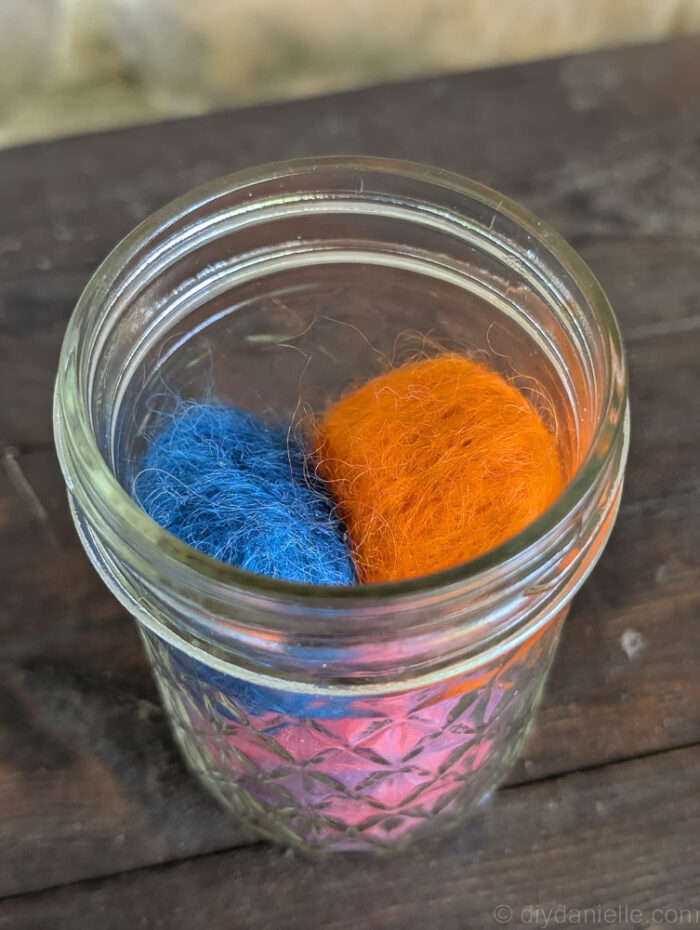
Step 5: Once done, I put my catnip balls in the container to store them until use.
YouTube Tutorial
Please share and pin this post! You can also post your project and tag the DIYDanielle team on Instagram @doityourselfdanielle!