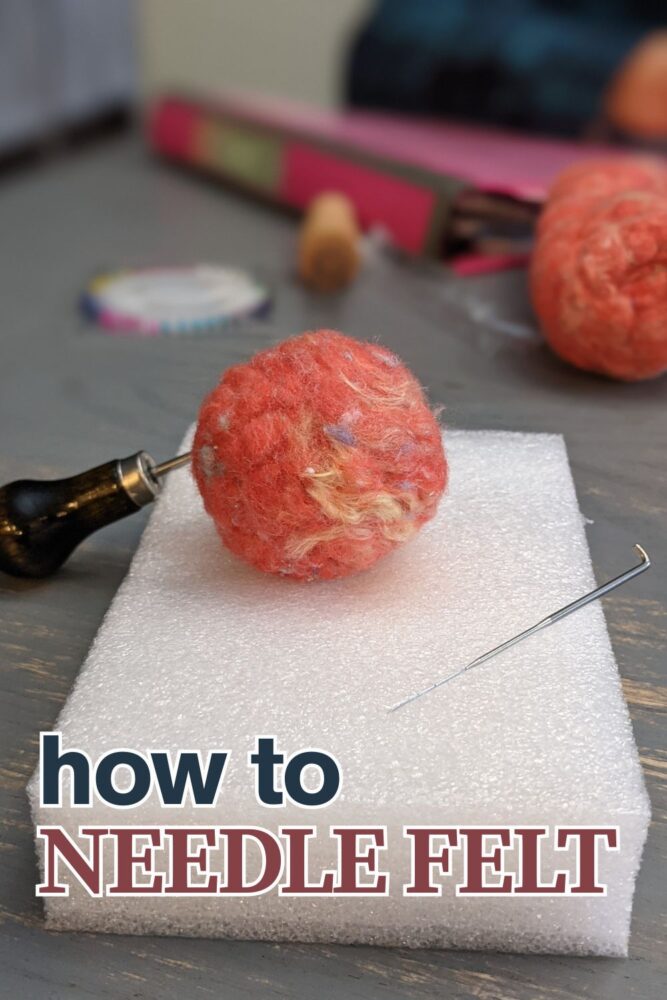
Learn how to needle felt with this easy beginner guide! Get tips, tools, and step-by-step instructions to start your first project.
I like to joke that needle felting is one of my favorite activities because it involves stabbing things over and over again. But as I haven’t figured out how to knit or crochet, it’s really my favorite because I have sheep and it gives me a way to use their wool roving for crafting. Sheep are THE BEST.
There are so many creative things you can do by wet felting or dry felting (needle felting = dry felting).
Today I’m going to go over how to needle felt. I’ll include a video at the end that you can watch if you prefer video content.
This post may contain affiliate links which may earn me commissions should you click through them and take certain actions. As an affiliate for Amazon, Cricut, xTool, Home Depot, and other sites, I earn from qualifying purchases. Please DIY carefully. View my full legal disclosures here.
The majority of my content is generated by me, as are 99% of the photos and videos, but I utilize technology for titles, descriptions, video editing out all of my ums, and occasionally for text overlay on images.
Please read the whole post so you don’t miss any important information!
What Is Needle Felting?
Needle felting is a fun and creative craft that uses a special barbed needle to sculpt wool fibers into shapes, animals, and designs. As you poke the wool with the needle, the fibers tangle and compress, forming a firm, solid shape.
It’s a great beginner-friendly craft with endless possibilities! There’s also a similar technique called wet felting, which uses water and soap to bind the fibers together instead of a needle.
Just keep in mind that there’s a degree of danger involved- don’t stab yourself with the needle! It hurts!
🐑 Easy Needle Felting Tutorial (Step-by-Step)
Project Supplies
- Wool roving (the fluffy wool): https://amzn.to/40dE9dy
- Felting needles (barbed)… you’ll get a bunch in this felting kit: https://amzn.to/44NfGNs
- Foam pad or felting mat (to work on): https://amzn.to/4kESO90
Step by Step Instructions
Step 1: Grab a small piece of wool roving and fluff it out a bit.
Tip! Wool roving has a staple length which is the length of the fur (combed out). If you keep your hands close together and try to pull it apart, it won’t pull easily. DO NOT CUT THE ROVING. That’s not necessary. Your hands simply need to be farther apart than the staple length of your wool… then your wool will pull apart easily!
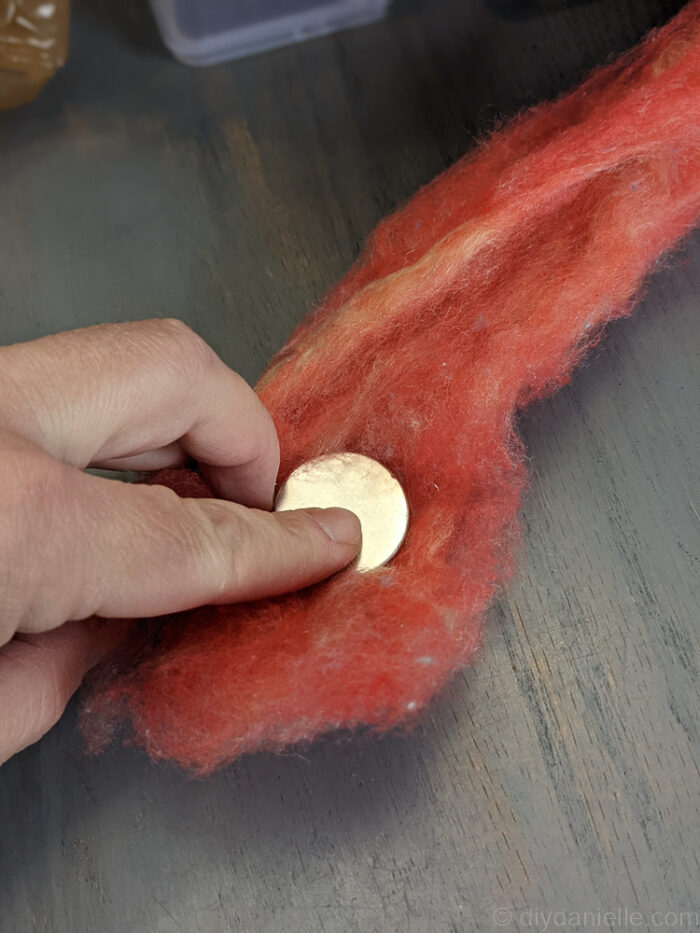
Step 2: Gently roll or fold the wool into a loose ball, oval, or shape you’d like to start with. You can use metal cookie cutters to give yourself a shape to use if desired. I like to do this with heart shaped cookie cutters to make felted hearts.
In the photo below, I’m putting a small magnet inside the roving before rolling it up (note: this didn’t work as well as I’d hoped, but it works well for other stuff like lavender/catnip, tiny bells, etc.).
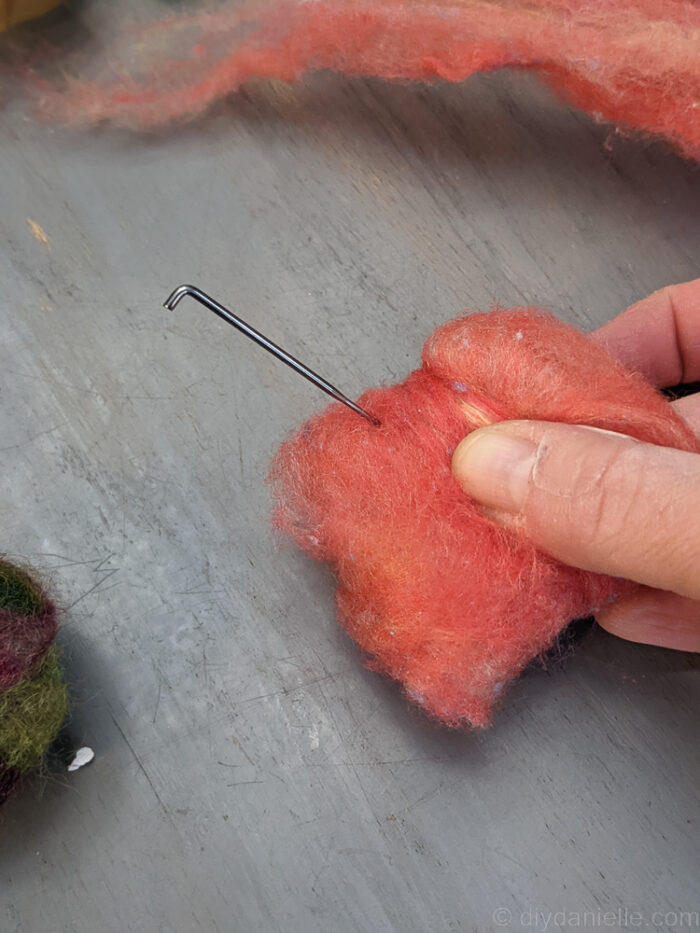
Step 3: Place the wool on top of your foam pad or felting mat. Begin stabbing it gently with the felting needle. Always stab straight in and out to avoid breaking the needle.
The part of the needle that does the felting is NOT the tip… it’s the bottom sides of the needle. These sections are barbed to help the felt stick together. If that section gets dull, you want to dispose of the needle in a sharps container and use a new needle. The very tip of the needle is sharp so you can get the needle into the wool to let the sides do their job! But all sections need to be sharp.
You WILL break needles. You WILL likely stab yourself. Pay attention. Have lots of extra needles on hand.
In the photo below, I’ve just begun felting this so you can’t see the round shape yet.
Step 4: The more you poke, the more the fibers tangle and tighten. Rotate the piece as you go to keep the shape even.
I like to pull the item away from the foam pad frequently so it doesn’t completely felt into the foam pad… it will still do so a bit but frequently shifting the item helps.
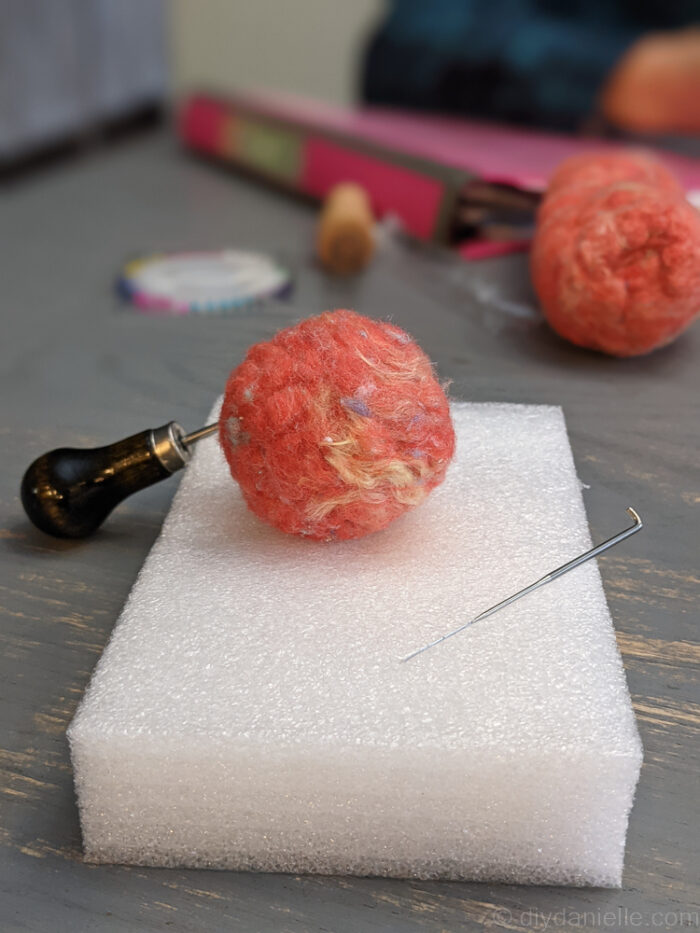
Over time, I molded this into a ball so it wasn’t flat anymore.
Step 5: Add more wool as needed to build the shape. Need it bigger? Just wrap more wool around and keep felting.
Want legs, ears, or other details? Shape small wool pieces and poke them onto the main piece.
I added a bit of green to the top of this to make it look like.. an apple? I have no clue what I was going for here.
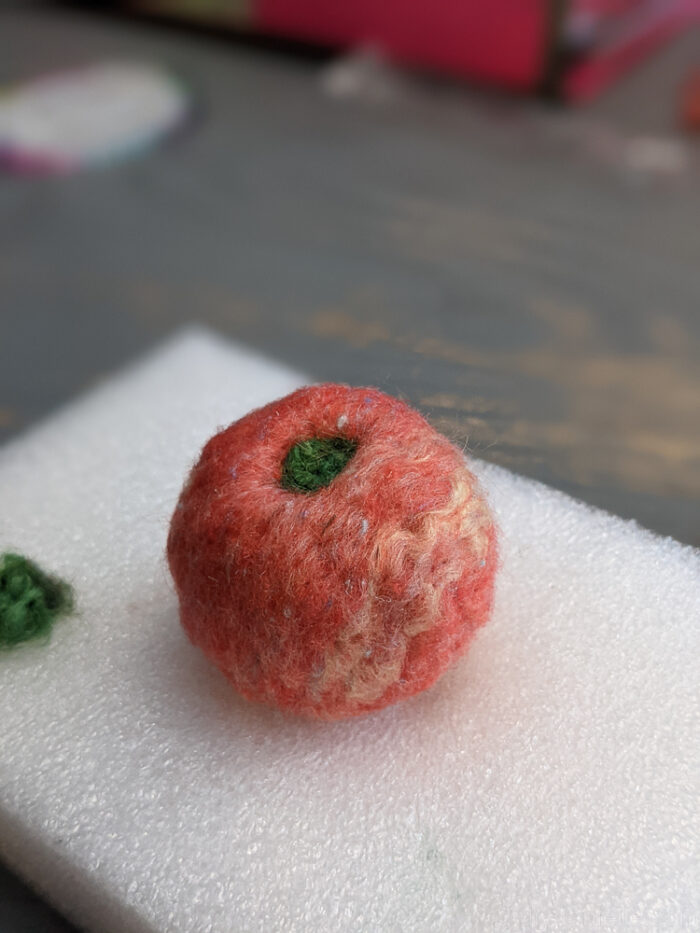
Step 6: Use light pokes around the outside to smooth out any fuzzy spots or reshape areas.
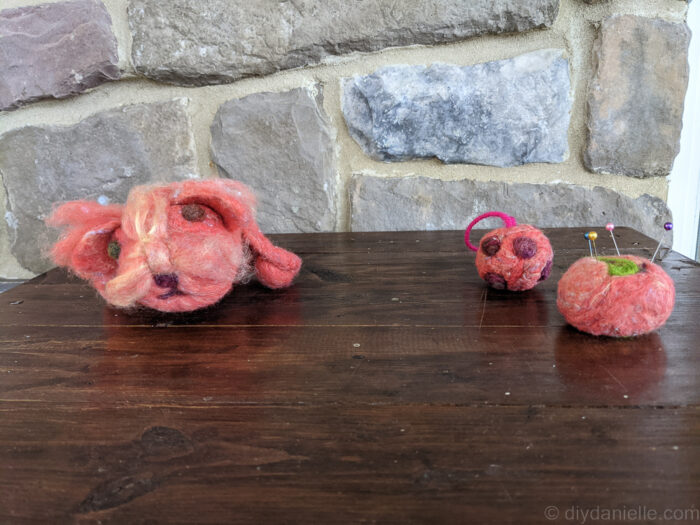
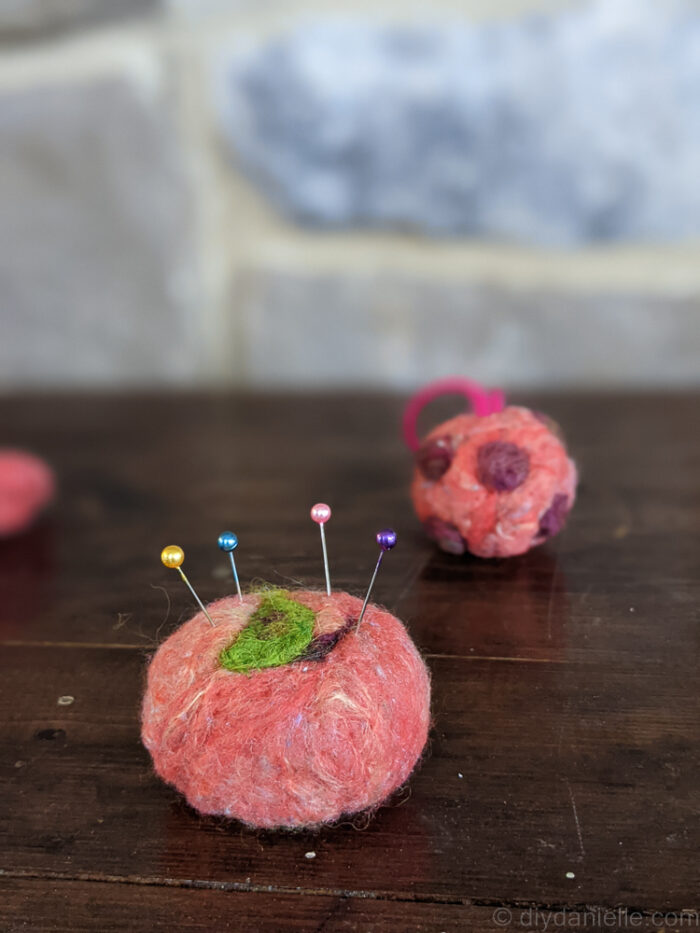
These were a few projects that we played with… I accidentally made a COVID looking ball ornament which makes me giggle a bit. The magnet apple or whatnot ended up working well for a pin cushion… and one of my kids made the dog.
Speaking of dogs—- mine are OBSESSED with felted items. They WILL snatch them from the counter and tear them up. This has happened quite a few times. Likewise, my pet rats seem to adore felted items too… they’ll ruin it. So if you treasure it, keep it out of reach of pets.

Tips for Beginners:
- Start small—like a simple ball or heart.
- Go slow and be careful; the needles are sharp!
- Use finger guards if you’re worried about poking yourself.
- Watch your fingers and don’t felt when tired!
Please share and pin this post! You can also post your project and tag the DIYDanielle team on Instagram @doityourselfdanielle!