Transform your basement with our DIY storage shelves guide. Learn to design, build, and install space-saving, sturdy shelving.
Storage space is one of the things our home really lacks so we’ve slowly added storage EVERYWHERE. The basement storage area was a pretty huge pain point so today we’re going to show you how we tackled adding storage shelves that are deep and strong enough to hold items like Christmas decorations, inflatables, and more.
This post may contain affiliate links which may earn me commissions should you click through them and take certain actions. As an affiliate for Amazon, Cricut, xTool, Home Depot, and other sites, I earn from qualifying purchases. Please DIY carefully. View my full legal disclosures here.
Please read the whole post so you don’t miss any important information!
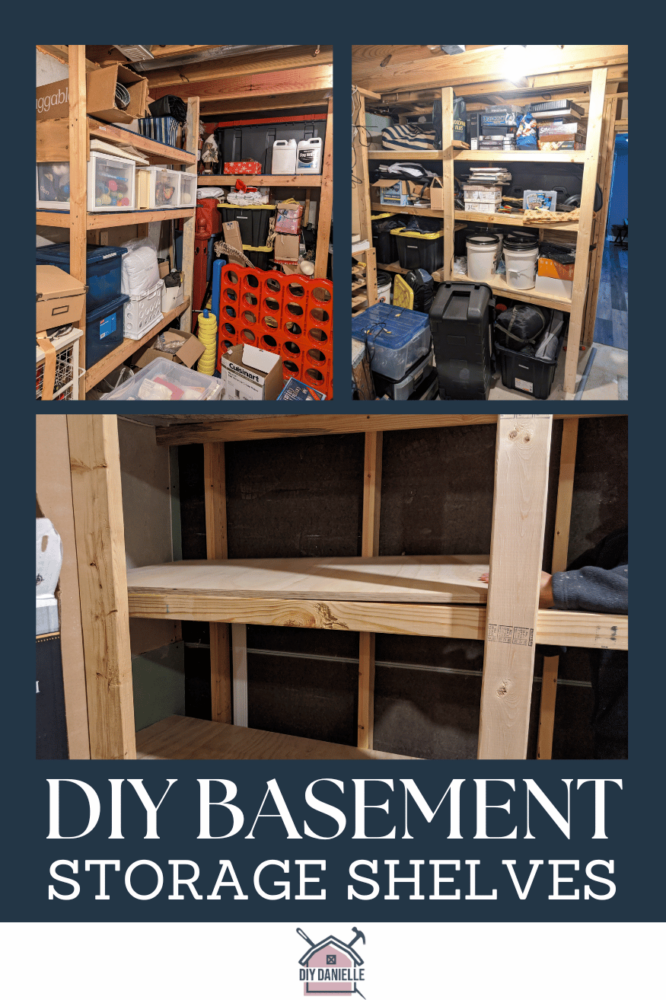
DIY Basement Storage Shelves
Supplies
- 2x4x8s, prime stud https://homedepot.sjv.io/m535PM
- Level- 9″ Torpedo Level https://homedepot.sjv.io/e0VJZ
- Screwdriver/screws
- 3/4″ plywood: you can use higher or lower quality plywood, depending on your preference. The price of a 4×8 sheet of plywood was relatively low when we did these, but at current prices I might have gone with a lower quality wood.
Options for Shelving Wood
I’m going to list the current prices, but these change ALL the time. But they tend to stay in a similar order in terms of least to most expensive. It will give you an idea how much of a price difference you’ll see between the types. The most expensive options are NICER- they look better, they’re better for furniture that you see a lot, and they are less work to sand, etc.
Using 3/4-in plywood is important so that you don’t have bowing long-term, particularly if you’re storing heavy items. 23/32 in might work as well. It’s only slightly less than 3/4 in.
You can use different qualities of wood if you want to save money, but don’t use half inch if you want the shelves to last long term. It’s better to spend the money on the 3/4 in then have to replace it later on and spend the money then.
- 3/4″ Purebond Plywood, Birch https://homedepot.sjv.io/10eem ($79)
- 3/4″ Purebond Plywood, Red Oak https://homedepot.sjv.io/Ea4Djn ($84)
- 3/4″ Purebond Plywood, Maple https://homedepot.sjv.io/3P41xA ($84)
- 23/32 in. T&G OSB Subfloor (Common: 23/32 in. x 4 ft. x 8 ft.; Actual: 0.703 in. x 47.875 in. x 95.875 in.) homedepot.sjv.io/LXb0nV ($24.78)
- 23/32 in. x 4 ft. x 8 ft. RTD Sheathing Syp homedepot.sjv.io/MXAv9P ($32.90)
- 3/4 in. x 2 ft. x 4 ft. Sande Plywood (Actual: 0.709 in. x 23.75 in. x 47.75 in.) Project Panel homedepot.sjv.io/xk4Jyx ($34.83)
Just ensure that you don’t use pressure treated wood as that will lower the air quality in the space. Pressure treated uses a lot of chemicals that you just don’t want indoors.
Your most affordable option is likely going to be 23/32 OSB which is the subfloor that is used underneath your carpet or laminate floors when they build a home. It doesn’t look the best, but for this purpose it might be perfect. And you can always cover it up with something if desired.
Shelf Size
My shelves are 28″ deep and that works well for the bins that I store on them.
However, plywood is sold in 4×8 sheets. You may benefit from trying to get the most bang for your buck in terms of your plywood. For example, you could split the 4-ft side in half and do two sets of shelving that are 24 in by 8 ft. That would get you two 8-ft shelves from one sheet of wood.
We did this project before the price of wood increased astronomically.
Tutorial
Step 1: Begin your project by measuring your walls and deciding how wide do you want your shelves to be. Make sure to account for the doorway opening and your ability to get things through the doorway easily.
Step 2: Cut your 2×4 wood to the the shelf width that you desire. If you want three shelves, cut six to that length. You need two horizontal 2x4s for each shelf.
Step 3: Decide on the height of your shelves. I like having some tall shelves but those are better at the bottom. Having more shelves spaced closer together works well at the top. Keep in mind the weight of the items that will be on the shelf. Heavier items should be on the bottom so you don’t get hurt pulling them down.
That said, wood costs money so you might just want to have a few shelves versus many shelves.
Once you’ve decided on the height of your shelf, mark it out on the studs on your wall. Do that on all of the studs and then screw your 2×4 into the middle stud at that location.

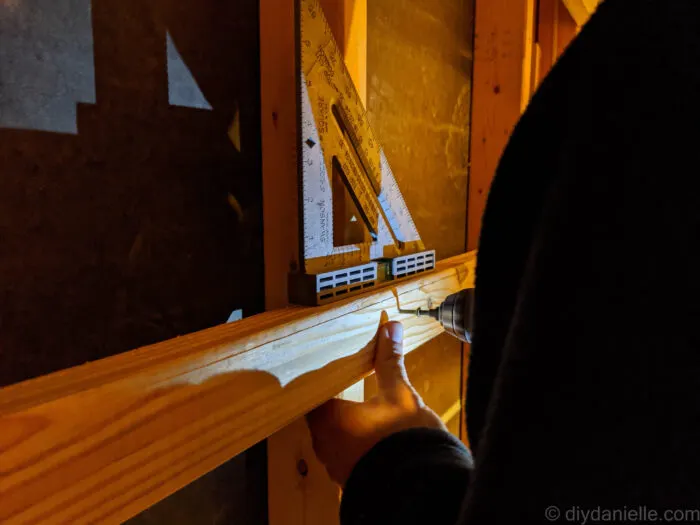
Line up the other sides of the 2×4 with your marks on the other studs and ensure that the 2×4 is level. Hopefully it is. Otherwise your floor is not (or you made a mistake).
Screw the 2×4 into each stud at the marks.

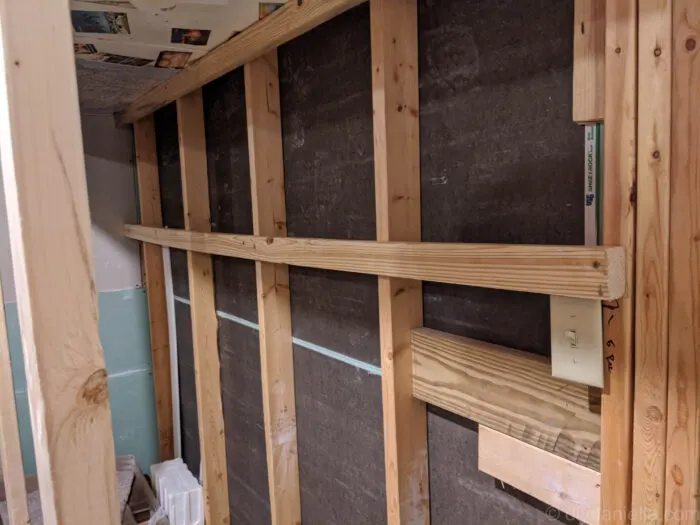
Repeat this for each shelf that you want to put up.
Step 4: Cut 2x4s that are the total desired height of your shelf unit. These will be for the vertical studs further away from the wall.
I added vertical supports for every three studs on the wall. More will block you from putting containers in easily, but will provide additional support if you have very heavy items to store.
I probably just used the 8′ 2x4s for these so I didn’t need to cut them… I like to save time when I can.
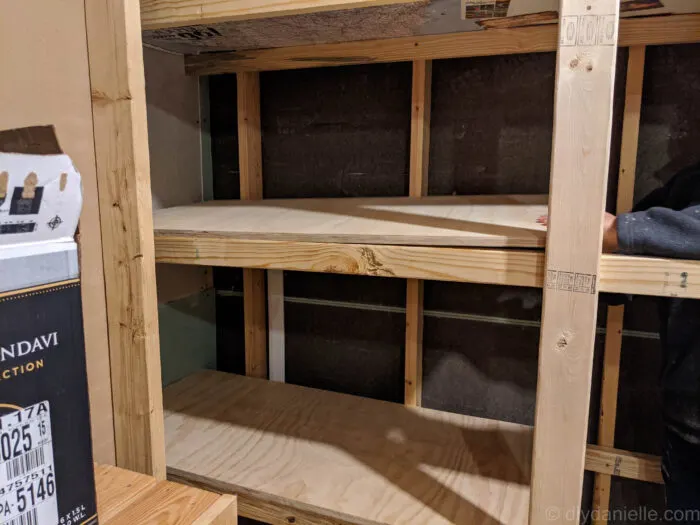
Step 5: Cut the plywood for your shelves. If you want them to be 8′ long x 24″ deep, rip your plywood into (2) 4′ wide sections. This allows you to get 2 shelves from one sheet of plywood. It’s often good to have the store do this for you as it’s only one cut for them and it’s easier to transport the plywood home.
Step 6: You’ll probably need help for this next part! Lay your first shelf down on the 2×4 that’s attached to the wall, then check to ensure it’s level. Once level, attach the supporting horizontal 2×4 to one of the vertical 2x4s. Then repeat the process for the other places that the horizontal and vertical 2x4s support the shelf. MAKE SURE THEY’RE ALL LEVEL!
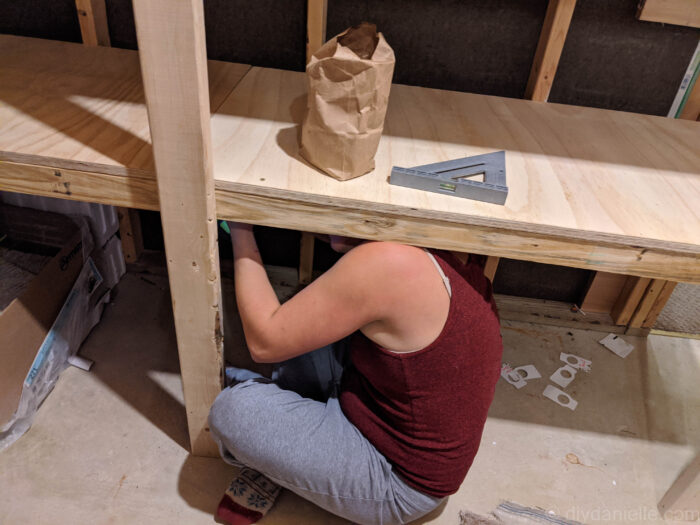

Step 7: Attach your shelf to the support horizontal 2x4s.
Step 8: Repeat for the rest of your shelves!


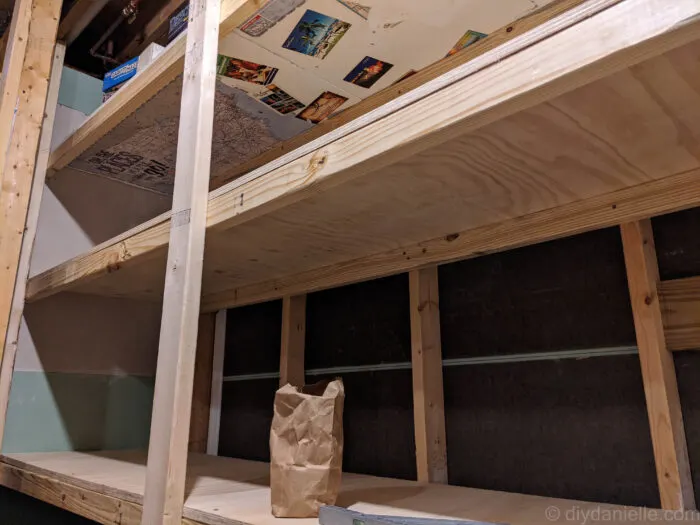
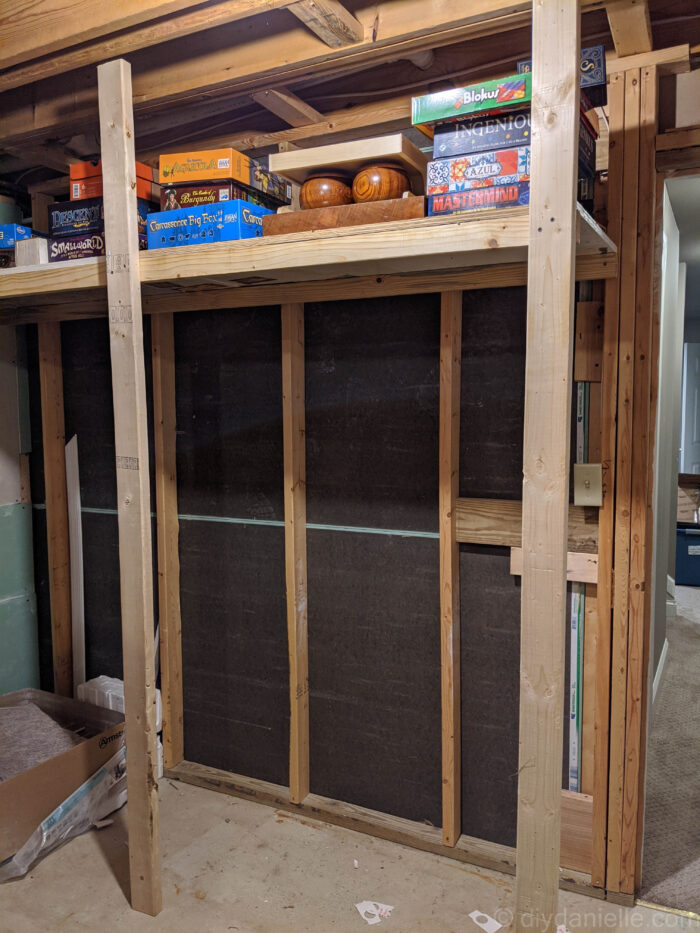
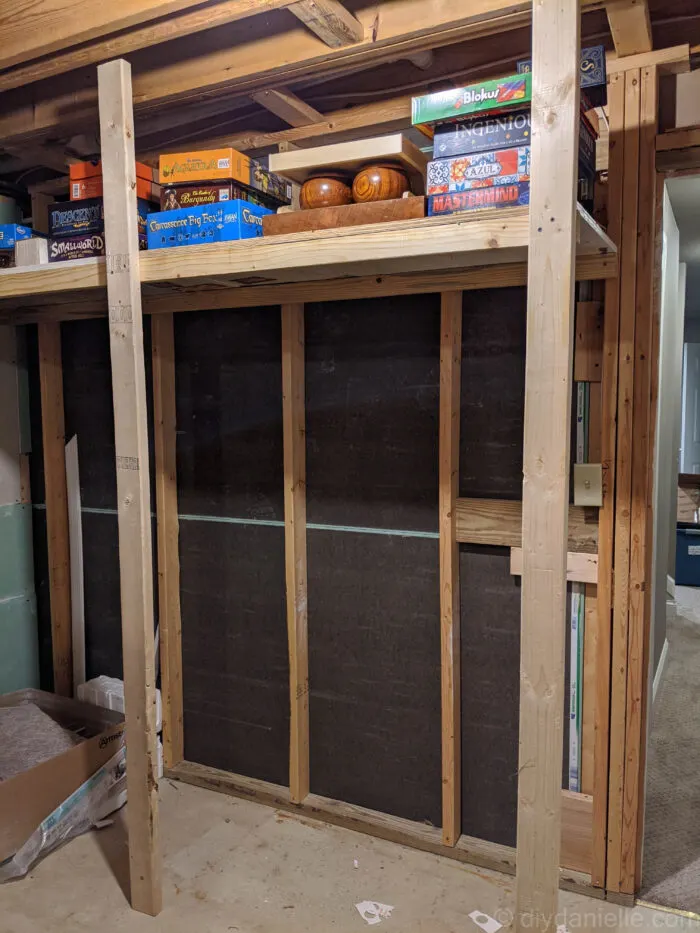
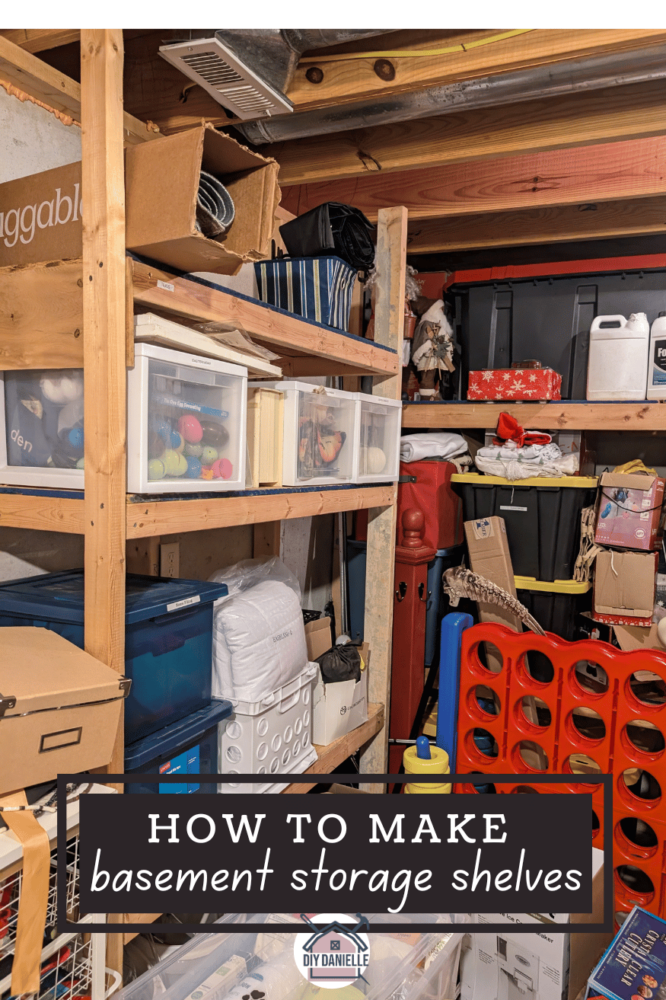
Here’s what they look like finished, and once I let our clutter take over! Haha.

Please share and pin this post! If you make this project, share it in our Stuff Mama Makes Facebook Group. We have regular giveaways for gift cards to craft stores. You can also tag me on Instagram @doityourselfdanielle; I love seeing everything you make!