A simplified step-by-step deck build outline to help you plan your DIY deck or to help you understand the process when you hire a builder.
This summer we’re putting in a deck and we debated whether we would do it ourselves or hire it out. We don’t have a lot of experience pulling permits, and we were concerned about designing the deck ourselves. We ended up hiring a company, but I’m going to talk to you about the steps that are part of the process of building a deck and I’ll share photographs throughout the stages of the build.
I write posts like this because it helps me look back if I ever decide to do this again and want to DIY it. But it also is nice to know what to expect when you hire a company to build the deck for you. This allows you to catch when THEY make mistakes (which happens).
This post may contain affiliate links which may earn me commissions should you click through them and take certain actions. As an affiliate for Amazon, Cricut, xTool, Home Depot, and other sites, I earn from qualifying purchases. Please DIY carefully. View my full legal disclosures here.
The majority of my content is generated by me, as are 99% of the photos and videos, but I utilize technology for titles, descriptions, video editing out all of my ums, and occasionally for text overlay on images.
Please read the whole post so you don’t miss any important information!
Selecting a Contractor
If you decide to hire a contractor, you should get THREE quotes minimum. Try to ensure that you’re comparing apples to apples.
Before getting a quote from a contractor, check out their:
- Google Reviews
- Ensure they’re licensed and insured.
- Look at finished photos of their projects (ideally making sure you’re not looking at a stock photo).
- Ask them what the timeline would be for a deck project and make sure it works for your schedule.
- Ask them what type of deposit they want if you choose them for the project. I don’t like to work with anyone who requires 100% of the cost paid upfront. There’s too much room for them to run off with the money.
This saves you the effort of taking time to meet with them if they won’t be a good fit.
Once you’ve narrowed the list down to 3-4 different companies, set up to meet with them and get a quote. If you already have the deck sketched out, this helps to ensure that your quotes can be compared easily.
Don’t hire a contractor exclusively based on how much they’re charging. As much as I like a good deal, I will go with a slightly higher price if I like the contractor and think they’ll be easy to work with. And some prices are just suspect for being too high or too low.
Some companies also have a ton of overhead as they might have warehouses and all sorts of other stuff. I find they have inflated prices which I don’t want to pay. I’d rather hire a smaller contractor.
Deck Planning
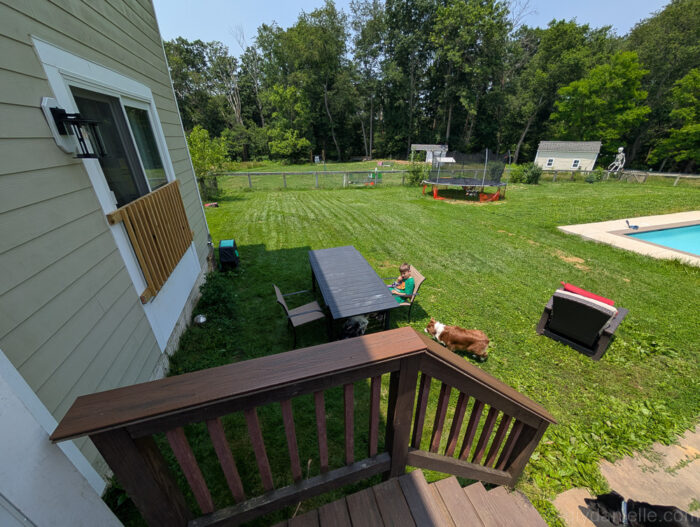
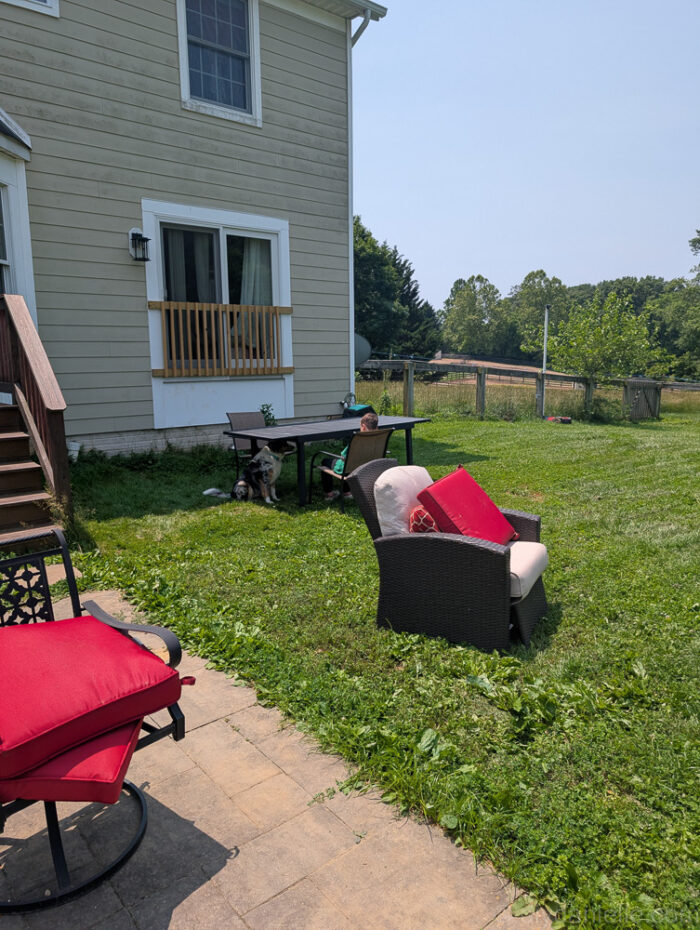
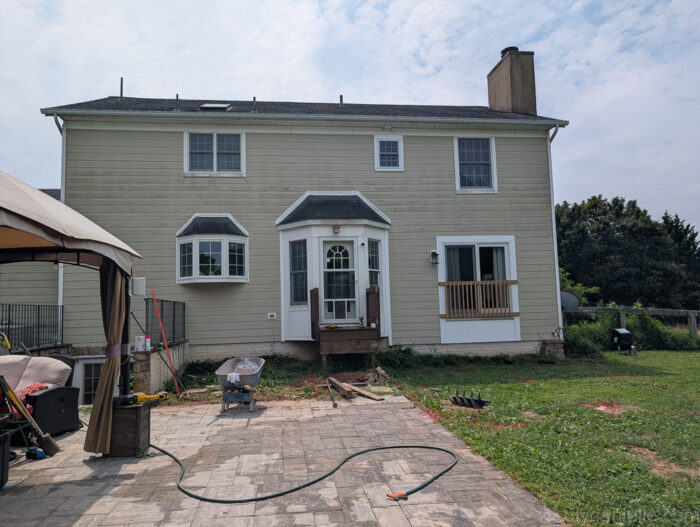
Once we chose a plan and deck contractor, I setup the yard as if the deck was there already. This allowed me to picture the size and spacing.
I often use ground spray paint, a measuring tape, and furniture to work out ideas like this.
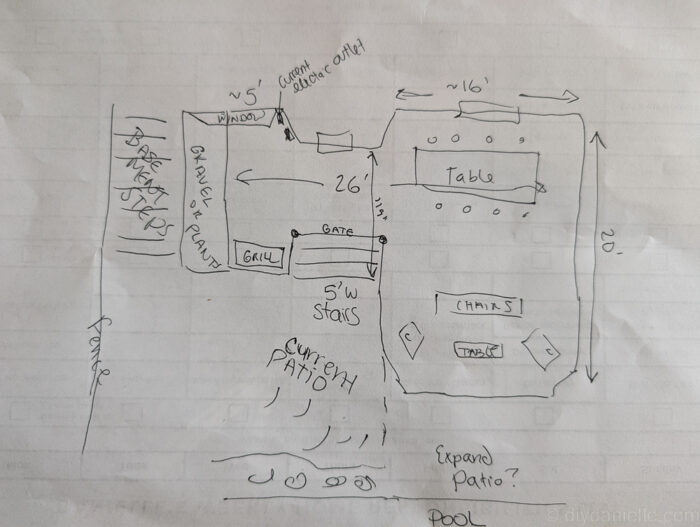
Affordable Deck Choices
Decks can get really expensive depending on your choices. I like to ask if certain colors or materials impact price. I am willing to pay more for materials that have a lower maintenance cost to them. I personally stay away from wood for this reason.
Pricing increases as:
- Square footage/size increases
- The deck gets more complicated… curves, planters, lighting… these are add-on costs. A plain rectangle is going to be the most affordable option.
- I was told by the builder that if we wanted a cover over the deck, we would be paying two to three times as much.
🪚 Simplified Deck Build Steps
- Plan & Get Permits
- Decide deck size, height, and design
- Check local building codes & HOA rules
- Apply for a permit if required
If you’re hiring a contractor, this is where you’ll meet with them, review your deck plans, and they will give you a detailed contract explaining what their price includes. You’ll sign this and give them a small deposit. They will submit for a permit.
In our case, the county came out to our property before the permit was given, but I doubt this is typical. They just wanted to ensure the placement of our septic and well before permitting and that they weren’t in obvious disrepair.
Getting the permit can take a few weeks.
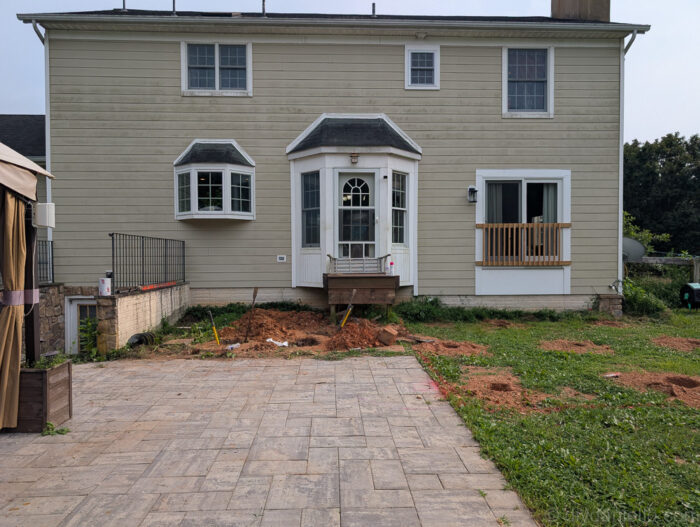
- Mark & Prepare the Site
- Mark deck outline with stakes & string
- Remove grass/vegetation
- Level the ground
The contractor or DIY’er, at least in Maryland, MUST contact Ms. Utility to get any underground wiring marked… this helps prevent you from hitting the electric lines, cable, etc. This sometimes takes 1-2 weeks to get them to come out. Even though our deck is being built behind our house where Ms. Utility WILL NOT mark (and where there aren’t any underground utilities), we still needed this done to begin the build.
I’m fairly aware of where things are buried on our property and Ms. Utility doesn’t mark utilities that aren’t public… so if we were doing a project in a potentially concerning area, I think they would need to have an outside company come in to mark things. For example, we have a pool near the deck and we’d want to make sure that the plumbing for the pool wasn’t hit.
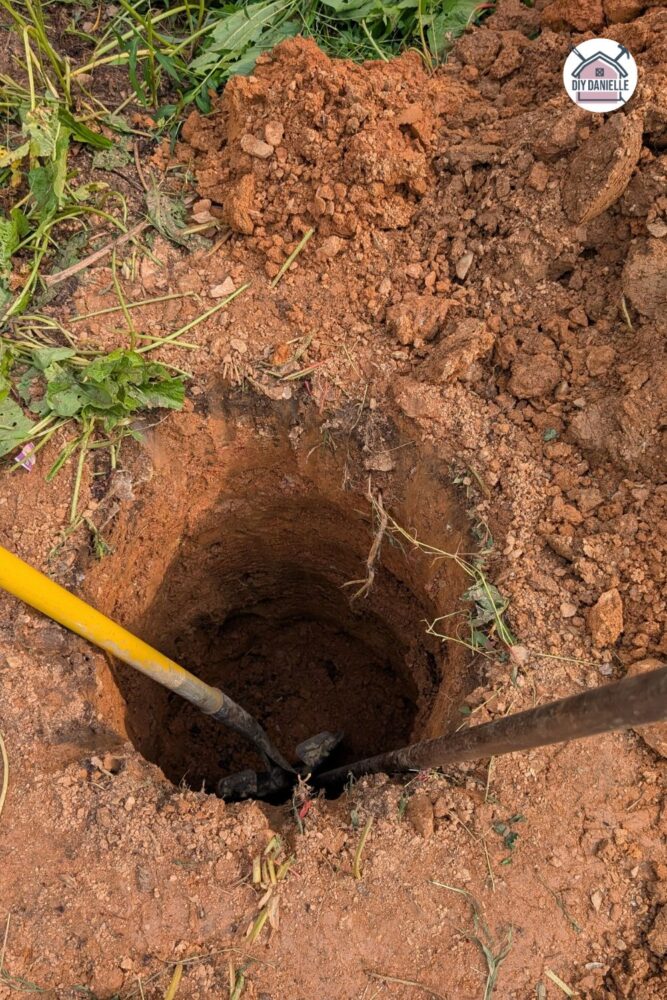
- Set Footings/Posts
- Dig holes to code depth (frost line- this frost line is dependent on your zone)
- Pour concrete & insert post anchors
- Set posts vertically in anchors
- Install Ledger Board (if attached to house)
- Attach securely to house framing with lag bolts
- Flash to prevent water damage
In our case, the deck is free standing.
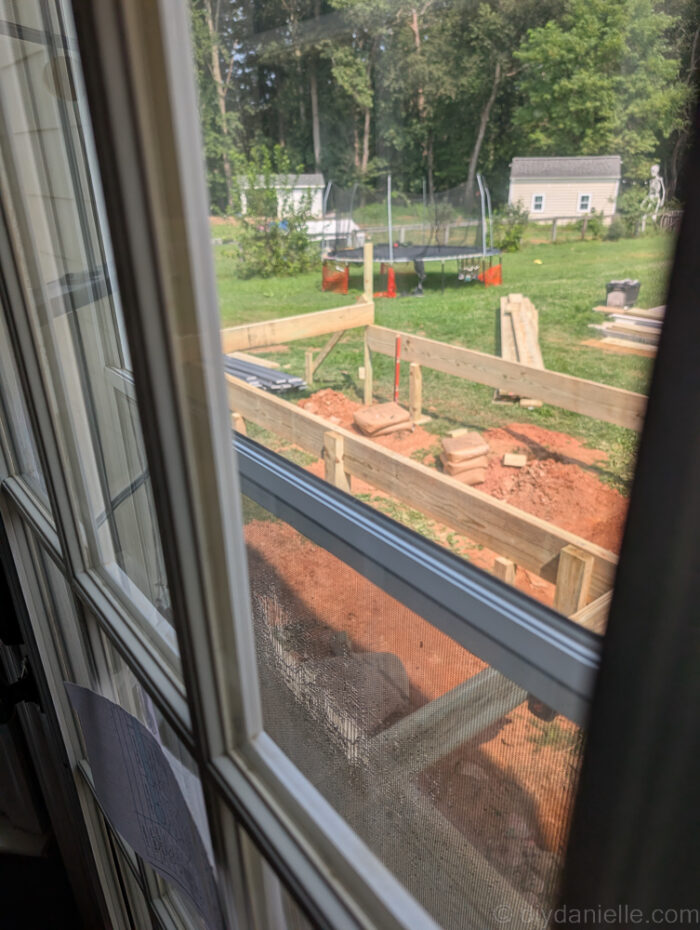
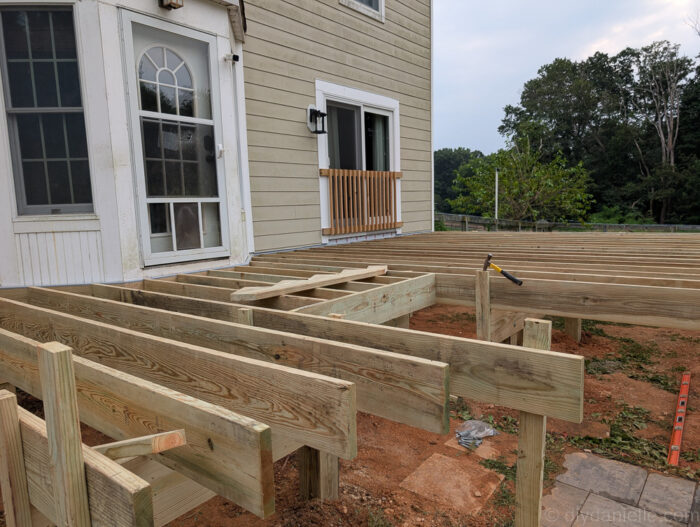
- Build the Frame
- Install beams to posts
- Add joists (spacing per code, usually 16″ on center)
- Check for square and level
- Add Deck Boards
- Lay boards perpendicular to joists
- Space boards evenly (⅛–¼”)
- Screw or fasten securely
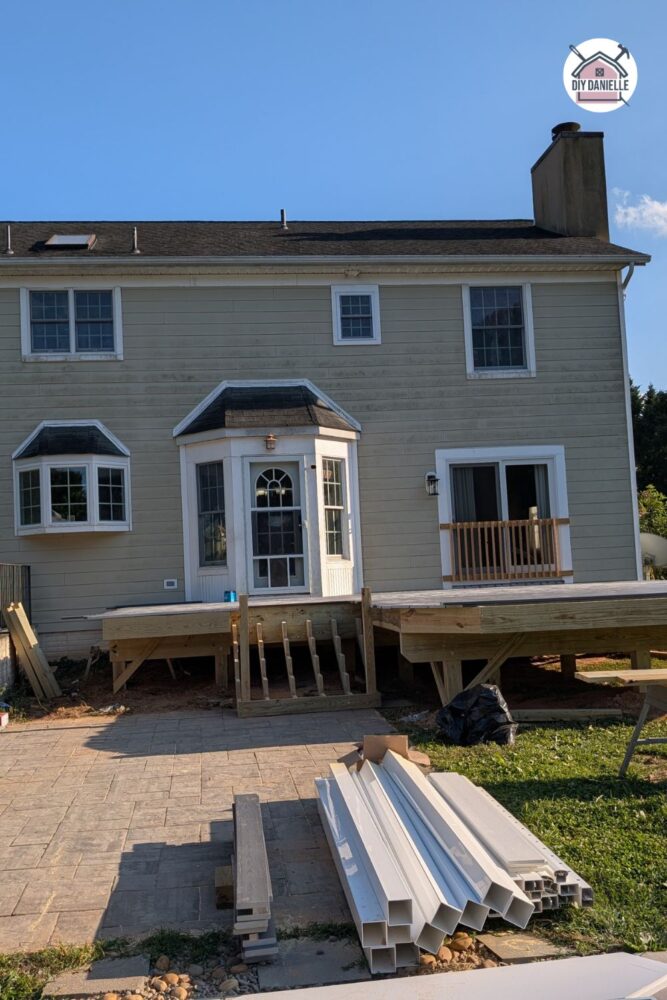
- Install Railings & Stairs
- Attach posts, top/bottom rails, balusters
- Build stairs per rise/run code requirements
- Finish
- Sand any rough edges, if applicable.
- Apply stain, paint, or sealant for weather protection, if applicable.
Deck Details
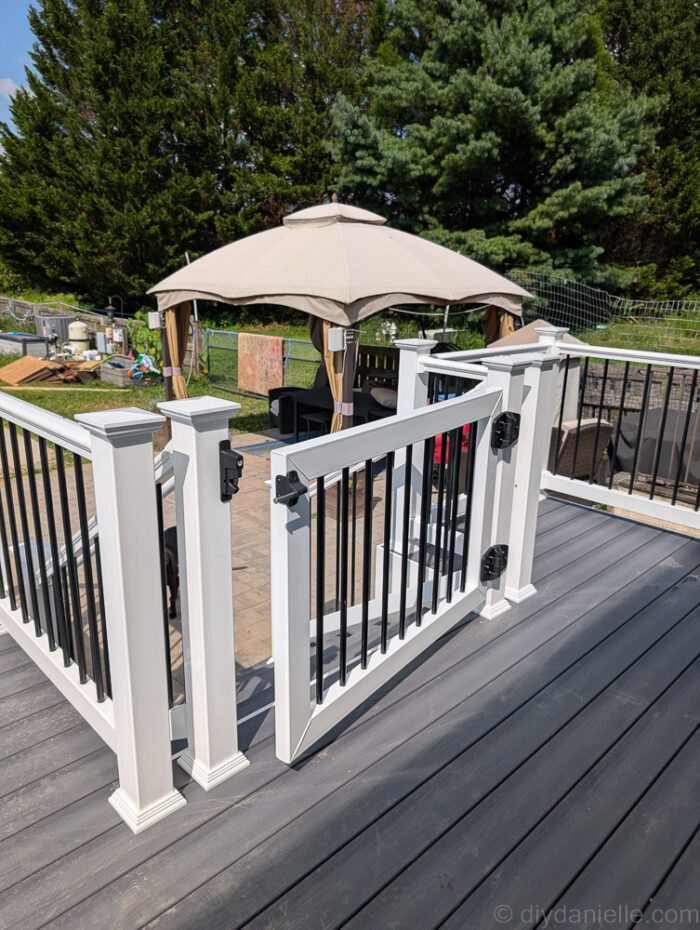
Deck Planks: Endeck Forest Series by Eastern Metal Supply, Slate
Deck Railing: Vinyl white railing with black rails.
Optional Items:
- Gate
- Deck stairs
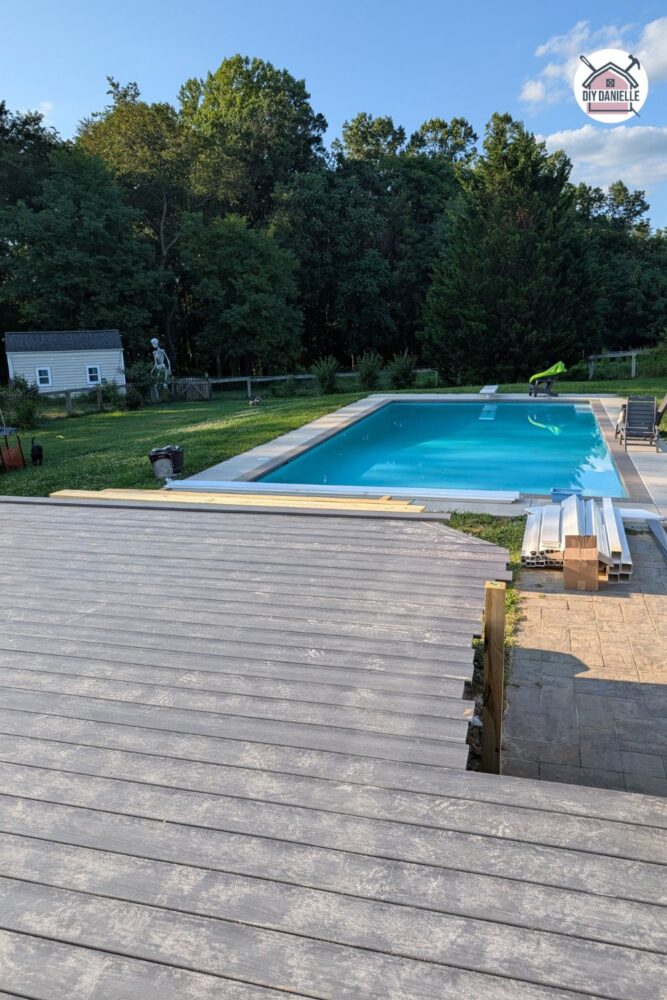
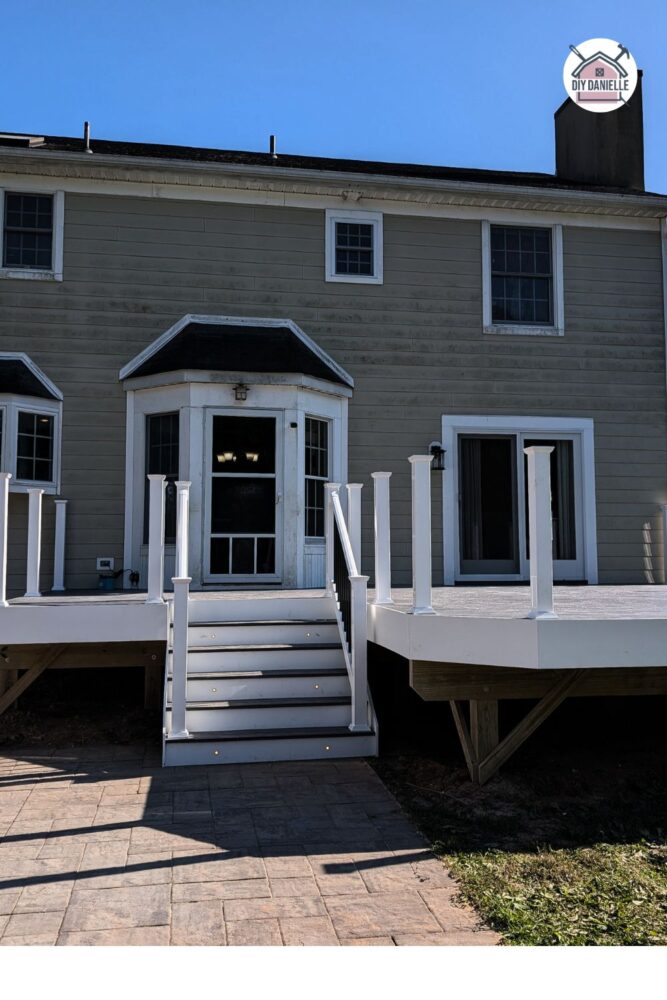
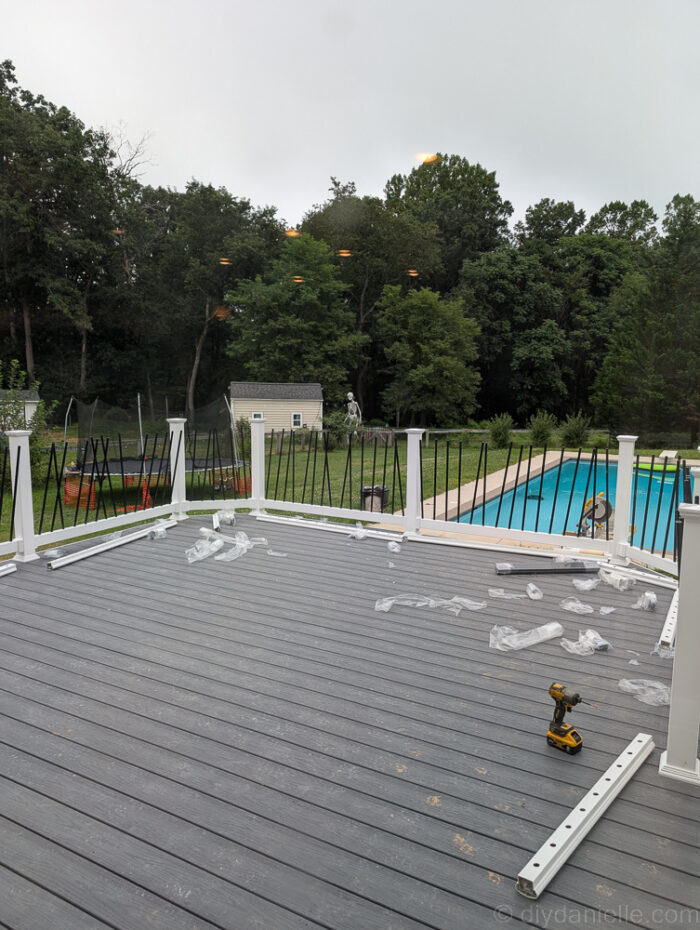
Process Photos of the Deck Build
They began to dig the holes for the posts.
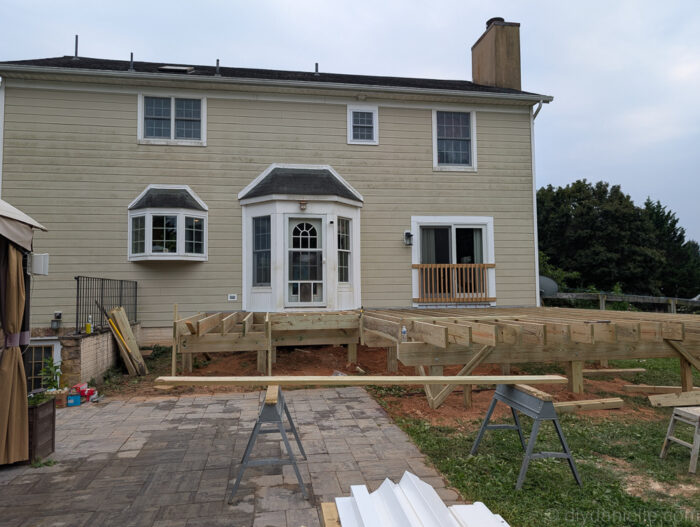
Beginning the deck build.
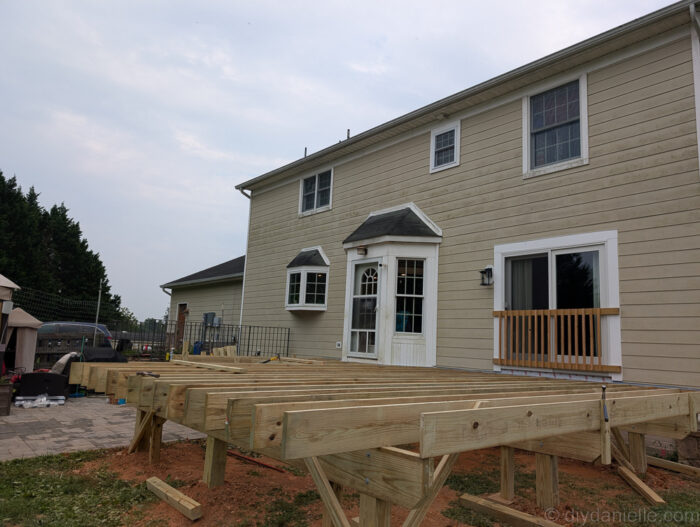
The deck boards were installed, then the railings started to get put up.
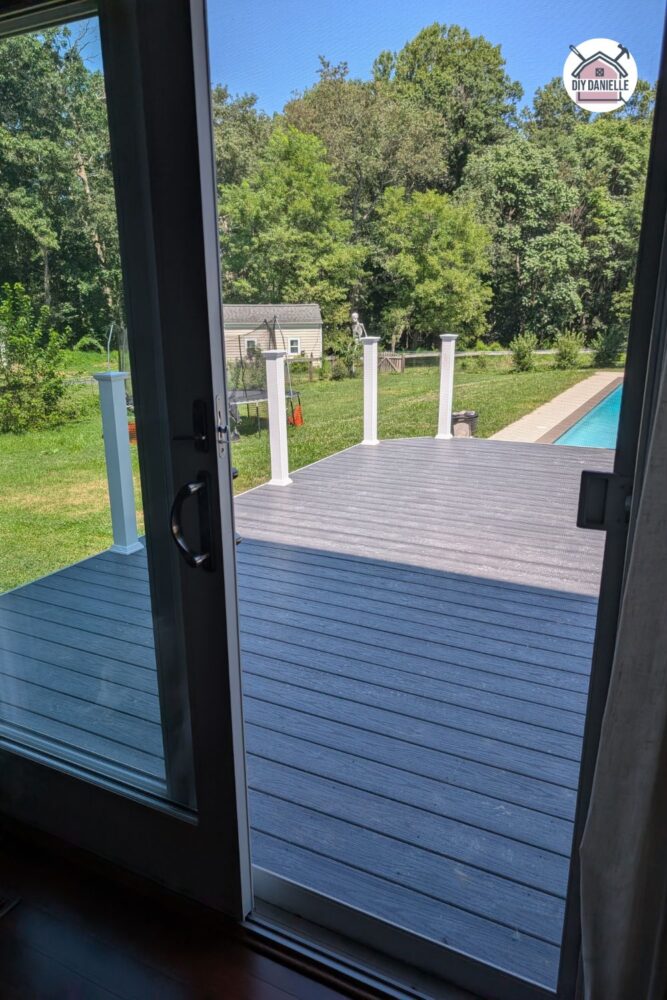
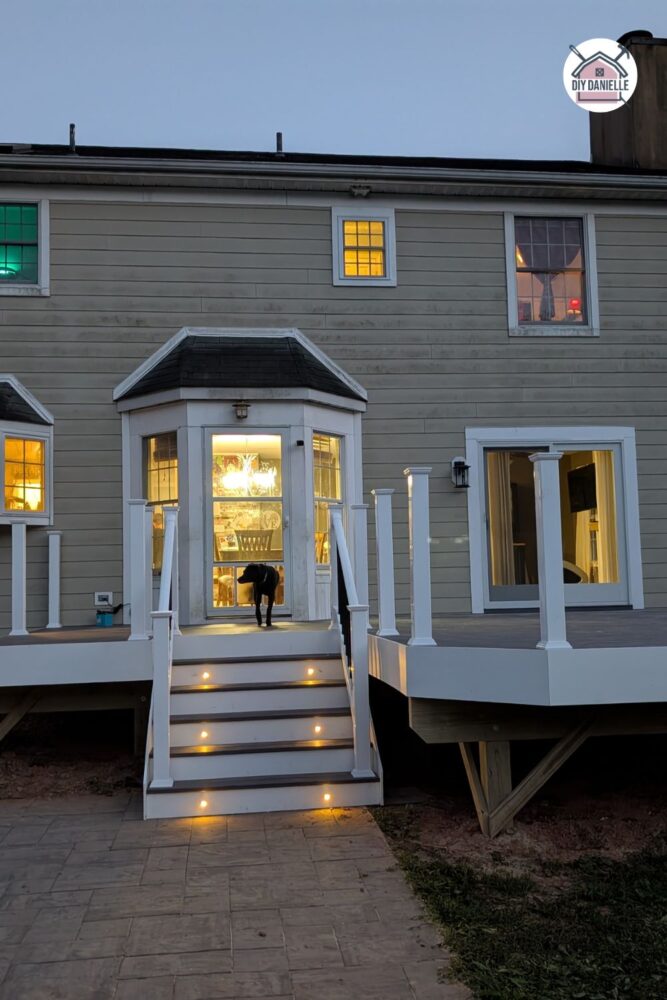
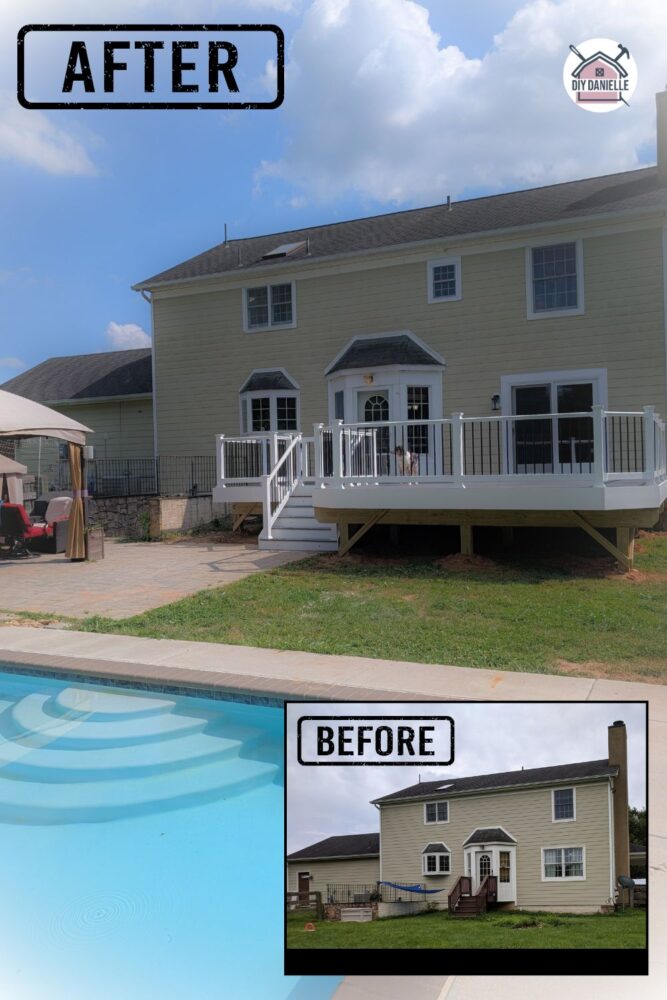
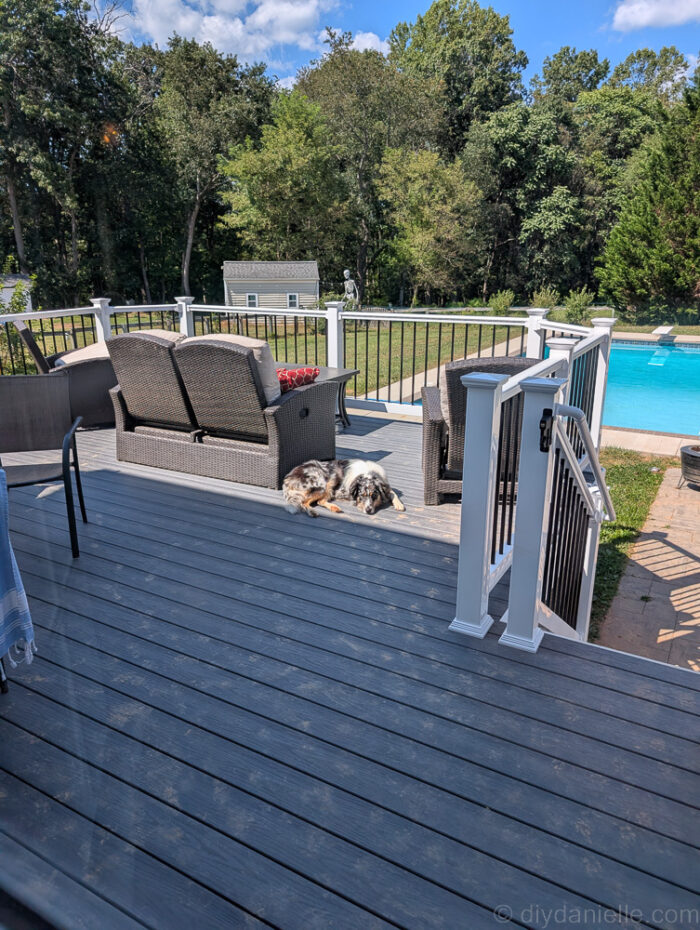
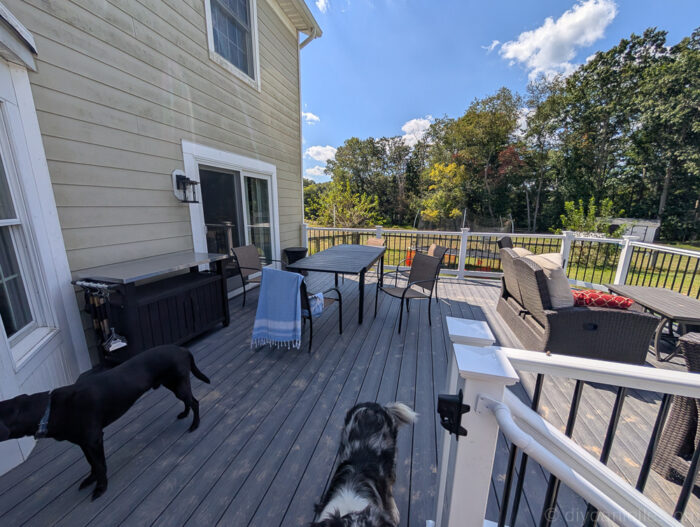
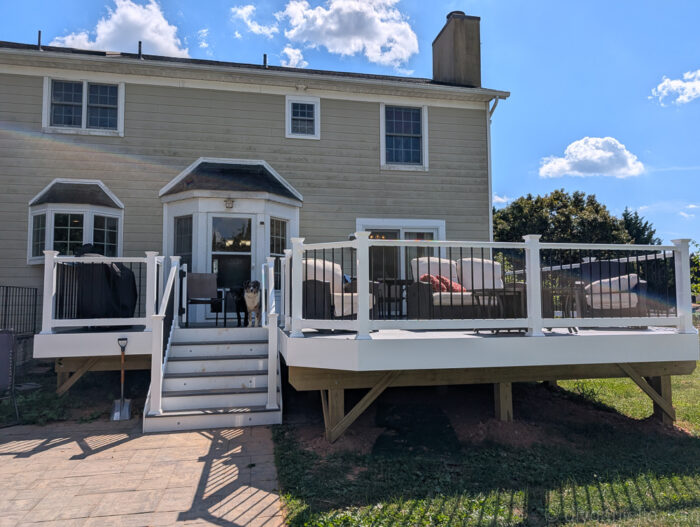
Final Photos
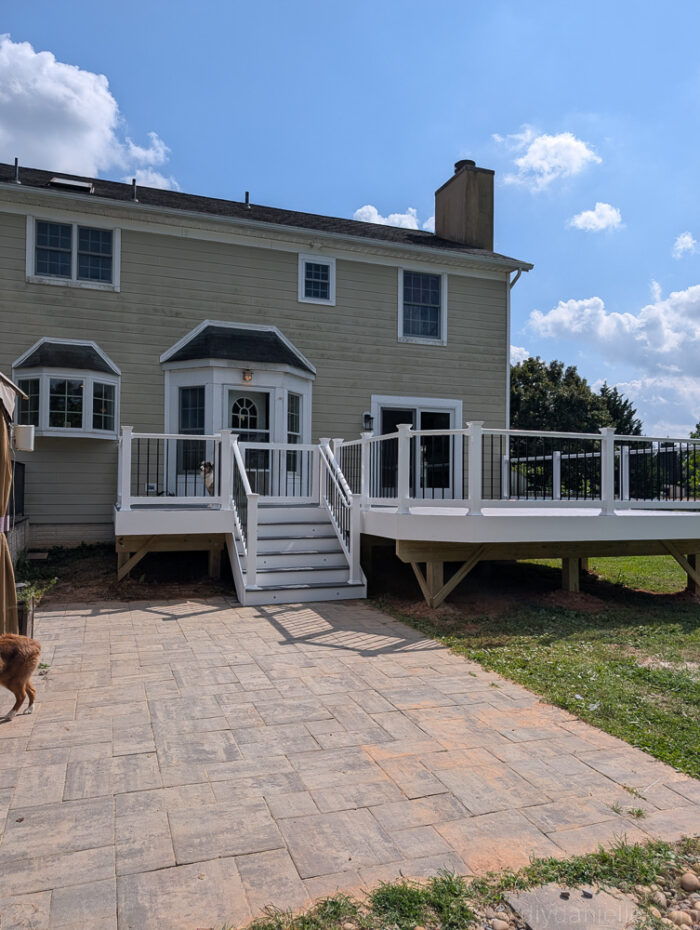
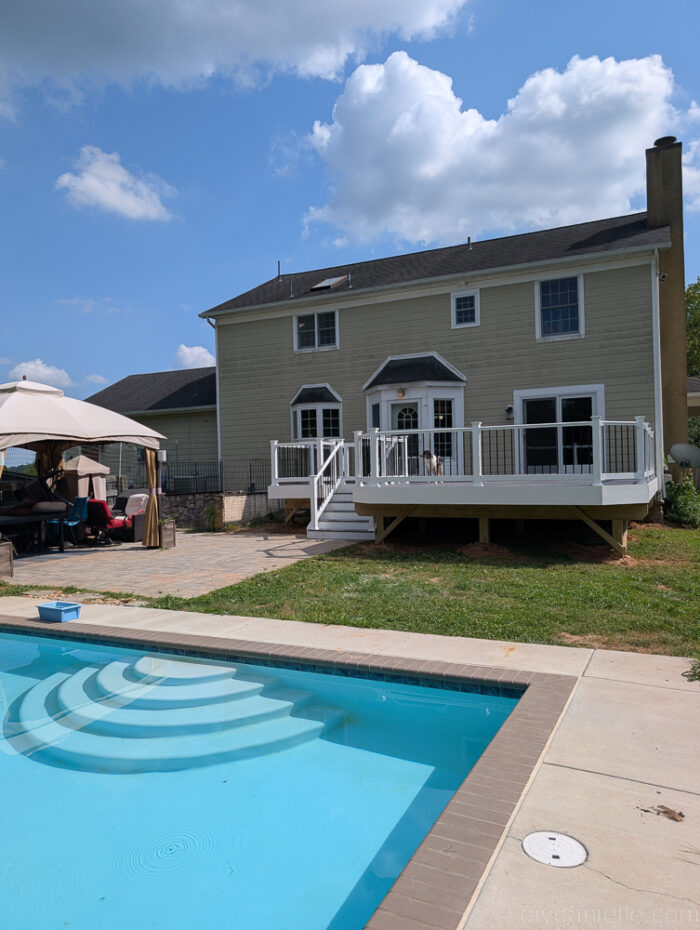
This is the deck once we had our furniture setup on it… despite the lack of rain, our dogs managed to trek mud over it and the lack of rain means that the deck hasn’t been rinsed off.
I’ll eventually power wash the back of our house, rinse the deck, and take some new photos, but these are it for now!
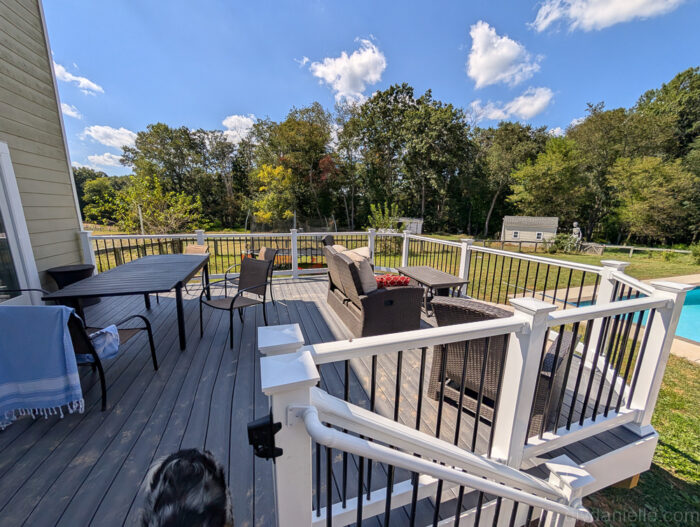
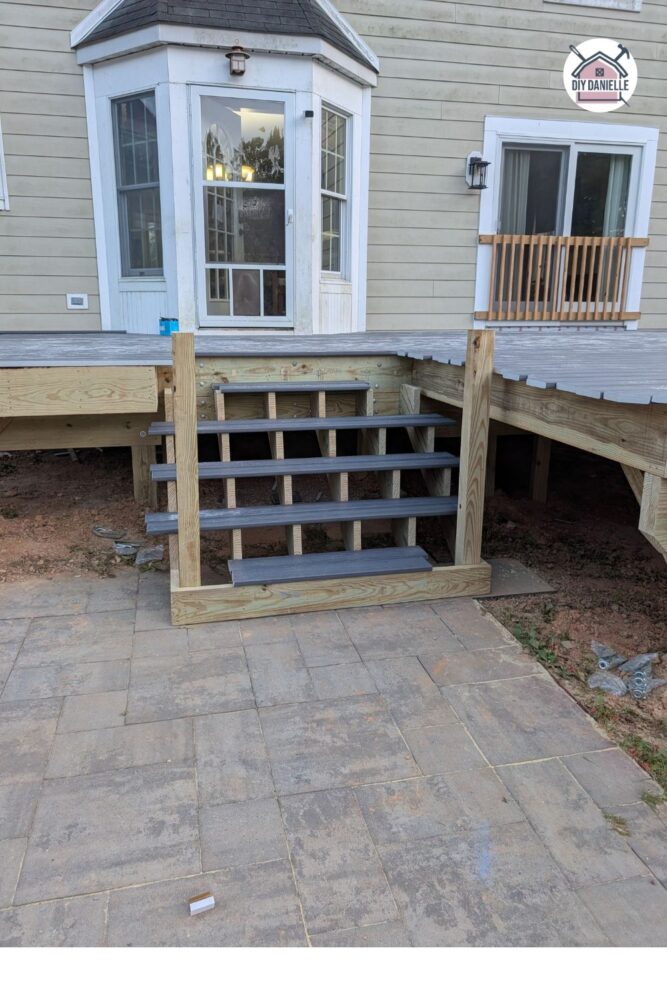
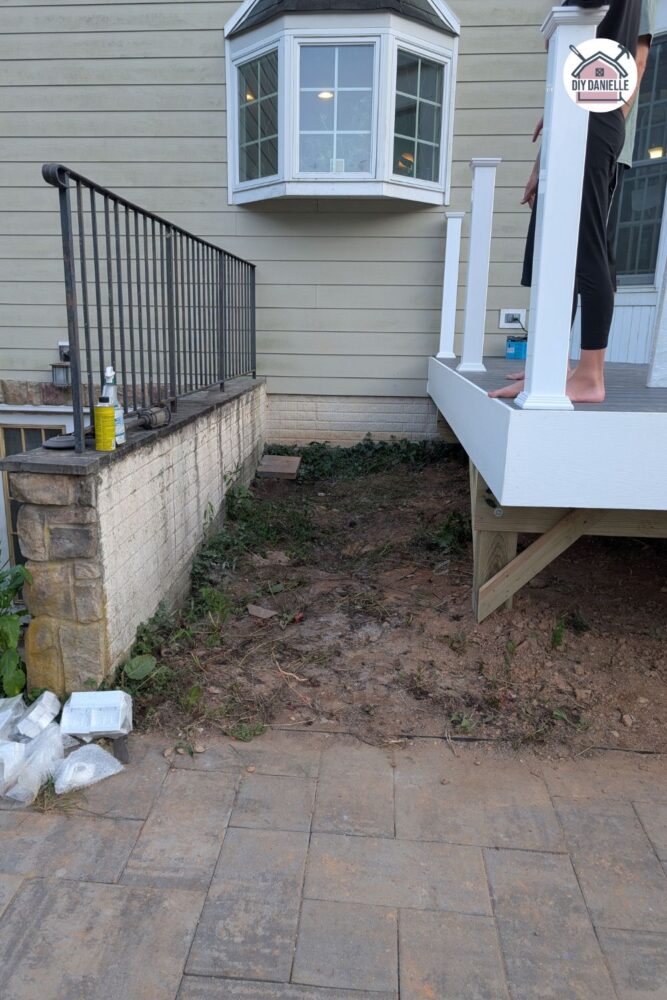
There’s a gap between the steps and the deck- any ideas for low effort ways to fix this up? I want it to be easy to maintain.
Please share and pin this post! You can also post your project and tag the DIYDanielle team on Instagram @doityourselfdanielle!