
Learn how to properly install T-posts for fences, gardens, and livestock enclosures with step-by-step tips for secure and long-lasting results.
This post may contain affiliate links which may earn me commissions should you click through them and take certain actions. As an affiliate for Amazon, Cricut, xTool, Home Depot, and other sites, I earn from qualifying purchases. Please DIY carefully. View my full legal disclosures here.
The majority of my content is generated by me, as are 99% of the photos and videos, but I utilize technology for titles, descriptions, video editing out all of my ums, and occasionally for text overlay on images.
Please read the whole post so you don’t miss any important information!
Supplies for Installing T Posts
- T-posts (6.5–8 ft, with anchor plate) – quantity = fence length ÷ spacing
Example: 100 ft at 10 ft spacing ≈ 10–11 posts - End/corner assemblies (recommended): treated wood posts + brace rails or H-braces
- Gate hardware (if a gate is planned)
- T-post caps (safety, highly recommended around horses)
- T-post driver (manual “pounder”) or sledgehammer
- Measuring tape & marking paint/flags
- String line or laser for straight runs
- Digging bar (to probe/pilot in rocky soil)
- Gloves (leather)
- Eye protection
- Hearing protection (when driving many posts)
- Steel-toe boots
- Soil tamper (firm up around loose posts)
- Portable water (soften hard ground)
How to Install a T Post
- Gather tools: T-post, measuring tape, string line, T-post driver, level, gloves/eye/ear protection, optional post cap.
- Mark the line & spacing: Run a tight string for a straight fence. Mark post locations (common spacing: 8–12 ft; closer for high tension).
- Set orientation: Point the studs/lugs on the T-post toward the fence wire (usually the livestock side) to help hold wire in place.
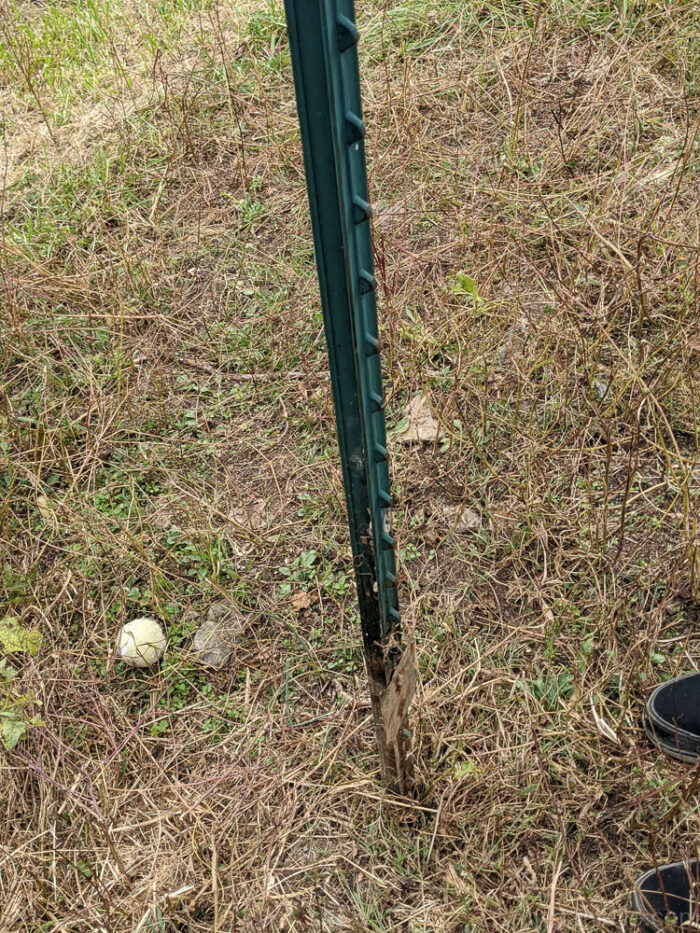
- Start the post: Stand the T-post on the mark with the anchor plate at the bottom. Press or tap to seat it.
Tip: In rocky ground, pre-pilot with a digging bar; in very soft ground, tamp soil around the post after driving for a tighter set. - Drive the post: Slide the T-post driver over the top and drive straight down until the anchor plate is fully below grade (often 18–24″ in the ground, or to local code/frost depth).
- Plumb it: Check with a level; correct by tapping from the side if needed.
- Cap it (optional but safer): Add a T-post cap/insulator to protect humans and animals.
- Attach fence: I won’t get into the details of this because it’s dependent on your type of fence, but this is what you’ll do next! If you
Please share and pin this post! You can also post your project and tag the DIYDanielle team on Instagram @doityourselfdanielle!