
Build DIY remote operated triggers for Halloween props! Control scares from a distance and make your haunted setup interactive and unforgettable.
We added remotes to our animatronics for our Halloween trail and it’s a great way to control when your props go off so you can get the scare timing down right!
This post may contain affiliate links which may earn me commissions should you click through them and take certain actions. As an affiliate for Amazon, Cricut, xTool, Home Depot, and other sites, I earn from qualifying purchases. Please DIY carefully. View my full legal disclosures here.
The majority of my content is generated by me, as are 99% of the photos and videos, but I utilize technology for titles, descriptions, video editing out all of my ums, and occasionally for text overlay on images.
Please read the whole post so you don’t miss any important information!
DIY Remote Operated Triggers for Halloween Props
Project Supplies
- 10pcs Upgraded Tiny Whoop JST-PH 2.0 Male and Female Connector Cable for Battery JJRC H36 H67 Blade Inductrix E010 E013: https://amzn.to/3Kj0zF4 ($7)
- 12 Pcs/1 Dozen 12V 23A Battery Spring Clip Black Plastic 1x23A Battery Case Holder Box 4.3 Inch Black Red Wire Leads: https://amzn.to/47WK5fD ($8)
- LiCB A23 23A 12V Alkaline Battery (5-Pack): https://amzn.to/46SgKlo or buy the Energizer brand: https://amzn.to/4ntXy3y
- eMylo Automatic DC 12v 15 X 1 Channel Remote Control Switch Wireless Momentary Switch 433Mhz Wireless Relay Transmitter with Receiver, Normally Open: https://amzn.to/3VwwEeW ($67)
- RIIEYOCA 3.5mm Male Plug to Bare Wire Stereo Audio Cable,1/8″ TS 2 Pole Mono Male Plug to Open End Audio Line, for and Audio Equipment Installed or Replace Repair(4 Pack): https://amzn.to/42dFiTn ($9)
Rough cost: $91 + batteries*
*We got the off brand batteries and they died REALLY quickly. We aren’t sure if the project just eats a lot of battery life used as is, or if the batteries just were awful.
Step by Step Instructions
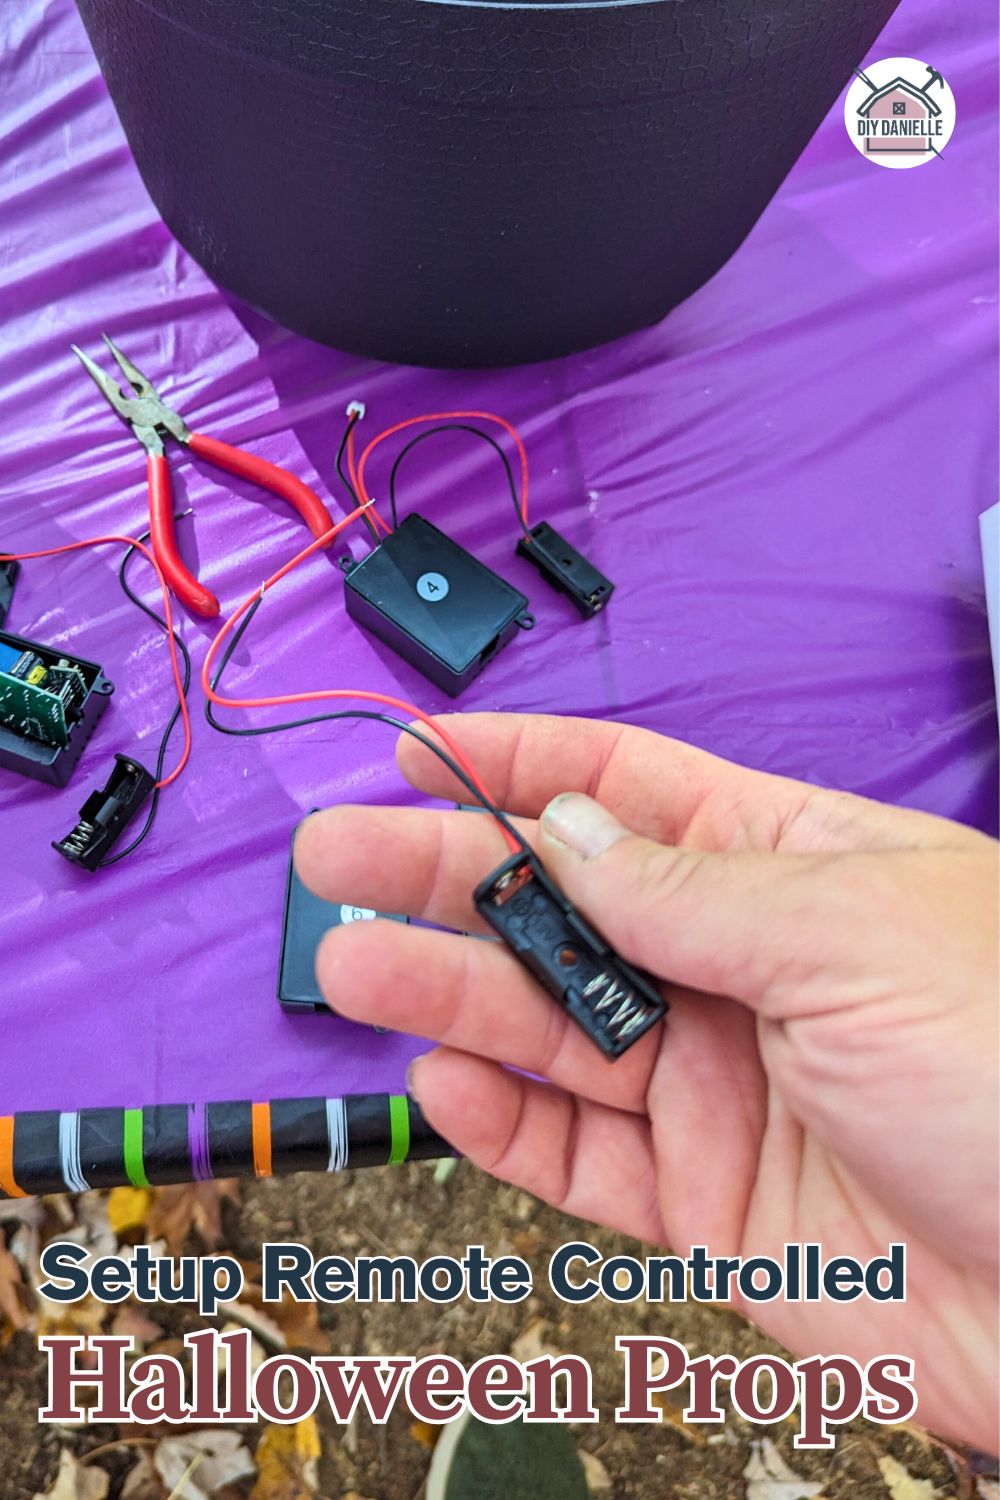
Step 1: Take your 12V batteries and put them in the remote. Each remote has 15 channels each and you can associate each channel with one device (aka Halloween animatronic).
Step 2: Attach a battery case holder to each Wireless Relay Transmitter.

You’ll need one relay transmitter per animatronic that you’d like connected). Red wire goes to “in +” and black wire goes to “in -.”
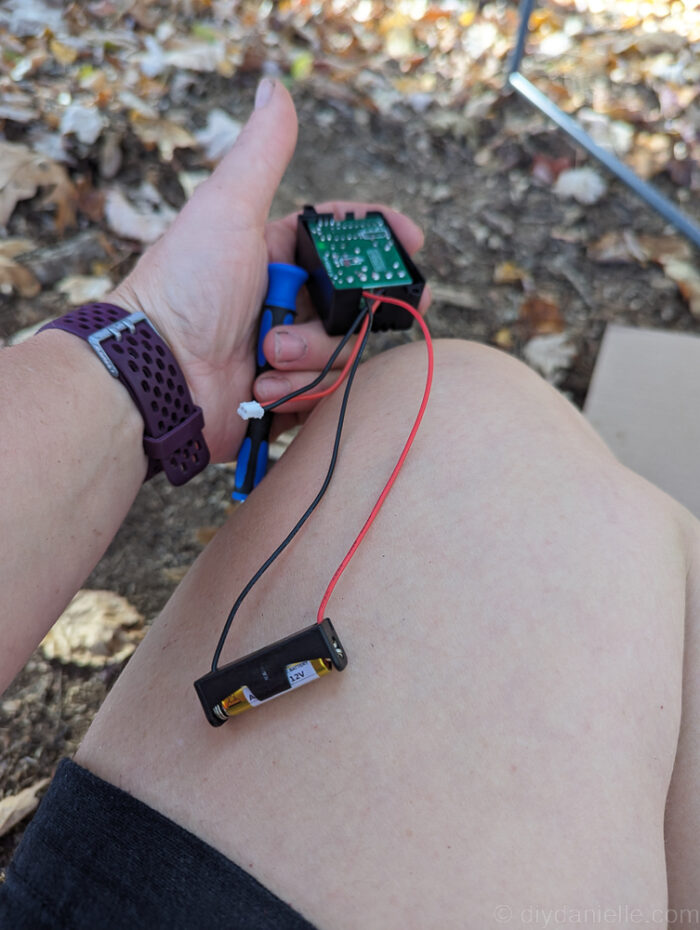
This POWERS the device (not the animatronic, but the relay). It stays on as long as there’s a battery in it- if it wasn’t, it wouldn’t be able to receive the message from the remote to turn it on.
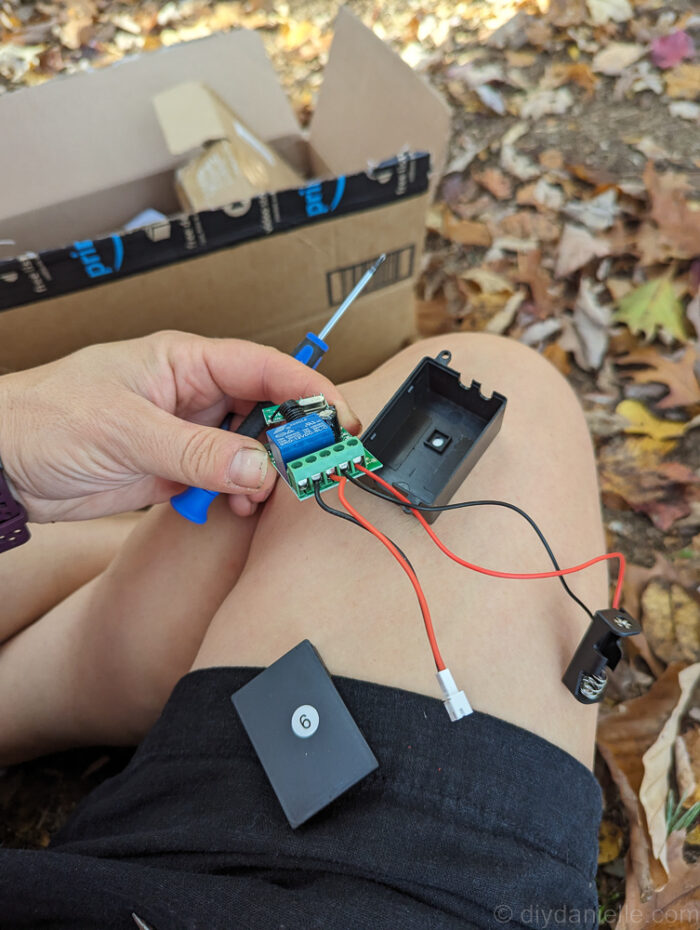
Step 3: The other cord with the white end attaches to your animatronic. Install that, but don’t attach it yet.
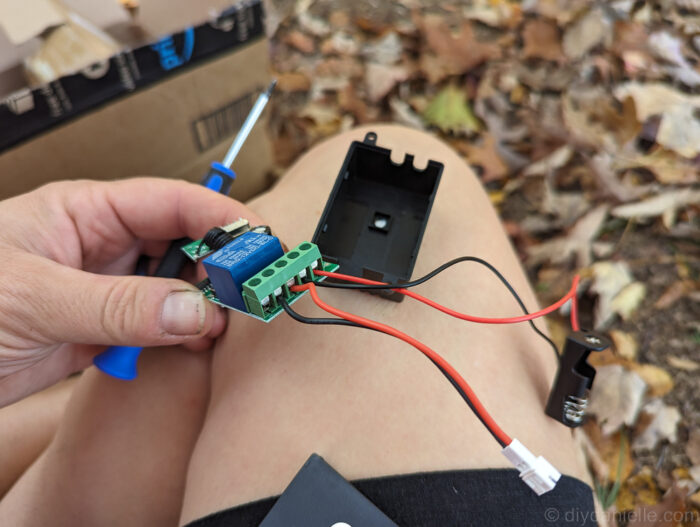
Step 4: Each box has a number on the back. This can help keep it straight so you can remember which button goes to which animatronic.
Step 5: Program your receiver.
I’m going to try to explain, but I recommend eyeballing the manual.
MODE: This sets how it works when you press the button.
i.e. Press button and it closes switch and stays closed until pressed again, pressed button and stays closed until you release the button, etc.
We went with the hold and press. We held the black button down until it blinks. It will turn to green to red to green, red then green. That sets Mode 1.
Once you set the mode, you need to re-pair the remote button with the receiver. They lose the connection to their original number. Obviously, if you use the same number on the box, that will help you stay organized.
To pair, hold the remote button that you want to pair it to. Test to see if it clicks when you hit the button.
Step 6: Add your cover back on the receiver.
Step 7: Hook up the receiver to your desired animatronic.
Notes on Battery Life
We believe that the batteries last 7 hours if not removed when not in use. Battery capacity is 52 mAMP hours for the batteries that we bought. Energizer lists theirs as only 33 mAMP hours.
My husband thinks that the 12V battery isn’t the most optimal for this purpose and that another battery type may be better. If we wanted to use a AAA or AA, we’d need 8 batteries in each pack (they’re 1.5V), but he thinks they would last longer.
He also thinks that it might work off 9V as he played around with it and turned it down, and it was still working. The 9V battery should last quite a bit longer than the 12V (maybe 70 hrs total battery life).
If that works, we could replace the battery pack with this product:
- (Pack of 5) 9v Battery Holder, 9 Volt Battery Holder with Switch, 9v Battery Case with Switch: https://amzn.to/4gNCz9e.
The benefit to the case above is that it has a switch so instead of taking batteries out after each trail, I can just flip the switches into off position. We have a week or two between the two trail dates and nobody is going to see the decorations between those two dates so it’s better to turn it all off to conserve batteries.
I’m probably going to order it and see if it works so leave a comment with a reminder if I don’t update the post with the details of how it works!
Note that the remote will still need the 12v batteries, but those should only use battery when the button is pressed.
Please share and pin this post! You can also post your project and tag the DIYDanielle team on Instagram @doityourselfdanielle!
