
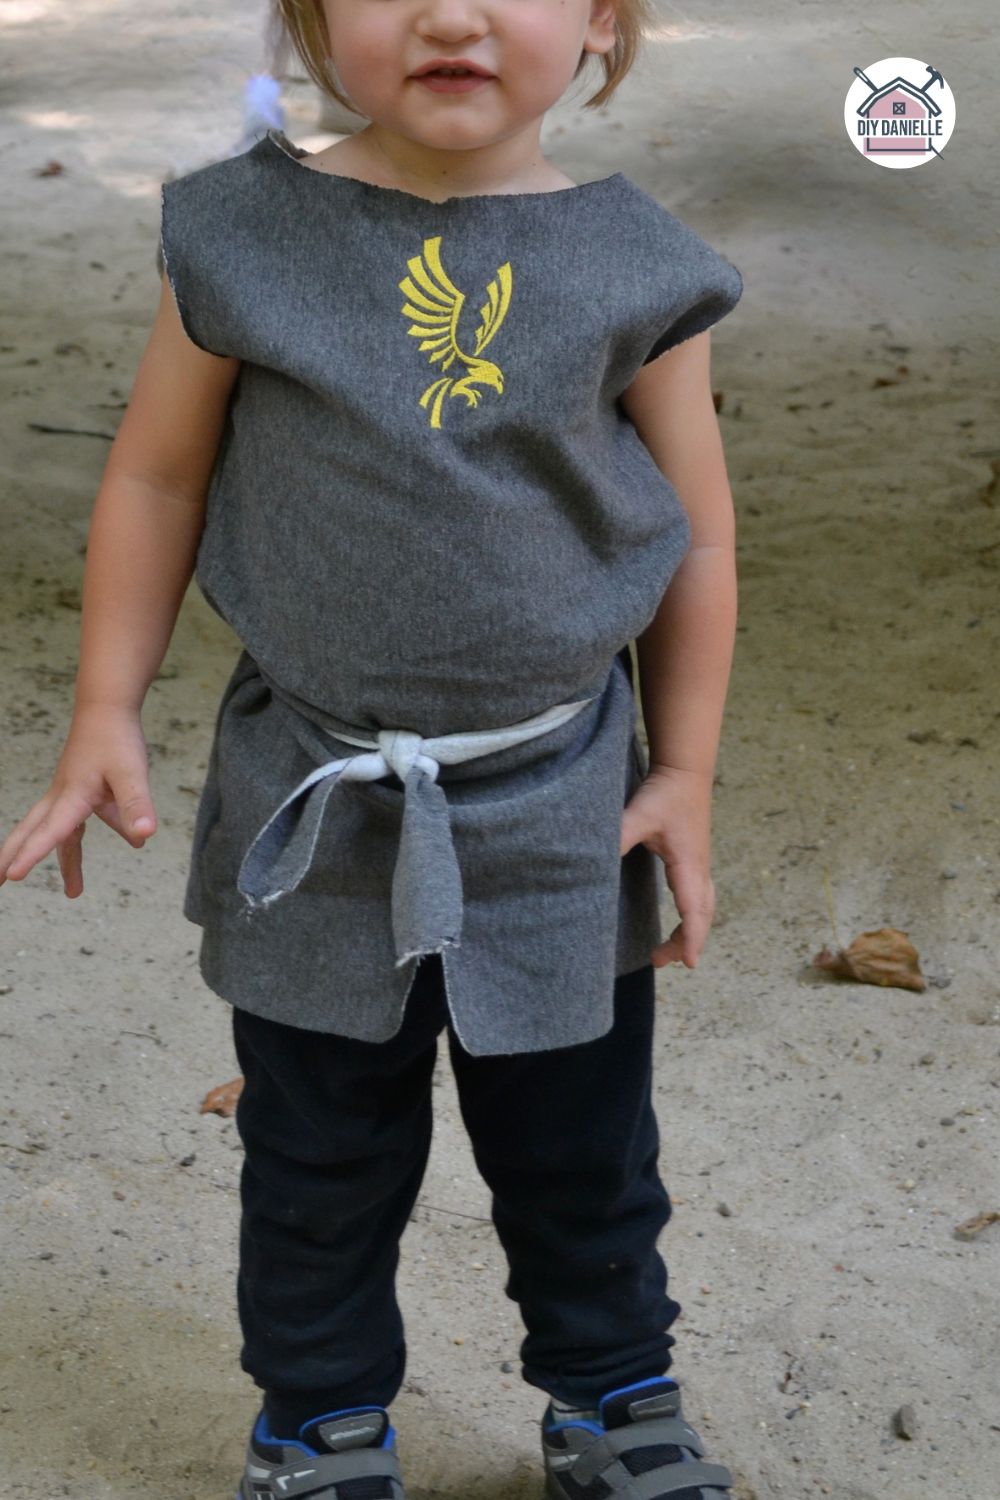
Learn how to sew a tunic for a DIY knight costume for a child. This easy sewing project is perfect for the Renaissance Festival or Halloween!
A lot of these DIY knight costume ideas are all over Pinterest, and they’re such a fun way to dress up a kiddo for the Renaissance Festival. It doesn’t get much more exciting than showing up in full costume!
Maybe next year there will be enough energy to make matching adult costumes too…
This costume was originally going to be a birthday present at the end of September, but waiting felt impossible. No restraint—this was just too fun not to give early.
This post may contain affiliate links which may earn me commissions should you click through them and take certain actions. As an affiliate for Amazon, Cricut, xTool, Home Depot, and other sites, I earn from qualifying purchases. Please DIY carefully. View my full legal disclosures here.
The majority of my content is generated by me, as are 99% of the photos and videos, but I utilize technology for titles, descriptions, video editing out all of my ums, and occasionally for text overlay on images.
Please read the whole post so you don’t miss any important information!
How to Sew a Knight’s Tunic
The main part of the DIY knight costume is the outfit, of course—and honestly, it’s the best part. Sewing costumes like this can be surprisingly simple, and it’s usually less expensive too. All that’s needed is a tunic, plus a plain shirt and plain pants underneath.
This tunic tutorial was used as the starting point, with a few changes along the way. The tunic was also made a little larger so it can (hopefully) fit again next year. If not, it can always be passed down to a younger sibling!
Fabric Choice + Cost
Sweatshirt fleece was used to make this knight’s tunic, and about 1.5 yards was purchased. It was $19.49, but with a 60% off coupon, the total came to $7.80.
This fabric was a great choice because it felt lighter weight and looked more authentic than some of the other fleece options.
Custom Emblem Idea
Instead of adding a felt cross, an embroidery design was downloaded and stitched using an embroidery machine. That way, the emblem on the tunic and the shield can match—like a REAL knight. Probably.
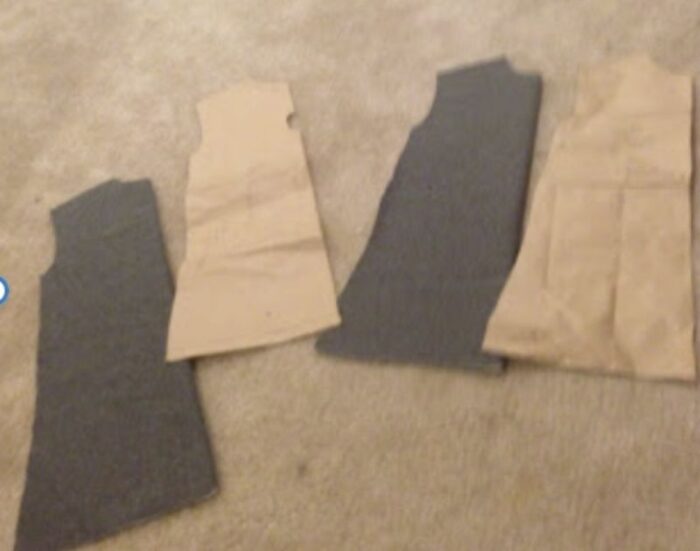
Making the Pattern
The pattern was made using a paper bag, with about 6–7 inches added to the length. Getting an accurate measurement from a wiggly child wasn’t happening, so it ended up being a bit long and needed to be trimmed down later. (If measurements are possible, it will definitely make things easier!)
Cutting + Embroidering
After the pattern was made, the fabric was cut out and the front piece was embroidered with the chosen design.
Don’t have am embroidery machine? Use Iron On Vinyl on the front of the shirt for the design.
There was more leftover fabric than expected, but extra fabric isn’t exactly the worst problem to have.
The neck opening ended up needing to be enlarged because it was too small—especially since the fabric had zero stretch.
Final Fit Adjustments
After a quick try-on, it was obvious the tunic was too long, so the bottom was trimmed down too. Lots of trimming happening here—but this is why fleece is such a great option since it doesn’t fray.
The strip trimmed off the bottom was even used to make the sash, which worked out perfectly.
Sword Options
The best option is to use a foam sword with this costume, although keep in mind that some Renn Fairs do not allow any weapons, even toys, to come into the festival. I’m not sure if it’s for safety or just because they sell them there.
And that’s it—one very cute and ready-for-adventure knight!
Need a shield to match your sword? Learn how to make a shield with plywood!
