
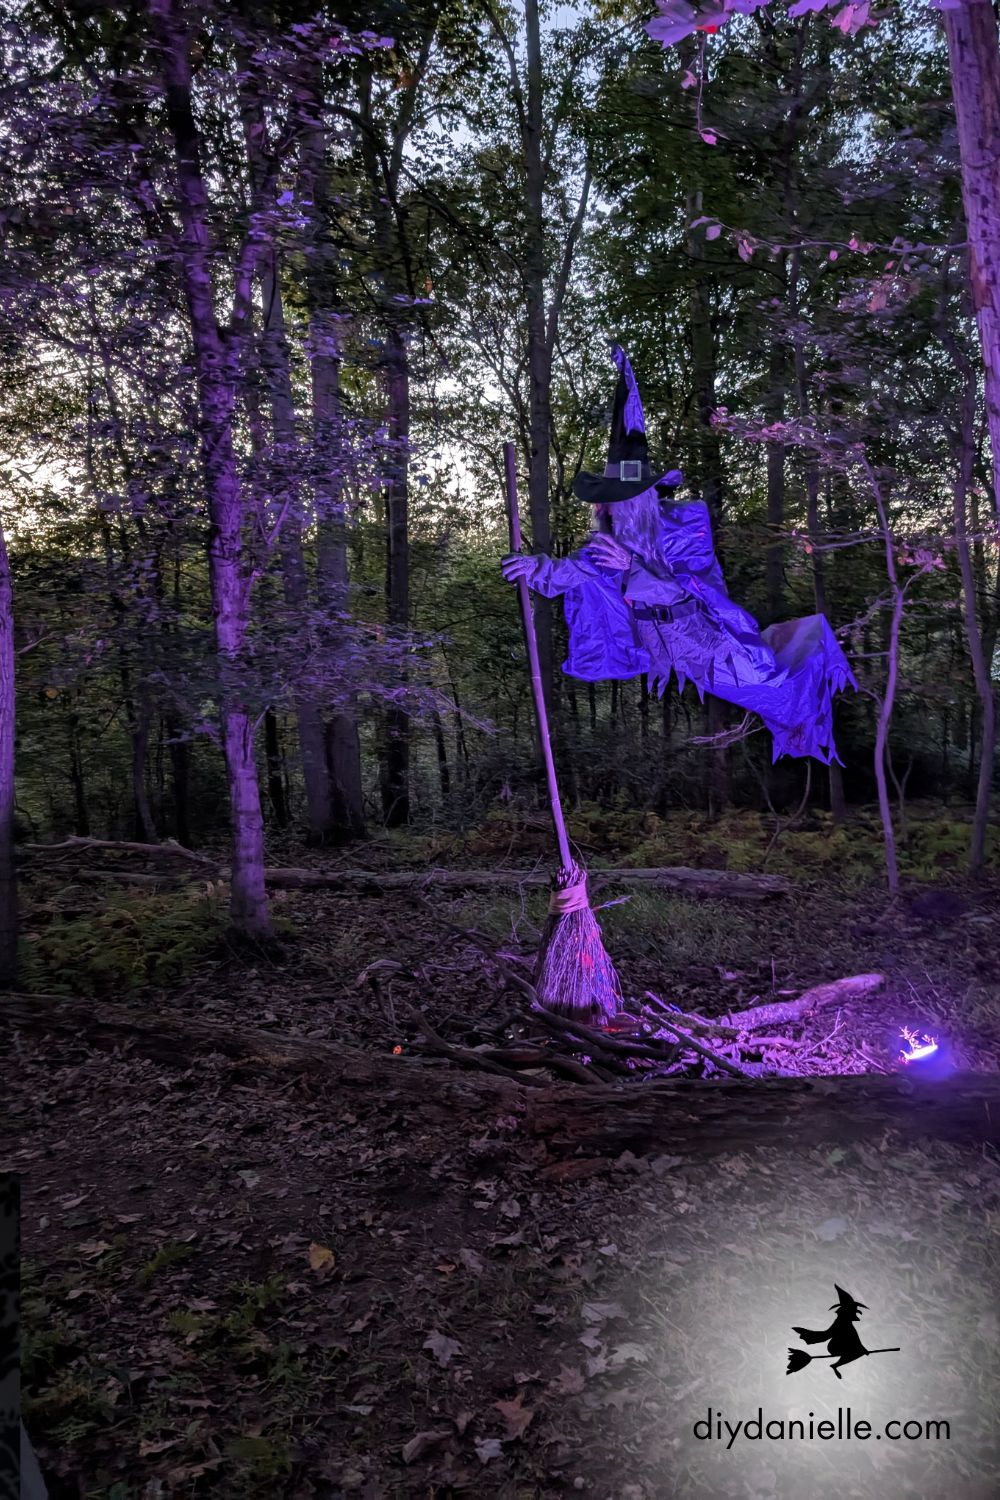
Step-by-step photo tutorial for setting up a 12 ft. hovering witch Halloween decoration. Learn how to assemble and secure this show-stopping yard prop easily.
This is really a blog post for my own use because every year, I wish I had photos of this process.
I’m going to be real with you. I set up this witch every year and every year I curse it. So this post is really for myself so that I can go look at the pictures next year while I’m setting it up.
I found a lot of videos online, but I don’t really have patience to sit there and listen to video after video, particularly when generally they are reviews.
This post may contain affiliate links which may earn me commissions should you click through them and take certain actions. As an affiliate for Amazon, Cricut, xTool, Home Depot, and other sites, I earn from qualifying purchases. Please DIY carefully. View my full legal disclosures here.
The majority of my content is generated by me, as are 99% of the photos and videos, but I utilize technology for titles, descriptions, video editing out all of my ums, and occasionally for text overlay on images.
Please read the whole post so you don’t miss any important information!
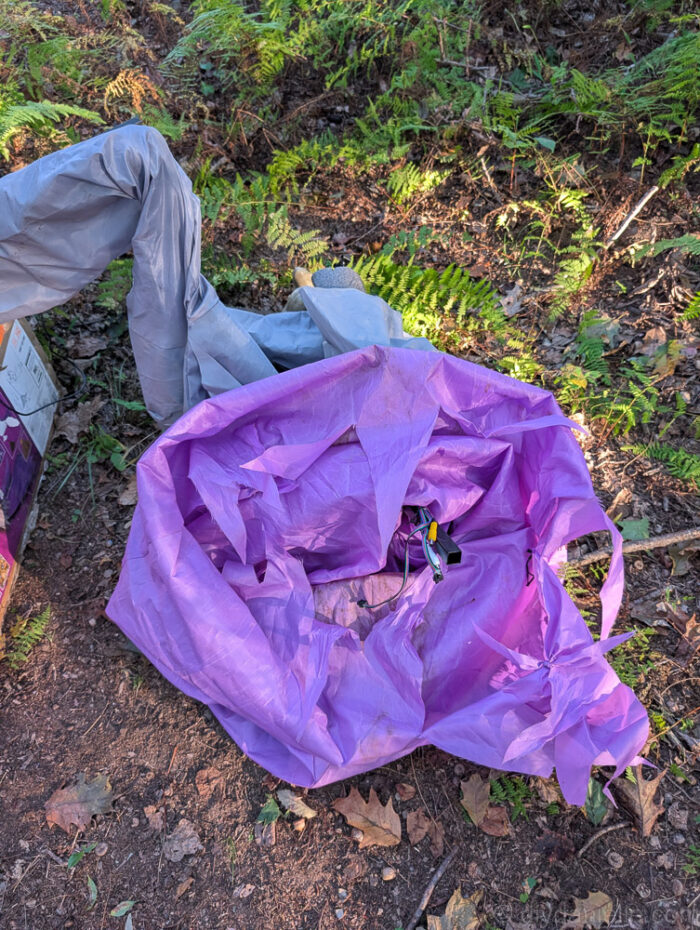
The first part of the process is pretty simple and self-explanatory. You’re going to build the base + start putting together the bottom of the broom.
**Do not forget to run your cords up the broom!!!
This is the one thing that makes me have to take it apart and redo it each year.
Your metal bars attach together to the base, you pull your cords up along the metal bars, then you start sliding your faux wood covering over it. Note that the should be above the bars when you start this, otherwise the cord end’s width can make it harder.
Okay so that’s the easy part. Now we are at the difficult part.
This starts to get pretty tall pretty quickly and you want to bend it over something like a box or a tree or your spouse whatever… And you’ll build it all leaned over. At the end you get a helper or two to help you slowly lift it up and mount it to the ground.
I probably did not take a picture of every step here. Bear with me.
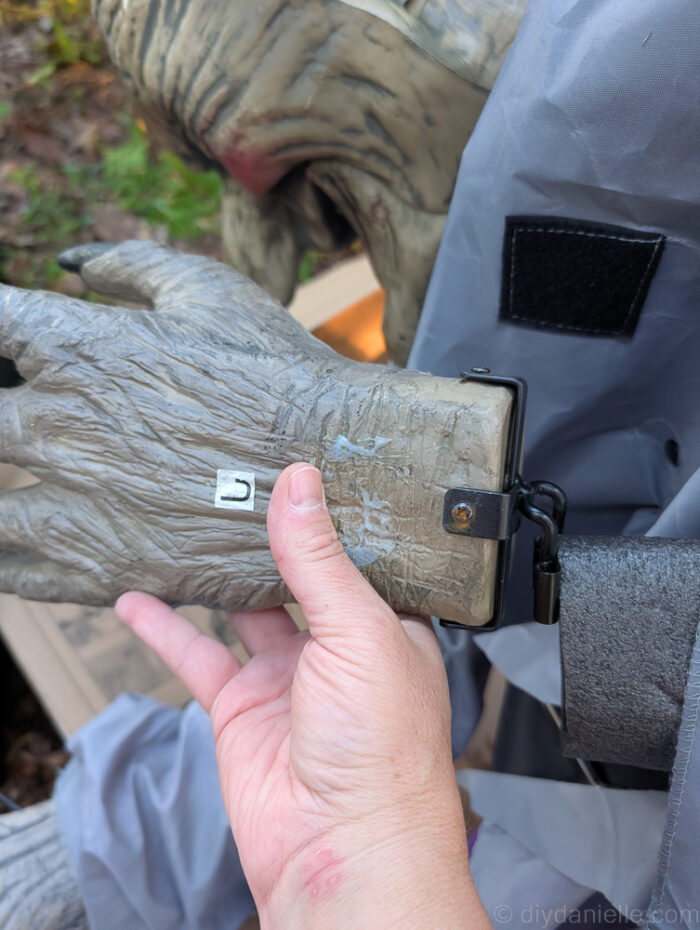
The next to last faux wood piece has a little oval that can be removed. You can put that faux wood piece on, but then you are going to put your witch’s hand over the bar.
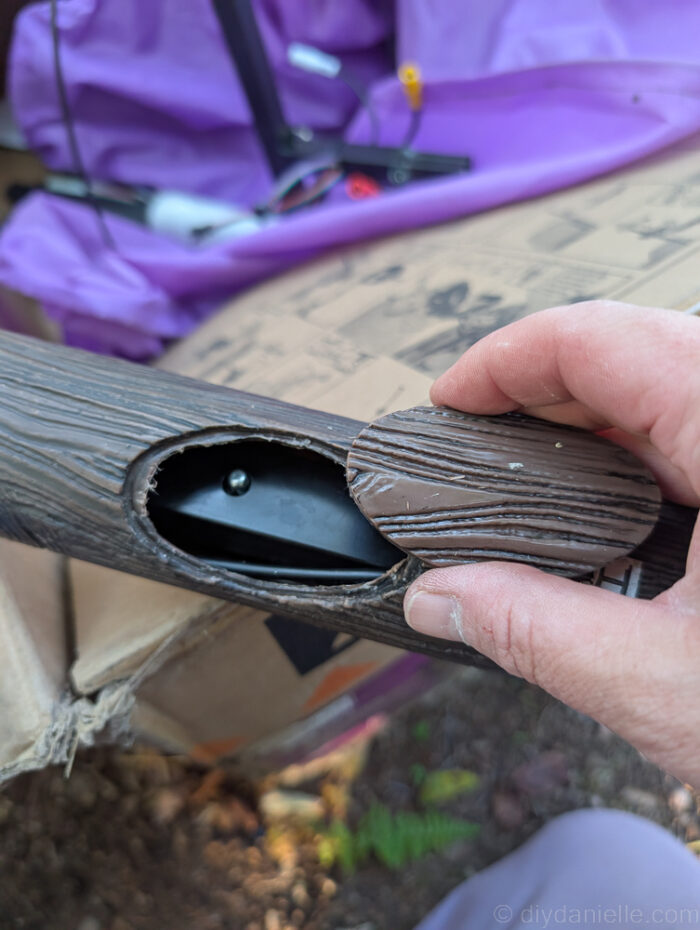
The witch’s hand will cover up the new bar and slide over it a bit.
Then you will slide the new bar on and ensure it locks in place.
This bar is kind of wonky shaped. When you put it on it’s not going to make sense until it all comes together. But generally if it fits it is in the right place with this decoration.
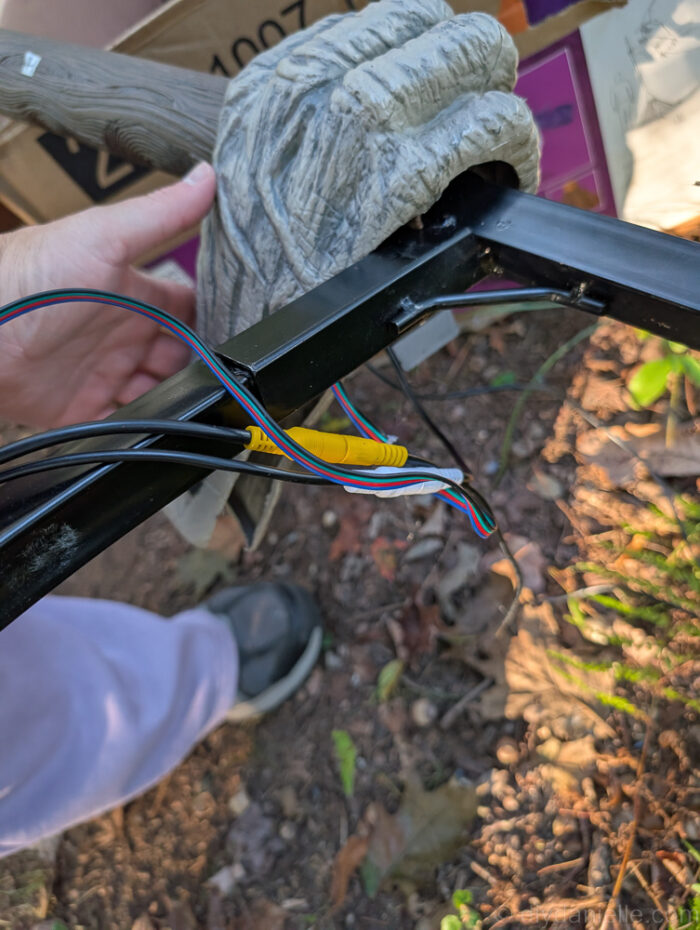
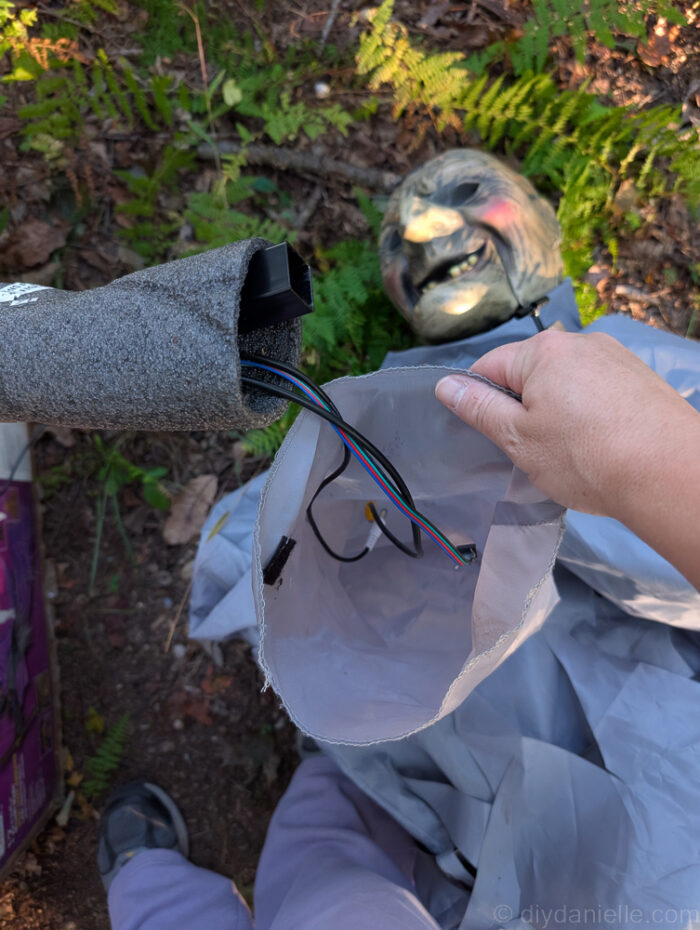
You need to connect the cords.
At some point once everything’s locked in place, you can pop the oval piece back on your faux wood.
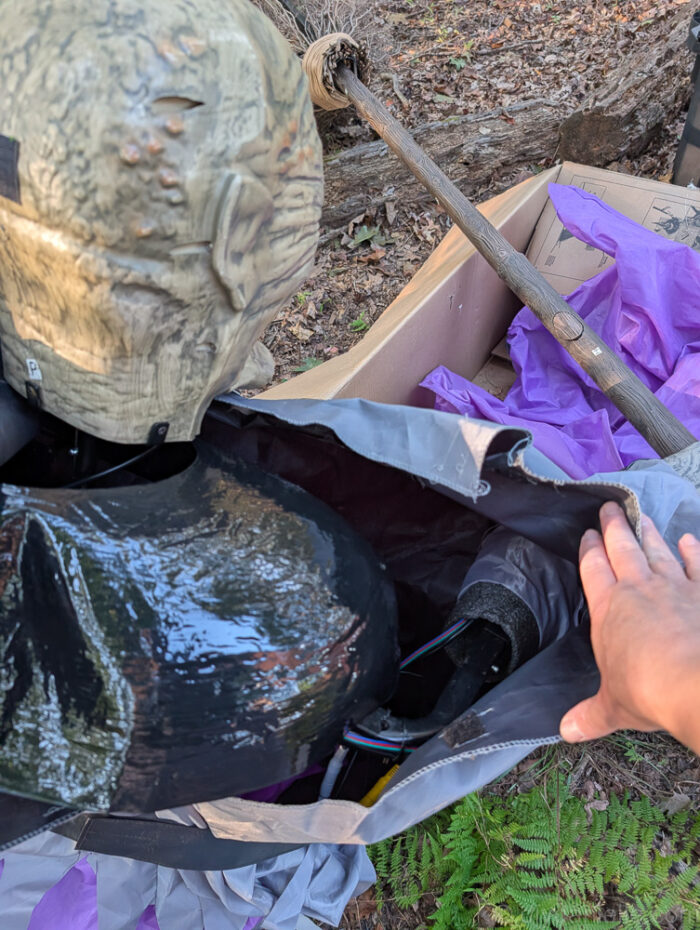
When you attach the arm and the witch, you’re sliding her sleeve over it all. This is important because you can’t fix it without disassembling to this stage if you keep building and get too far.
Some of this connection is kind of difficult and you can pull away the witches back of her dress to help you reach everything and get it connected.
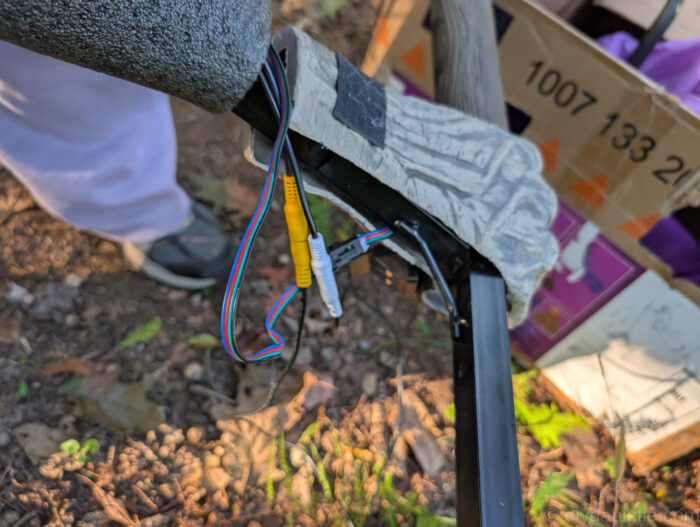
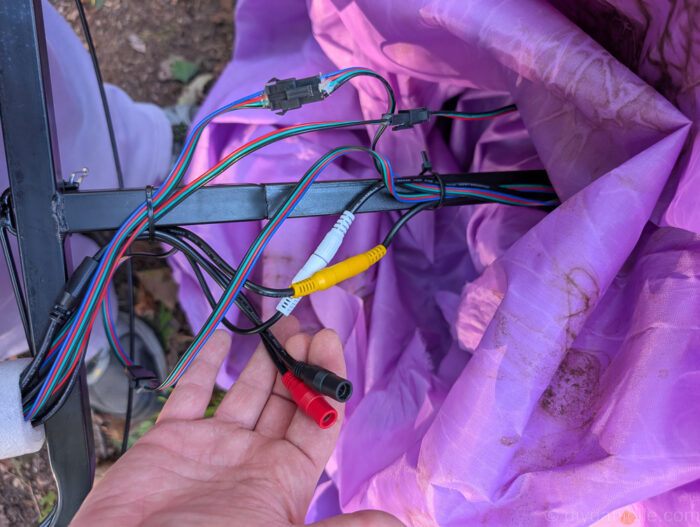
There should be a yellow, white, red and black cord that will go down the witch’s dress to connect to matching cords that plug into the main white mechanical box. Attach those.
There’s also some of the other wires that will need to be attached to each other. The nice thing is that there’s three of them, if I recall, but they won’t fit with the wrong one.
You’ll be installing the metal bar that has the white box attached at this point.
You will probably look at the four y rods and think they’re supposed to go on the feet of the witch. That’s not what they’re for. They will actually extend the base to be a little more stable.
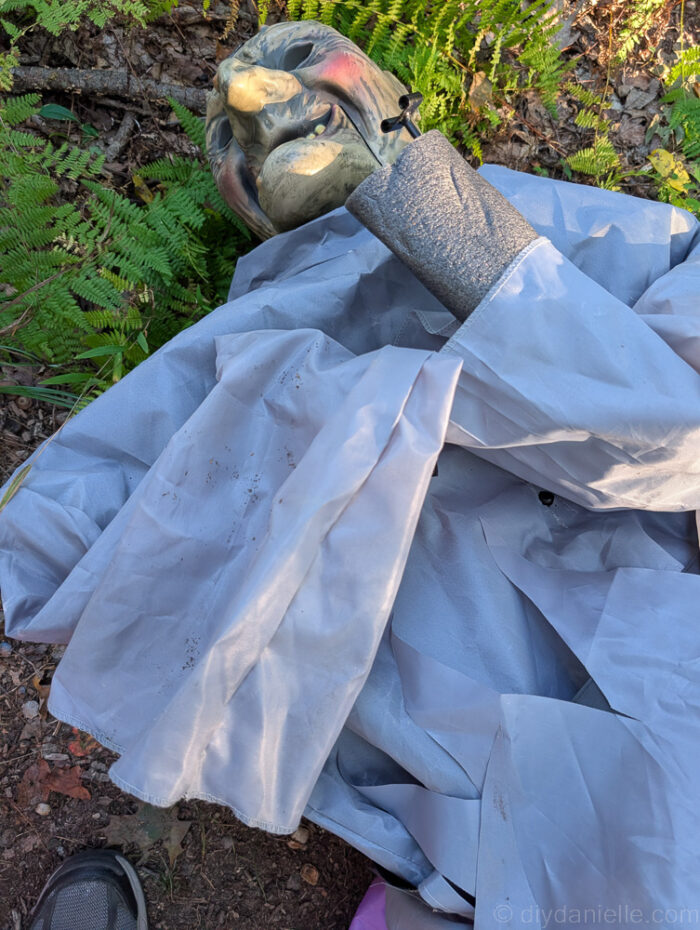
The two thin slightly curved rods lock into the bottom of the metal bars with the white mechanical box. They should have some foam padding over them. And the witch’s dress comes down over these and attaches (there’s a string inside the dress) to the “feet”… Essentially the bottom half of the witch doesn’t look like a real person and you’ll never see it.
This is the opposite arm and it just locks into the two little holes on the opposite side of the witch. There is hook and loop on her hands to attach her dress sleeves to keep them in the right spot.
Again, your last stage is to just work with one or two other people to help lift it up slowly and get it mounted into the ground. I recommend getting some high quality ground stakes to use, But I also like to pile wood on top of the base. It makes her look like she’s burning a bit, particularly if you add a strobe light or some red lights behind her or underneath the broom.
Okay so this is all the photos I have and I’m hoping that will be helpful to someone. Maybe no one will ever see this and I will be the only person who checks this post… In which case it was still worth it.
Please share and pin this post! You can also post your project and tag the DIYDanielle team on Instagram @doityourselfdanielle!
