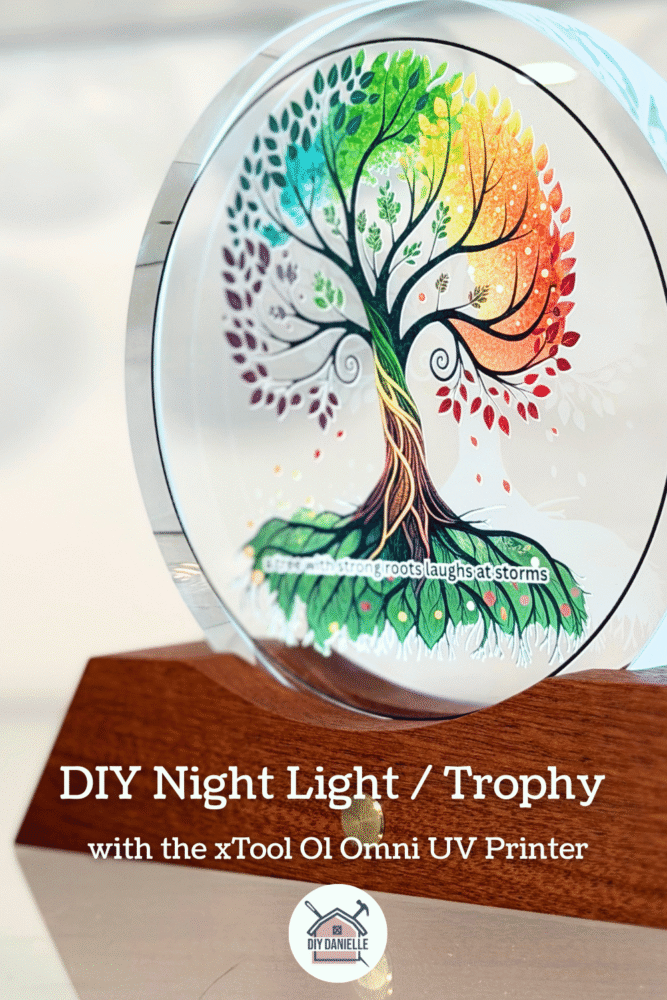
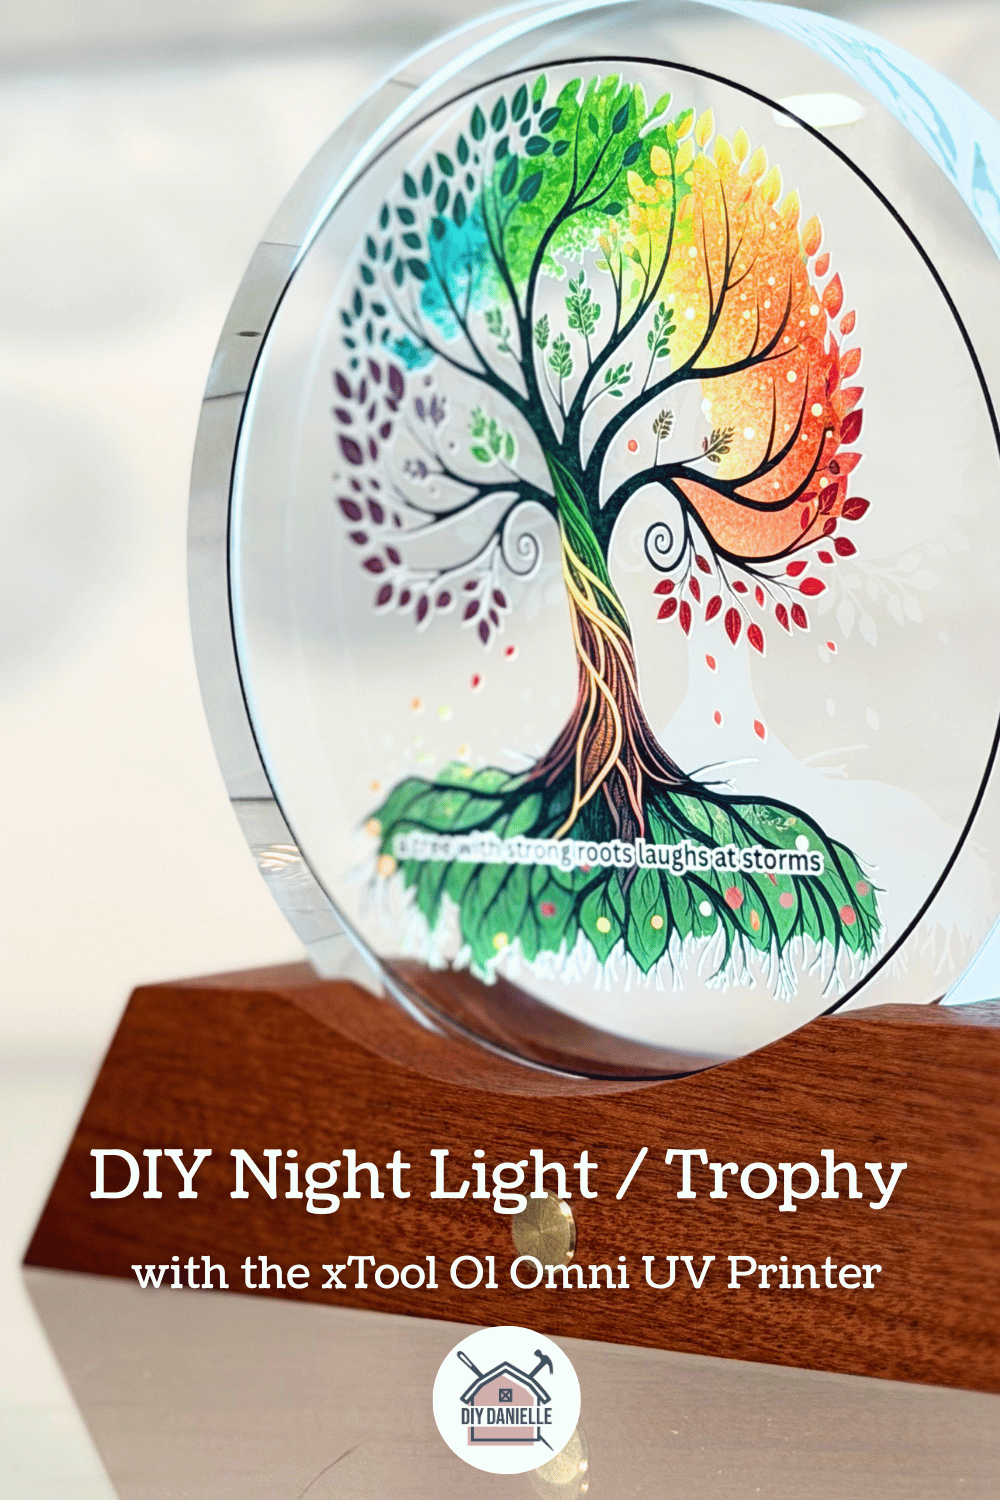
Learn how to use your UV printer to make a custom plaque, trophy or nightlight. The xTool Omni O1 makes it easy!
When I received the Omni to review, I also got a random box of blanks. I ended up with four different light up plaques. I tend to be a bit more practical so I wasn’t sure what to do with these. I ended up deciding to make a night light with one of them to use in my office. I LOVE how it came out.
This post may contain affiliate links which may earn me commissions should you click through them and take certain actions. As an affiliate for Amazon, Cricut, xTool, Home Depot, and other sites, I earn from qualifying purchases. Please DIY carefully. View my full legal disclosures here.
The majority of my content is generated by me, as are 99% of the photos and videos, but I utilize technology for titles, descriptions, video editing out all of my ums, and occasionally for text overlay on images.
Please read the whole post so you don’t miss any important information!
Customizing a Light Up Plaque with the Omni O1 UV Printer
New to UV printing? Learn about the Omni O1 printer here: https://diydanielle.com/review-xtool-o1-omni-uv-printer/
Project Supplies
- xTool O1 Omni Printer: The World’s First 4-in-1 Omni Printer, Dual UV Rotary Bundle: https://xtool.pxf.io/yZ5NYv
- You’ll need to either vent the machine out a window or you should pick up an air purifier that can handle this such as the xTool SafetyPro™ AP2/ AP2 Max Air Purifier with SuperCyclone: https://xtool.pxf.io/MK1e73
- Light up plaque/trophy blank: I’d like to link the product, but unfortunately I cannot find the product on the xTool website. I found this product on Amazon after a bit of searching and it looks similar: https://link.amazon/B07Wk2lAc
Step by Step Instructions
Step 1: Create your design. I used Canva, added the tree of life from their graphics gallery, and the text.
I exported the image with a transparent background.
Step 2: IMPORT the image into the xTool Studio software (left side bar).
Step 3: Attach the large base to the main machine base and place your glass blank on the base.
Step 4: On the right tool bar, click scan. You need to tell the machine that it’s using the UV flatbed mode.
Step 5: Choose White + Color Flat. This prints a white layer under the color so it pops from the original color… in this case, it’s clear so the white is a good idea. The color alone mighhhhht work, but… better safe than sorry.
Your machine should be giving you an image of what the design will look like. You can move your design around, making it smaller/larger, etc. as needed.
Step 6: Click process. Wait for it to print. Remove. Bask in the glory
Please share and pin this post! You can also post your project and tag the DIYDanielle team on Instagram @doityourselfdanielle!