
Learn how we DIY’ed our own backyard pond from start to finish with step-by-step tips, tools, and lessons learned for building a peaceful water feature.
I loved having a pond at our old house and our new house didn’t have one already setup. This meant that, yet again, we were tackling a major project. We did all of the work on this pond ourselves instead of hiring it out this time. This post is going to go over how we built it… including a few mistakes we made along the way. Brace yourselves.
Just understand that this is NOT a small project. It’s backbreaking work and if you just want a small water feature, you may prefer doing an above ground mini pond like this one.
This post may contain affiliate links which may earn me commissions should you click through them and take certain actions. As an affiliate for Amazon, Cricut, xTool, Home Depot, and other sites, I earn from qualifying purchases. Please DIY carefully. View my full legal disclosures here.
The majority of my content is generated by me, as are 99% of the photos and videos, but I utilize technology for titles, descriptions, video editing out all of my ums, and occasionally for text overlay on images.
Please read the whole post so you don’t miss any important information!
Details about Our Pond
We started with a much smaller pond, then decided to expand it. It’s in the center of our garden and this year we’re setting up an automatic watering system that uses the pond water. This will fertilize garden plants via a drip system and also means that I’ll need to refill the water in the pond routinely to keep it from drying up.
The current pond is:
- 20’x14′ and 4′ deep.
- The pond is approximately 280 ft² (feet squared)
- Contains 4,189 gallons of water.
- Can theoretically manage a maximum of 41 koi or 62 goldfish (I believe less is more, particularly as they breed)
Building Our Pond
Project Supplies
- Pond Underlayment
- Pond Liner, Firestone PondGard 45 Mil 20 x 25-Feet EPDM Pond Liner : https://amzn.to/3ROUMHJ
- Gravel (approx. 1.9 tons was recommended by one pond app- we definitely didn’t add that much gravel)
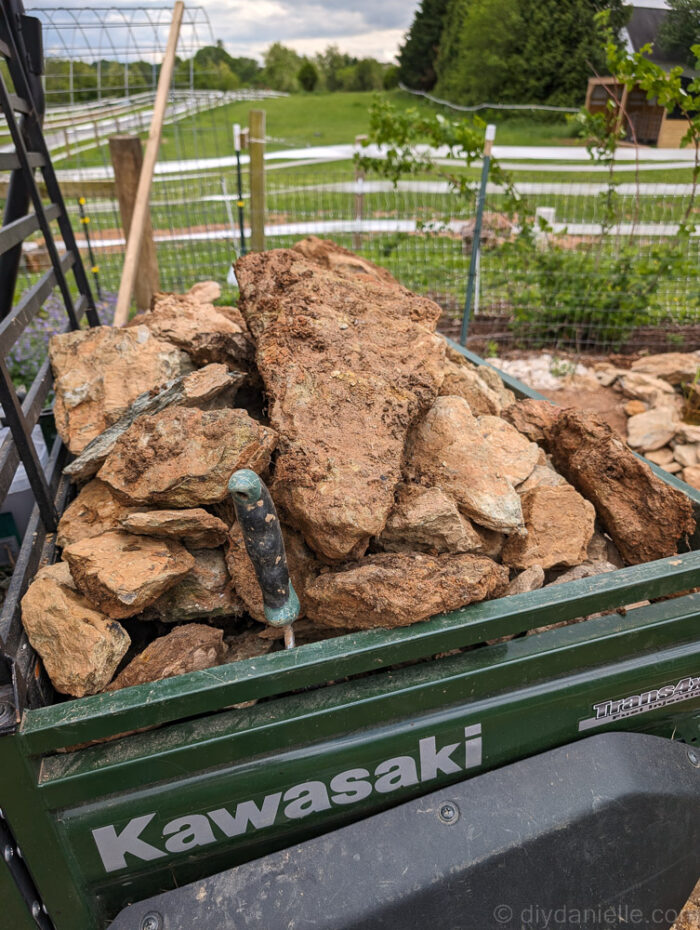
- Stones (approx. 4.31 tons of boulders was recommended… we used ones from our property and I have no idea how many tons it was total…)
- Pond Plants
- Pond Fish
- Pond Pump: We initially bought a cheaper pump, but upgraded to a Sequence ValuFlo 1000 Pump Series pump this year. It is 115V and 6100 GPH flow rate. We also bought the protection plan on it. https://amzn.to/4lSEWto
- Sequence Waterways Strainer Baskets – 90 Cubic Inch
- Pond Aeration: CrystalClear KoiAir Water Garden Aeration Kit (KoiAir 1 (KA20) w/ Small TrueRock – Greystone) … this came with the fake rock to cover it up.
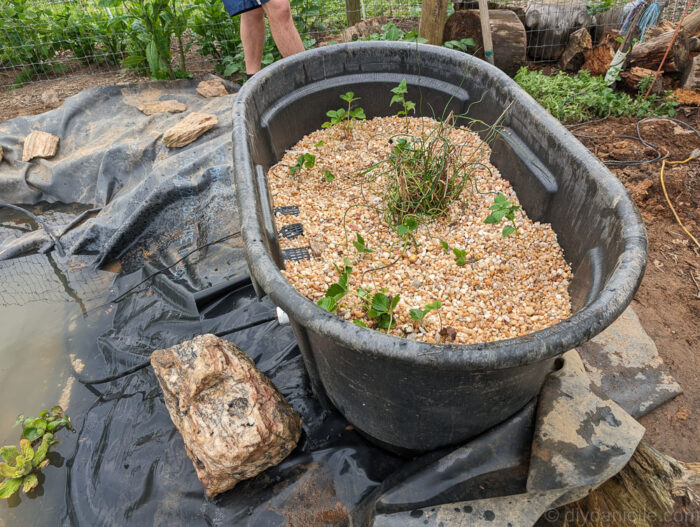
- Rubbermade Stock Tank (for the bog filter): 300 gallons… this pond really would have benefited from a bigger bog filter, however.
The main thing you MUST understand about building a pond is that the quality of the supplies that you use will save you time and money in the long run. DO NOT go cheap on liners or pumps. Replacing a pond liner isn’t going to be a fun or easy project.
Maintenance Supplies:
- Pond test strips: https://amzn.to/3YTqDev
- Muck Defense, Natural Sludge Control Treatment, Water Garden Mud Digester & Odor Remover, Fish, Bird & Pet Safe, Easy Dosing, 24 Tablets: https://amzn.to/43pjQuv
- The Pond Guy ClearVac Pond Vacuum: https://amzn.to/3GSBfDT
- Replacement Pieces for Aeration Kit:
- CrystalClear KoiAir Diaphragm Compressor Maintenance Kits
- CrystalClear KoiAir KA Series Air Filters
Step by Step Instructions
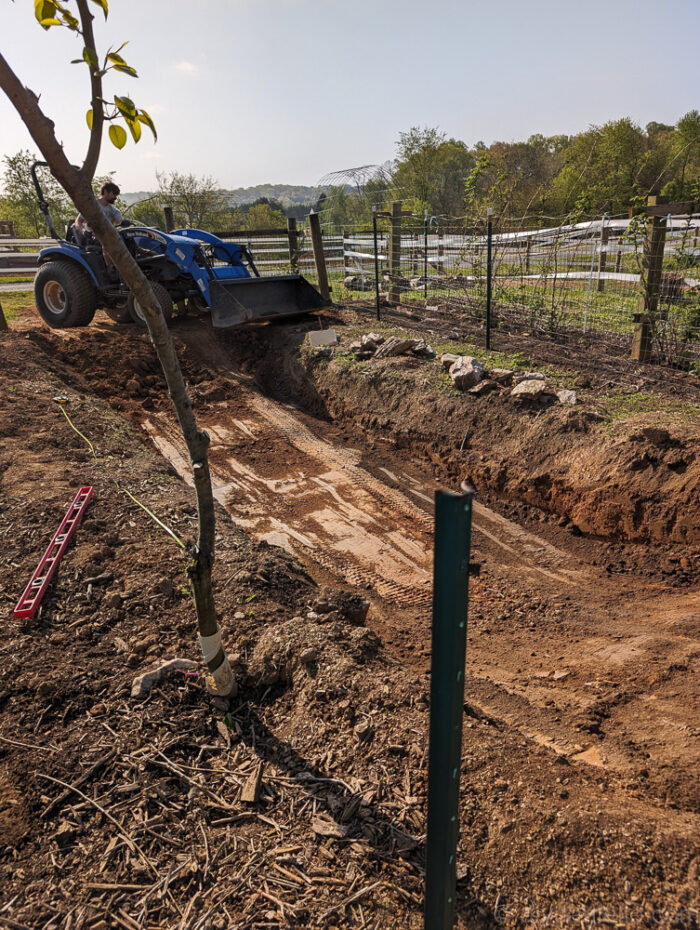
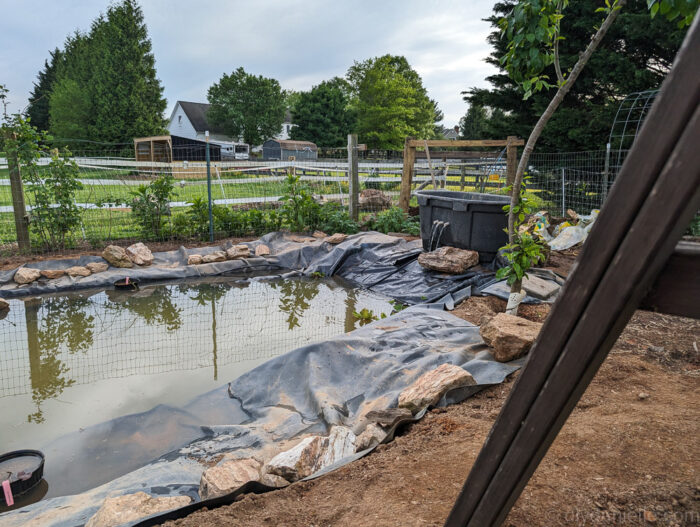
Step 1: We started by digging the hole for the pond. We wanted it fairly deep in the middle so the fish can survive the winter, but shallower on the sides with shelves for plants. We used the tractor for a lot of it, but honestly, there was a lot of hand digging as well.
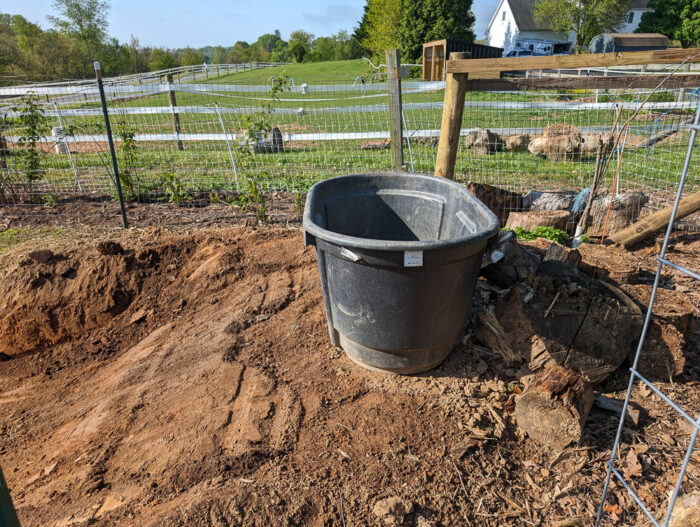
Step 2: We were planning to use a bog filter for filtration, and added a trough to one end of the pond to set it up. This needs to be level. I’ll write more about bog filters in another post. It’s… complicated. This bog filter is likely a bit small for our pond size, but we are going to see how it goes before upgrading if needed.
Step 3: We placed the underlayment next. You can use a variety of different items for this, but the idea is to protect the more expensive liner. I believe some people use carpets and other ‘garbage’ items.
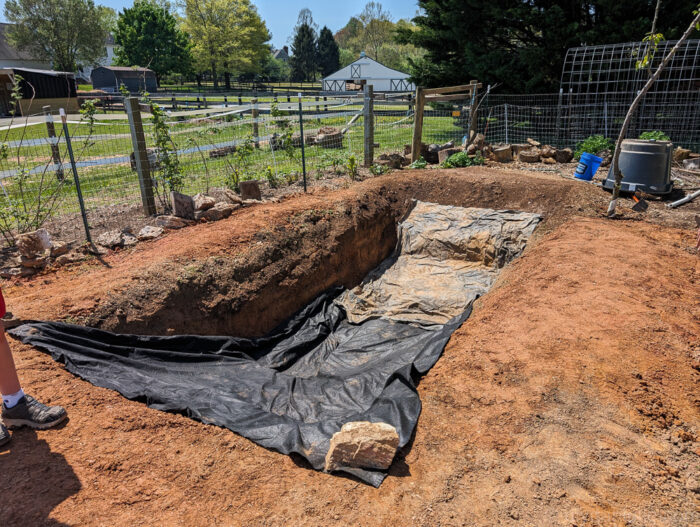
Step 4: Now we placed the real liner. Trying to get it situated properly was rough. We ended up having wayyyyy too much leftover (over the edges). Apparently you want to use as much of the liner as possible… so we dug some more… this was not pictured because we opted to do this afterrrrrr we filled the pond. ZERO STARS. Definitely a mistake.
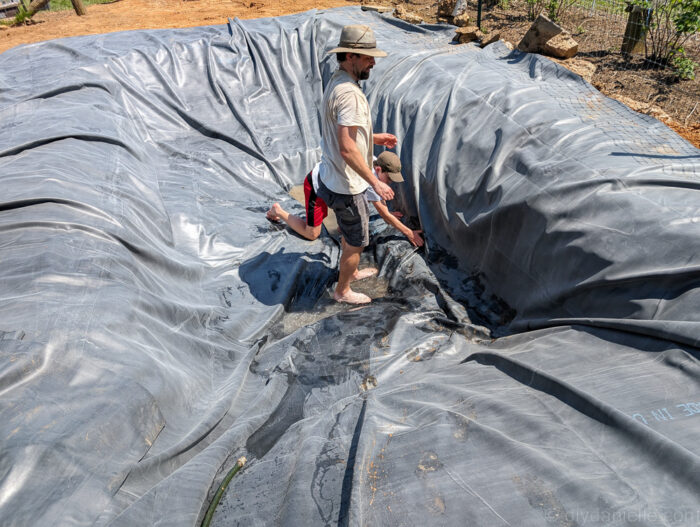
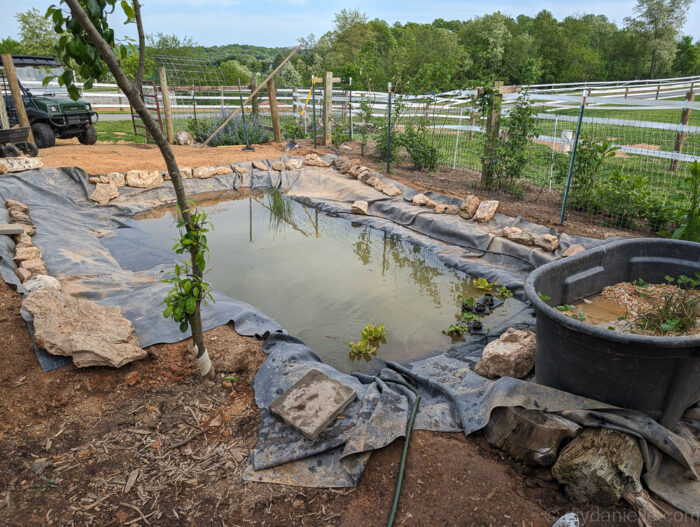
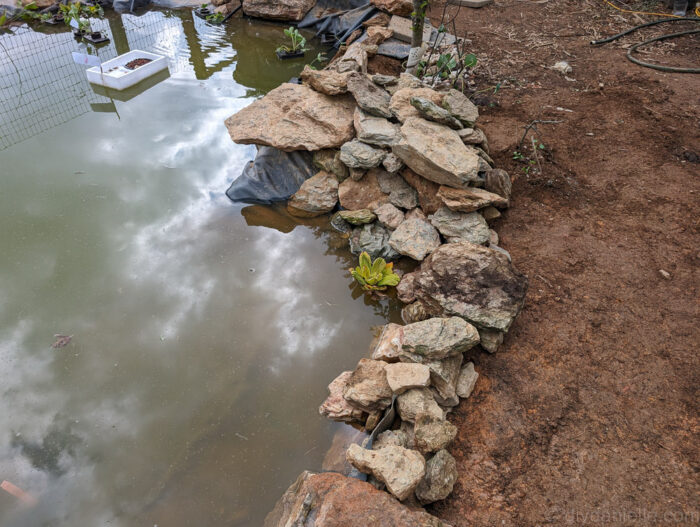
This photo shows how we dug out the sides further to use the liner better, and to create a wider shelf for plants.
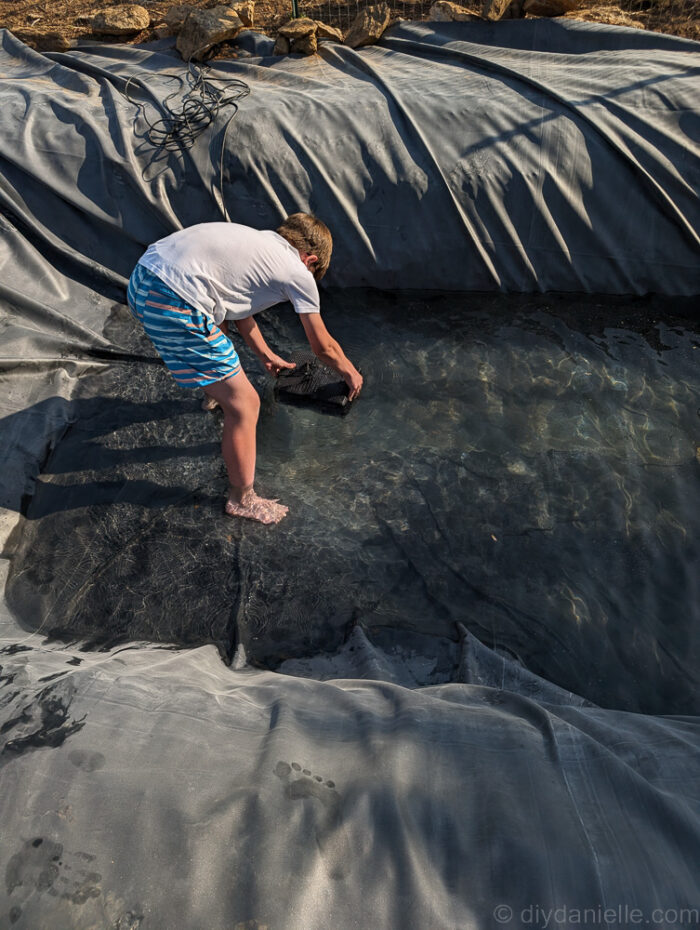
Step 5: We filled the pond with water at this point to help get the liner situated. In retrospect, it might have been nice to add a gravel bottom here, but our initial plan was to avoid adding gravel to the pond to avoid any maintenance issues that come with it… I did some asking around and it seems to be a mixed bag what people prefer.
Step 6: During this process, we were setting up the bog filter and aeration. I’ll go into the filter in another post, but it was definitely a step in this all due to running plumbing for it all.
Step 7: We had fish that we pulled out of the old pond before doing this one so we placed them in this… typically, you want to cycle pond or aquarium water before introducing fish (aka let the healthy bacteria build up and create an ecosystem for them), but we already had the fish and this was an upgrade to a bucket.
We have some shubukin which stay smaller than koi and are fairly easy pond fish in my experience.
We added more fish later, but we keep our fish load small because the pond can only sustain so many living things and wildlife WILL find your pond… so you need to plan for a million frogs to join your fish school.
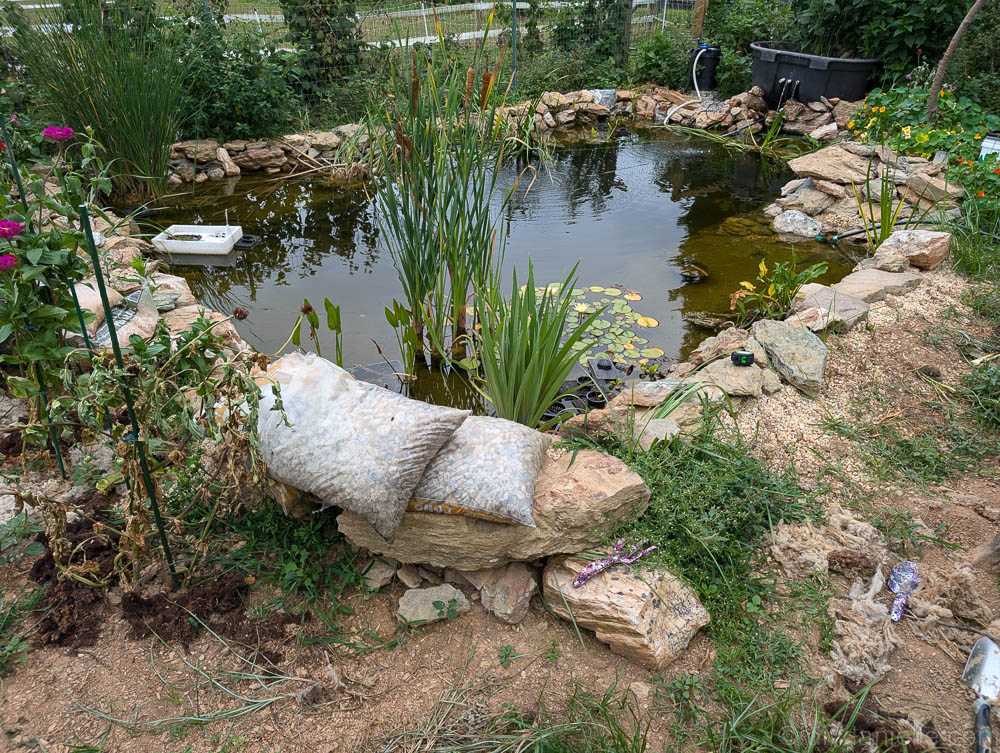
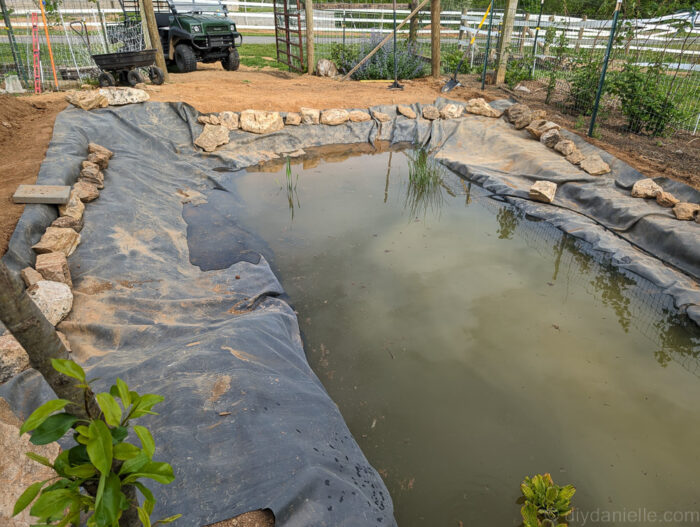
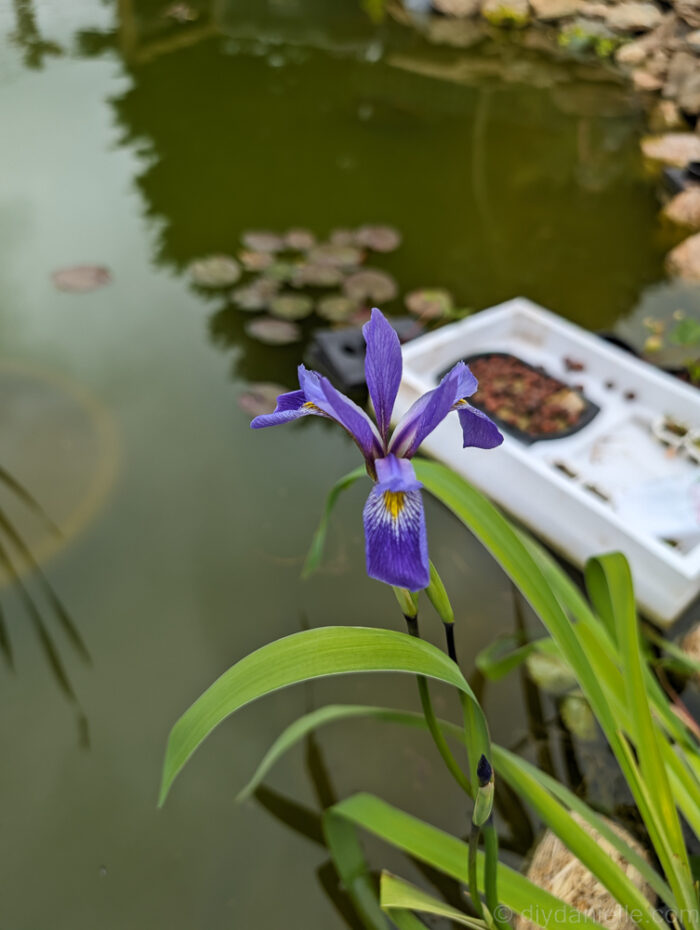
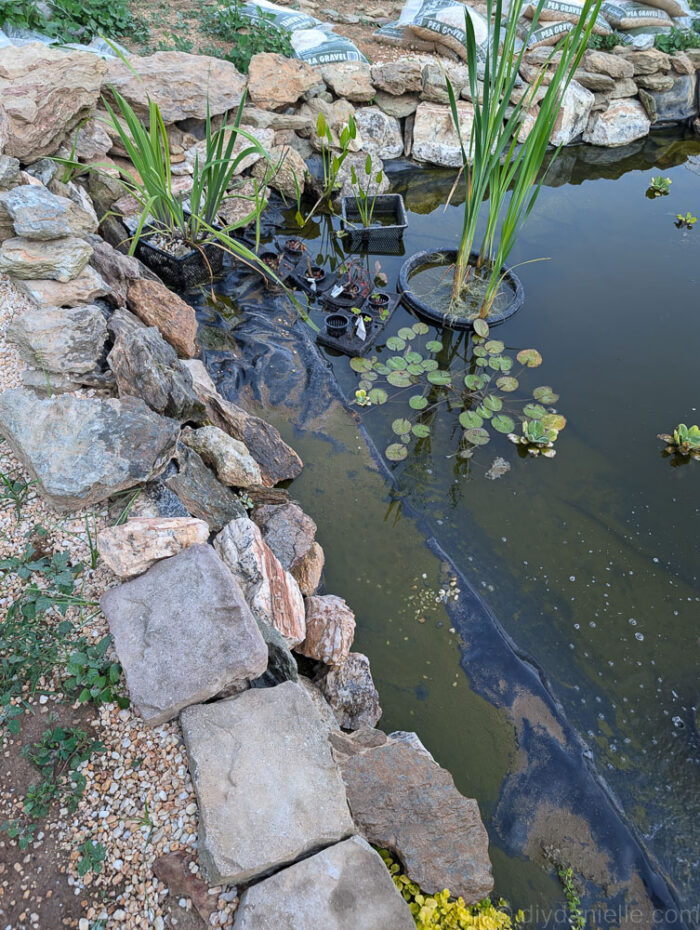
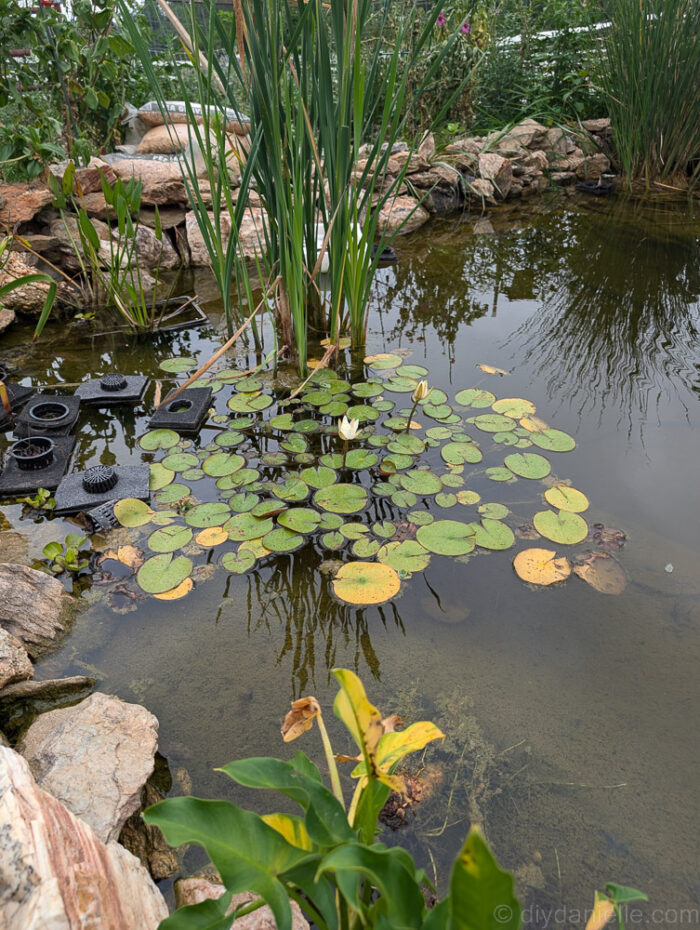
Step 8: Add plants: I love adding plants. It’s one of the things that really help make your pond a beautiful system. I wrote more about plant choices in my post, setting up a pond and patio, from when we had a pond at our last home, but I like some underwater plants as well as plants that sit in the gravel, and others that float. They all have their purpose in the ecosystem.
Step 9: We added rocks around the perimeter to cover up the edges of the liner and hold everything in place. We live on 8 acres so we were able to forage rocks from our property to use… it was a LOT of work… but rocks are quite expensive and it was a good way to get rock out of our fields. My kids also enjoyed the process, at least for the first hour or two.
Pond Photo Dump
Okay, I give up… here’s a huge photo dump of the process. If you have questions, leave me a comment.
Top down photo of the bog filter…
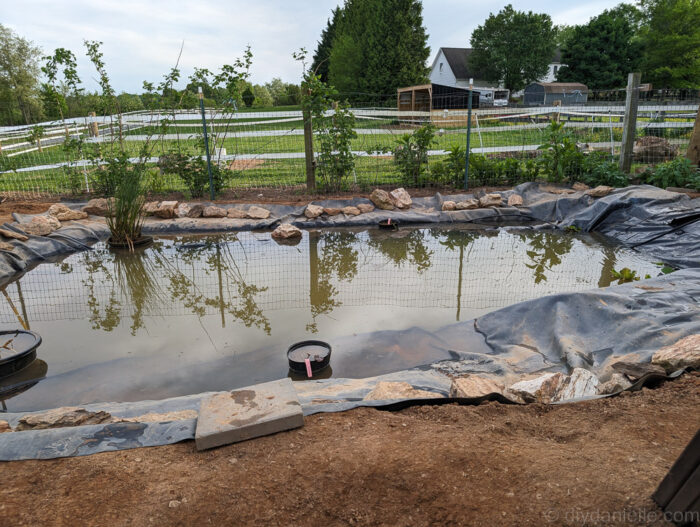
Working on stone and plant placement…
Bog running…
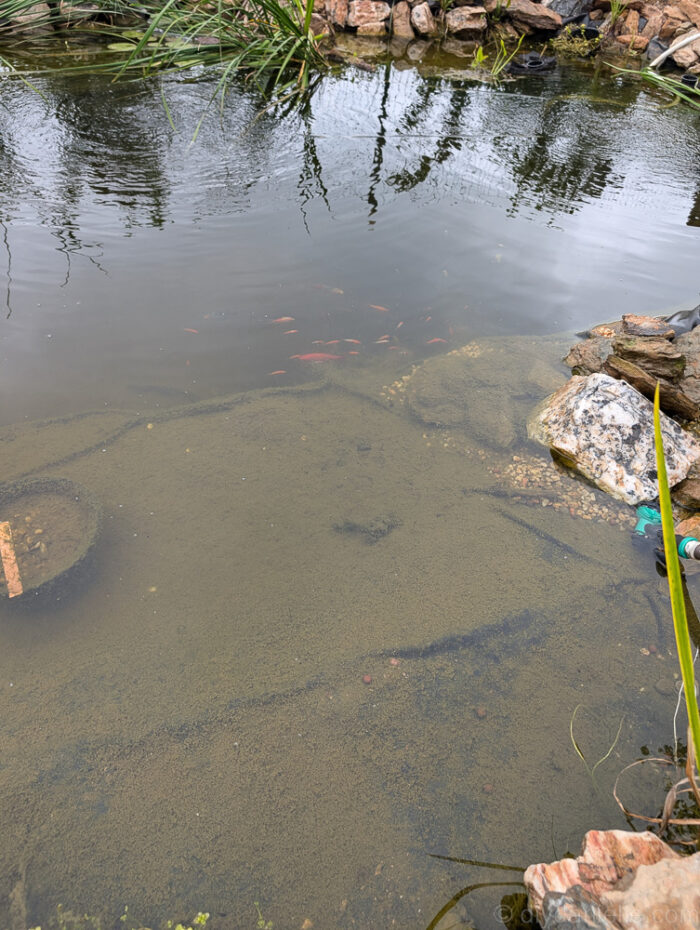
The water was pretty green for a bit… we ended up running a second filter as well for initial cleanup. The process of putting the pond in does not make for a very clean pond start up.

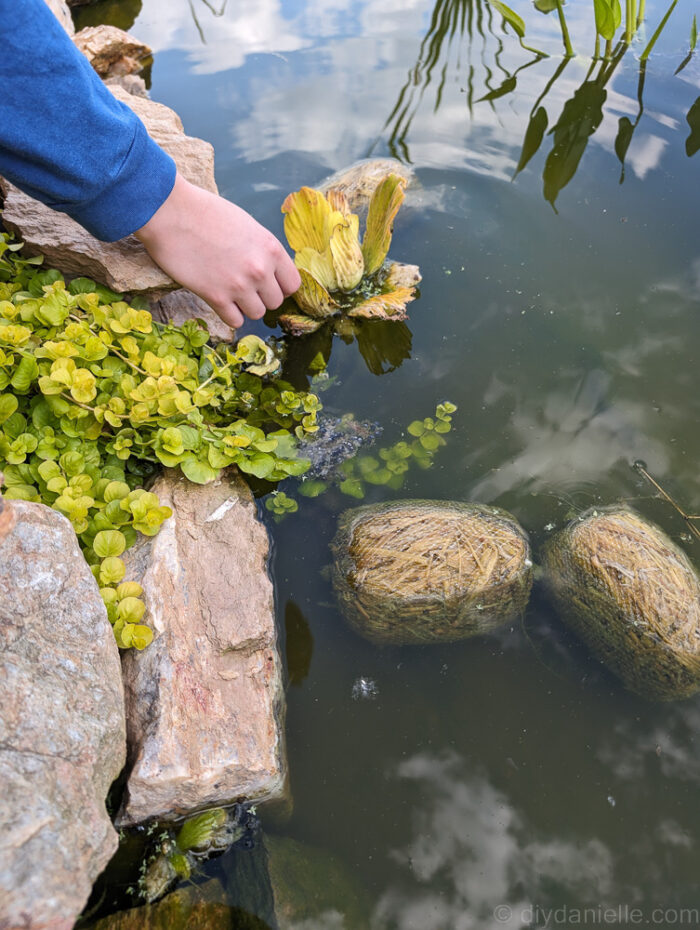
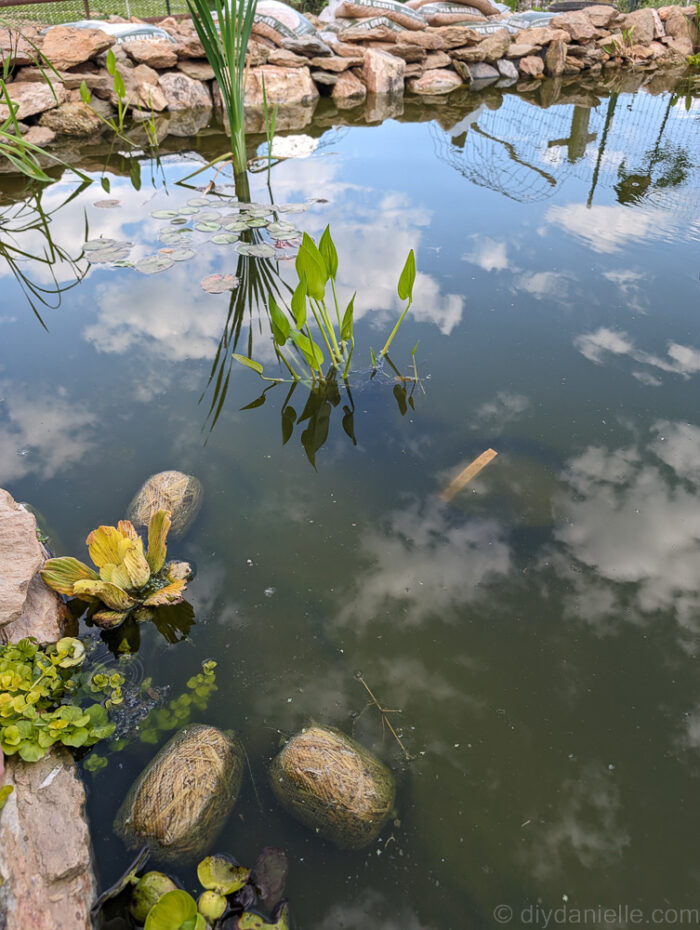
Close up of water lettuce floating on the surface.
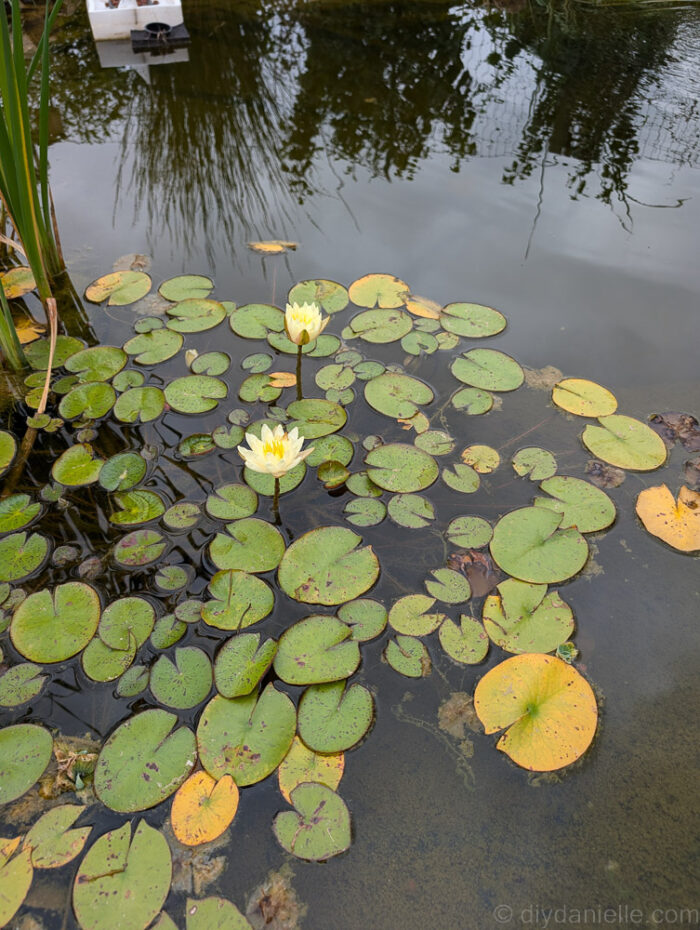
Lily in bloom…
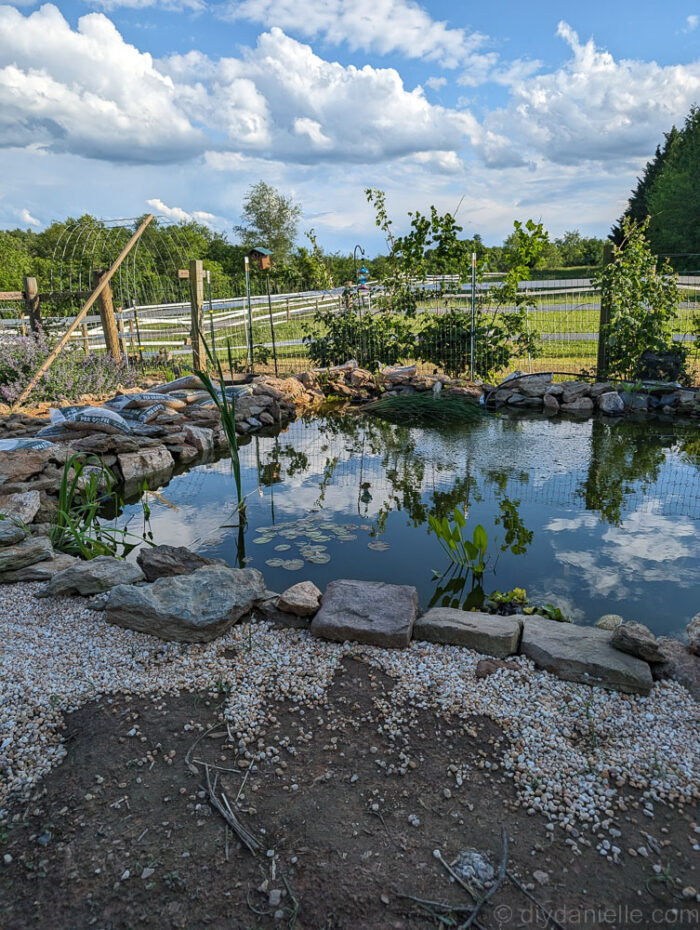
Evening view… also, do not add pebbles outside the pond. Every child ever will throw them into the pond. Just put them in the pond or don’t.
Water lettuce floating and creeping jenny waterfalling into the pond from between the rocks along the pond edge.
More pond plants that are in planters and can handle being deeper in the water.
Water lilies and other plants…
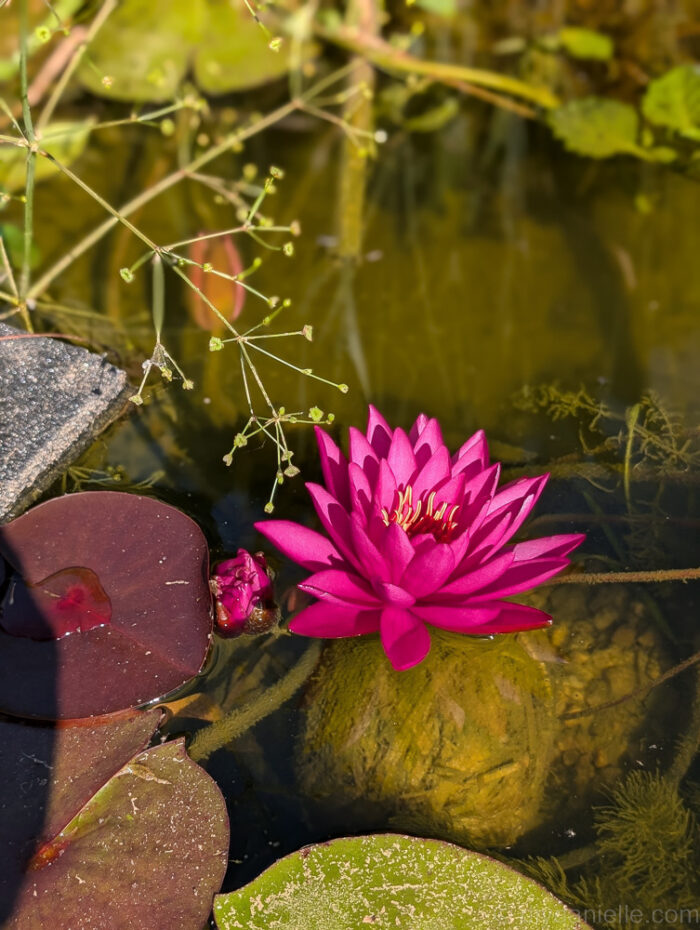
Pink water lily in bloom!
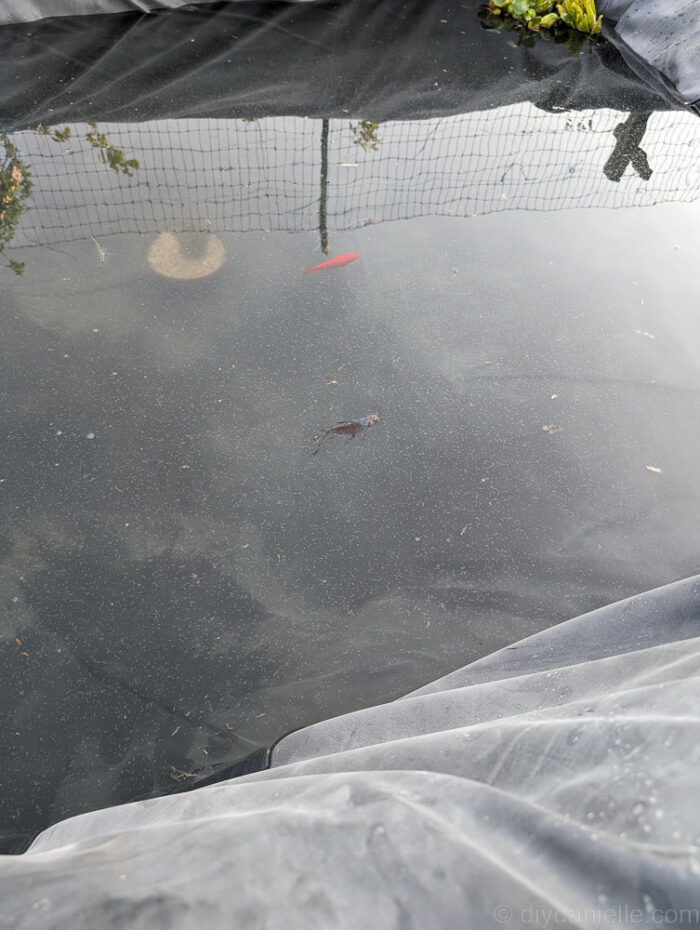
Fish in the pond when the water was clear.
Lots of lily pads. These help provide some shade for the pond and the animals inside it, and are attractive as well.
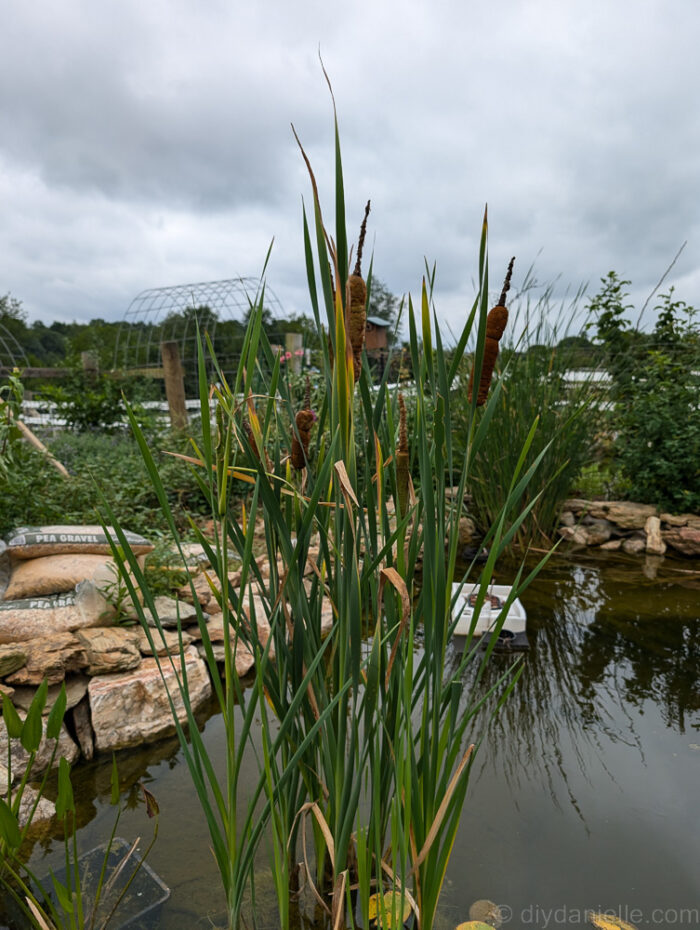
Nasturtium growing next to the pond, and large Jerusalem Artichoke plants growing behind the bog filter (these look like sunflowers when in bloom).

Yellow lilies in bloom.

Pond Maintenance
We are on the second year of this pond, and we did quite a bit of work this year to improve the maintenance plan for the pond. Cleaning it thoroughly after emptying it this year SUCKED and it would have been very expensive to have someone else take care of (I was quoted $1500). I’m hoping more regular maintenance will decrease the workload of the yearly maintenance tasks.
How much maintenance you need to do on your pond is going to be dependent on how you treat your pond.
If you beat it up by overloading it with fish or ducks, you’re going to need to clean it a lot more frequently.
I think regular maintenance is probably the key to an easier maintenance schedule. I purchased a pond vacuum this year and plan to try to vacuum the pond every month or two.
I also plan to use water from the pond for drip irrigation to my garden so I’m hoping that will give the pond some water changes that will be helpful, although I’ll need to refill the pond routinely.
Just remember that you don’t want to over maintain your pond either. Removing all of the water every month would be dysfunctional. You want the natural bacteria and the plants working for you. The plants need some of the yuck in the water to flourish.
Pond Maintenance:
We emptied the pond, scrubbed, and refilled it this year. It was a giant pain, but I think the necessity was partially due to the three ducks using the pond for a good part of the year. Maintenance will be determined by how much
Air Pump Maintenance:
- Replace the air filter every 3 to 6 months
- Replace the diaphragm every 12 months
Bog Maintenance
I am playing bog maintenance by ear, but I’ve been told that some people like to drain out some of the yuck once or twice a year. The drain should be on the opposite side of the pond and you open it up and flush the system. I haven’t done it yet so I’m not sure what that will look like.
Please share and pin this post! You can also post your project and tag the DIYDanielle team on Instagram @doityourselfdanielle!