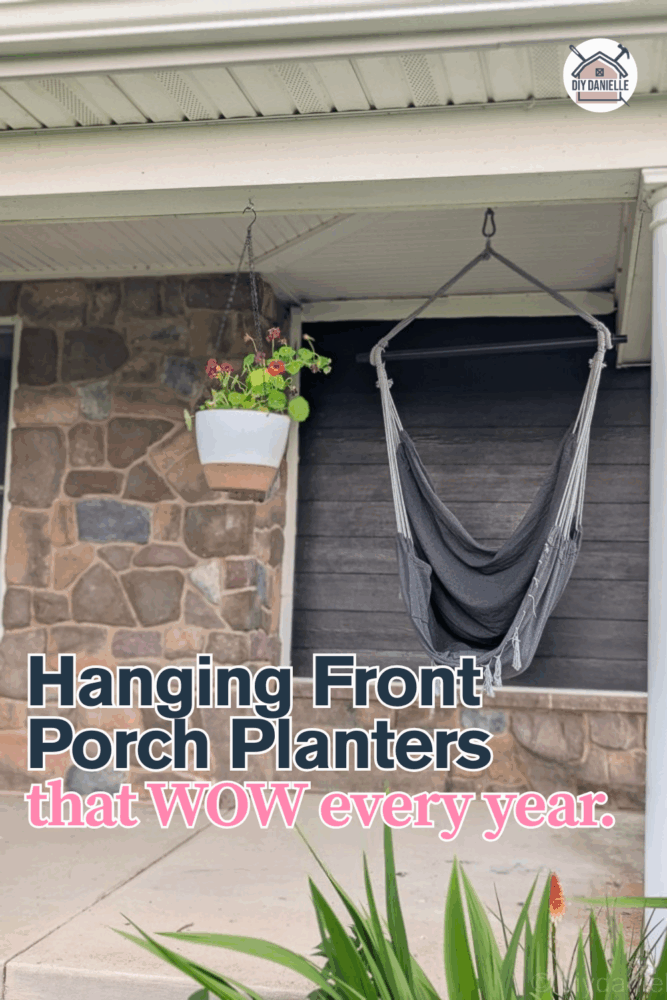
Reusable DIY hanging porch planters that are affordable, self-watering, and easy to plant each year—perfect for a beautiful front porch.

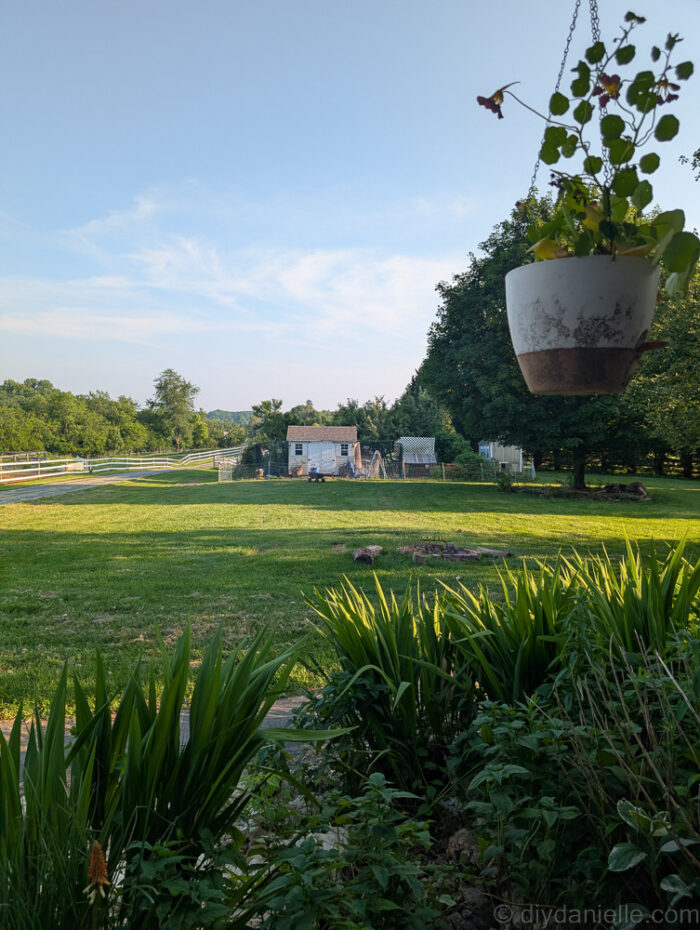
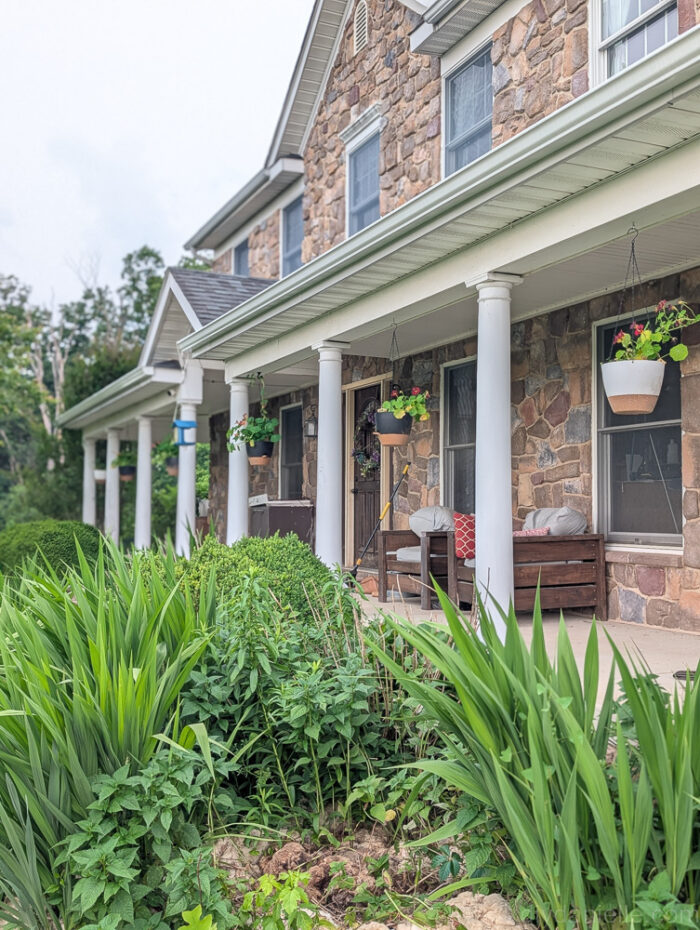
I have a really lovely front porch, even if it does normally have kids’ stuff and woodworking projects on it. I’ve always loved the idea of having hanging planters between each column, but watering is always an issue for me.
Last year I discovered these really cool self-watering planters though, and they have been a game-changer for my front porch planters.
This is going to be a really quick post about how to create your own front porch planters that you can reuse year after year.
This post may contain affiliate links which may earn me commissions should you click through them and take certain actions. As an affiliate for Amazon, Cricut, xTool, Home Depot, and other sites, I earn from qualifying purchases. Please DIY carefully. View my full legal disclosures here.
The majority of my content is generated by me, as are 99% of the photos and videos, but I utilize technology for titles, descriptions, video editing out all of my ums, and occasionally for text overlay on images.
Please read the whole post so you don’t miss any important information!
I recommend getting this all started quite a bit ahead of your growing season. We’re in Maryland and the weather starts to warm up pretty early. This allows me to transport these planters from the porch during the daytime when the weather is nice, and bring them inside overnight when it’s colder.
The head start is really helpful so that the plants have a time to get established and it doesn’t require me to have a greenhouse.
Project Supplies
- Potting Soil (or make your own)
- Self watering planters, Black: Hanging Planters for Indoor Outdoor Plants, 2 Pack Self Watering Hanging Pot with Drainage Holes & Removable Tray (Black, 10”) https://amzn.to/4mUsTMJ
- Self watering planters, White: Hanging Planters for Indoor Outdoor Plants, 2 Pack Self Watering Hanging Pot with Drainage Holes & Removable Tray (White, 10”) https://amzn.to/4kvdocl
Step by Step Instructions
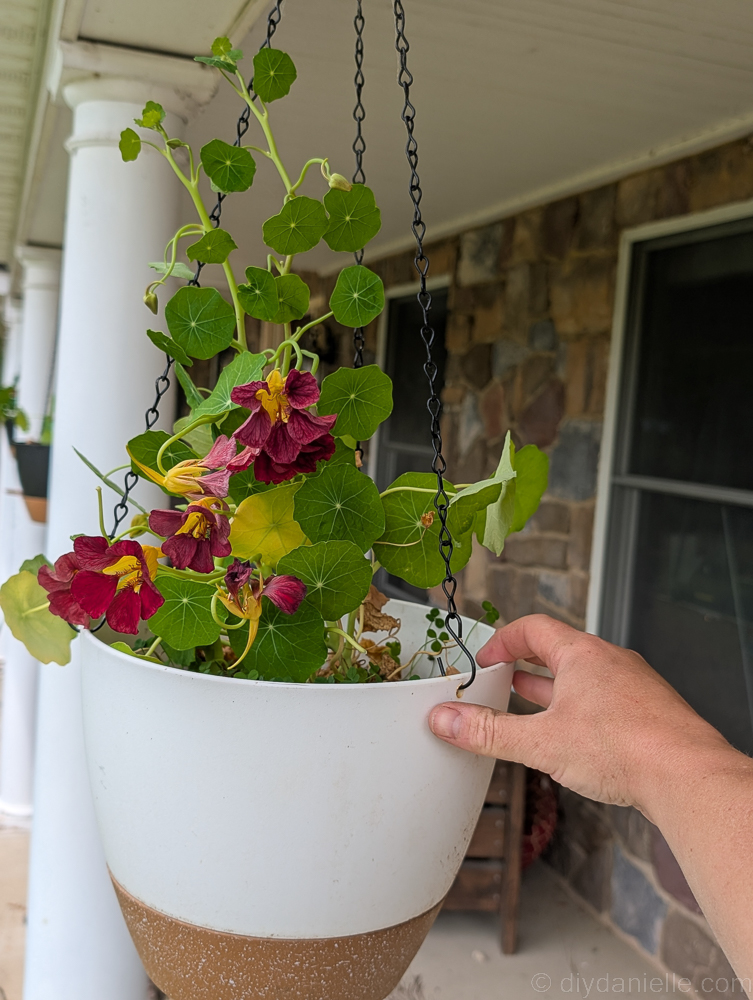
Step 1: The first thing you need to do is pick up these planters. I have six, one for between each column on my front porch. I got three black and three white, but often forget to put them in the correct order (I like things symmetrical).
Assemble them as directed.
Step 2: Add your potting soil.
Step 3: Go ahead and choose some plants or seeds to add to your planter.
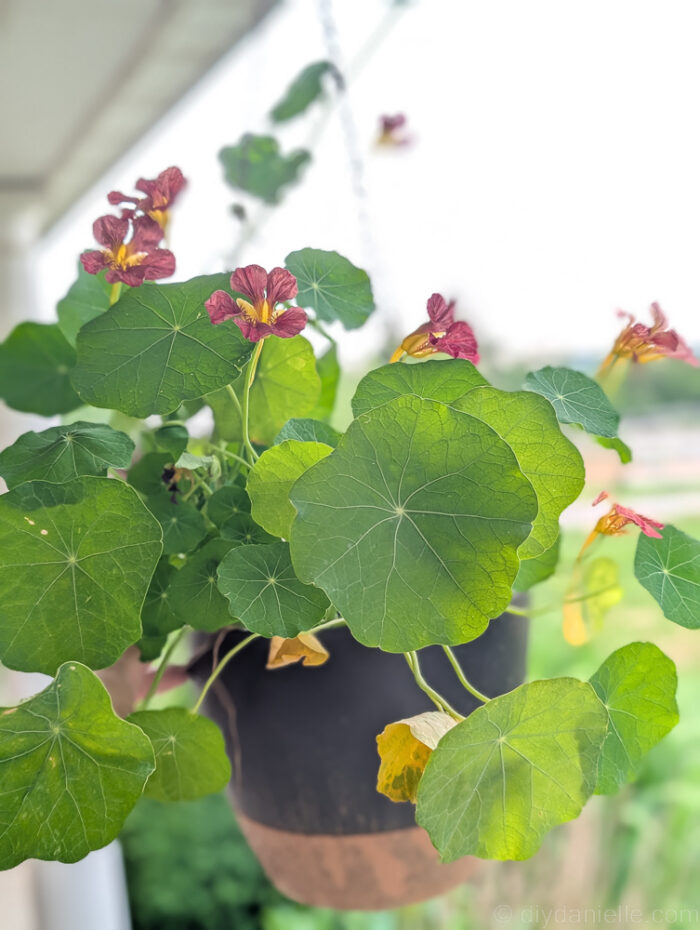
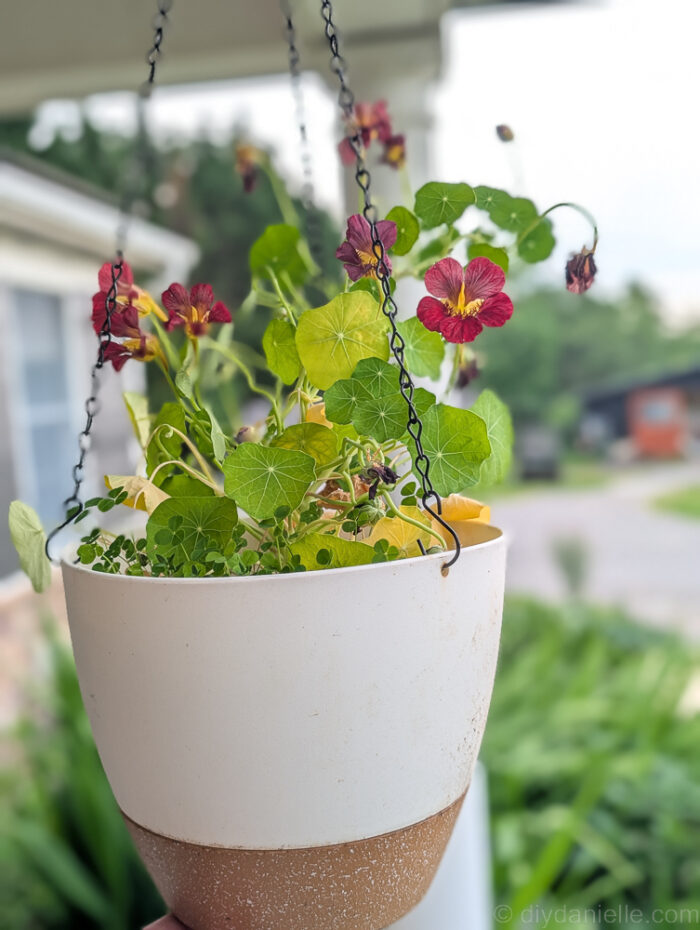
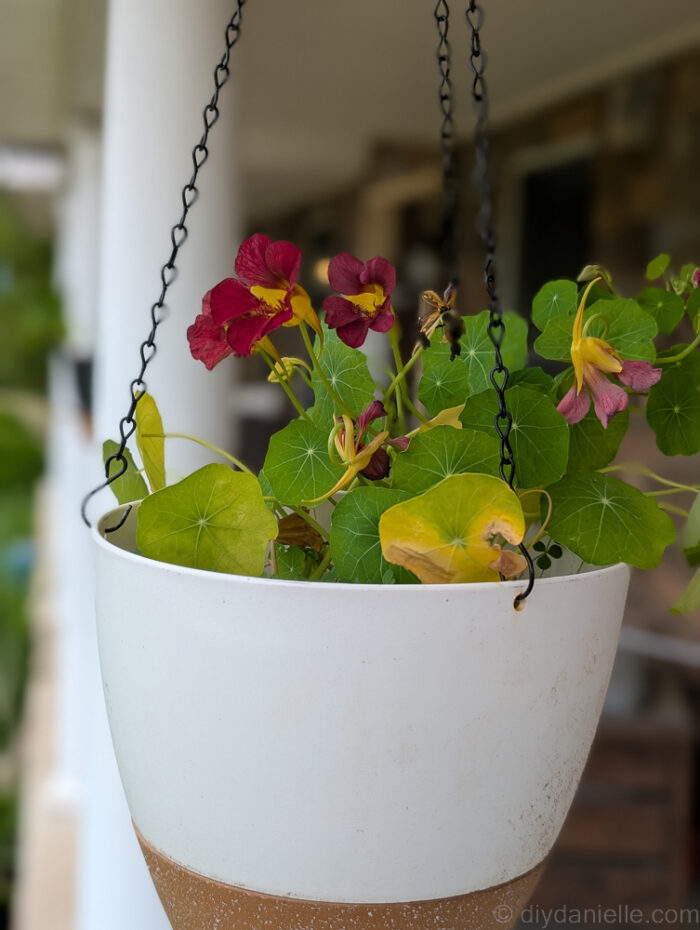
I’m using nasturtium this year because it’s really easy to grow and the hummingbirds love it. It’s pretty low maintenance. I had originally planned to also add thyme to it, but it hasn’t taken off from seed. I may try to add it again.
I was able to sit in my hammock chair this year and watch a hummingbird come visit these! It was so wonderful (and a lot less work than keeping a hummingbird feeder that needs cleaning and refilling).
Step 4: Make sure to water the plants (or seeds) from above initially. You want to keep this slightly damp so it doesn’t completely dry out from above. Eventually your roots will grow deeper to seek out the lower (and wetter) levels of the planter. Also fill the lower zone, however.
Step 5: Once your plant is established, you’ll be filling the water zone below. The little piece of string that comes with the planters helps wick the water from the base into the soil.
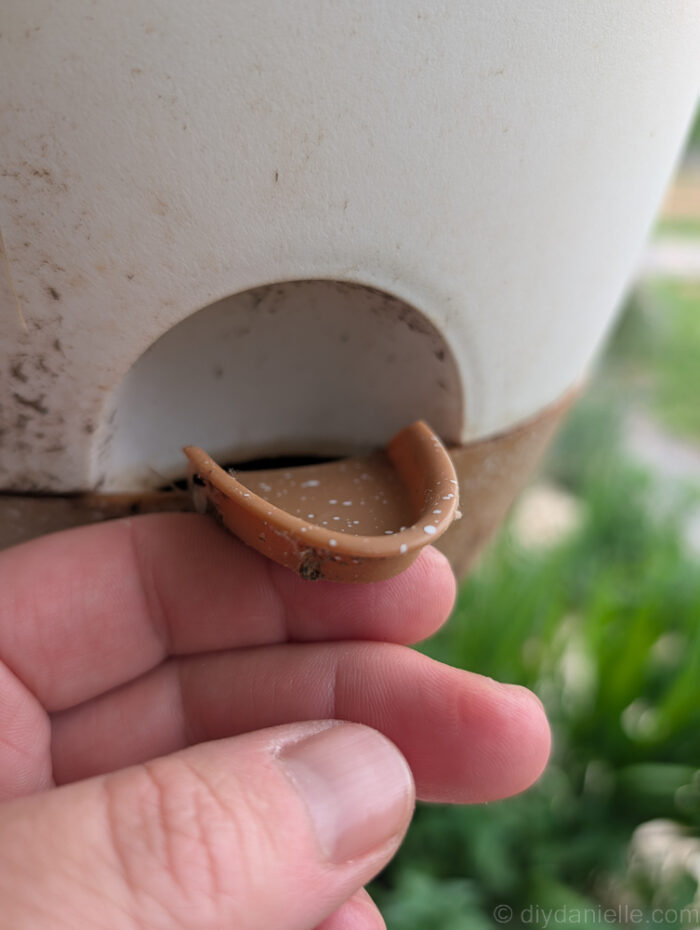
Step 6: At the end of the year, you can compost the old soil and dead plants. Clean the planters thoroughly and save them for next year. Don’t lose the little cotton thread that helps wick the water to the soil!

Please share and pin this post! You can also post your project and tag the DIYDanielle team on Instagram @doityourselfdanielle!