

Discover creative gift wrap ideas using your Cricut Maker! Learn how to personalize packaging with cardstock, Smart Sticker Cardstock, and more. Perfect for any occasion!
A few years ago, I was working on some gifts for our au pair at the time and I wanted to wrap them in a pretty way. One of the struggles with hosting an international person is that they really can’t take a lot of things home due to limited suitcase space so it was important to me to have the gifts be small and meaningful.
Customizing the wrapping allowed me to feel like I was giving something more tangible. I did some really cute gift wrapping using my Cricut Maker, and I wanted to show you what I did!
This post may contain affiliate links which may earn me commissions should you click through them and take certain actions. As an affiliate for Amazon, Cricut, xTool, Home Depot, and other sites, I earn from qualifying purchases. Please DIY carefully. View my full legal disclosures here.
The majority of my content is generated by me, as are 99% of the photos and videos, but I utilize technology for titles, descriptions, video editing out all of my ums, and occasionally for text overlay on images.
Please read the whole post so you don’t miss any important information!
Why Use Cricut for Gift Wrapping?
Cricut machines are perfect for elevating your gift-wrapping game. With the ability to cut precise shapes, create intricate patterns, and design personalized elements. This is really useful for people like me, who aren’t the neatest at writing or cutting. I LOVE being able to have the EXACT shape cut out for me that I want. And it’s sooooo much faster than cutting it myself!
Materials You’ll Need
To get started, gather the following materials:
- Cricut Maker 3: https://cricut.pxf.io/GjNaNm
- Cricut cutting mat (StandardGrip or LightGrip, depending on your material): https://cricut.pxf.io/n1QD2M
- Cardstock in your choice of colors and patterns
- Smart Sticker Cardstock: White https://cricut.pxf.io/qnjrgb
- Cricut Design Space (to create or upload your designs)
- Adhesive (if not using sticker cardstock)
Step-by-Step: How I Made Custom Gift Wrap with Cricut
1. Design Your Shapes and Patterns
Open Cricut Design Space and choose or upload your designs. For my project, I created floral patterns, geometric shapes, and holiday-themed tags. You can use Cricut’s ready-to-make projects or design your own from scratch. Adjust the sizes to fit your gift boxes or bags.
I did a lot of work on DesignSpace before cutting anything. I was able to get a general idea what things would look like beforehand.

2. Prepare Your Materials
Place your cardstock or Smart Sticker Cardstock onto the Cricut mat. Make sure it’s aligned properly to avoid cutting errors. If you’re using multiple materials, group similar designs together to save time.
3. Cut Your Designs
Load your mat into the Cricut Maker and select the appropriate material settings. For cardstock, use the “Cardstock” setting, and for Smart Sticker Cardstock, choose the “Sticker Cardstock” option. Once everything is set, let the machine do its magic.

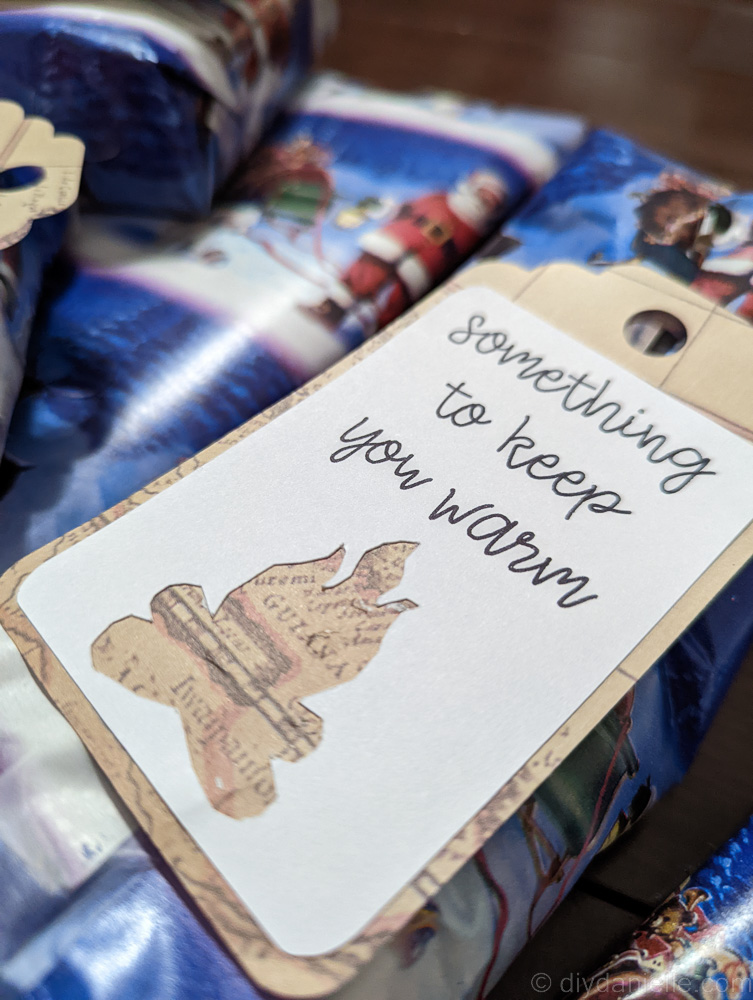
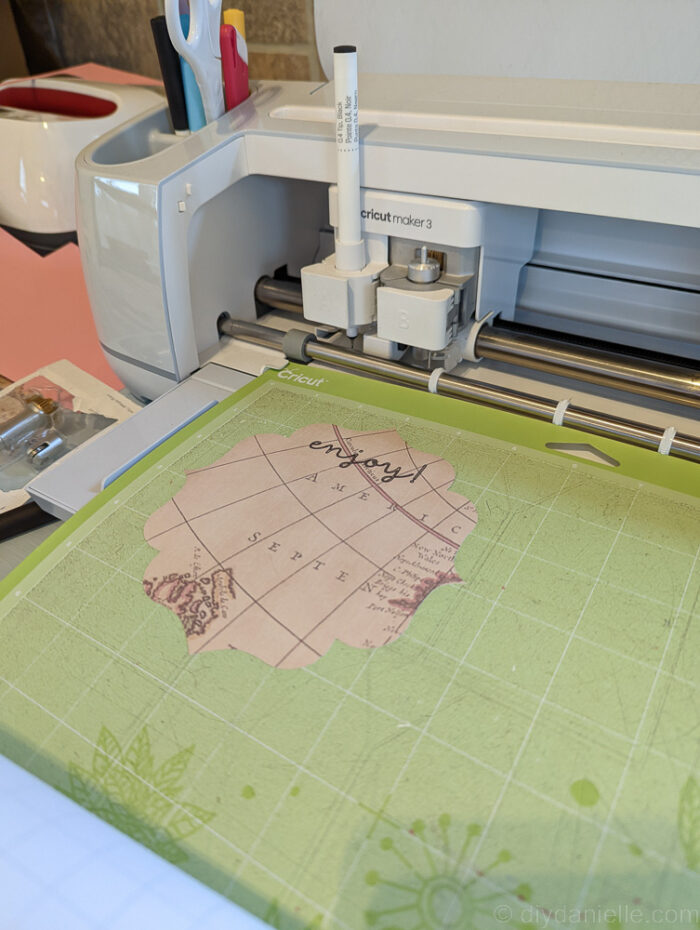
I started with pretty normal cardstock, then cut out white Smart Sticker Cardstock for the interior pieces. That allowed me to use my Cricut pens to write in the text on the white Smart Sticker Cardstock. I added small cut outs on some of the Smart Sticker Cardstock so the pretty cardstock would show through it!
You can use the scoring wheel tool to do folds for your paper as well. That makes it easier to fold everything when you’re finished.

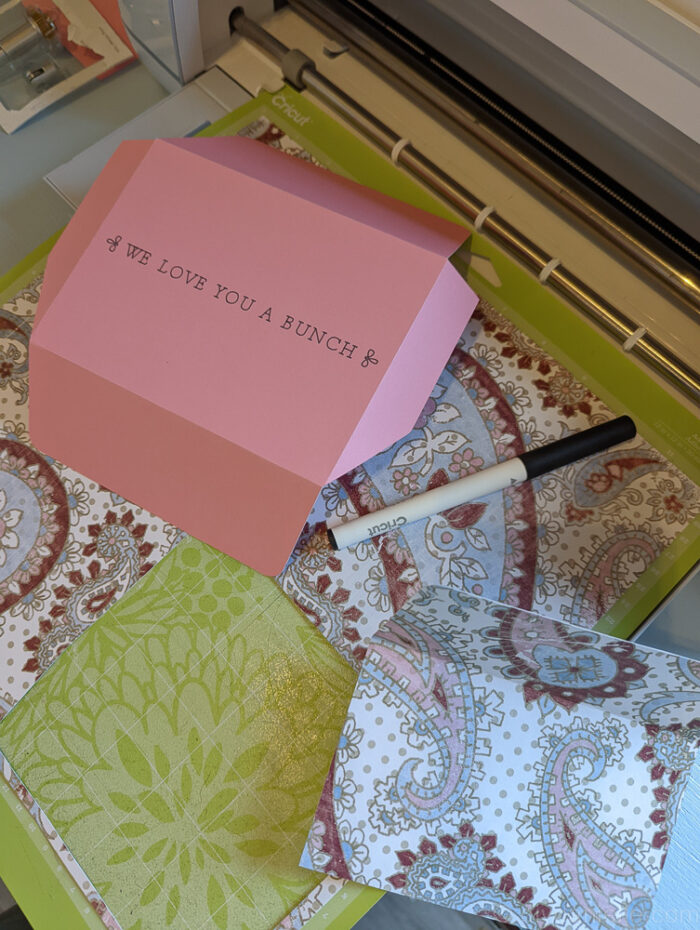
As you can see below, I used the envelope files on Design Space to create the envelope for a gift card and the pens to write on it.
This was also wrapping for an item.

The Cricut pen was able to write on the normal cardstock as well, but it doesn’t show up as well.
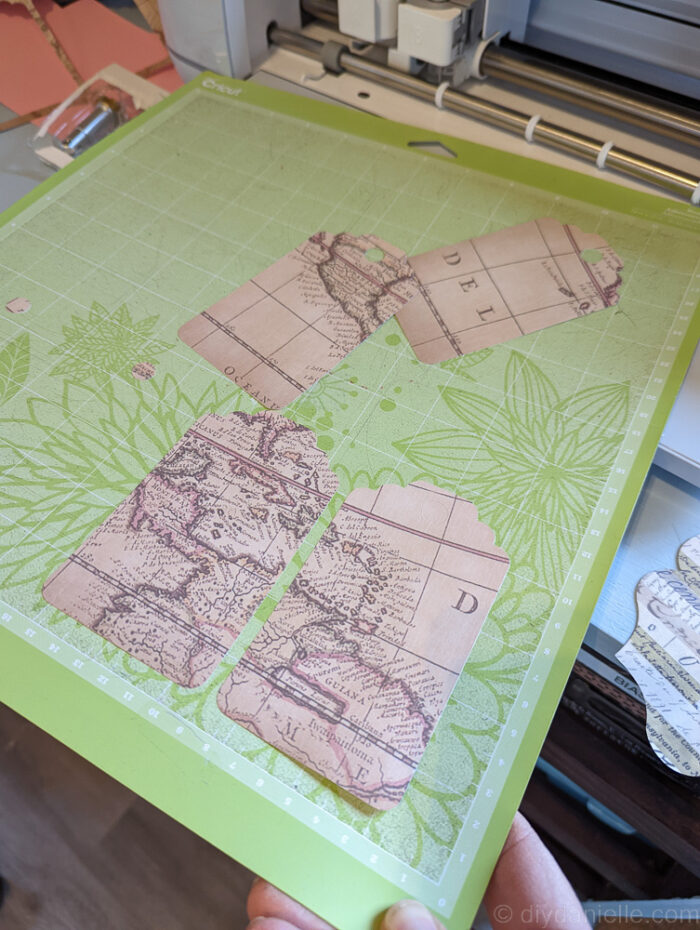
Here are some tags cut out of cardstock.
This is the write Smart Sticker cardstock which I really like because I don’t need a mat for it and it’s fun to peel and stick things. I’m still a kid at heart.

And this is what they look like once you stick them together. PERFECTION.

This is another that I used the scoring pen for. The center piece is Smart Sticker paper again.

I used some scrapbook stickers for the top of this one. I LOVE the map scrapbook paper wrapping though.
4. Assemble Your Gift Wrap
Decorative Wrap: Use your cutouts to create unique patterns on plain wrapping paper or gift boxes. Arrange the designs before adhering them to ensure the layout looks balanced.
Gift Tags: Personalize your gifts with custom tags made from cardstock or Smart Sticker Cardstock. Add names or messages for an extra touch.
I love these gift tags… they’re so easy to make and I love the peekaboo cardstock through the cut outs!

Stickers: Use Smart Sticker Cardstock to make adhesive decorations that can easily be applied to gift wrap, bags, or even directly onto gifts. But you can also use regular scrapbook stickers like I did below.

Creative Ideas for Cricut Gift Wrap
- Seasonal Themes: Create snowflakes, leaves, or flowers to match the season.
- Monograms and Names: Personalize each gift with the recipient’s name or initials.
- Layered Effects: Combine different colors and textures of cardstock for a 3D look.
- Vintage Maps: Cut map designs for a unique and sophisticated aesthetic.
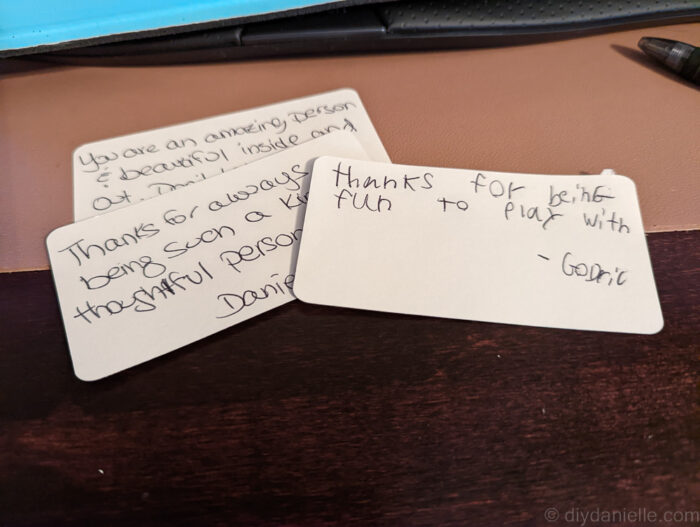
- Add Kind Words! My kids and I wrote wrote kind messages on cards for her to keep.

Tips for Success
- Use High-Quality Materials: High-quality cardstock ensures clean cuts and a professional finish. Note that some cardstock is two sided and others have a background on the back that you may not want to show.
- Experiment with Colors: Mix and match colors to create eye-catching combinations.
- Store Materials Properly: Keep your cardstock and sticker paper flat to prevent curling.
Why Smart Sticker Cardstock is a Game-Changer
Smart Sticker Cardstock simplifies the process by eliminating the need for additional adhesive. It’s perfect for creating custom stickers, gift tags, and embellishments that can be applied effortlessly. Plus, it’s compatible with Cricut Maker 3, allowing for mat-free cutting.
Final Thoughts
Using your Cricut Maker to create gift wrap is a fun and rewarding way to personalize your presents. With materials like cardstock and Smart Sticker Cardstock, you can design wrapping paper, gift tags, and decorations that will impress your friends and family. Give it a try and take your gift-wrapping skills to the next level!
Have you tried making gift wrap with your Cricut? Share your ideas and creations in the comments below!
Please share and pin this post! You can also post your project and tag the DIYDanielle team on Instagram @doityourselfdanielle!


