Discover how to personalize a dog treat jar using vinyl. This step-by-step tutorial helps you create a custom storage solution for treats.
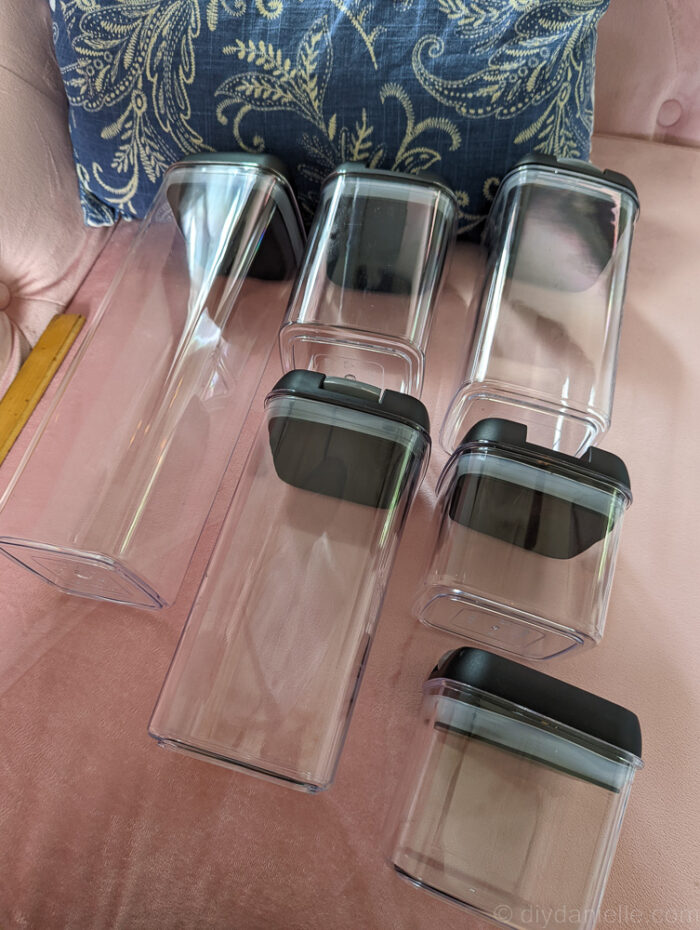
I have a small animal-assisted therapy practice, and having treats on hand for each animal is KEY. Everyone loves giving the animals a treat and sometimes we do training activities as part of therapy. I decided to buy some airtight food storage containers to keep my treats because I like to use soft treats and dislike when they harden after exposure to air.
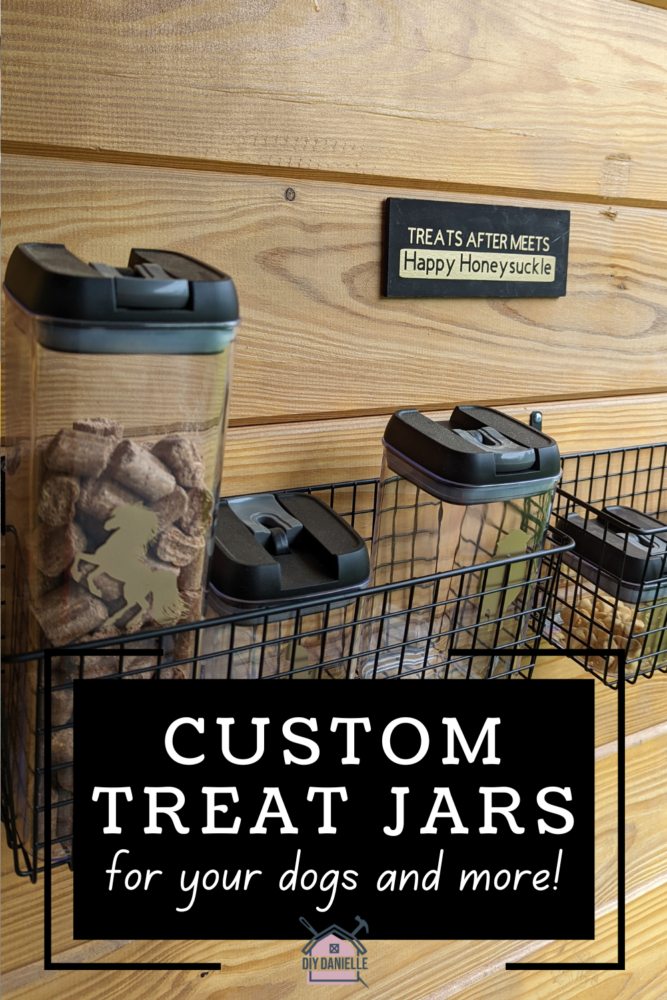
I made these treat jars for my dogs, but also for my horses, goats, sheep, guinea pigs, and chickens too.
This post may contain affiliate links which may earn me commissions should you click through them and take certain actions. As an affiliate for Amazon, Cricut, xTool, Home Depot, and other sites, I earn from qualifying purchases. Please DIY carefully. View my full legal disclosures here.
The majority of my content is generated by me, as are 99% of the photos and videos, but I utilize technology for titles, descriptions, video editing out all of my ums, and occasionally for text overlay on images.
Please read the whole post so you don’t miss any important information!
DIY Custom Dog Treat Jars with Vinyl
Supplies
- Airtight Food Storage Containers (Plastic): Set of 7
- Cricut Maker 3 https://cricut.pxf.io/GjNaNm
- Smart Vinyl, Permanent https://cricut.pxf.io/15NEG6
- Transfer Tape https://cricut.pxf.io/QOQVK9
- Wire baskets that hang on the wall
Tutorial
Step 1: I started by cutting an animal design on my Cricut for each animal and cutting it out of Smart Vinyl.
I choose permanent vinyl vs. removable because these will be in the barn and exposed to heat. I feel the heat is prone to making adhesives lose their grip and I didn’t want the labels to fall off.
Once you’ve cut out your design with the Cricut, weed the excess vinyl away, put some transfer tape on top and remove the backing on the vinyl. The transfer tape allows you to move the design to the storage container front.
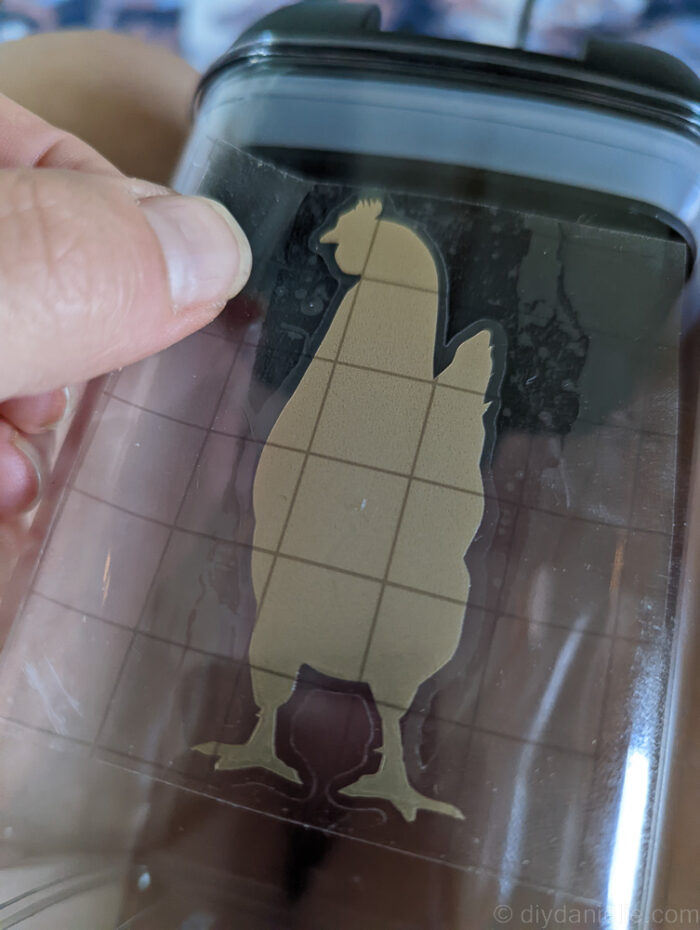
Center your design, press carefully into the plastic sides, and then peel the transfer tape away. You can reuse the transfer tape for your other designs and containers if you are doing multiple types of treats or treats for multiple animals like I am.
Step 2: Repeat with your other bins.

Step 3: Because I couldn’t stop there, I decided to make a sign for my row of treat bins. I painted a piece of scrap wood black with acrylic paint.
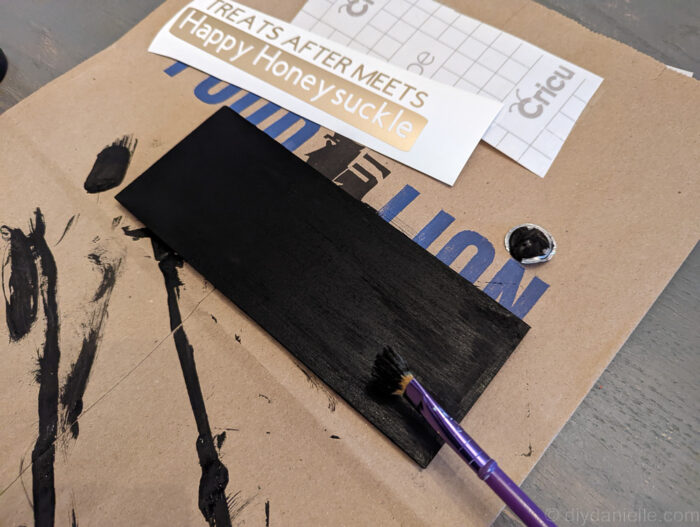
Step 4: Once the paint was dry, I used transfer tape to move my design onto the wood and peel away the transfer tape once done.
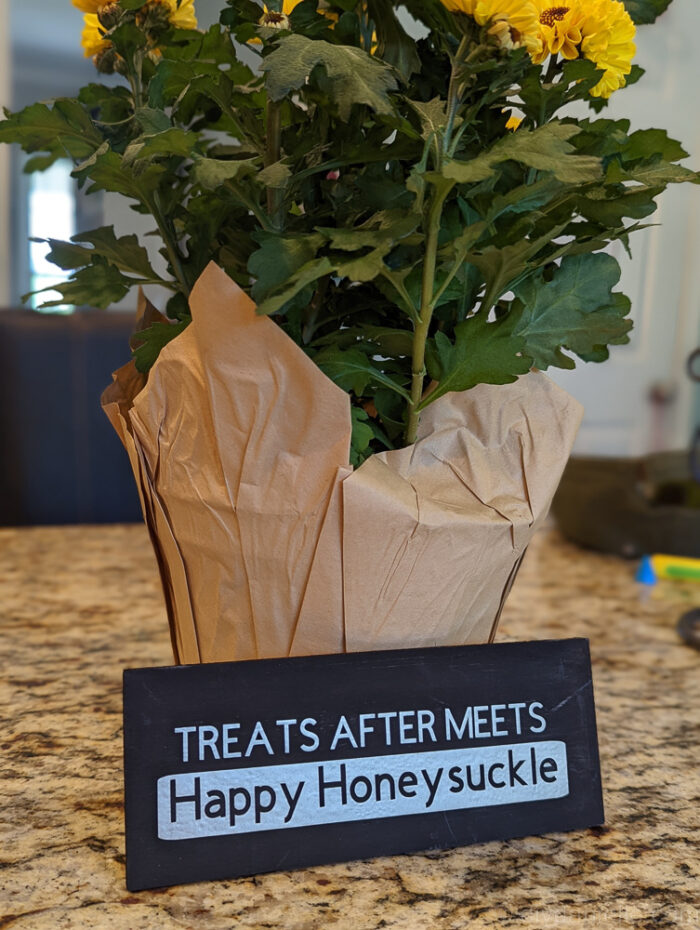
And that was it! I hung up the sign and put the treat bins in wire baskets on the wall in the barn. This worked really well for me until my naughty horse escaped into the barn when I wasn’t home, tore my aisle apart, and broke open all of the bins like the clever Houdini that he is.
Now the remaining bins are in safer areas that he can’t get. But didn’t they look so cute there?! Ugh.
Please share and pin this post! You can also post your project and tag the DIYDanielle team on Instagram @doityourselfdanielle!