
Learn how to install a cost-effective and safe electric fence to protect your farm animals. From chickens to horses, discover why electric fences are best.
This post may contain affiliate links which may earn me commissions should you click through them and take certain actions. As an affiliate for Amazon, Cricut, xTool, Home Depot, and other sites, I earn from qualifying purchases. Please DIY carefully. View my full legal disclosures here.
Please read the whole post so you don’t miss any important information!
Running a family farm can be fulfilling and rewarding. From teaching your children how to care for farm animals to growing organic fruit and vegetables, whether you have a couple of acres of land or a small chicken coop in your backyard, being close to nature is important.
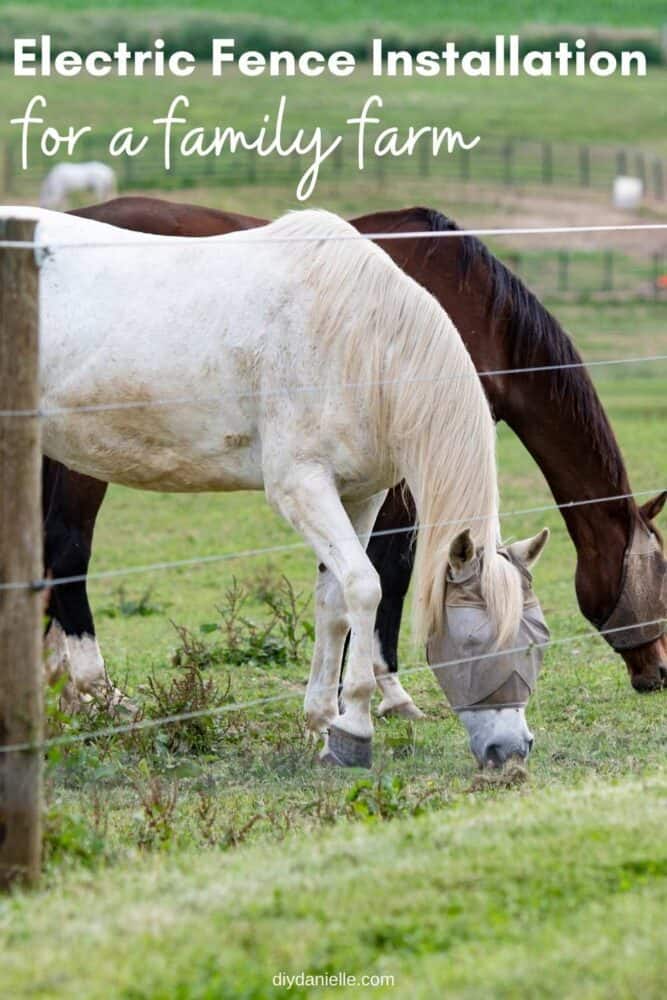
In this post, we’re going to talk about electric fence installation. I’ve used several types of fencing including wire fencing and portable fence panels for my animals. We decided to use electric fencing this year as an affordable way to fence in a large horse pasture.
While we are adding permanent wood posts and flexible vinyl fencing along the exterior of our property, we wanted easy-to-move fencing to divide the pasture for rotational grazing.
I’ve discovered electric fencing is an extremely easy to install and lightweight option for fencing, something I prefer as normal fencing can be heavy and difficult to install alone.
Types Of Electric Fencing
If you’re thinking of installing an electric fence to protect your farm animals, you’ll need to choose the right fence for your needs.
There are three main types of electric fence that you should be aware of; temporary electric fence, permanent fencing and fence protection.
For those with children, the good news is that an electric fence is not dangerous but it may give you a bit of a shock. Make sure to always explain where the electric fence is and not to touch it if you have a family farm.
Temporary Electric Fence
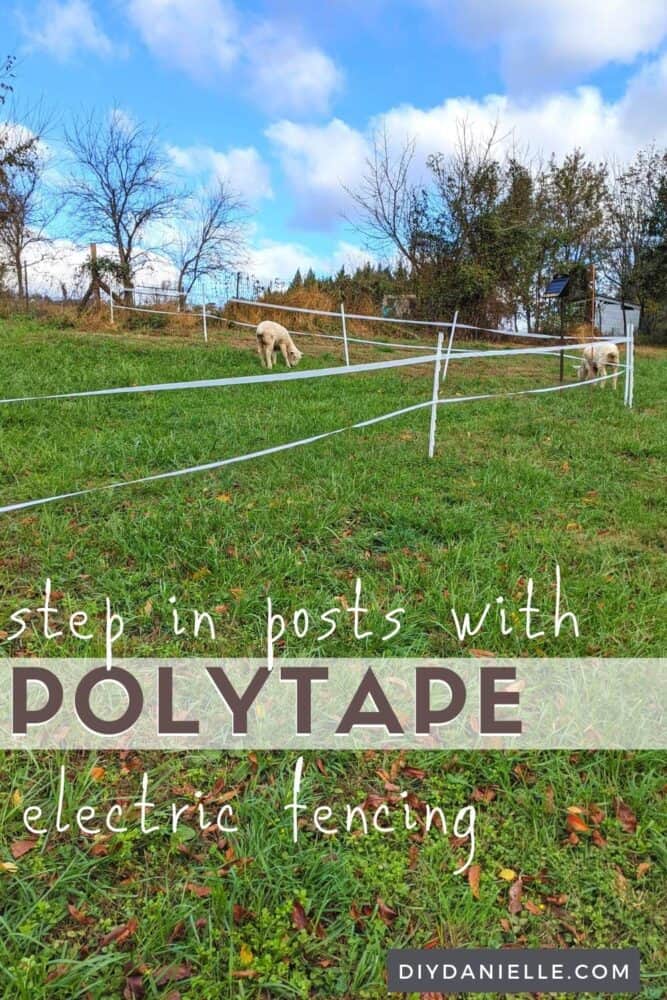
Temporary electric fence is a good choice for farm animals grazing and short-term enclosures. A temporary electric fence can be installed easily, keeping your farm animals safe and preventing them from wandering off.
Most people use step in posts for a temporary electric fence, along with polytape or wire. The step in posts are very easy to install and lightweight.
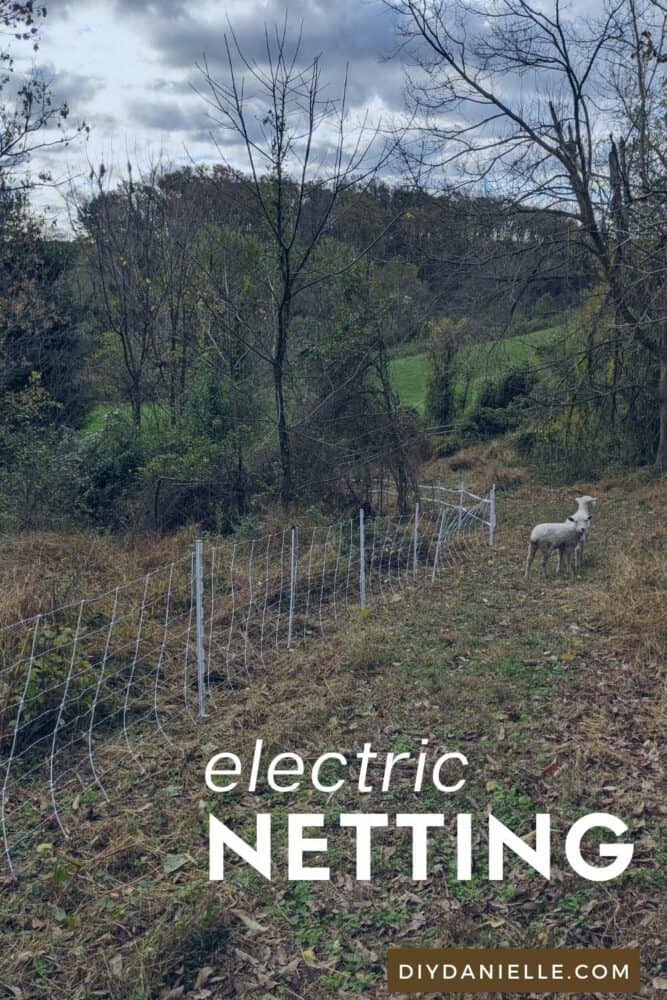
You can also purchase electric netting fencing. The electric netting fence comes with the posts and net connected so you don’t need to purchase insulators, wire, and posts separately. It has different size gaps, depending on the animal it was intended for. It’s also easy to move.
For goats and poultry, you want to use the poultry netting which has smaller gaps so they can’t squeeze their heads or bodies through. Goats can become tangled in the netting if the gaps are too large and this can cause injury or death.
Sheep tend to be more respectful of fencing so sheep netting can work for them.
Permanent Electric Fence
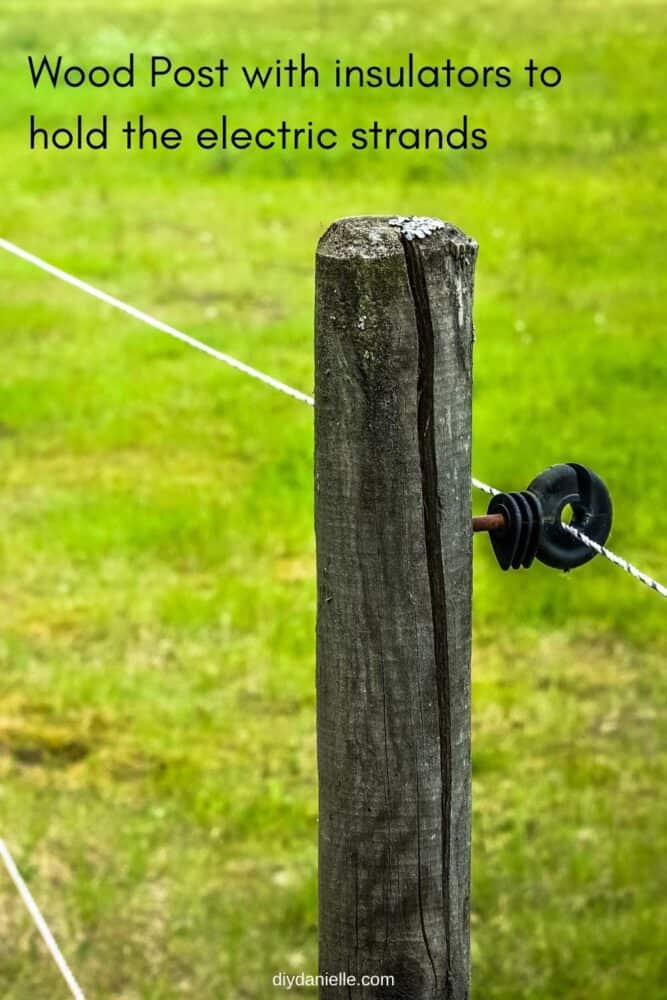
If you want to put up a long-term electric fence that’s going to stand the test of time, permanent electric fence is a great choice. Using wood posts and steel or polytape fence lines will keep larger farm animals, such as sheep, goats and horses where they should be and act as a deterrent for wild animals looking for their next meal.
The downside of permanent electric fencing is that wood posts can be expensive and difficult to install. While you can install them by hand digging the holes, most people find that an auger or fence driver is a good investment (or rental) if they need to install more than a few posts.
Some people chose to use heavy duty T posts for their permanent fence, insulators to hold the electric tape to the T Post, and, for horses, some type of vinyl sleeve for the T Post to protect them from injury.
I highly recommend buying, borrowing, or renting a T Post Driver ($37 at Home Depot) as they make installing metal T Posts much easier.
Fence Protection
Commonly used to protect traditional wooden fences from animals rubbing against them and biting or kicking them, this electric fence is placed a couple of feet away from the main wooden fence or gate.
A strand of wire set away from a welded wire fence, for example, can help keep goats from rubbing against the welded wire and breaking through.
Benefits Of Electric Fences
Replacing wooden fences can be expensive, and an electric fence is a more affordable option. Easier and quicker to install, electric fences are also a good choice if you want a fast, reliable or temporary fence for your farm animals. You also don’t need to worry about maintaining the fence once it’s in place or repairing it from damage caused by your animals or any wild animals.
My favorite part about electric fencing is that it deters children from reaching or climbing into pastures where they could be injured by large animals, and it’s easy to install by myself.
How To Install An Electric Fence
It’s important to note that an electric fence will only work if it’s been installed correctly. Failing to set up an electric fence properly will likely lead to you chasing your farm animals around, as they start exploring the great outdoors without you.
- The first thing you’ll need to do is mark out the area you want to cover and make sure you have enough wire to reach each corner. Consider the height you’ll need the fence in relation to the size of your farm animals. Each corner of your electric fence will be to be braced, so bear that in mind too. The top line of an electric fence should be around the shoulder height of the animal you’re trying to contain. This is a good guide on how tall the fence should be and how many wires you should run.
- Next comes earthing your electric fence line so that it doesn’t lose power. Basically make sure that it won’t be touching anything else, such as trees, bushes or crops. The netting is, in my opinion, more difficult to clear for brush as there’s a lot more areas where it can come into contact with grass and brush. If you don’t clear away items around the fence, the fence discharges repeatedly and either drains your solar battery, uses a lot of electricity, and/or shorts out.
- You’ll also need to pick a charger to keep your electric fence alive- so to speak. You could opt for a solar charger and benefit from direct sunlight or an electric charger if you don’t have enough sunny days to keep your battery at full power.
- Find a weather resilient spot near an outlet to install the electric charger first or a place for your solar charger that’s in direct sunlight for most of the day. Only turn on the charger when the electric fence is installed.
- Put in the ground rods, usually around 10 to 20 ft apart. Use a post-hole digger to ensure the post is secure and leave around 2 inches above the ground. You want at least three ground rods. Make sure you place the ground post in a spot where the animals (and humans) can’t be injured by it. They are difficult to move if you have to relocate them. We used a t post pounder to get these into the ground.
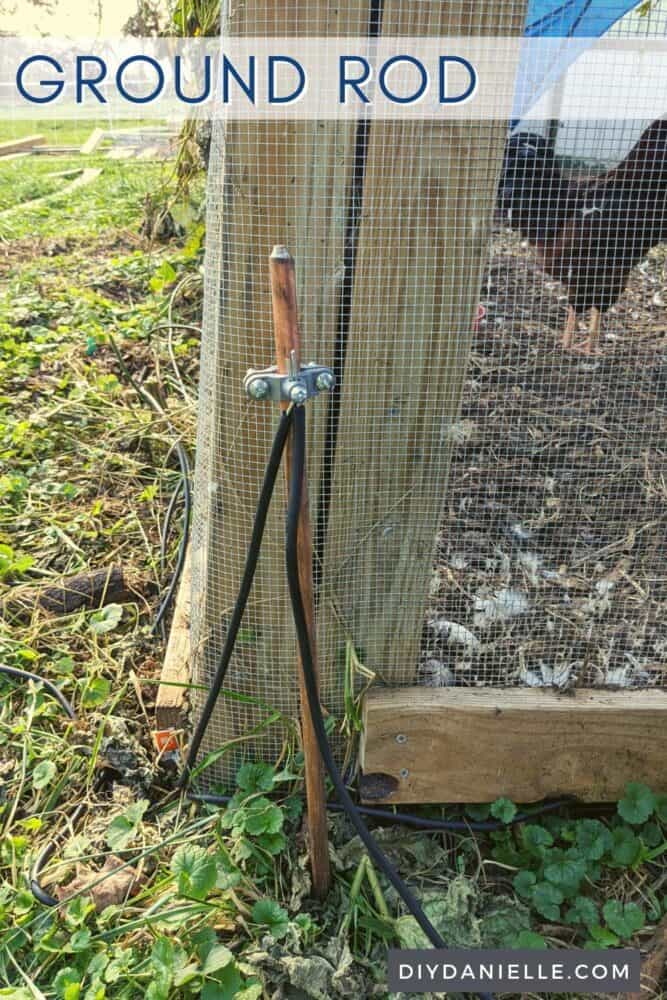
- Attach a grounding wire, which should be extended from the ground terminal to all the grounding posts. Secure the wire to the posts using a grounding clamp.
- Next, install the fence posts, with at least a third of the length of the post underground. Install the braces and then start to mount the insulators to keep the electricity flowing through the wires, but away from the posts.
- Now connect the wire to the posts using the connector clamps. Avoid wrapping the wire and make sure the electric fence wire is pulled taut at each end.
- Finally, test the line using a voltmeter. It should read 6000 to 10,000 volts if working correctly.
I’ve found that my goats are much more responsive to the plug-in electric fence charger than they are to our solar one, but I think this has a lot to do with issues with brush and grass rubbing up against the fencing. I plan to do a better check of the fencing if we get a sunny day soon! We were getting the same reading on the voltmeter for both chargers, but my- ahem- ‘touch test’ verified that the plugged in charger was stronger.
Interested in other types of fencing? Here are some other fencing topics I’ve covered:
- Learn how to dig a fence post by hand
- What are portable fence panels? What are some options for portable fencing?
- Types of Wire Fencing: Get the right kind for your property without breaking the bank (or having animals escape).
Please share and pin this post! If you make this project, share it in our Stuff Mama Makes Facebook Group. We have regular giveaways for gift cards to craft stores. You can also tag me on Instagram @doityourselfdanielle; I love seeing everything you make!

Google Web Story: Electric Fence Installation