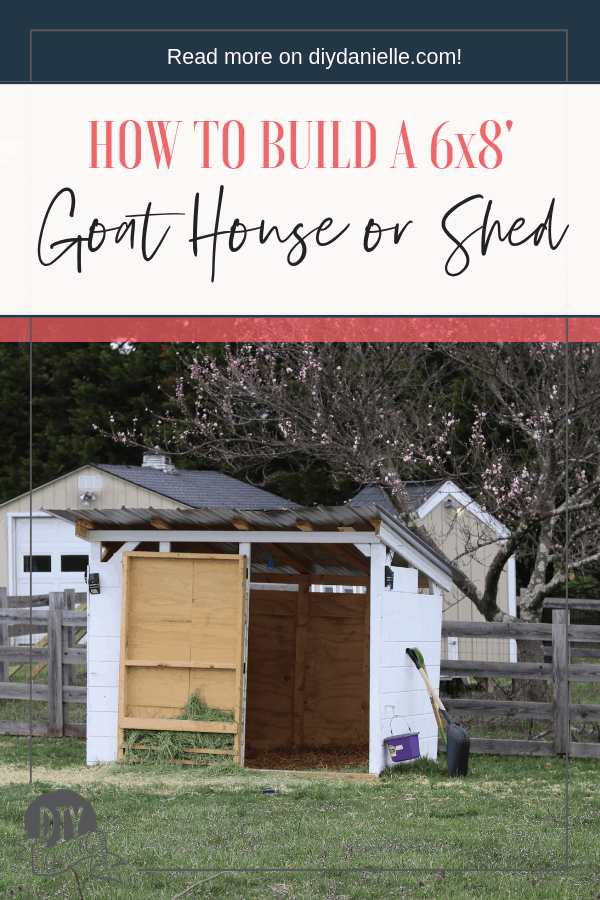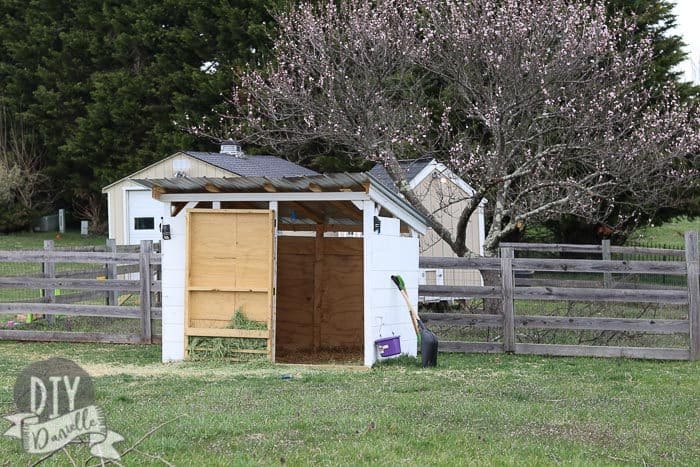
How to add siding and a roof to a DIY goat house or shed. This 6×8′ shed is perfect for our goats with plenty of ventilation and a sloped roof so snow can slide off.
This post may contain affiliate links which may earn me commissions should you click through them and take certain actions. As an affiliate for Amazon, Cricut, xTool, Home Depot, and other sites, I earn from qualifying purchases. Please DIY carefully. View my full legal disclosures here.
Please read the whole post so you don’t miss any important information!
Today I’m going to show you how I added siding and roofing to the goat house.
Make sure to visit Part I: How to Build a Goat House,
Supplies & Framing if you’re new here.
This is Part II of my posts about building our goat shed. I didn’t want to squeeze all of the content into one post because of how many photos I wanted to show. It just slows down the load time a lot.
This barn was inspired by the barn that my friend Scottie at SavedbyScottie built… you can see her barn on her Instagram channel.
If you want the simplified plan for this project, check it out in my shop.
Roofing the Hut
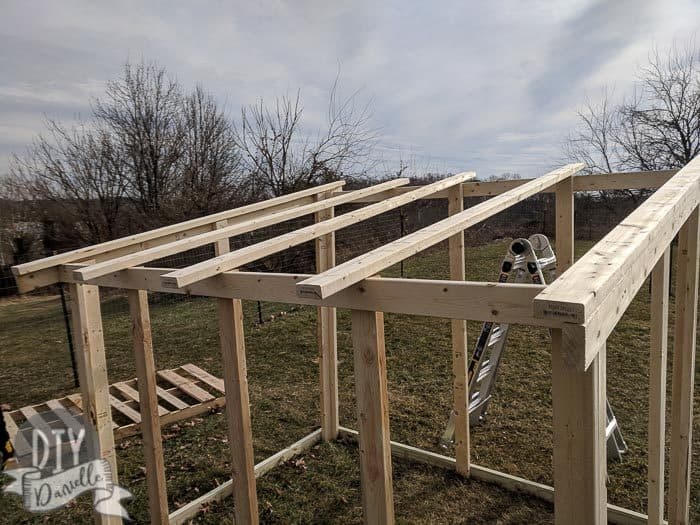
We did our roof with the studs going down instead of horizontally. I’ve heard that it would have been better to do them horizontally. This may have provided additional support for the roofing which was made from galvanized steel panels.
The first major winds we had whipped through a few weeks after I built this… they were 50 MPH and I was up all night worried about the goats and that roof. In my head, the whole goat barn would fly away- I think I underestimated the entire weight of my shed. Regardless… so. much. worry.
In the morning, we found that the metal roofing had cracked in a few places on the side that the wind comes from. It’s repairable, but I will definitely consider fixing the roof and using 10′ 2x4s across in the opposite direction to help provide additional support. If I update this, I’ll update the post to show the fix.
In terms of installation, the galvanized roofing is pretty simple to install.
Start by adding your 2x4s. Again, I recommend doing 10′ horizontally, not vertically like I did.
You need the panels which should have the grooves pointing so the snow and rain will run down them, not across them. You can place them on top. This is harddddd to do if it’s a windy day so I recommend waiting until you can do it safely. These panels are lightweight, but they catch the wind pretty fast.
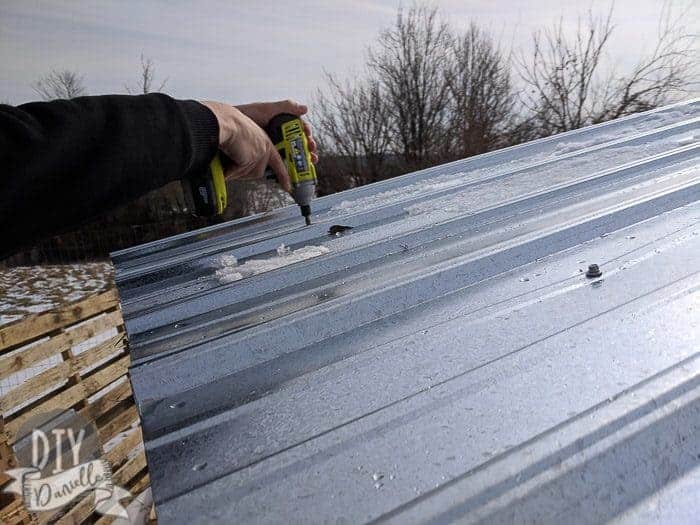
Once you have them placed, you use special screws designed for these panels to attach them to the 2x4s. You’re supposed to install the screws at the top of the “hills”… not in the valleys.
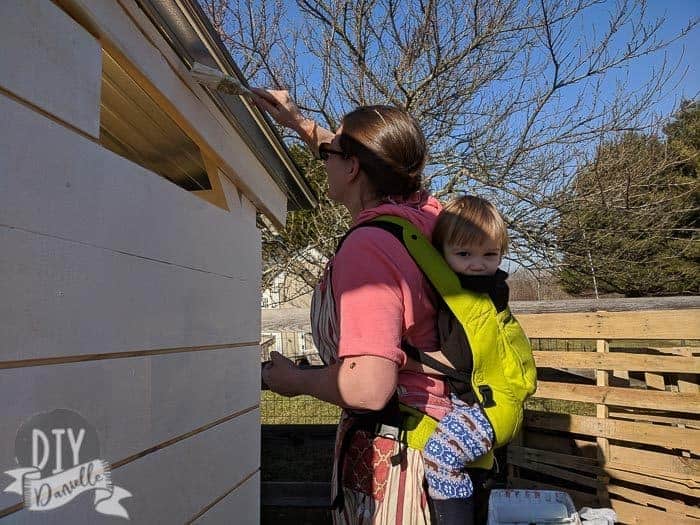
Make sure they’re on there good. I needed my much taller husband to do the screws because I couldn’t reach the top of the goat house in the front easily.
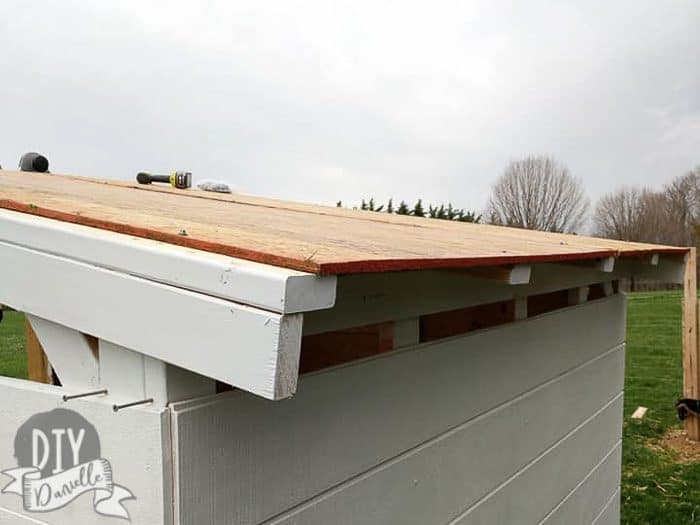
Updated to add: This is our fix for the goat house roof. We added plywood over the 2x4s to create stability, then placed the galvanized panels on top. It’s SO much sturdier.
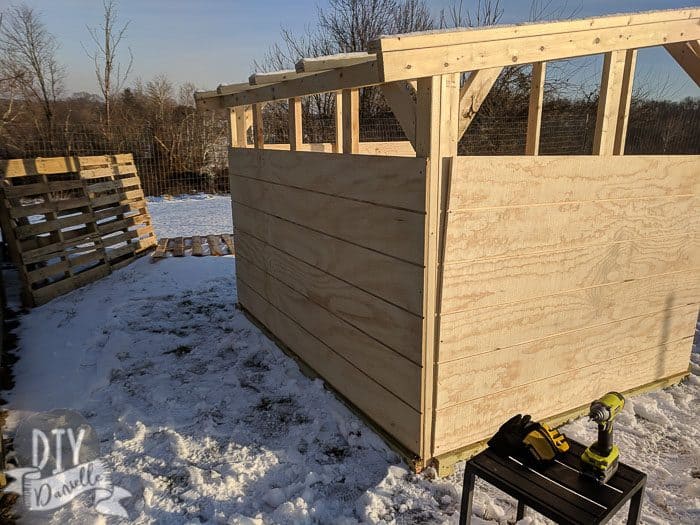
Goat House Siding
Keep in mind that you want to make sure that your goat house keeps the goats dry and away from the wind… but it still needs to get good ventilation. This is important. My focus was on making it air tight on the lower part of the house and leaving ventilation at the top. The ventilation needs to be good without leaving big gaps for rain to come through. The overhang on your roof can take care of some of that, but I was more careful about not leaving gaps on the side that the wind hits. I figured the wind would drive rain and snow into my house on that side in particular.
All I did was cut the bottom panels to the right width.
Most of these boards will screw into the 2x4s and require a 3″ screw… but depending on where they attach, they may need a shorter screw. Ie. If the board attaches to a 2×4 that is flat up against it, you need a shorter screw. If the attaching 2×4 has the short side up against your board, you can use the longer screws.
The front and back used short screws, the side pieces used more longer screws. I hope this makes sense. I added three screws to each side, plus screws in the middle where there was framing to attach to.
Make sure the bottom board is tightly placed against the pressured treated 2×4 on the frame.
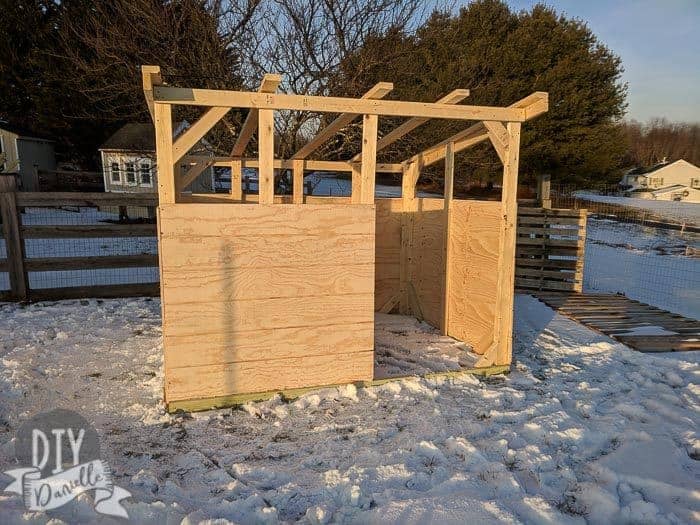
Now I needed to cut the T1-11 to fit above the lower boards. I wanted the upper siding to be high enough to prevent rain and snow from getting into the goat house, but not so high that it would reduce ventilation. I only had so much T1-11 left so I tried to make it all fit on those. The back piece needs the full 8′ length so you want to cut that first. My piece was two sections of the panel.
There’s a lip to the T1-11 that allows it to fit behind the bottom boards. I tried to keep that when I cut my boards. When I went to install the top siding piece, I unscrewed the bottom T1-11 a little so I could slide the top piece in and “lock” it in place.
Once I cut the back, I worked on the sides. I made sure to draw it out to make sure I had enough BEFORE cutting. Remember to cut in the right direction so the panel faces the correct direction (pretty side out).
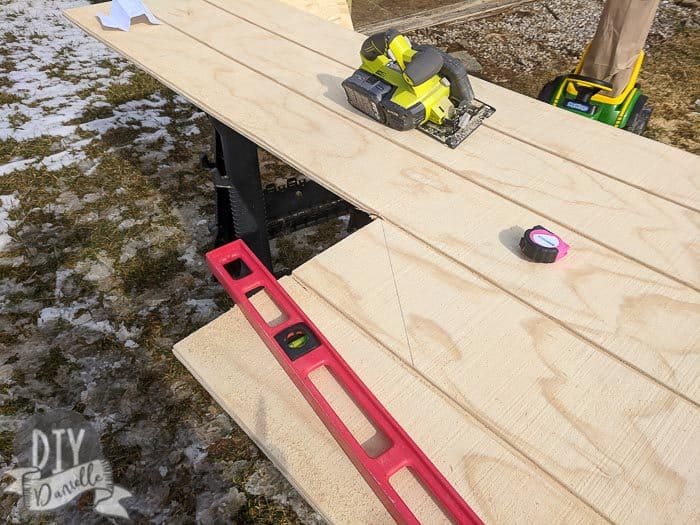
Any medium T1-11 pieces were evaluated to see if the fit the less wide front.
Again the siding was planned out very carefully to get the most bang for my buck in terms of using the boards I have ON HAND.
If you’re building this as a shed for storage or a chicken coop, you’ll need to adjust the plan. The shed would be completely enclosed, unless you wanted to add a ventilation window. The chicken coop would need ventilation FOR SURE, but you need to use hardware cloth to block any openings so predators like raccoons and foxes can’t get into your coop.
Painting the Goat House
You need to prime the barn first. Once that dries, you can apply your exterior grade paint. Home Depot sells paint specifically for barns. It’s supposed to be safe for livestock. Remember to read the paint/primer containers carefully so you are painting in the right weather- you don’t want to be painting when it’s too hot or too cold.
I didn’t paint the interior.
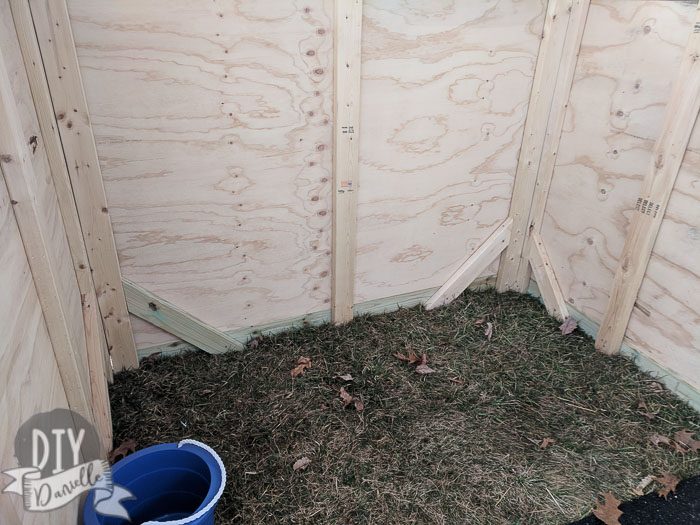
Goat House Flooring
I was a bit torn here. Everyone has an opinion on their favorite flooring types for goats. I’ve heard it a huge pain to clean dirt/grass floors once they’ve been used for a long time. But I liked the idea of a softer surface than concrete. Concrete did sound easily to clean- but expensive to have installed. And I’ve never poured a concrete slab and it wasn’t something I wanted to tackle.
Wood sounds nice, but I didn’t like the idea of goat pee seeping into wood over time. The right paint may help but it just feels gross to me.
Instead I opted for removable stall mats over the bare soil. I’m hoping these will work.
I feel like it will be feasible to take the goat house apart and place it somewhere else if I needed to make any of these changes- feasible, not ideal.
CLICK HERE TO READ THE NEXT POST IN THE SERIES
Building a Goat House: Goat House Accessories
Here’s the full video that I made for this tutorial… unfortunately, due to high winds and pretty cold weather, I didn’t have a good tripod setup so the best explanation of what I did is probably in this blog post. But the video shows some detail that will hopefully help explain what I did.
Please pin this post and share it on social media!