

Create a spooky DIY baby mobile featuring skulls—perfect for adding creepy charm to your doll display. Easy, fun, and Halloween-ready!
For this year’s Halloween Trail, I wanted to set up a creepy doll area that looked like a nursery. Where we were outdoors, were obviously limited a little bit, but one of the things I decided to do was 3D print a skull baby mobile.
I had to paint it to get the look that you see, but it came out great and it really worked for the setup.
This is going to be a pretty quick tutorial.
This post may contain affiliate links which may earn me commissions should you click through them and take certain actions. As an affiliate for Amazon, Cricut, xTool, Home Depot, and other sites, I earn from qualifying purchases. Please DIY carefully. View my full legal disclosures here.
The majority of my content is generated by me, as are 99% of the photos and videos, but I utilize technology for titles, descriptions, video editing out all of my ums, and occasionally for text overlay on images.
Please read the whole post so you don’t miss any important information!
DIY Skull Baby Mobile
Project Supplies
- Red and black acrylic paint
- UV resistant clear acrylic coating
- Paint brushes
- Newspaper to protect your table
- 3D Printed skull mobile (“Wind Chime of Death” on Bambu app)
- Clear fishing twine
Step by Step Instructions
Step 1: Start by 3D printing your design. This was available in the Bambu lab store for free.
I printed it in white so that I could paint it.
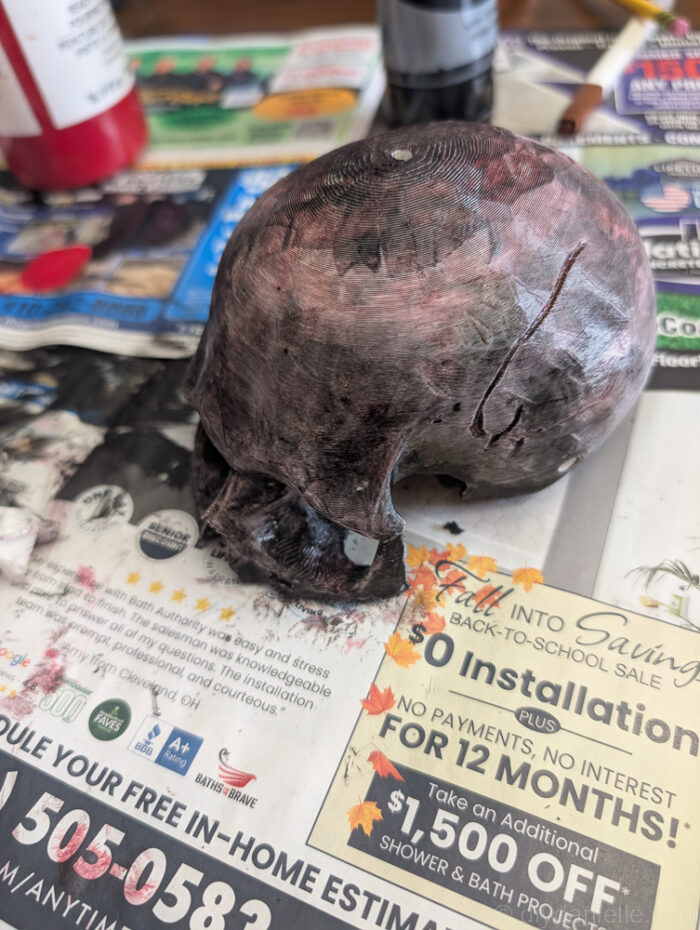
Apparently I didn’t take a picture of the 3D printed skull before I started painting, but you can see some of the pieces painted in step 2.
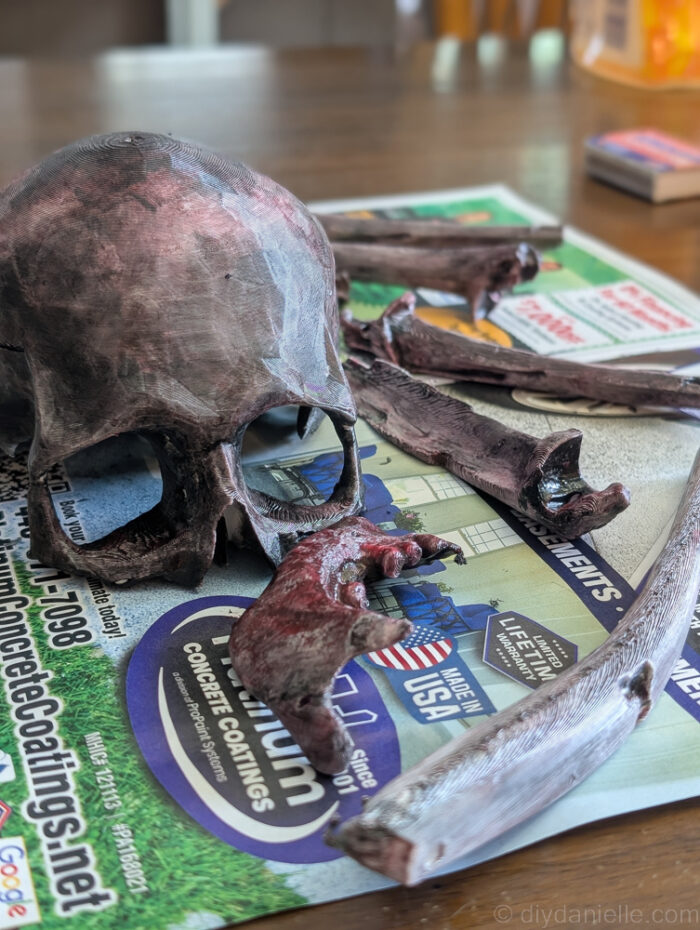
Step 2: I used red and black acrylic paint to paint this. You could probably make some brown in as well if you wanted.
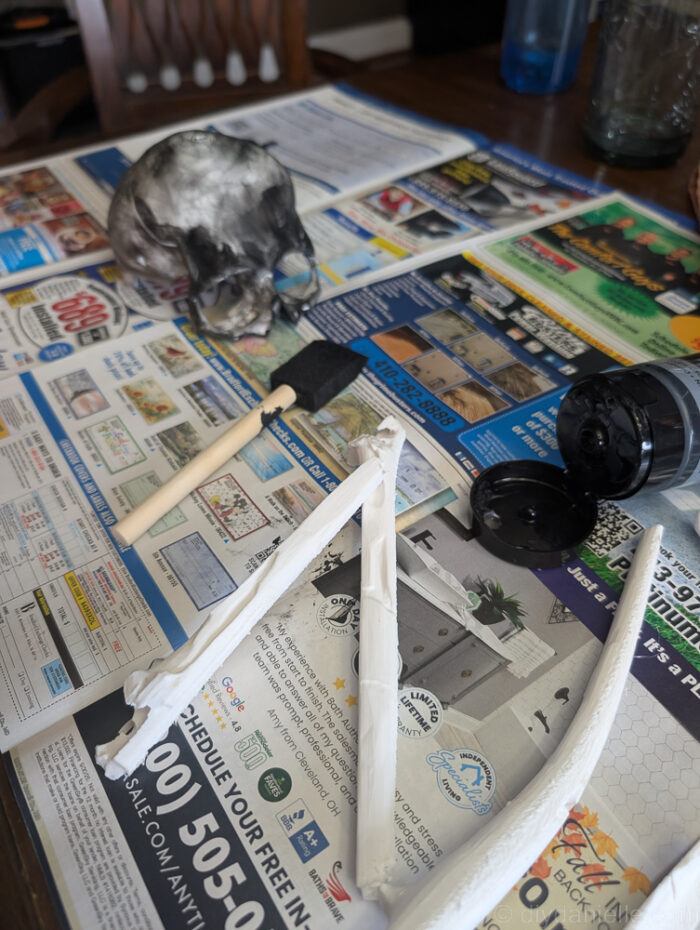
This is tricky to explain, but I used a layer of black around some of the edges, the interior of the skull, and any area I felt that should be dark. If it doesn’t make you happy, you can wipe it off pretty easily before it dries, or paint over it.
I let it dry a bit, then used the red paint on top and blended it a bit. I did a bit extra with the red on the jaw bone.
Let dry thoroughly.
Doing this all on some newspaper helps make it easier to move this somewhere to dry.
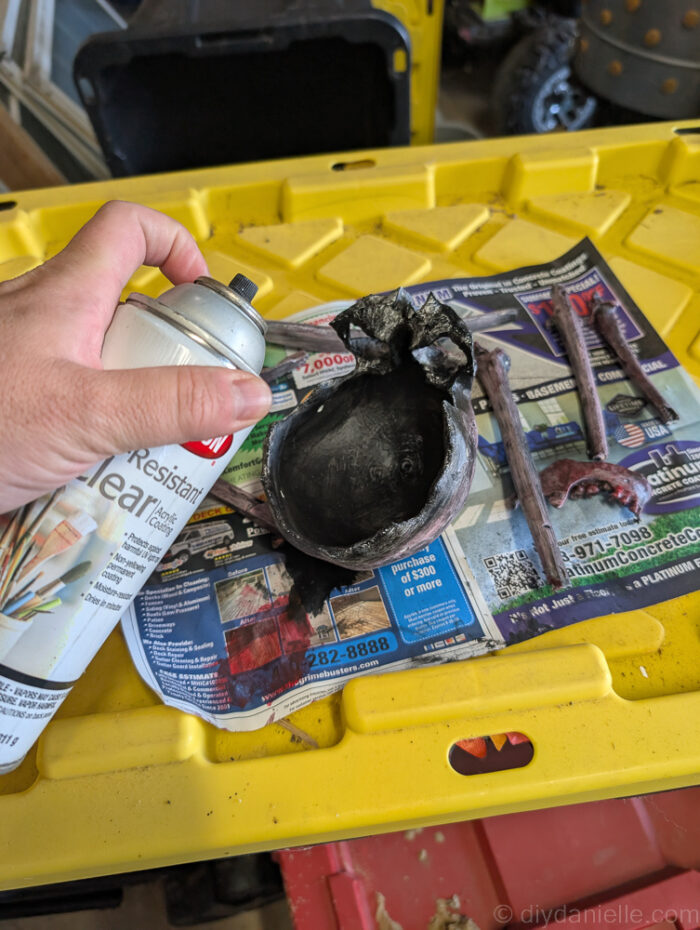
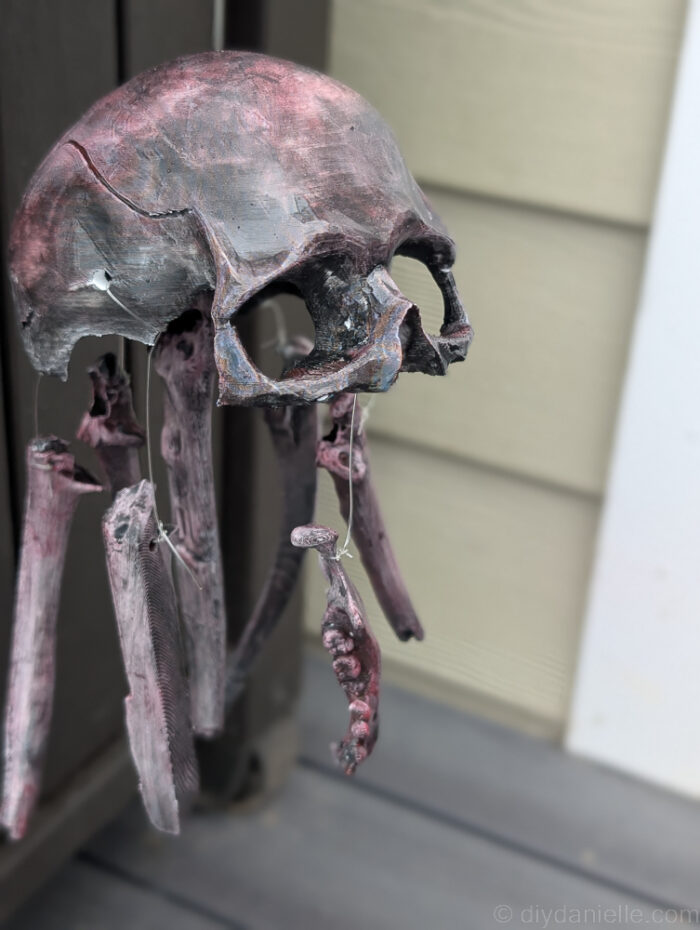
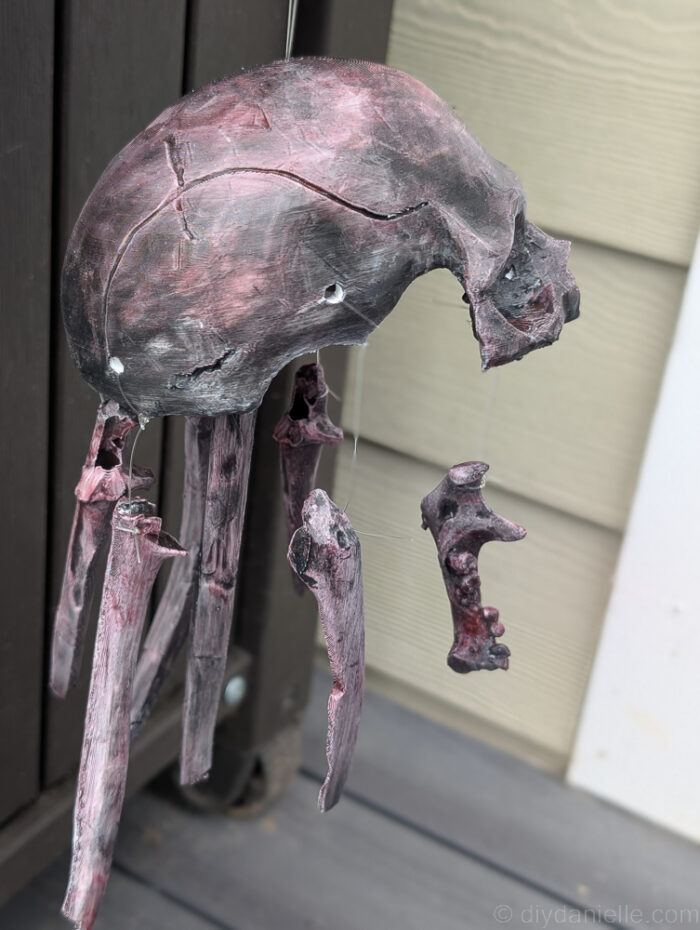
Step 3: I used UV resistant clear acrylic coating over this to protect it seeing it was going outdoors… I did a few layers.
Obviously don’t do this if you’re going to give it to a baby. I’m not sure any of this would be safe for a child. There’s probably some safer choices to make here for that.
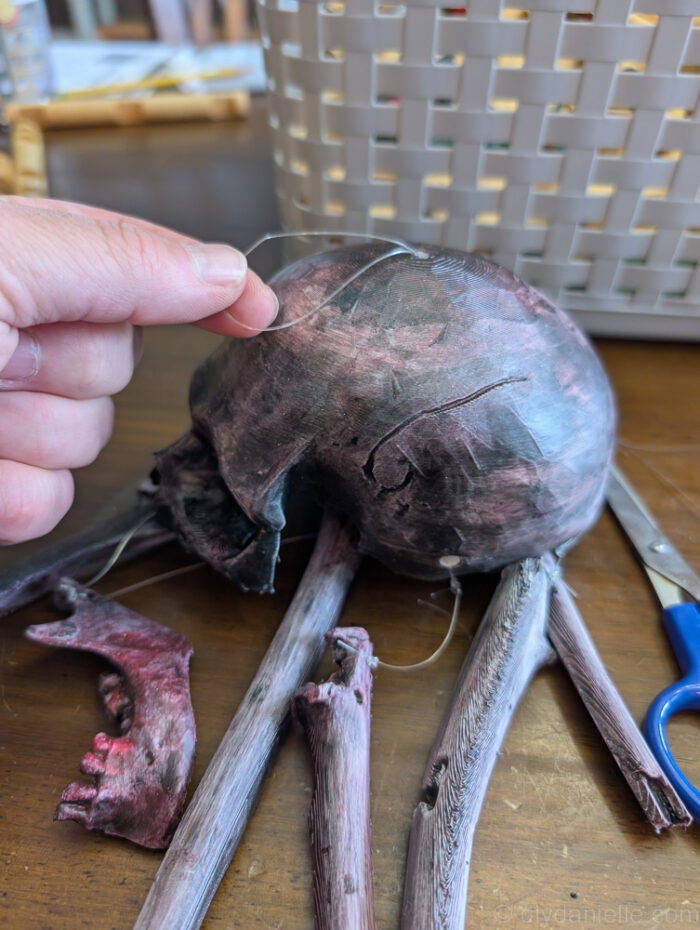
Step 4: To finish the project, you can use some clear fishing line to attach all of the pieces together. You could also buy a mobile kit to get it moving and everything… But I didn’t want to spend that kind of money on one time use Halloween decoration.
Also… don’t judge me if I tied the pieces on wrong. I was confused, but also rushed.
Here’s a few more photos…
Please share and pin this post! You can also post your project and tag the DIYDanielle team on Instagram @doityourselfdanielle!
