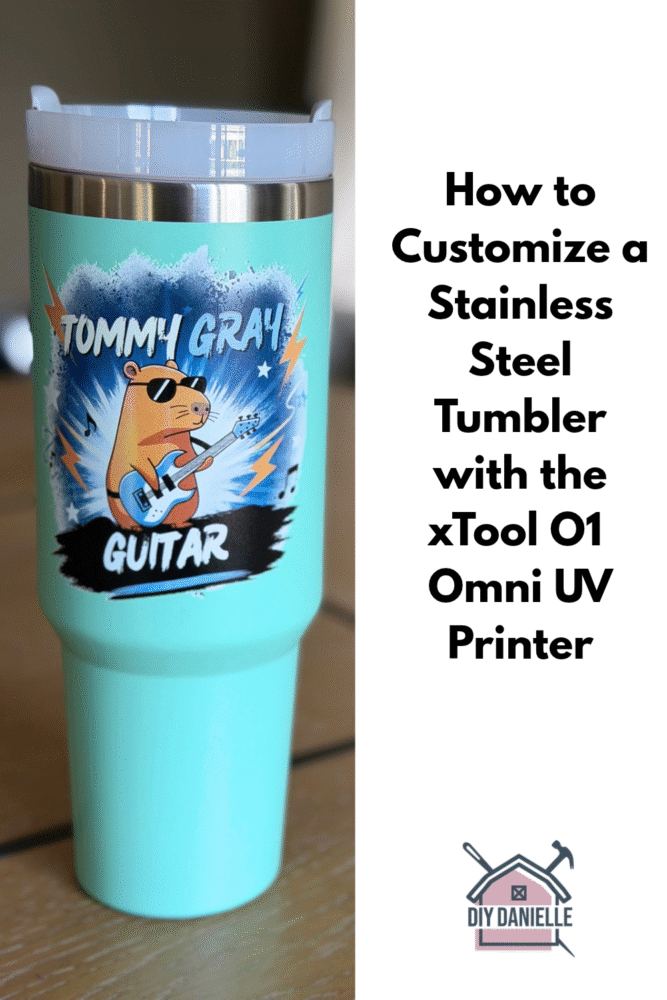
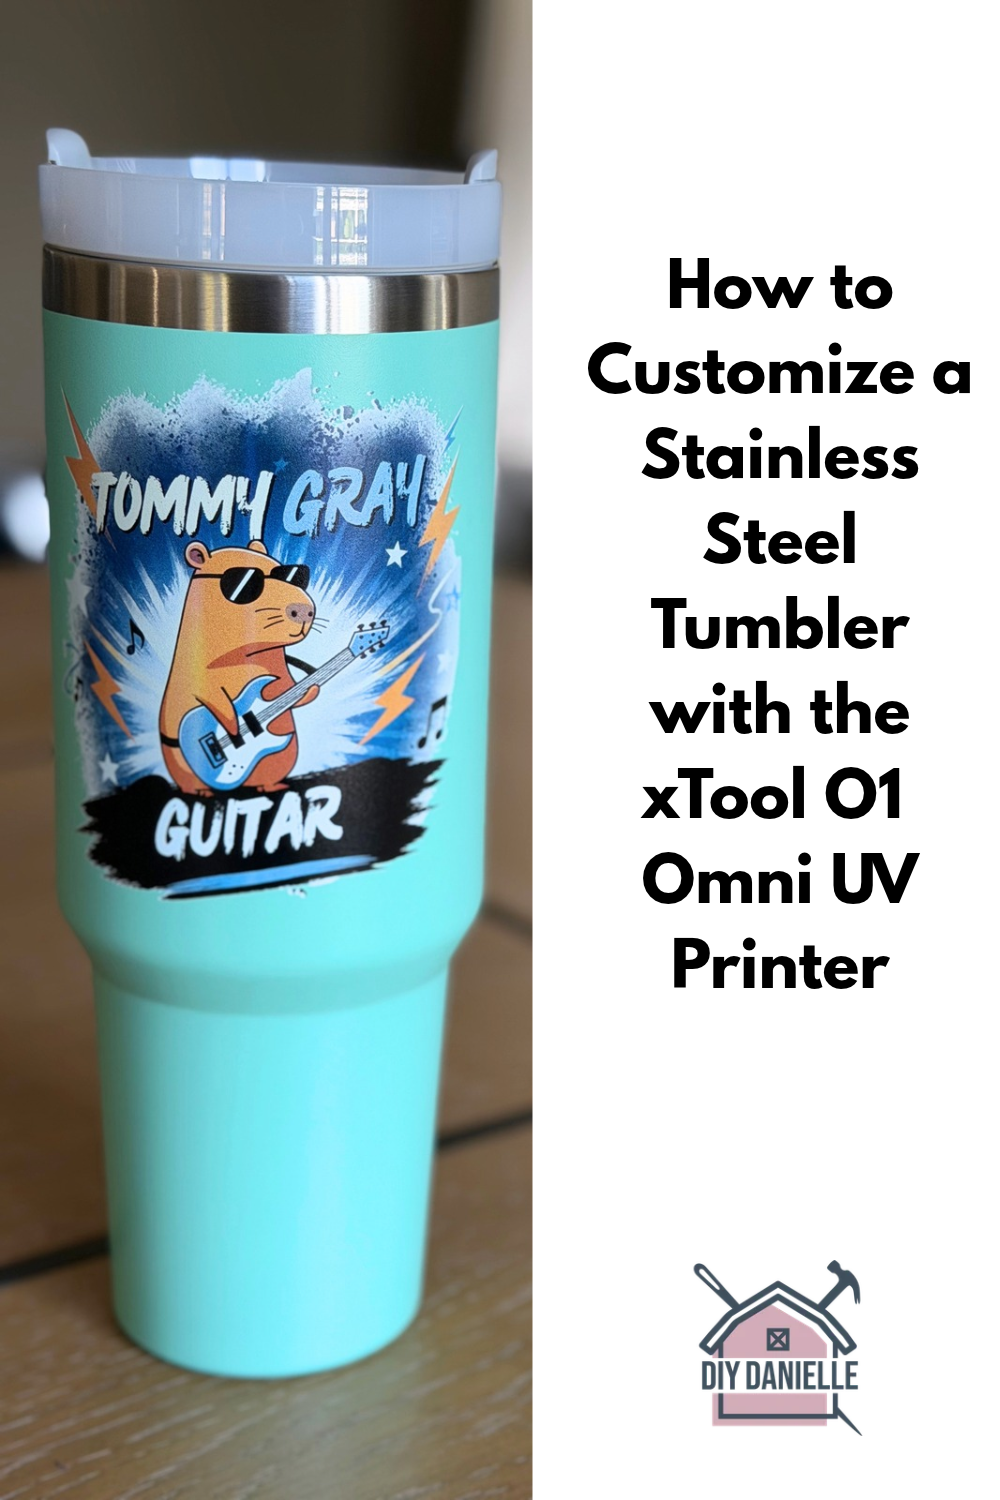
Learn how to use your UV printer to customize a stainless steel tumbler. The xTool Omni O1 makes it easy!
Some projects are too easy and feel embarrassing to blog about, but here we are! And let’s be honest- I love an easy, satisfying project.
The Omni O1 makes projects pretty easy to complete- and because the printer does most of the heavy lifting of printing the design, I can focus on finding good quality blanks and designing the graphics for my project.
My son’s music instructor was leaving their current studio to start their own business in their hometown so I whipped up this super cute tumbler for him as a parting gift.
This post may contain affiliate links which may earn me commissions should you click through them and take certain actions. As an affiliate for Amazon, Cricut, xTool, Home Depot, and other sites, I earn from qualifying purchases. Please DIY carefully. View my full legal disclosures here.
The majority of my content is generated by me, as are 99% of the photos and videos, but I utilize technology for titles, descriptions, video editing out all of my ums, and occasionally for text overlay on images.
Please read the whole post so you don’t miss any important information!
Customizing a Tumbler with the Omni O1 UV Printer
New to UV printing? Learn about the Omni O1 printer here: https://diydanielle.com/review-xtool-o1-omni-uv-printer/
Project Supplies
- xTool O1 Omni Printer: The World’s First 4-in-1 Omni Printer, Dual UV Rotary Bundle: https://xtool.pxf.io/yZ5NYv
- You’ll need to either vent the machine out a window or you should pick up an air purifier that can handle this such as the xTool SafetyPro™ AP2/ AP2 Max Air Purifier with SuperCyclone: https://xtool.pxf.io/MK1e73
- Steel tumbler blank: https://xtool.pxf.io/1G3xoR
Step by Step Instructions
Step 1: Create your design. I used an external program, Canva, which is easiest for me. I put my son’s favorite animal on the design, a capybara, playing guitar. I love that Canva had an image for that.
I asked the AI tool in Canva to add the text because I was struggling with getting it just right… it added a bit more flare to the original design. It actually looked good… which was a pleasant surprise. I did a bit of editing to improve it, then exported the image with a transparent background.
Step 2: IMPORT the image into the xTool Studio software (left side bar).
Step 3: Put your rotary attachment base to the main machine base.
Step 4: On the right tool bar, click scan. You need to tell the machine that it’s using the rotary attachment (rotary mode)- I think it’ll yell at you to remind you if you forget. You also need to click that it has a handle (assuming that yours has a handle).
Step 5: Choose White + Color Flat. This prints a white layer under the color so it pops from the original color of the tumbler. If your tumbler is white, you can skip the white.
Your machine should be giving you an image of what the design will look like. You can move your design around, making it smaller/larger, etc. as needed.
Step 6: Click process. Wait for it to print. Remove. Bask in the glory.
Please share and pin this post! You can also post your project and tag the DIYDanielle team on Instagram @doityourselfdanielle!