
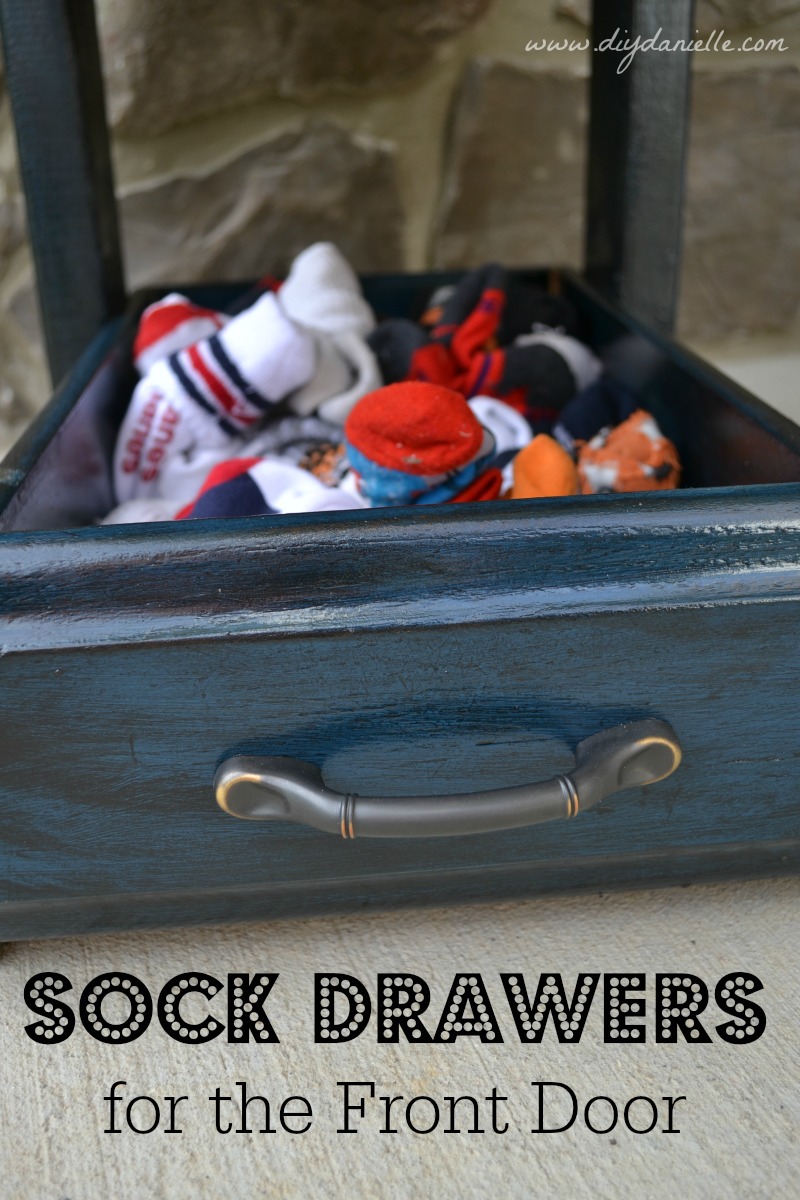
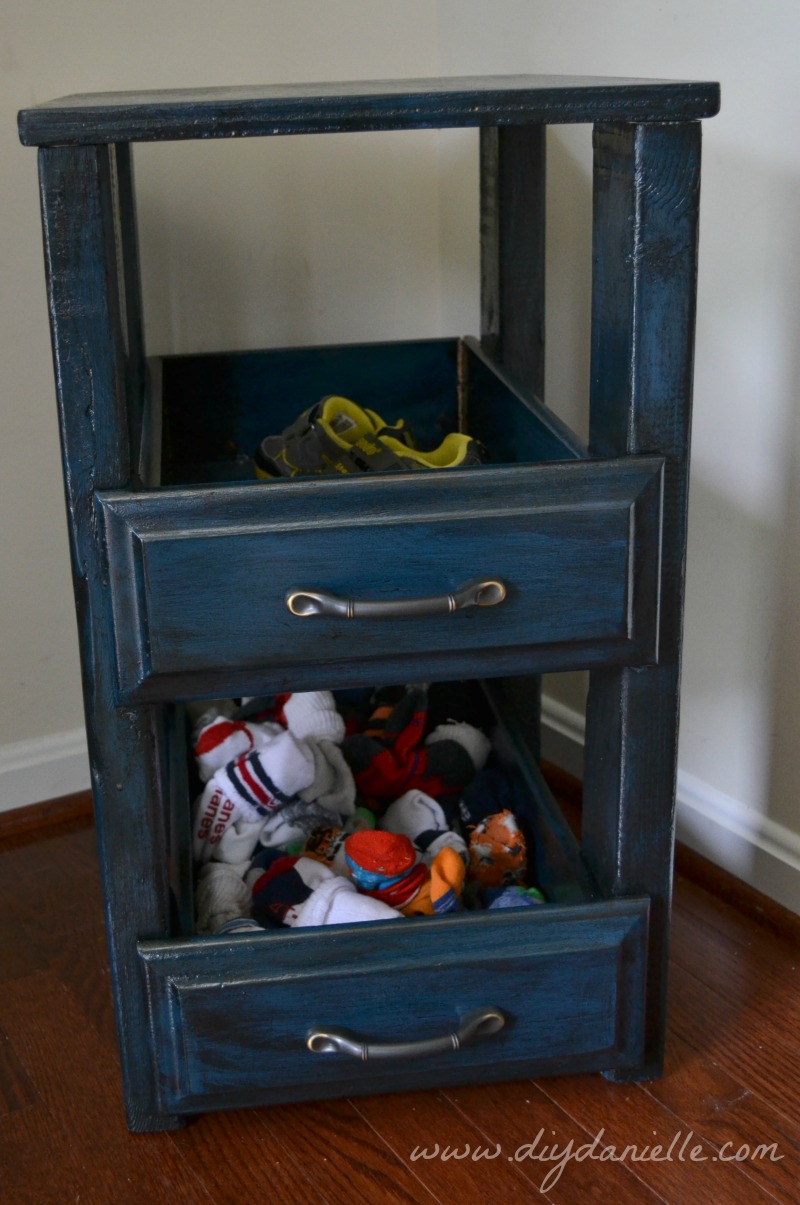
How I upcycled two drawers to make a sock drawer for our front door. This allows me to organize our process for leaving the house, and to keep the socks somewhere I can access them quickly and easily.
Anyone else ALWAYS running upstairs for socks for the kids?
If we put them on upstairs, they take them off if we don’t IMMEDIATELY head for the door. So there are random socks everywhere in my house. I can’t even blame the dryer for eating them all. I’m sure the missing socks are in a toy box somewhere.
So I gave up. I just… gave up.
Not on socks, of course, because toddler boys have stinky feet. But I gave up on separating the socks for the two boys and I gave up on storing them in their bedrooms. I created this storage unit for our front door to cut down on the time it takes to get ready to leave the house… and I did it easily by upcycling two drawers.
Supplies
This list includes some affiliate links. Using these links helps support my blog at no additional cost to you. Thank you!
- Two drawers (there were leftover from the arcade cabinet my husband built)
- Drawer Pulls

- (4) 2x4x96″
- Paint and supplies
- 1 lb 8×1-1/4″ Tan Exterior Screws (we had some Deckmate ones we used)
- Wood for top
- Liquid Nails LN903 10-Ounce Heavy-Duty Liquid Nails Construction Adhesive
- Optional: Cofufu 4 Pcs 1″ Plastic Wheel Rectangle Top Plate Fixed Swivel Caster Set
Instructions
Suggestion: I waited to paint until I put my drawers together. I suggest painting the pieces first and then putting it together. It would make this quite a bit easier.
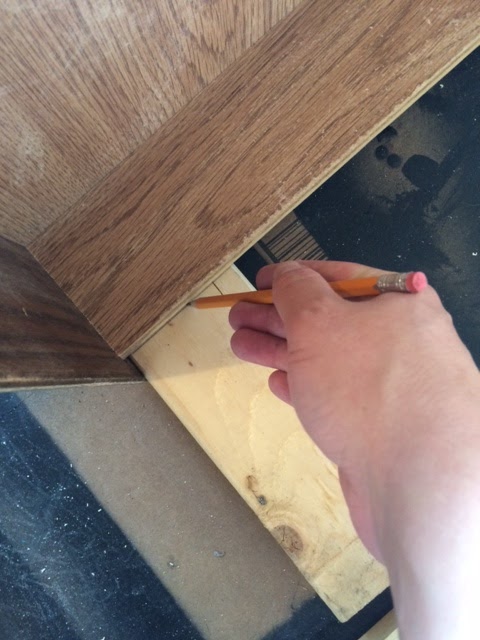
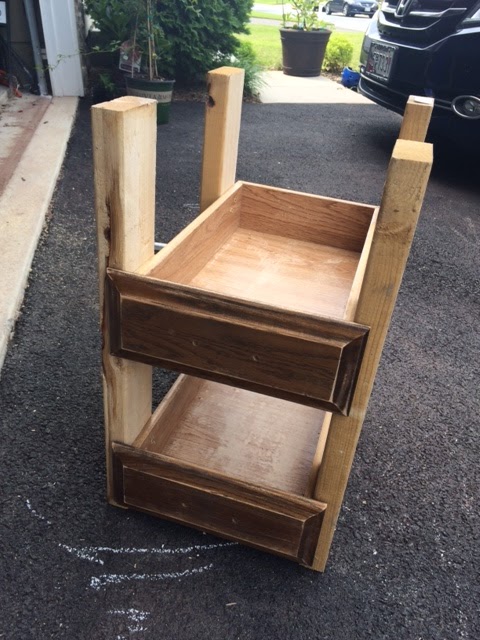
To begin, I lined up all of my wood and the drawers. I marked where each drawer would go on my “legs” (I used some 2×4’s that my friend gave me when they moved).
You need to make sure everything is even and spaced correctly. This is a lot like sewing… you’ve got to measure very carefully so you don’t need to “seam rip” (wayyyyyy harder with wood) and redo everything.
You also want to make sure your drawers are spaced far enough apart that you can fit your hands in to get the socks.
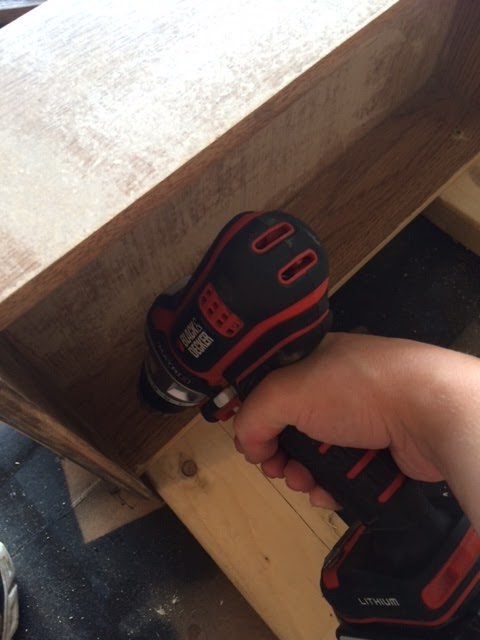
Once I marked where each drawer would go, I screwed my lower drawer to the legs. I screwed from the inside of the drawers into the legs… this made the screws “hidden” inside the furniture instead of the head of the screw showing on my outside of my furniture piece. I screwed in all of the legs to this drawer, then did the same for the top drawer.
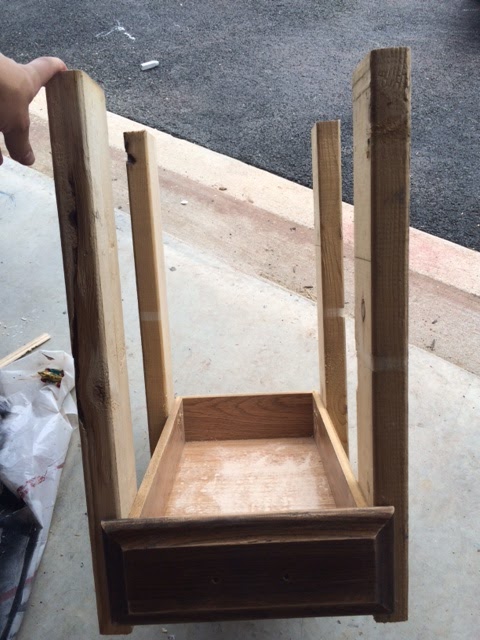
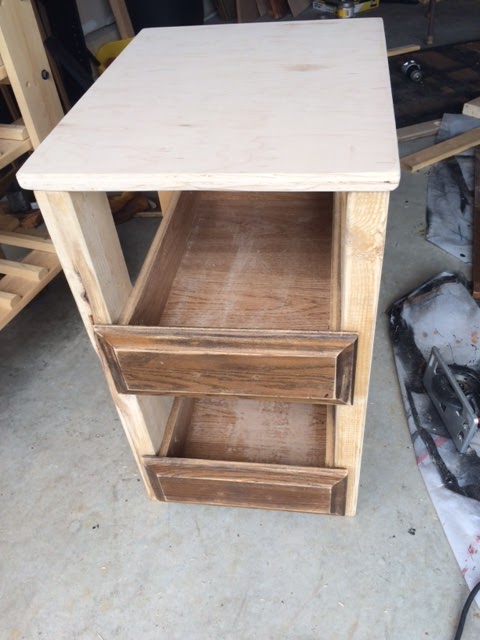
Here’s a picture of it before I painted and attached the top (I waited to do so until after I painted because it was easier to paint the inside of the drawers without it on). I sanded everything down before I painted, vacuumed the dust up, and then used my typical procedure for distressing furniture. You could just paint the piece without distressing it, but if you do that then I suggest painting BEFORE you put it together… it’s REALLY hard to get into the corners of the drawers when it’s together- at least distressing hides some of the mistakes I made.
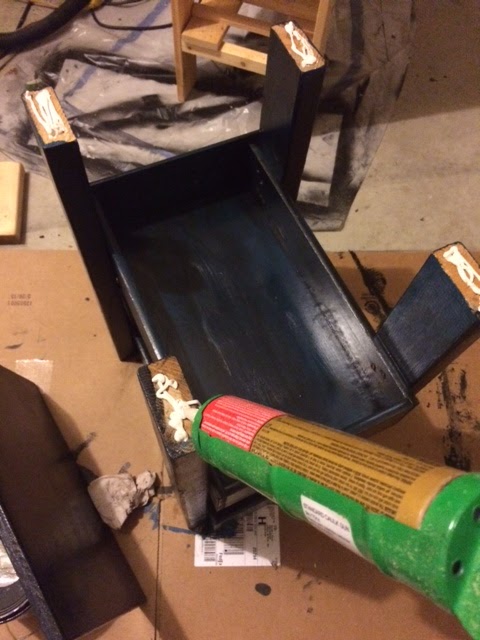
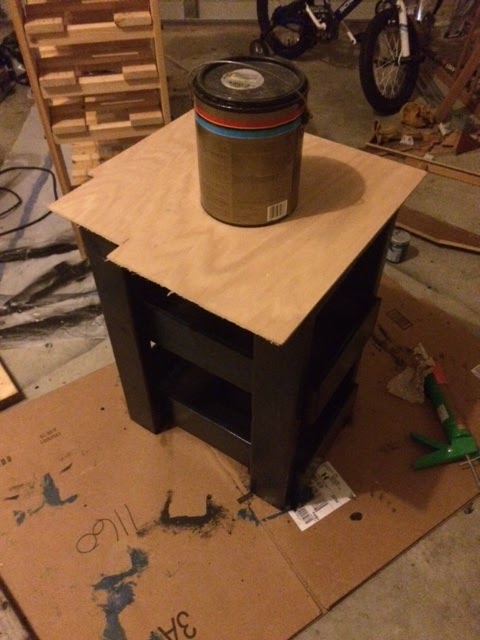
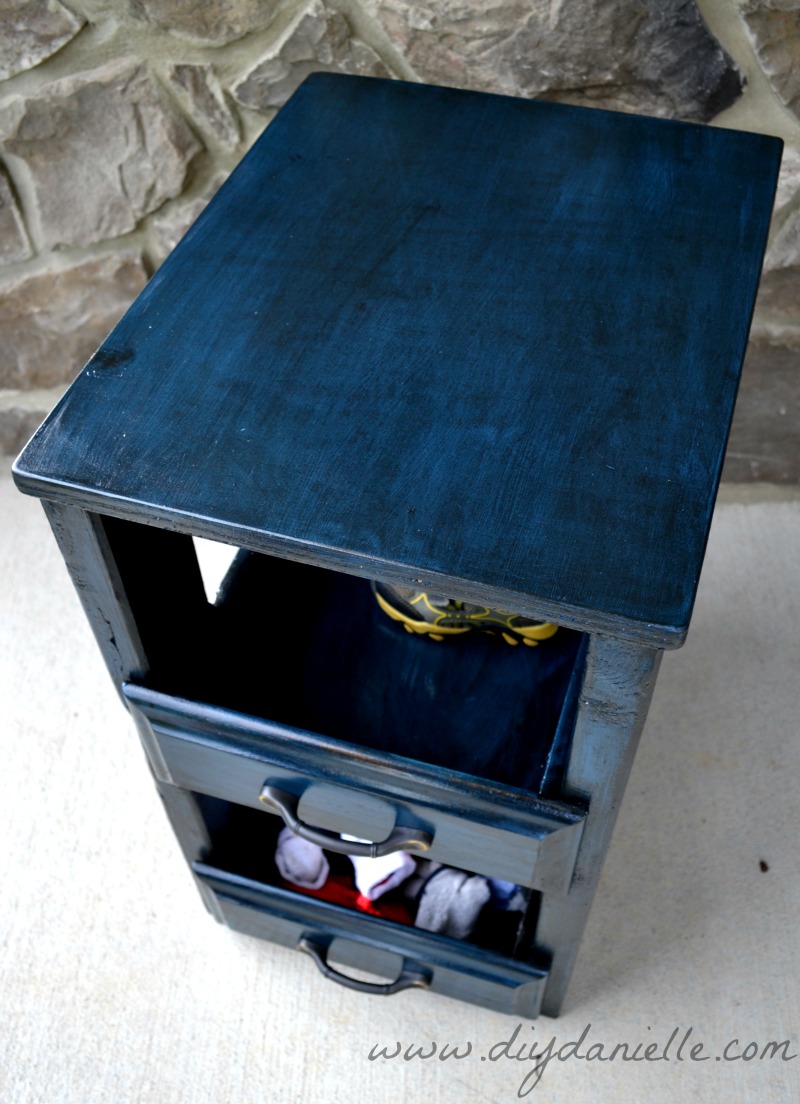
To attach the top, I used the liquid nails and then put the wood on. I used another scrap piece of wood on top, then placed a heavy object (a paint can) to hold the wood down when it dried. The scrap piece of wood was only on there to distribute the weight of the can and to keep the can from marking up my actual top piece.
Optional: After you’ve completed this, add your wheels to the bottom of the storage piece.
Final Pictures
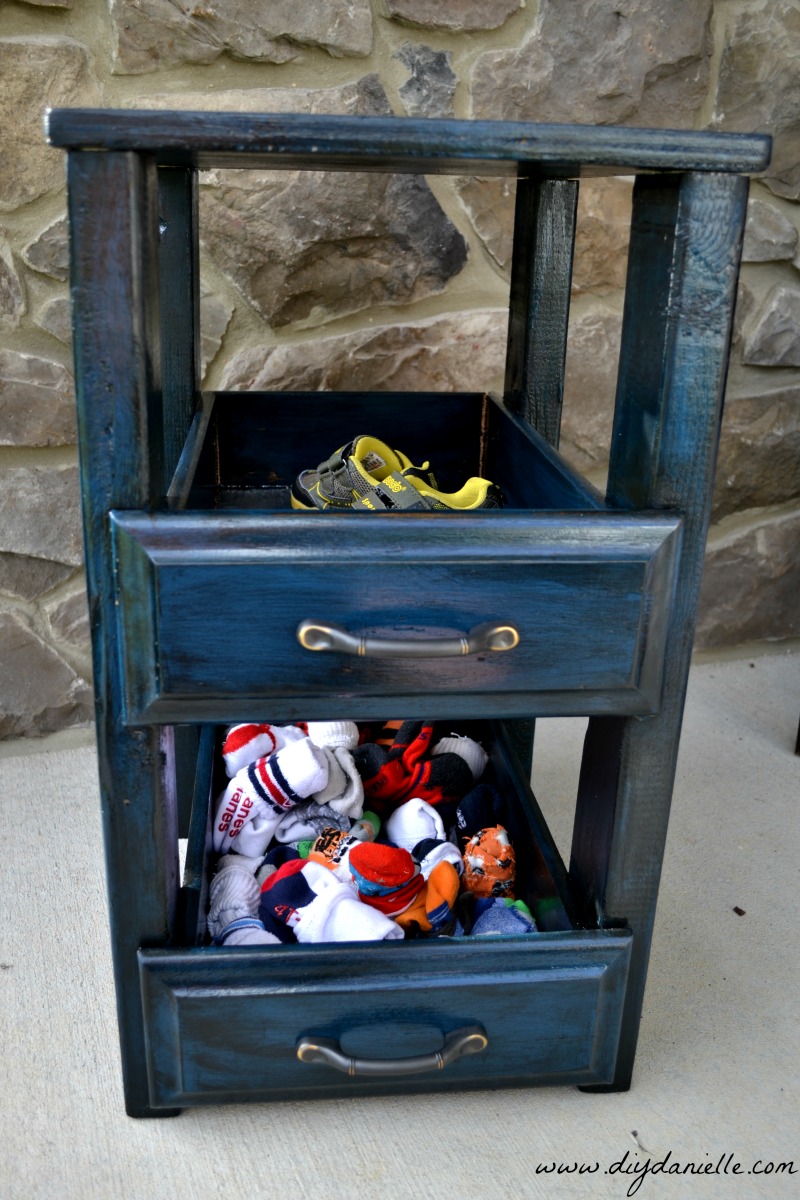
Now my only challenge is getting the dirty socks upstairs and put in the laundry!