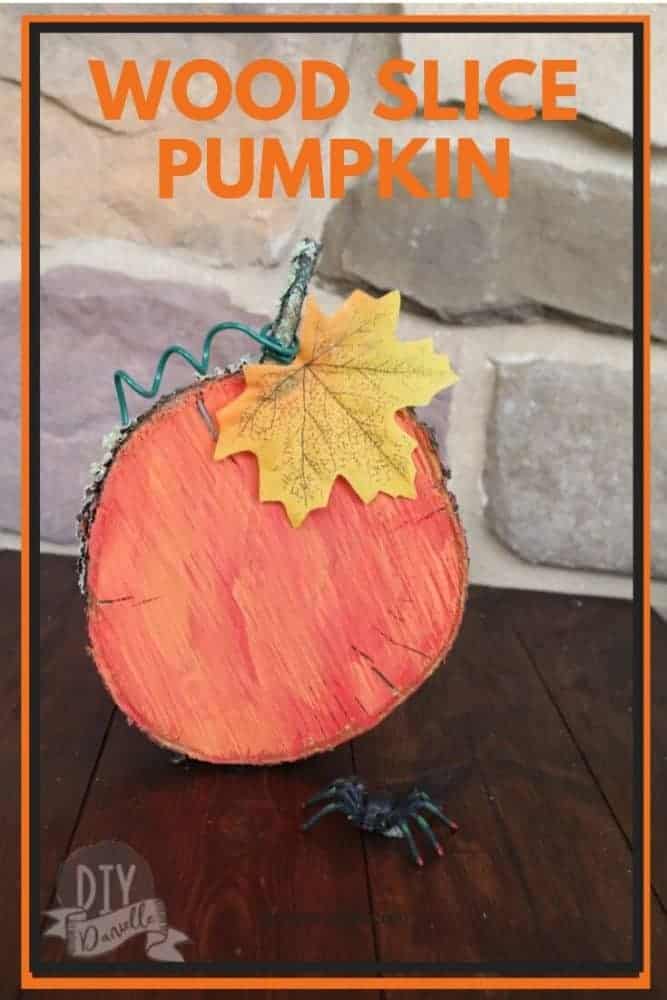
When we cut down our peach tree, this wood slice from the trunk looked like the PERFECT piece for a pumpkin craft! Love this for Fall decor!
This post may contain affiliate links which may earn me commissions should you click through them and take certain actions. As an affiliate for Amazon, Cricut, xTool, Home Depot, and other sites, I earn from qualifying purchases. Please DIY carefully. View my full legal disclosures here.
Please read the whole post so you don’t miss any important information!
We had to cut down our peach tree this year, sadly, because it was diseased. I debated trying to save it, but it was in pretty bad condition and I didn’t want to use chemicals around the kids and animals if it would just die anyways.
I’ve seen a lot of fun crafts with wood slices though so I made sure to have my husband use his chainsaw to cut a bunch of slices for me to craft with. You’ll probably see some more projects with these eventually!
This pumpkin was easy and a lot of fun. Here’s how I made it.
DIY Wood Slice Pumpkin
Supplies
Tutorial
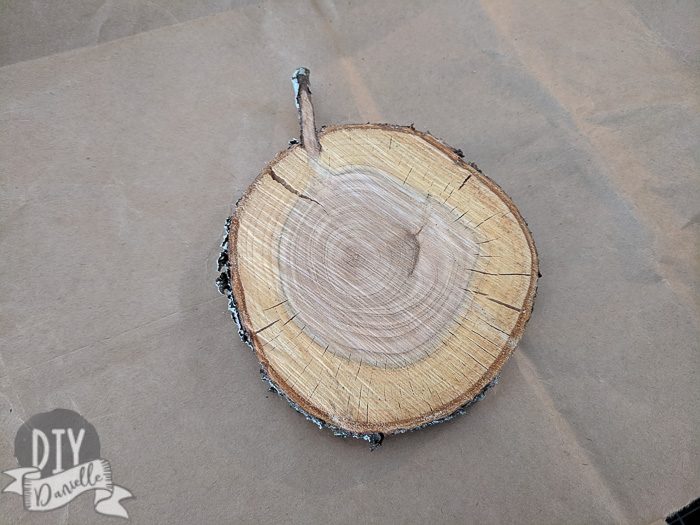
Here’s my original wood slice. Isn’t it perfect for a pumpkin? I let it dry a bit in the sun which created some cracking. I think letting these dry slowly would have been more ideal. Here’s a little information about drying wood.
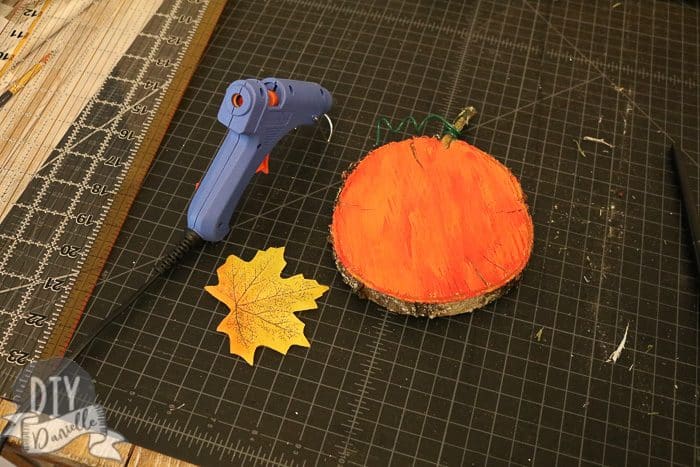
I started by mixing my red and yellow paint to make a darker orange. I painted a layer on. Then I added a little more yellow paint to lighten the color… and used it over the darker orange. Repeated with one or two more lighter oranges. See the video if you’re not sure what I mean.
Once that was done, I let the paint dry. I also painted a little sparkly green paint/glue on top of the stem. It’s hard to see so it’s probably an unnecessary step. I’d go with solid green paint if you want to do the stem, but realistically pumpkin stems are yellow-ish anyways.
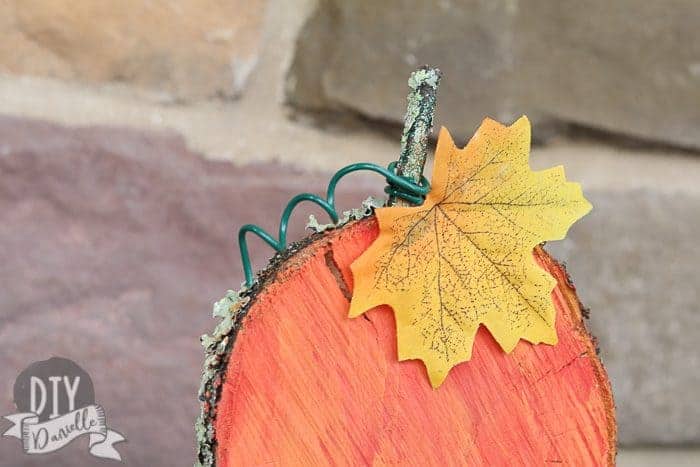
I used the end of my paint brush to create the curl in the crafting wire for the stem and wrapped the other end of the wire around my “pumpkin stem.”
Once that was done, I used my glue gun to attach the leaf! Done!
Here’s a quick video tutorial….
I used other Fall leaves from the bunch I got for several other projects including: Fall Balancing Wine Holder | Harry Potter Front Door Sign | Harry Potter Garden Sign | 21 Super Simple Fall Craft Ideas To DIY
Please share and pin this post! If you make this project, share it in our Stuff Mama Makes Facebook Group. We have regular giveaways for gift cards to craft stores. You can also tag me on Instagram @doityourselfdanielle; I love seeing everything you make!