
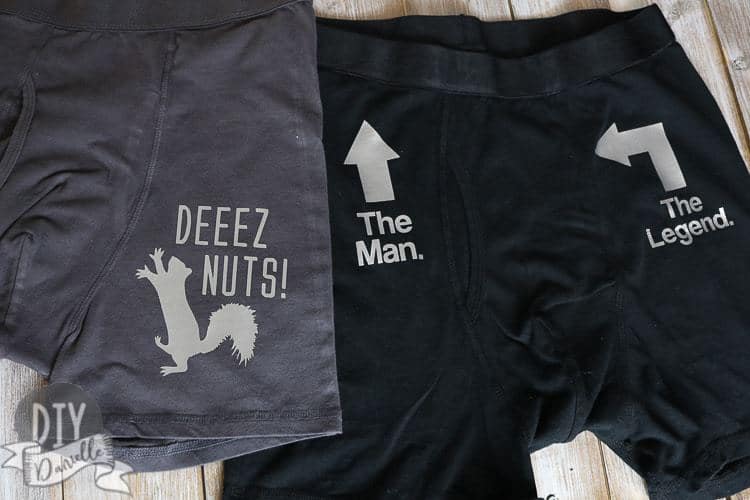
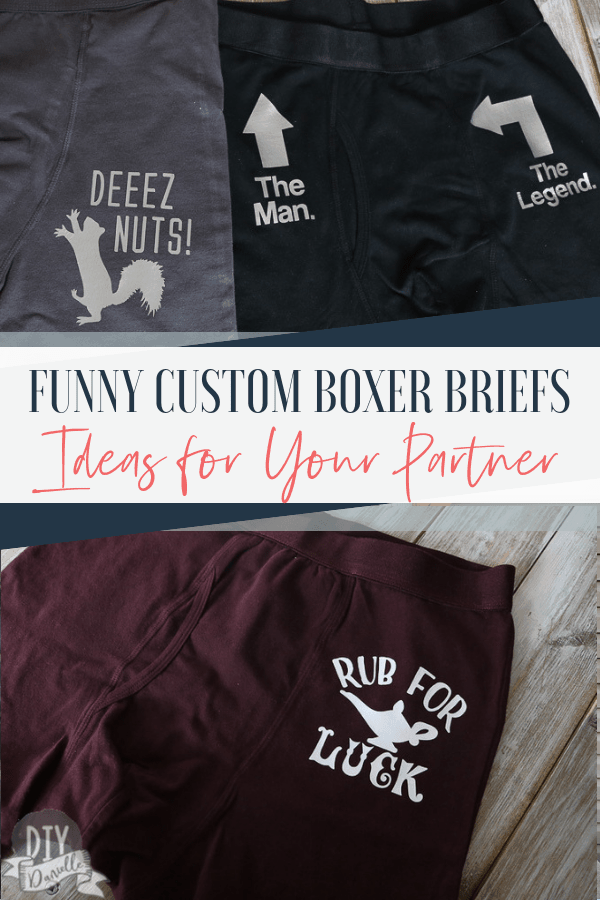
How to make some easy, humorous boxer briefs for your significant other for Valentine’s Day. This cute gift is simple with your Cricut.
This post contains affiliate links. If you make a purchase using these links, I may receive a commission from the sale. This does not impact your price for the product(s). Thank you.
Normally, I love to sew boxer briefs for my husband. It’s fun to customize them with different fabric choices. We just moved and I can’t find the pattern in the mess of boxes so I decided to buy some store boxers and customize them this year with my Cricut Maker instead. It’s SUPER easy and seeing I’ve been so busy with other projects, it saved me a lot of time.
Supplies for this Project
- Click here to check the current price of the Cricut Maker if you don’t own one yet, but other versions of the Cricut should work for this project too, as long as you can use an SVG file.
- Heat Transfer Vinyl
- Iron, a Cricut EasyPress™ or a Heat Press
- Teflon Sheets
- Boxer Briefs (depending on the fabric used for these, you may want to use a different type of HTV. I used normal HTV for most, but decided to use SportFlex Iron On for a couple pairs which was a HUGE mistake. That vinyl isn’t made for this fabric. The Sportflex ones are the ones with gray HTV and you can tell they got kinda melty). Prewash your boxer briefs before applying the design.
- SVG Files purchased on Etsy (these are JUST the file to make your own boxers briefs, not the finished product):
I bought all three of the above designs, but was having trouble with the last one so I didn’t get it finished. The technical issue is PROBABLY mine, but I’m having issues sending messages with Etsy right now so I wasn’t able to get it figured out (sigh).
How to Customize Boxer Briefs
First you need to purchase your designs (or make your own) on Etsy. You’ll get a download file to download, then unzip once you buy them. You can upload the SVG directly to Design Space or upload the JPG file and erase the background.
The left side bar has the “upload” option. Once you click it, you can click “upload image.” You’ll click continue and work your way through the instructions. Then you select the uploaded image and click “insert image.”
Sizing the SVG
Size the SVG to fit where you want it placed on the boxer briefs. This is tough in my opinion because boxer briefs have a lot of seams. I tried to put them over the seams on a couple, but it just goes on a LOT better if you avoid the areas with seams. Just my two cents.
The sides of the boxers obviously are easier to add SVGs to. I just measure the space (I measured for width), then adjusted the width on my image in DesignSpace to that width (or slightly smaller).
Cut and Weed
Once you have sized your images appropriately, you can cut your HTV. You put the shiny side of the HTV face down on your mat and load the mat into your machine. You should CHECK and DOUBLE CHECK that you have mirrored all of your images and that you have your type of HTV selected for materials. Then you can press ‘go’ on cutting the HTV.
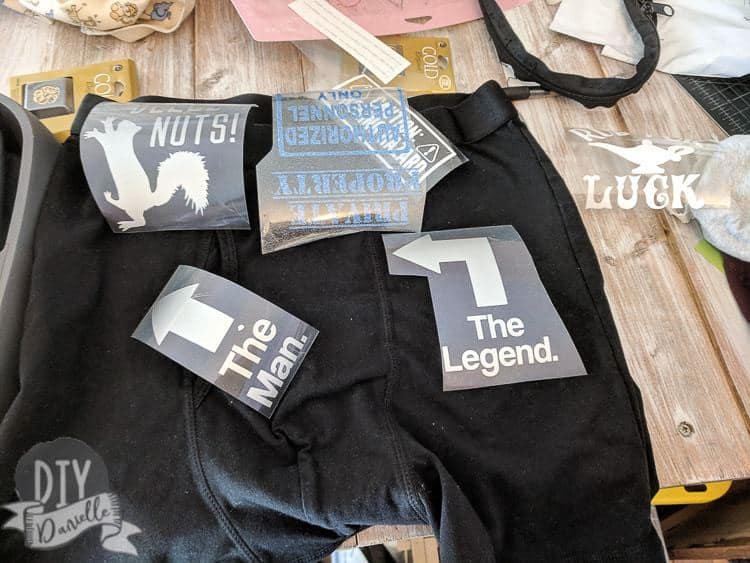
After it’s printed, I cut around my design, then weed away the excess parts of the design. There’s still a shiny piece attached to the design.
Ironing the Design On
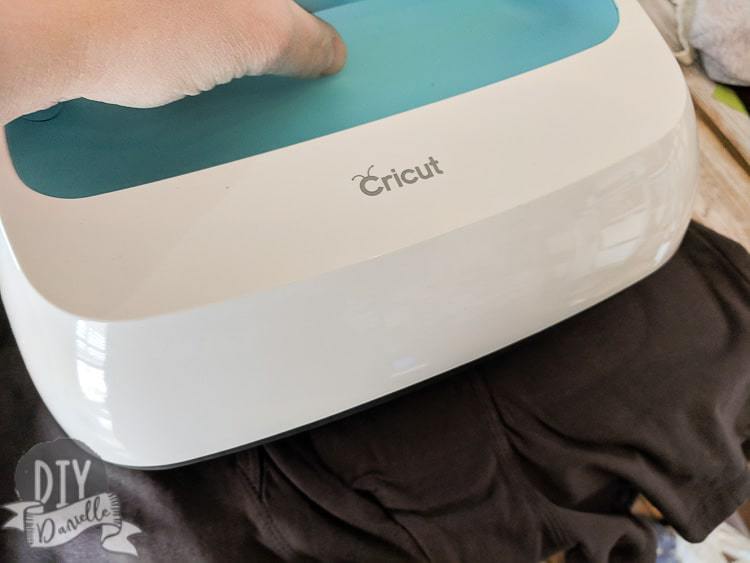
Now you just need to iron or press your design on. The Cricut EasyPress™ is a great product to use instead of an iron. With your iron, there isn’t an even distribution of the heat so you aren’t pressing your design evenly. A press or EasyPress allows you to get better adhesion to your fabric.
You’ll place your design on your boxers, wherever you want it to go. The shiny plastic is on the top now and your design should be readable now (not reverse). I like to use a Teflon Sheet over my design… I didn’t use it this time, but I THINK I’m liking the results better when I use it.
Now you place your preheated iron or EasyPress over the design. You can look up the temperature to use for YOUR HTV online (or on the packaging). This is important… you can melt HTV if you’re not careful. Some HTV types require you to remove it hot, some require you remove it cold. Read the instructions.
When you’re pressing, you want to be on a hard surface and press down hard (particularly if you’re using an iron). Make sure your hard surface isn’t something that will collapse under you if you press too hard- ask me how I know that’s a bad idea, lol.
The HTV will also tell you how long to press for… I use the EasyPress timer, but you can count too. Then I check to see if the design is on well… if not, I will wait for the design to cool, then repress.
Note that I used three different types of HTV and therefore, three different sets of instructions/temperatures/press times. If you want to save yourself a ton of time and energy, stick with one type. I was using the vinyl that I had on hand because I didn’t want to trek out to the store and I didn’t have time to do so.
These are the final results.
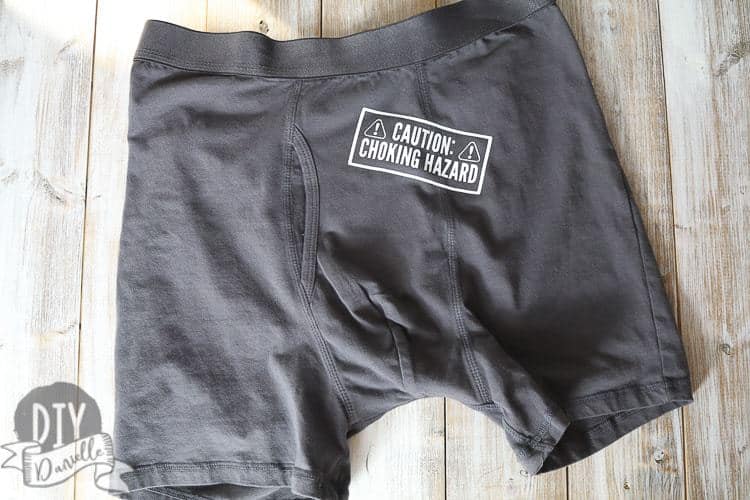
The design on this one was over the seam which made it very difficult to press on properly. If I did it again, I’d place the design on the side or make the design smaller to put on the middle section.
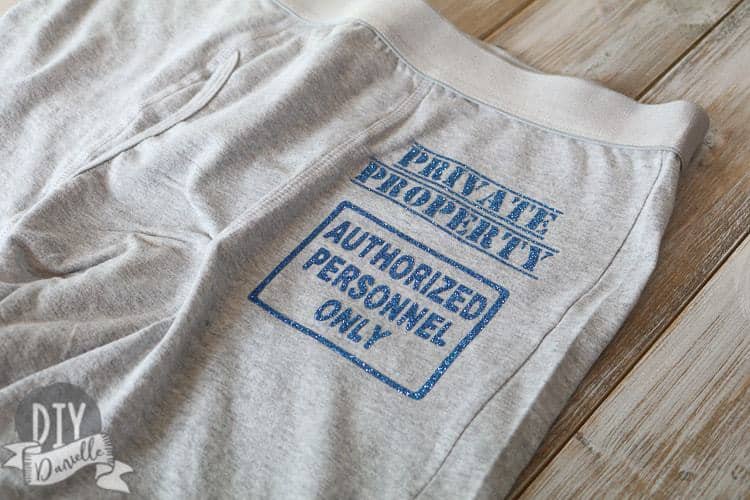
Heat pressed this one on the side of the boxer briefs. This worked much better. I used glitter vinyl which is reallllly hard to photograph.
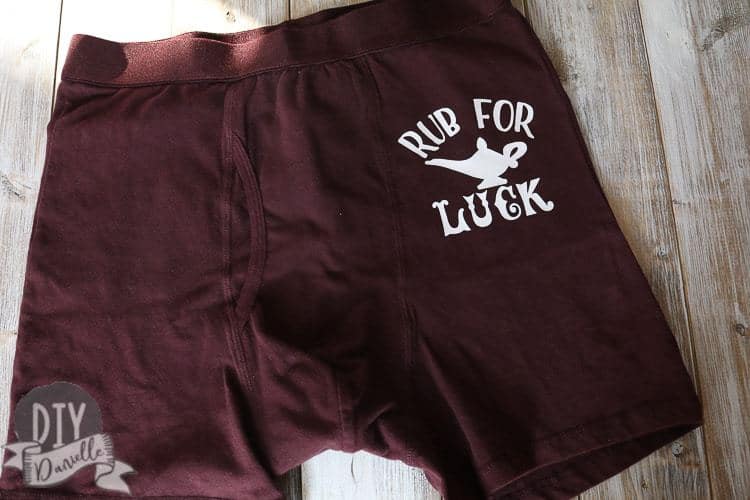
I wanted to place the design on the front for this one but realized it wouldn’t go over the seam well. Again- resize for center or keep on the side like I did.
While some of these are obviously intended for men, some would work for women too. Just… regardless… make sure you’re not being creepy about it. It’s only funny if everyone is laughing.
Buy the Finished Product on Etsy
If you can’t make these or don’t have the time, you can find businesses who are selling funny boxers on Etsy.
Here’s a few companies I saw making them…
- Have your face put on these boxers.
- Here’s a set similar to what I made.
- This one is “I licked it so it’s mine.”
- “I’ve got a Heart On for (Your name)”
- “To Do” List with Your Name
Please pin this for me? Thanks!
Use the Discount Code DIYDANIELLE on cricut.com for 10% off any cutting machine or heatpress (no minimum). Excludes: materials/accessories/mystery boxes/etc. Applies to US/CA only, code expires 12/31/23.