
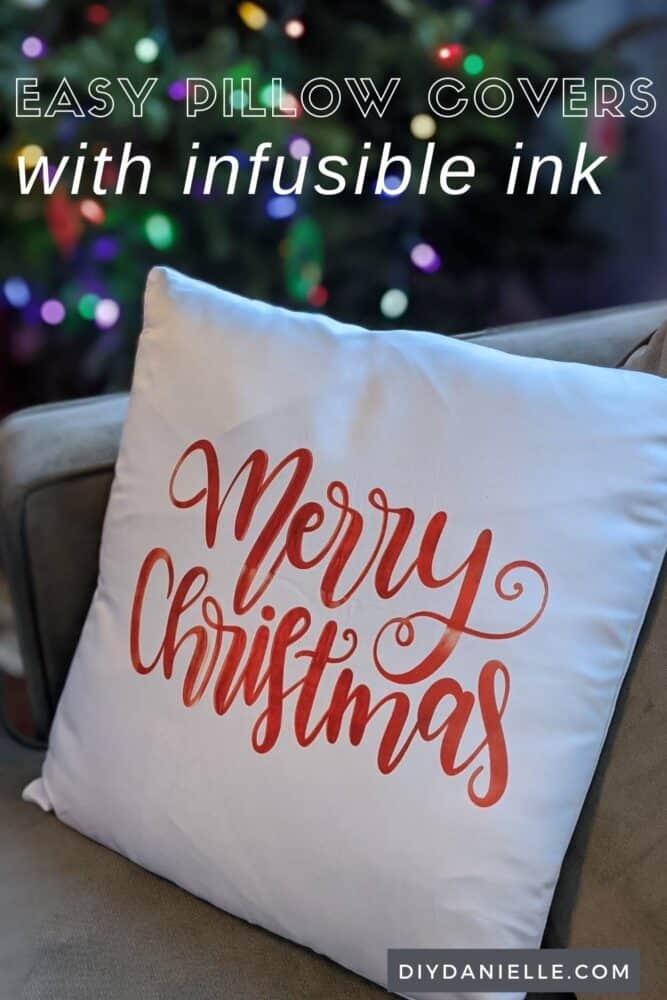
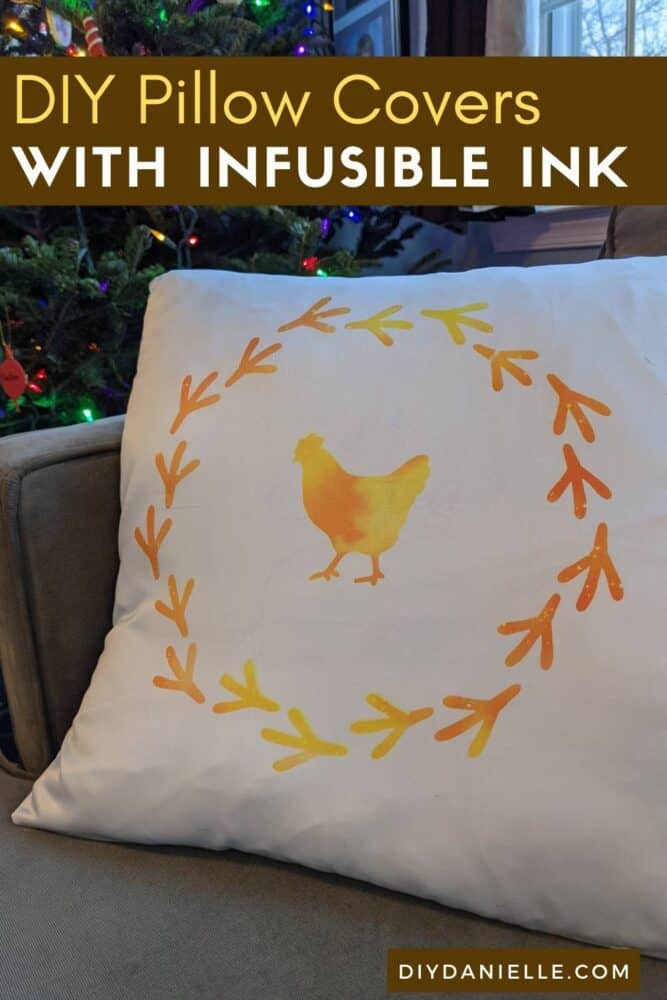
How to make pillow covers with Cricut Infusible Ink. Personalize couch pillows as gifts or for your home.
This post may contain affiliate links which may earn me commissions should you click through them and take certain actions. As an affiliate for Amazon, Cricut, xTool, Home Depot, and other sites, I earn from qualifying purchases. Please DIY carefully. View my full legal disclosures here.
Please read the whole post so you don’t miss any important information!
Every year, we usually end up doing gift cards or something else impersonal for Christmas. I hate it. I loveeee finding or making gifts that people LOVE. Realistically though, we are long distance from family and shipping gets expensive.
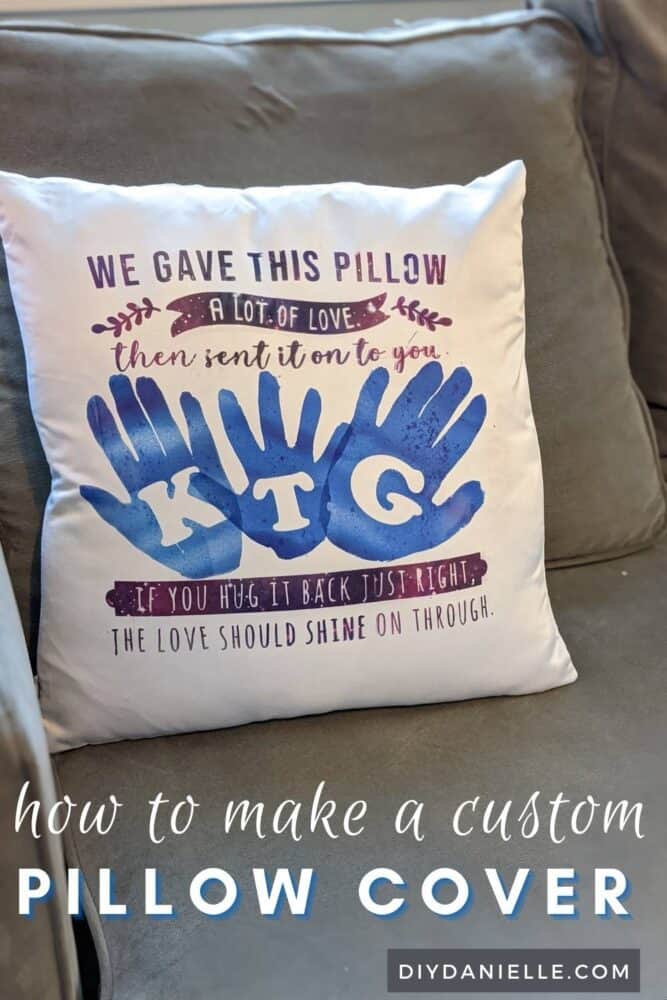
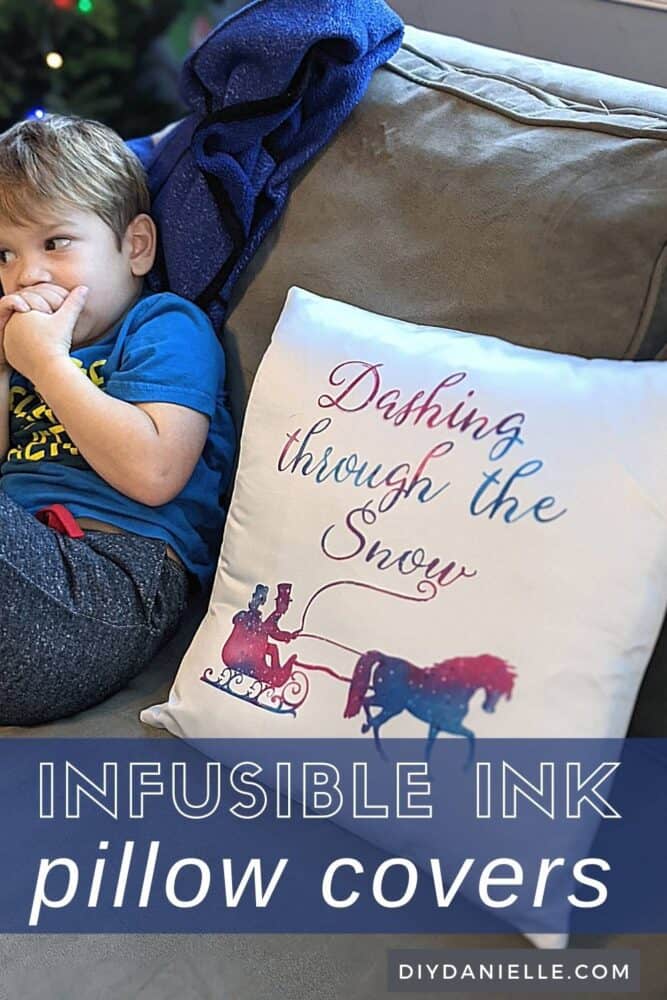
This year I decided to gift people soap from my favorite company, then I also made my mom a few pillows. She’s been missing my boys so I used my Cricut and Infusible Ink to make a few custom pillows, including one with this special saying and their handprints on it.
Get the SVG in my shop by clicking ADD TO CART below, or keep scrolling to just make pillow covers with designs available on DesignSpace.
Infusible Ink is tricky to work with and it’s hard to get perfect. Check out my guide to Infusible Ink if you’d like to use that product.
How to Make Infusible Ink Pillow Covers
Supplies
- Infusible Ink Transfer Paper
- EasyPress 2
- Cricut Maker
- Blank Pillow Covers made for sublimation: This is a great list of blanks that you can get for making Cricut items. Sublimation blanks are what you need for Cricut Infusible Ink, however. Cricut recommends using only their products for their Infusible Ink, but I am willing to experiment for the sake of having more options.
Use the Discount Code DIYDANIELLE on cricut.com for 10% off any cutting machine or heatpress (no minimum). Excludes: materials/accessories/mystery boxes/etc. Applies to US/CA only, code expires 12/31/23.
Tutorial
First, pull up your design in Design Space, Cricut’s program. Resize to slightly smaller that your pillow size, keeping in mind that you’re restricted to your mat size. I find that it’s nice to have the image be smaller than the size of your heat press too.
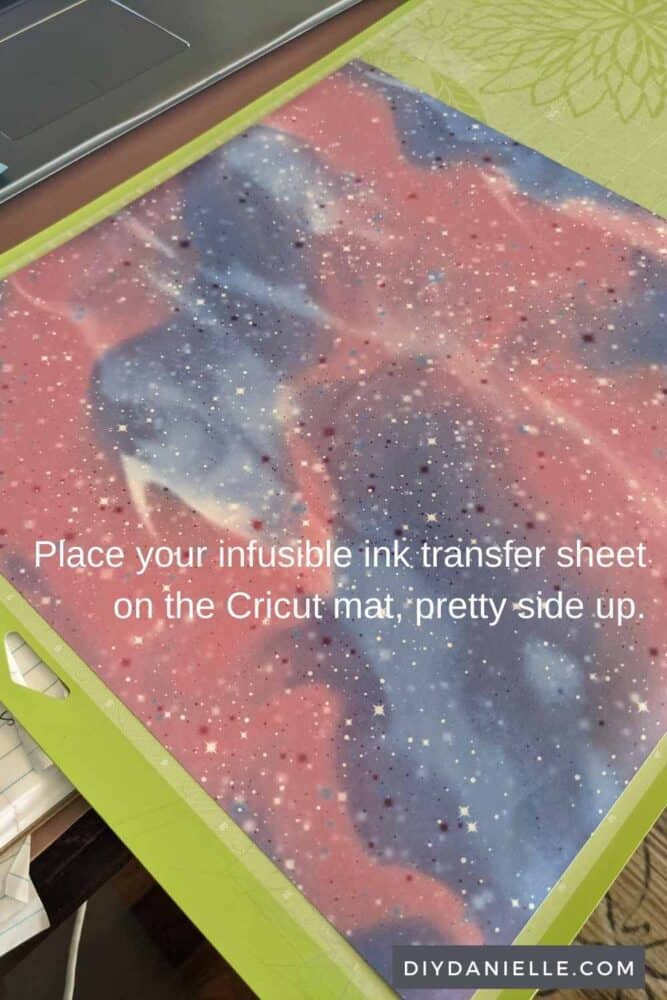
When you’re ready to cut your design, place your Infusible Ink Transfer Paper pretty side up on your mat.
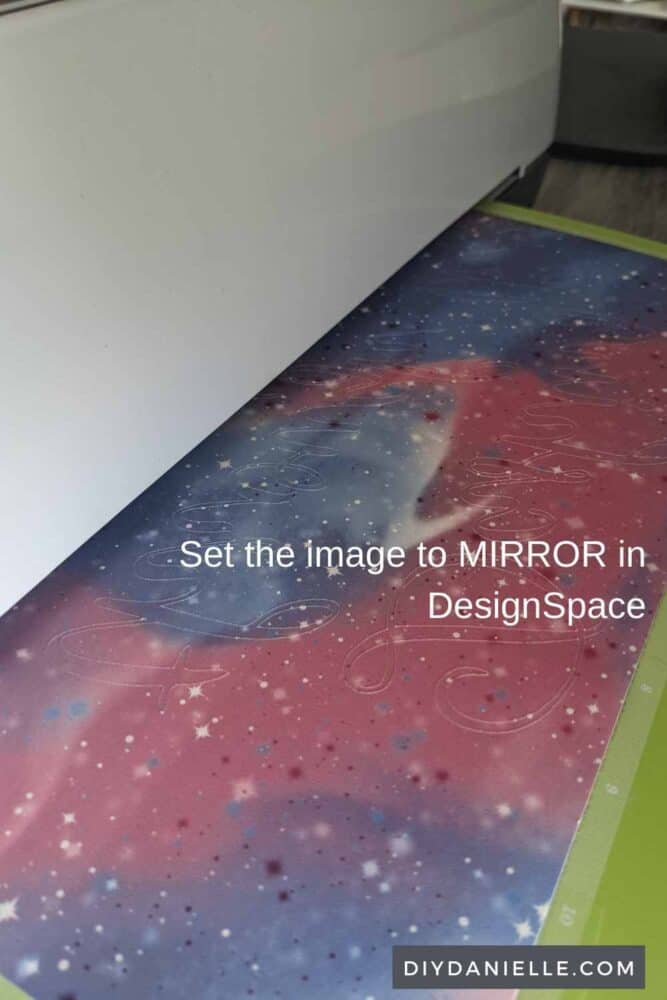
Set your Cricut to MIRROR the image. This is similar to HTV but you’re cutting the paper face up. Also set your product to INFUSIBLE INK TRANSFER SHEET.
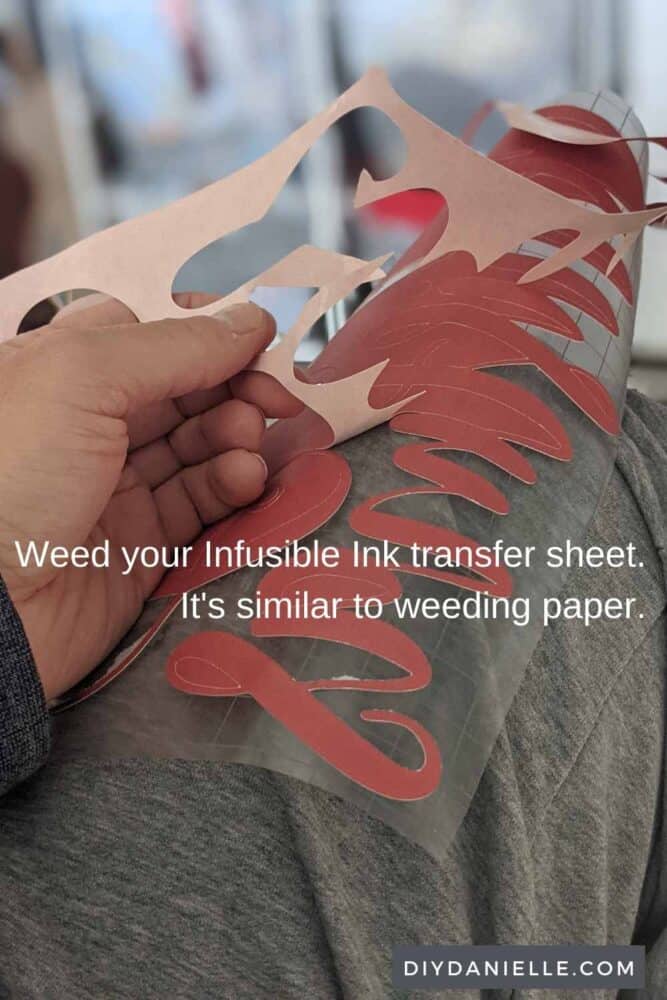
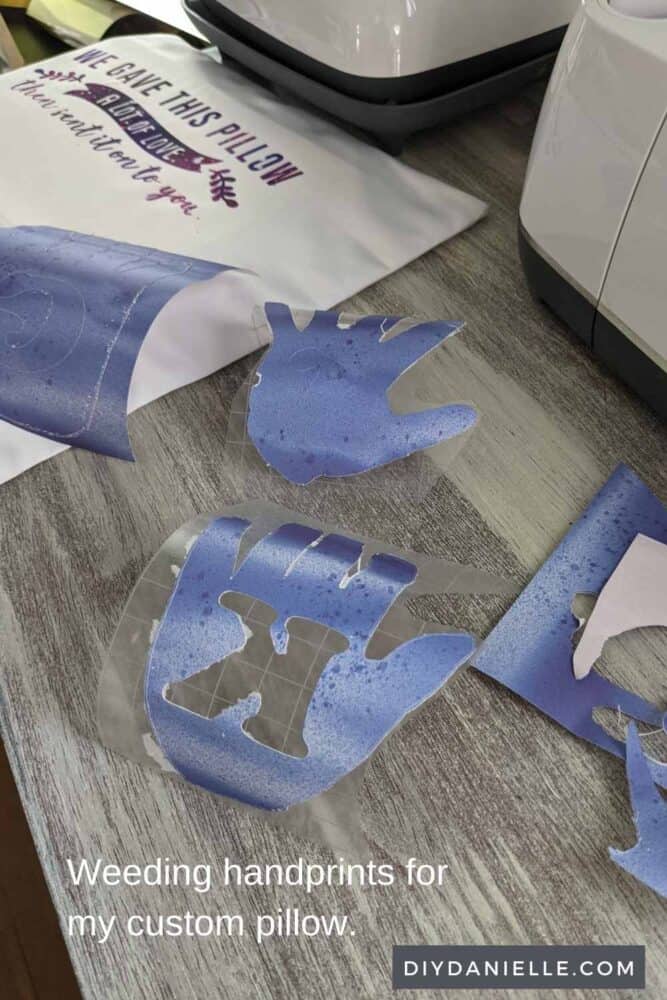
Weed the excess transfer sheet. This is NOT the same process as weeding HTV or permanent vinyl. This is more similar to weeding paper, except the paper is attached to transfer paper. If you roll the paper around and bend it a bit, it helps the paper lift away from the design. It’s a delicate process in my opinion.
You can weed infusible ink transfer paper exclusively by hand for many designs.
Look up the heating instructions for your blank. The product should have specific instructions for the temperature and time you should press your image.
Use a Cricut heat press pad under the blank. For these pillow cases, I put some cardboard inside so the color wouldn’t bleed through to the other side.
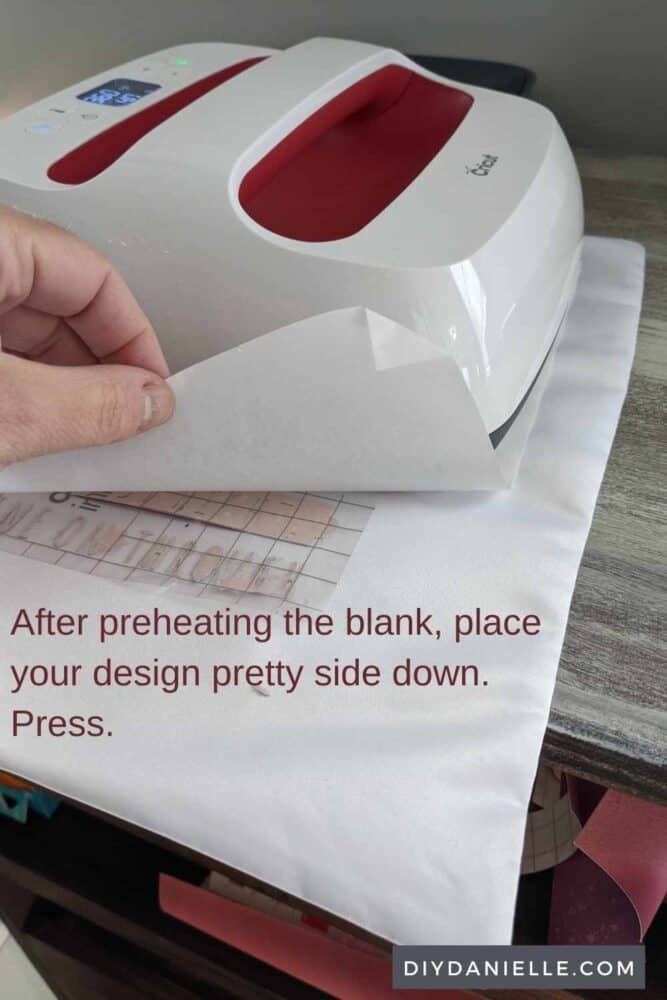
Start by preheating the blank with your press. Once you’ve preheated the area, you can place your designs pretty side down on the blank. They “stick” a bit to the fabric when the blank is hot. This helps hold them in place.
Place your butcher paper (included with the transfer sheets, but I recommend buying an extra roll) on top of the design.
Press according to the instructions for your blank. Mine recommended 360 F for 40 seconds. Often the manufacturer will give you a safe range for time and temperature; go with the lowest number, then add extra time if you need to. You can’t unburn a project.
If the ink doesn’t transfer well enough, you can let the project cool, then try again. It’s better to get the entire design in ONE press however because any shifting of the design will produce a bit of ghosting next to the original design.
I regretted not getting the larger EasyPress 2 because I had to press in sections. I think I have the 9×9 press, but the 12×12 would have made more sense. This didn’t make a huge difference with HTV, but Infusible Ink isn’t as forgiving (or removable).
Customized Hand Print Pillow
The hand print pillow was made pretty much the same way with a few adjustments. I’m going to discuss what I would change. You can purchase the Hug this Pillow design in my store.
First, I had my kids draw their hands on printer paper, scanned it onto my computer, fixed up the image in Photoshop and added the letter for each kid, fixed up the image more in DesignSpace, then watched it take an epically long time to cut.
If I did this again, I’d just cut their handprint out from the printer paper, flip it upside down (mirror it), and cut it by hand from the Infusible Ink Transfer sheets. The downside is that the letter wouldn’t be in the middle of the hand, but you could probably figure out a way to do just the letter with the Cricut.
I pressed each item separately… this was a mistake. The more you press at the same time the better. It came out fine, but I think it would have come out even nicer if I’d have the bigger EasyPress 2.
My recommendation is to trim the transfer paper for each individual part of your design close to the cut design. Leave a decent border… this is the part that helps it ‘stick’ to the fabric and not shift around.
Place all of the pieces, use the butcher paper on top, then press according to the directions for your blank.

As you remove the press, make sure you pull it straight up. Don’t drag it around like an iron.
When your image is pressed, the transfer sheet pops up easily and comes right off. Toss the transfer sheet AND the butcher paper. The butcher paper still has the ink on it so it’s not reusable, unless you have another good use for it (maybe wrap some gifts with it?).
Turn your kids artwork into custom mouse pads for Grandparents too!
Please share and pin this post! If you make this project, share it in our Stuff Mama Makes Facebook Group. We have regular giveaways for gift cards to craft stores. You can also tag me on Instagram @doityourselfdanielle; I love seeing everything you make!
Google Web Story: How to Use Infusible Ink on Pillow Covers