Learn how to press flowers, which flowers are best for preserving, and how to store your preserved flowers in this in-depth tutorial.
This post may contain affiliate links which may earn me commissions should you click through them and take certain actions. As an affiliate for Amazon, Cricut, xTool, Home Depot, and other sites, I earn from qualifying purchases. Please DIY carefully. View my full legal disclosures here.
Please read the whole post so you don’t miss any important information!
Pressing flowers is a great way to preserve flowers for a number of uses. Pressed flowers also capture the memory of a moment, and if pressed correctly can be preserved for a long period.
There are a number of different techniques for how to press flowers and how to store pressed flowers so that you can keep them for a long period of time. Pressed flowers can even last 5 years or more.
If you don’t care if your flowers are flat and prefer to preserve them in their original shape, check out my tutorial on how to dry flowers with silica gel.
Uses for Pressed Flowers
Pressed flowers are great to have on hand for arts and crafts, but also can be a nice sentimental gift for someone to remind them of a particular moment or experience you shared.
Some uses for pressed flowers:
- Christmas & birthday cards
- To frame and display as art
- To give as a gift
- To make into a bookmark
- To put into a paperweight
- Placemats & coasters
- To put in homemade candles
- To put into phone cases
- To make into jewelry
Check out this fantastic round up of project ideas for dried flowers.
Best Flowers to Press
When picking flowers to press, it is important to consider a couple of things before harvesting. Firstly, pick the flowers you would like to press in the morning, just after the morning dew has evaporated. This will ensure they are as hydrated as can be when pressing.
Depending on what you are going to be using the flowers for, you will want to pick a selection of different types of flowers at different stages of bloom.
For things like Christmas and birthday cards and jewelry, you’ll want fully bloomed flowers so that you can press them flat. Whereas for a coaster or placemat, you might want foliage at different stages of development to give your design a natural look.
When it comes to colors, pick whatever colors you feel like. Flowers always go slightly duller when picked and pressed, so the brighter colored flowers the better!
The best flowers to press are flowers which have a single layer of petals. They are easier to dry, and look the nicest. Pansies, Daisys and Violas are great options, and should only take around 2-3 weeks to press. For a range of foliage, flat leaves such as ferns are a great pressing option.
How to Press Flowers
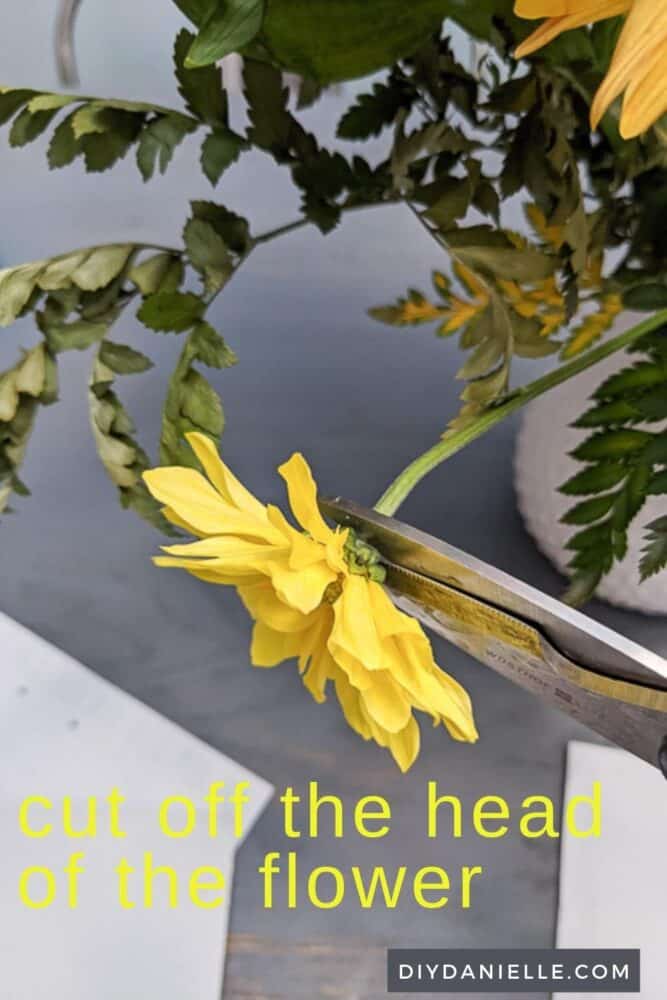
To make sure your flowers stay vibrant before pressing, cut your stems at an angle to allow for optimum water absorption. Place the flowers in a vase filled with water and flower food.
Supplies You’ll Need
Paper to absorb the water
This can be printer paper, newspaper, blotting paper, coffee filters or facial tissues. The more absorbent, the better, as you want to dry the flowers as quickly as possible to keep their bright colours intact. Make sure to avoid textured paper as this texture can easily transfer to the delicate flower petals.
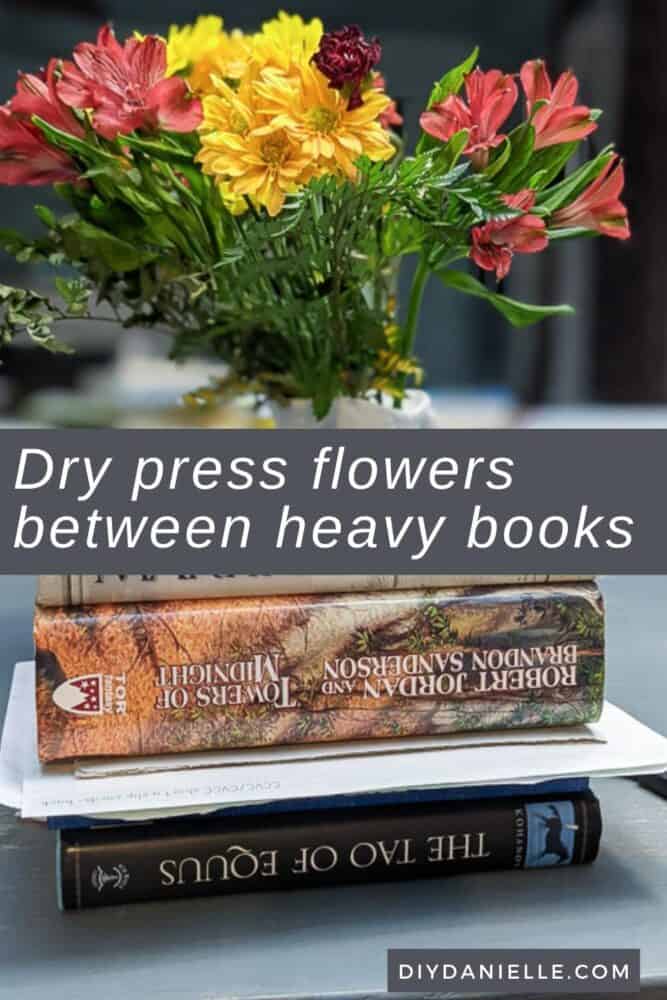
Some kind of heavy object or pressing device
A common technique is to line the middle of a fairly big book with the paper of your choosing, then lay a heavy object on top of it such as more books or some bricks. You can buy a flower press, but DIY-ing it is just as simple.
If you’re in a time crunch…
If you need the pressed flowers in a rush, you can use an iron to press them. This will affect the quality of the pressed flowers and could turn them brown, but it’s worth a try! Simply arrange your flowers in between two sheets of paper, and iron them on a really low heat. Make sure there is no steam or water in your iron by emptying it first.
How to Dry Press Flowers:
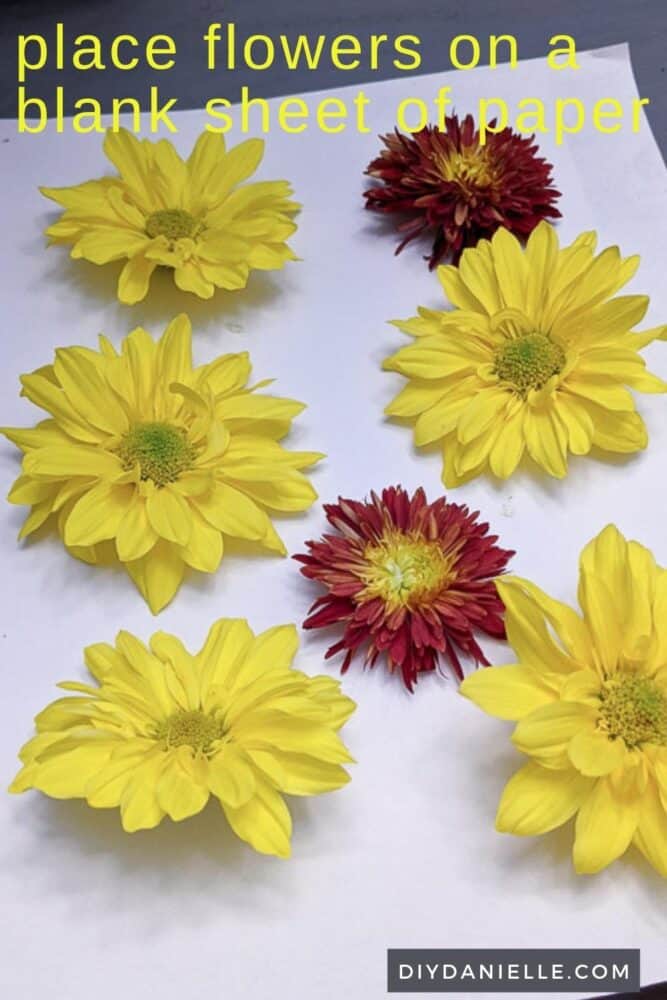
- Compile the selection of flowers you would like to press on a single sheet of paper
- Make sure when arranging your flowers inside the paper that you are leaving around 1-2″ between flowers
- Make sure to put them into the direction that you would like them to appear in, and press the petals in the correct direction
- Carefully lie a second sheet of paper on top of the flowers. Either do this inside of a book, or do it on a side or table then place the book on top. Put the heavy object of your choosing on top of the book (can be more books or bricks), and leave it
- After a week, check on the flowers and replace the absorbent material depending on how moist it is
- It will take two to three weeks to completely dry out the flowers.
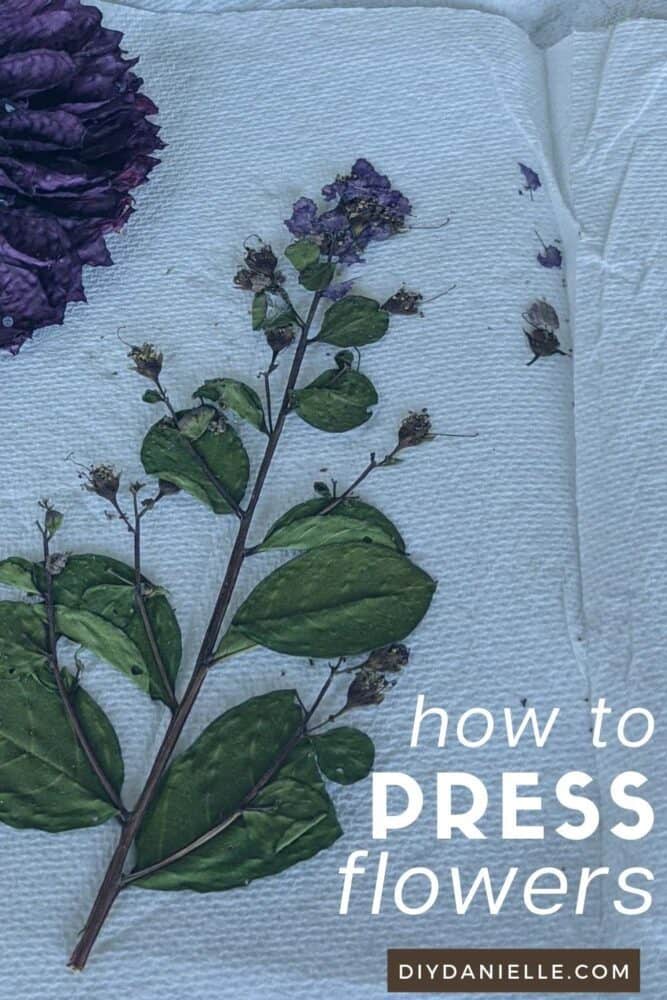
Here are some photos of my process:

How to Store Pressed Flowers
If pressed flowers are preserved correctly, you should be able to keep them for 5 years or more. It depends on how you have used the flowers, and what material they are surrounded by.
To preserve pressed flowers for the longest, keep them airtight, for example in a ziplock bag. Humidity will dry out flowers given the chance, so make sure to secure the ziplock bag by folding it multiple times and fastening paperclips ops the end.
Hopefully this has given you some tips on how to press flowers and how to store pressed flowers. Make sure to keep the pressed flowers out of the sun and heat so they do not fade, and you will be able to use them for years to come!
Love Sunflowers? Check out my other sunflower posts: hanging sunflower balls | sunflower wreath | sunflower Christmas Tree
Please share and pin this post! If you make this project, share it in our Stuff Mama Makes Facebook Group. We have regular giveaways for gift cards to craft stores. You can also tag me on Instagram @doityourselfdanielle; I love seeing everything you make!