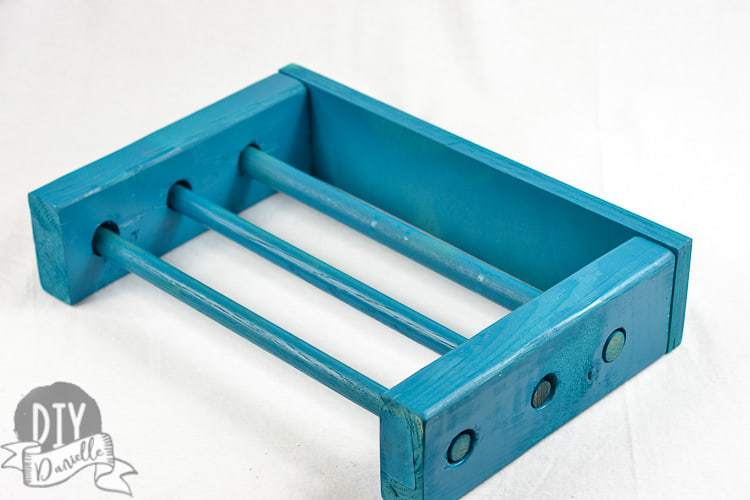
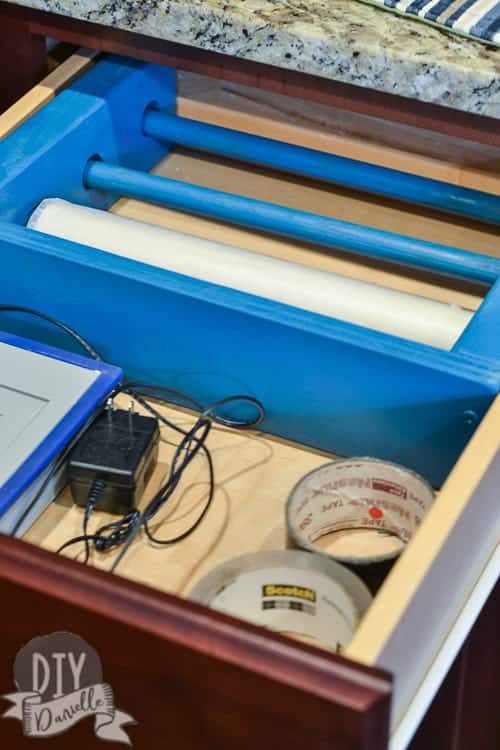
How to make a drawer organizer for plastic wrap, aluminum foil, and more. This easy to build item fits into a wide kitchen drawer.
This post may contain affiliate links. Using these links helps support my blog. Thank you!
I really don’t like dealing with the boxes from the aluminum foil and plastic wrap containers so I decided to build my own DIY drawer organizer to hold the tubes. This will save drawer space because I won’t need to store the boxes as well.
Keep in mind that you need a fairly wide drawer to use this. My organizer is 15.5″ wide and my drawer is just slightly bigger than that so it’s a perfect fit. You might be able to make one for a slightly less wide drawer but the drawer needs to be wide enough to fit your kitchen wrap across the width of the drawer.
Supplies for this Project
Supplies listed below may include affiliate links to the products.
- 2×4’s or other scrap wood (1x4s might be more attractive)
- Wood dowels
- Woodworking equipment: Something to cut the wood with, screwdriver, clamp, spade bit 1″
DIY Drawer Organizer for the Kitchen Wrap
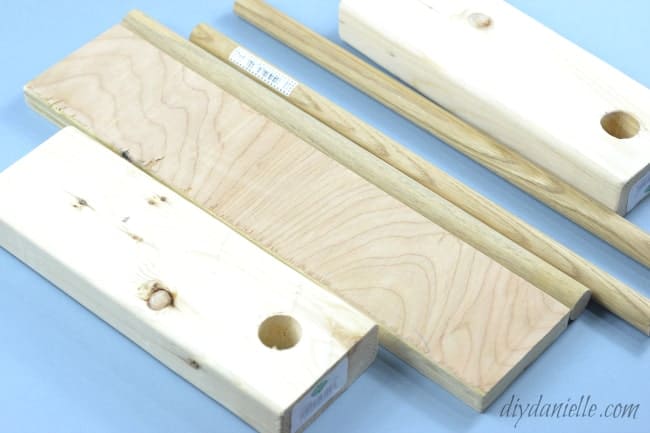
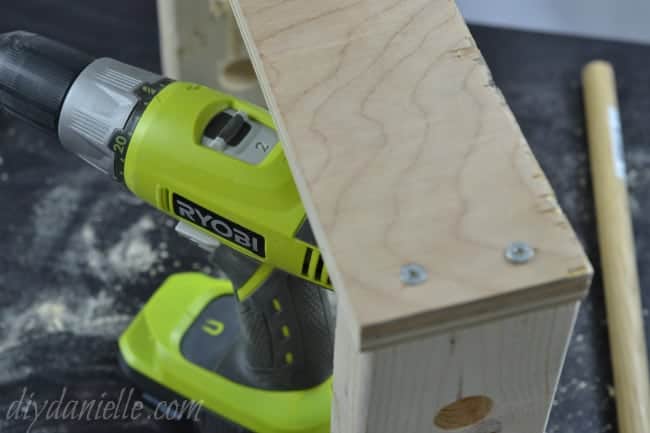
Now you can take your other piece of wood to screw into the back/front of the divider.
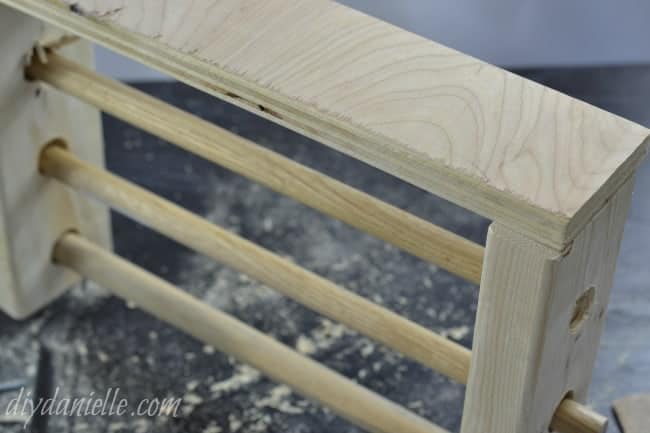
Once you’re finished with this, you can sand all of the rough edges and around the holes. Wipe the dust off, then you can paint it. I used a good Paint + Primer spray paint and did a couple of coats (thanks to trying to spray paint it in the dark and missing spots).
Video Tutorial for a Drawer Organizer
Love it? Pin it!
Other Kitchen Organization Projects
- Dish cloth hanger for above the kitchen sink.
- Use reusable bowl covers instead of plastic wrap.
- 14 Simple Sewing Projects for the Kitchen


Tori
Tuesday 5th of April 2022
I’ve been thinking of making something like this! I couldn’t get the video to work, so I’m wondering how you year off the foil or wrap that you need? Did I miss something? I was thinking of adding a fine tooth saw blade or even the cutter blade from my extra wide aluminum foil box to the edge of this build. What do you think? Is that what you did?
Danielle
Tuesday 5th of April 2022
@Tori, I upcycled the piece off the disposable cardboard ones and glued or taped it to the wood. :)