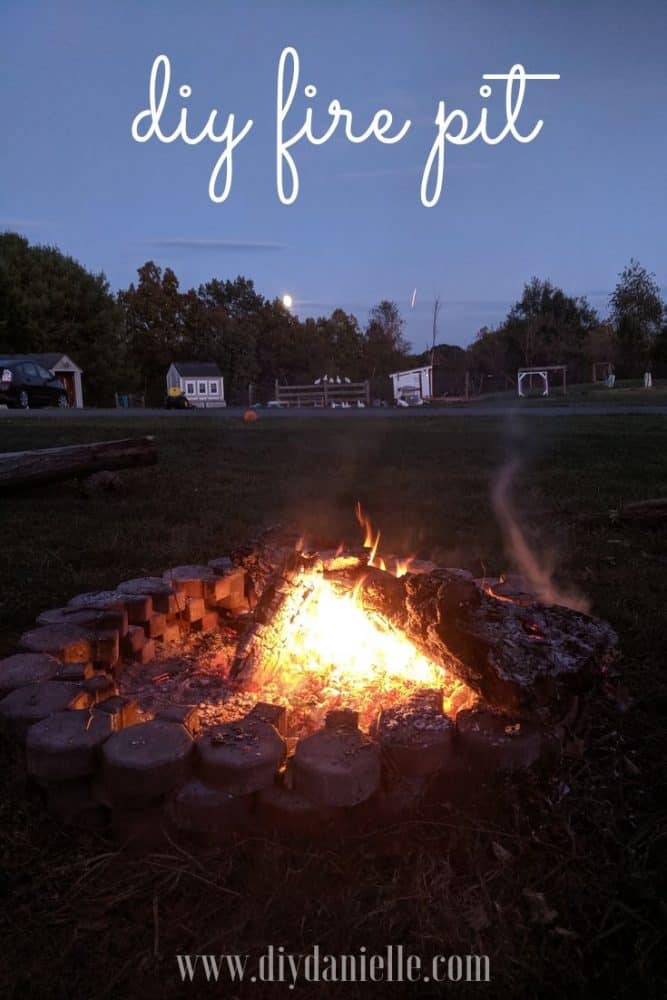
How to build a simple fire pit area with supplies that you may already have on hand. This free and totally easy project even looks great!
This post may contain affiliate links which may earn me commissions should you click through them and take certain actions. As an affiliate for Amazon, Cricut, xTool, Home Depot, and other sites, I earn from qualifying purchases. Please DIY carefully. View my full legal disclosures here.
Please read the whole post so you don’t miss any important information!
This is going to be the most stupid-simple project you’ve seen on here…. possibly. We’ve been wanting to build a fire pit for a while, and you know what happened?
Other projects.
Lots…. and lots… of other complicated projects.
So here it is PRIME fire pit season and my husband decided to whip up something quick. And it actually looks GREAT and it’s perfect.
Supplies
- Pavers or bricks
- Work gloves
How to Reduce the Cost of Your Fire Pit (or make it free)
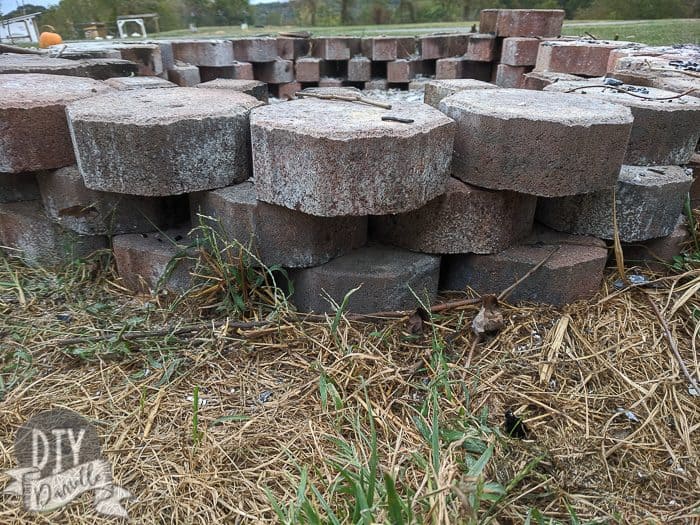
We had a HUGE pile of paver bricks that were dumped by previous owners in a pile in the woods on our property. We’ve been making good use of them whenever we can and this seemed like the perfect project. They are all funny shapes to fit for a pathway, but that’s no big deal for a fire pit.
If you don’t own any pavers, you should DEFINITELY check your local Facebook group or Freecycle page because people give them away all the time. They just want someone to do the hauling. Grab some good gloves and go pick them up.
Total cost of this project? One case of poison ivy, lol. Wear gloves y’all.
Creating a Fire Pit Area
Location of the Fire Pit
Make sure the fire pit is far enough away from your home, deck, and any trees, as well as anything flammable. This means a distance of 10-25′ from “important stuff that could burn” (like your house).
Personally, I wouldn’t want to place my fire pit in a position that puts the house downwind of it. Wind could carry sparks and such toward the house. In this case, our fire pit is in front of our house. If we’d placed the fire pit to the left of the house that would’ve been a bad idea as the wind would blow the fire pit sparks towards the house… does that make sense?
Ideally, the pit will be close to a water spigot. When you start a fire, you should always keep a bucket of water nearby in case of an emergency. The closer your fire pit is to a water spigot, the easier it will be to manage.
Also consider where you plan to store wood to burn. You may want to make sure your fire pit isn’t too far from it.
Preparing the Area
One thing you want to consider is any preparation for the fire pit area. You’ll want the grass cut short or exclusively dirt in that area. You could also lay sand down inside the fire pit.
Some people also add stone or mulch in a larger circle surrounding the fire pit. This looks really pretty!
Seating
Make sure seating is 3 ft or more from the fire. I love a natural look, but we have a mix of things- right now, there’s a big log my husband cut in half for seating, a lawn chair, and a swing. They’re varying distances from the fire so there’s a good seat for everyone.
I love fires, but like to have the option to enjoy them a bit further away and upwind because I’m asthmatic and my lungs don’t love the smoke.
DIY Fire Pit
Your main job is to collect enough pavers for your fire pit. How many you need will depend on the size of the fire pit that you want and how high you want the fire pit to be.
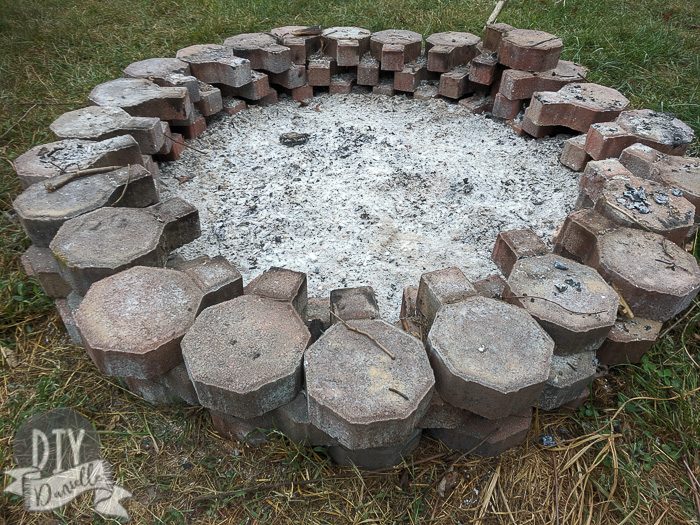
Our fire pit has a 52″ circumference (the width of the circle). If you want to have a perfect circle, draw it out in advance… I think you could use some spray paint that’s made for landscaping, but my husband just eye balled it.
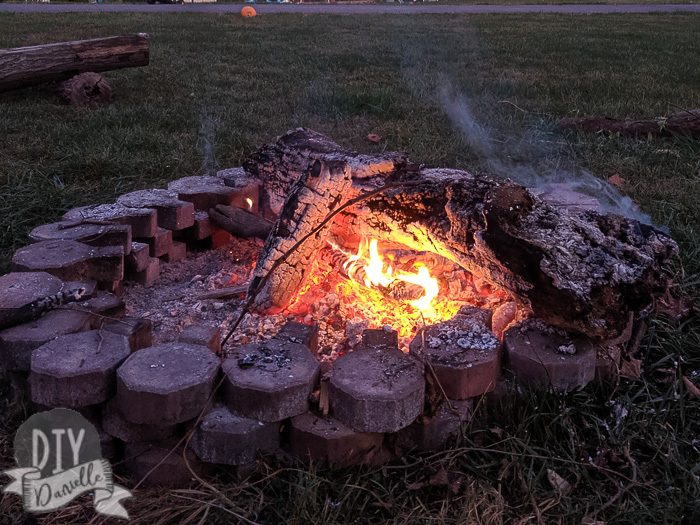
For our size fire pit, we used 24 pavers on the top level so the other two levels should have about the same number (theoretically). That’s a total of 72 pavers for three levels.
As you can see, he stacked them alternating the placement… the smaller part of the paver faced the inside of the fire pit.
Don’t forget- never leave your fire pit unattended when there’s a fire going in it! All ashes should be collected, then doused with water after they cool off. Wood ash can be excellent for the garden if scattered or composted.
Please share and pin this post! If you make this project, share it in our Stuff Mama Makes Facebook Group. We have regular giveaways for gift cards to craft stores. You can also tag me on Instagram @doityourselfdanielle; I love seeing everything you make!