How to make a Cat in the Hat Hat for your child’s Dr. Seuss birthday party or for Dr. Seuss Day.
This post may contain affiliate links which may earn me commissions should you click through them and take certain actions. As an affiliate for Amazon, Cricut, xTool, Home Depot, and other sites, I earn from qualifying purchases. Please DIY carefully. View my full legal disclosures here.
Please read the whole post so you don’t miss any important information!
I’ve been working on a series of posts about the different things that I made for my son’s Dr. Seuss Themed first birthday party. Today we’re going to talk about how to make a Cat in the Hat Hat! With a little sewing, it’s absolutely feasible for a beginner sewist.
I found this tutorial on how to make one. You have to pay to download the pattern which would be pretty simple and easy, but I was hesitant to pay seeing as Baby G is much smaller and the pattern is for elementary school or a small adult head.
What I decided to do was make a smaller version of this, but to still use the tutorial instructions to put it all together.
Supplies
- Red and white felt (or fleece should work too)
- Fabric for liner
- Sewing supplies and machine
- A hat or pattern for a hat that fits your child
How to Make a Cat in the Hat Hat
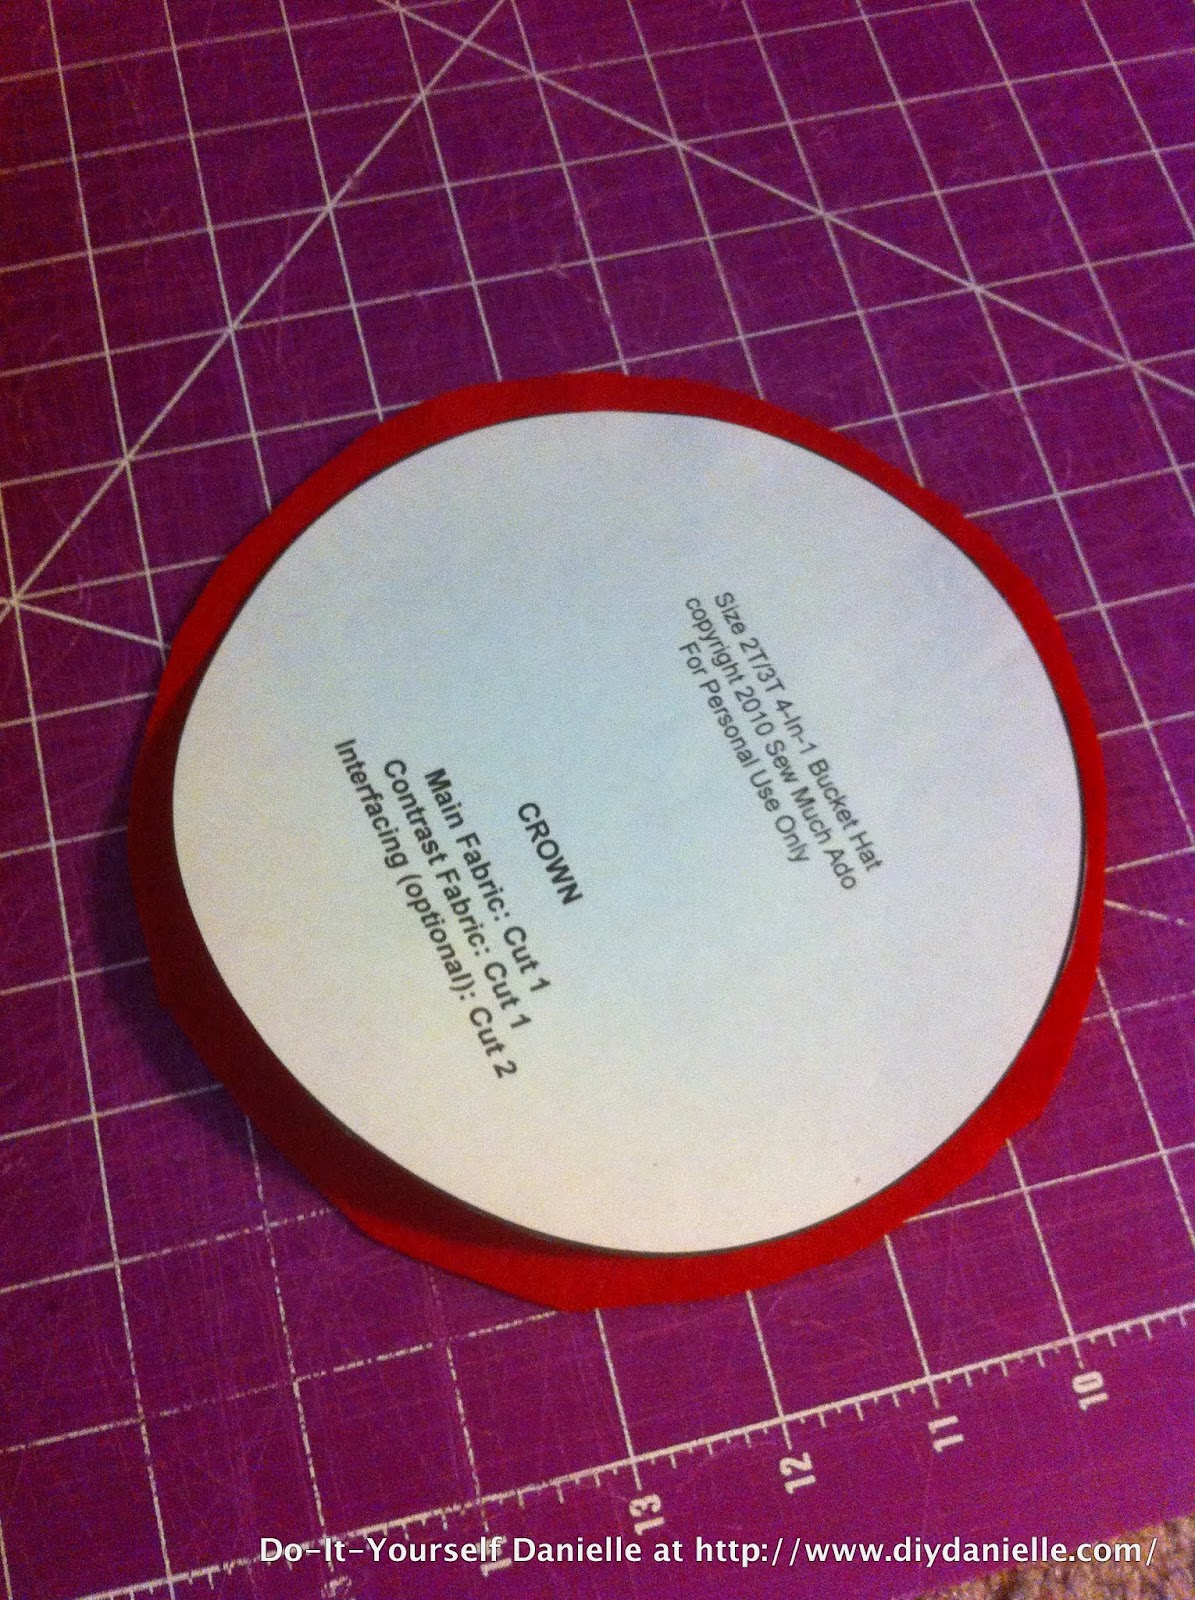
First I needed to figure out how big to make it. I had the pattern from Baby G’s bucket hat so I used the pattern for the top of that hat and made it a little bit bigger… Baby G’s head has grown a little.
I used my measuring tape to see how far around the top of my hat is: 22.5″… I decided to do 23″ to allow for the seam allowance. It ended up being a little big which may be my fault for not following seam allowances well enough. Doing my own math makes it much harder!
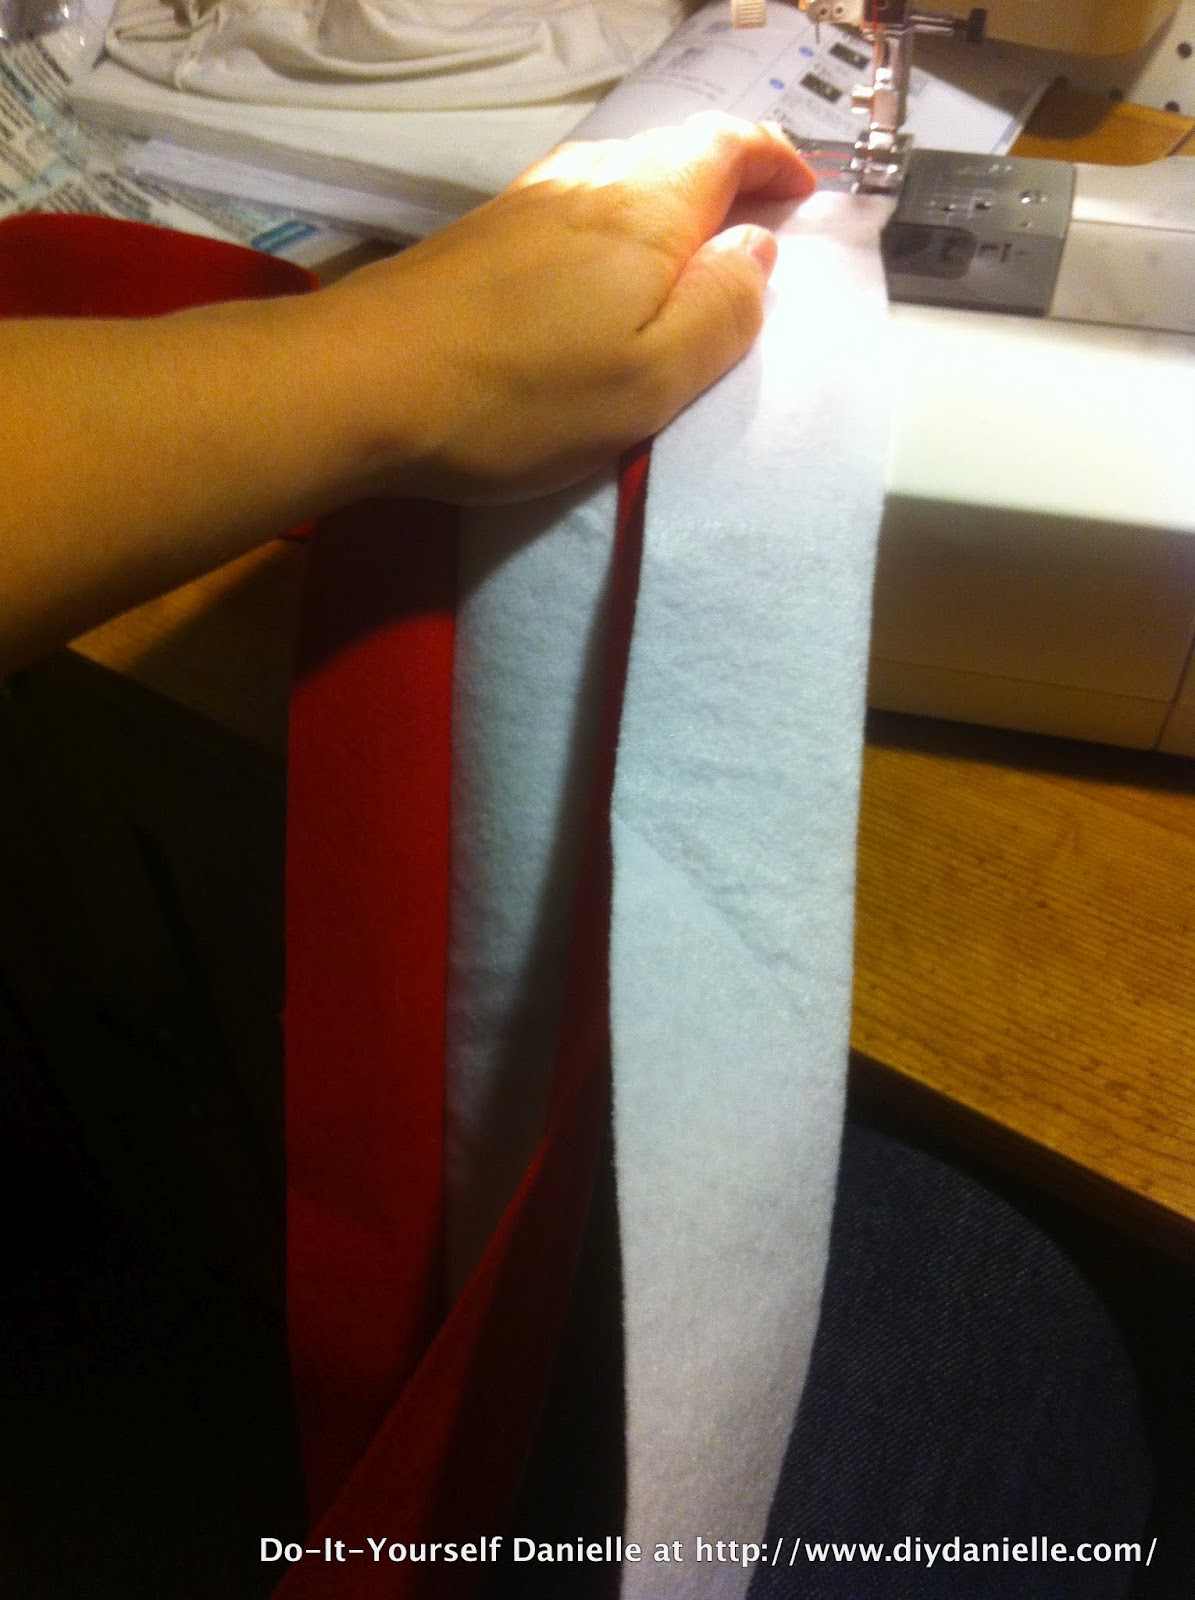
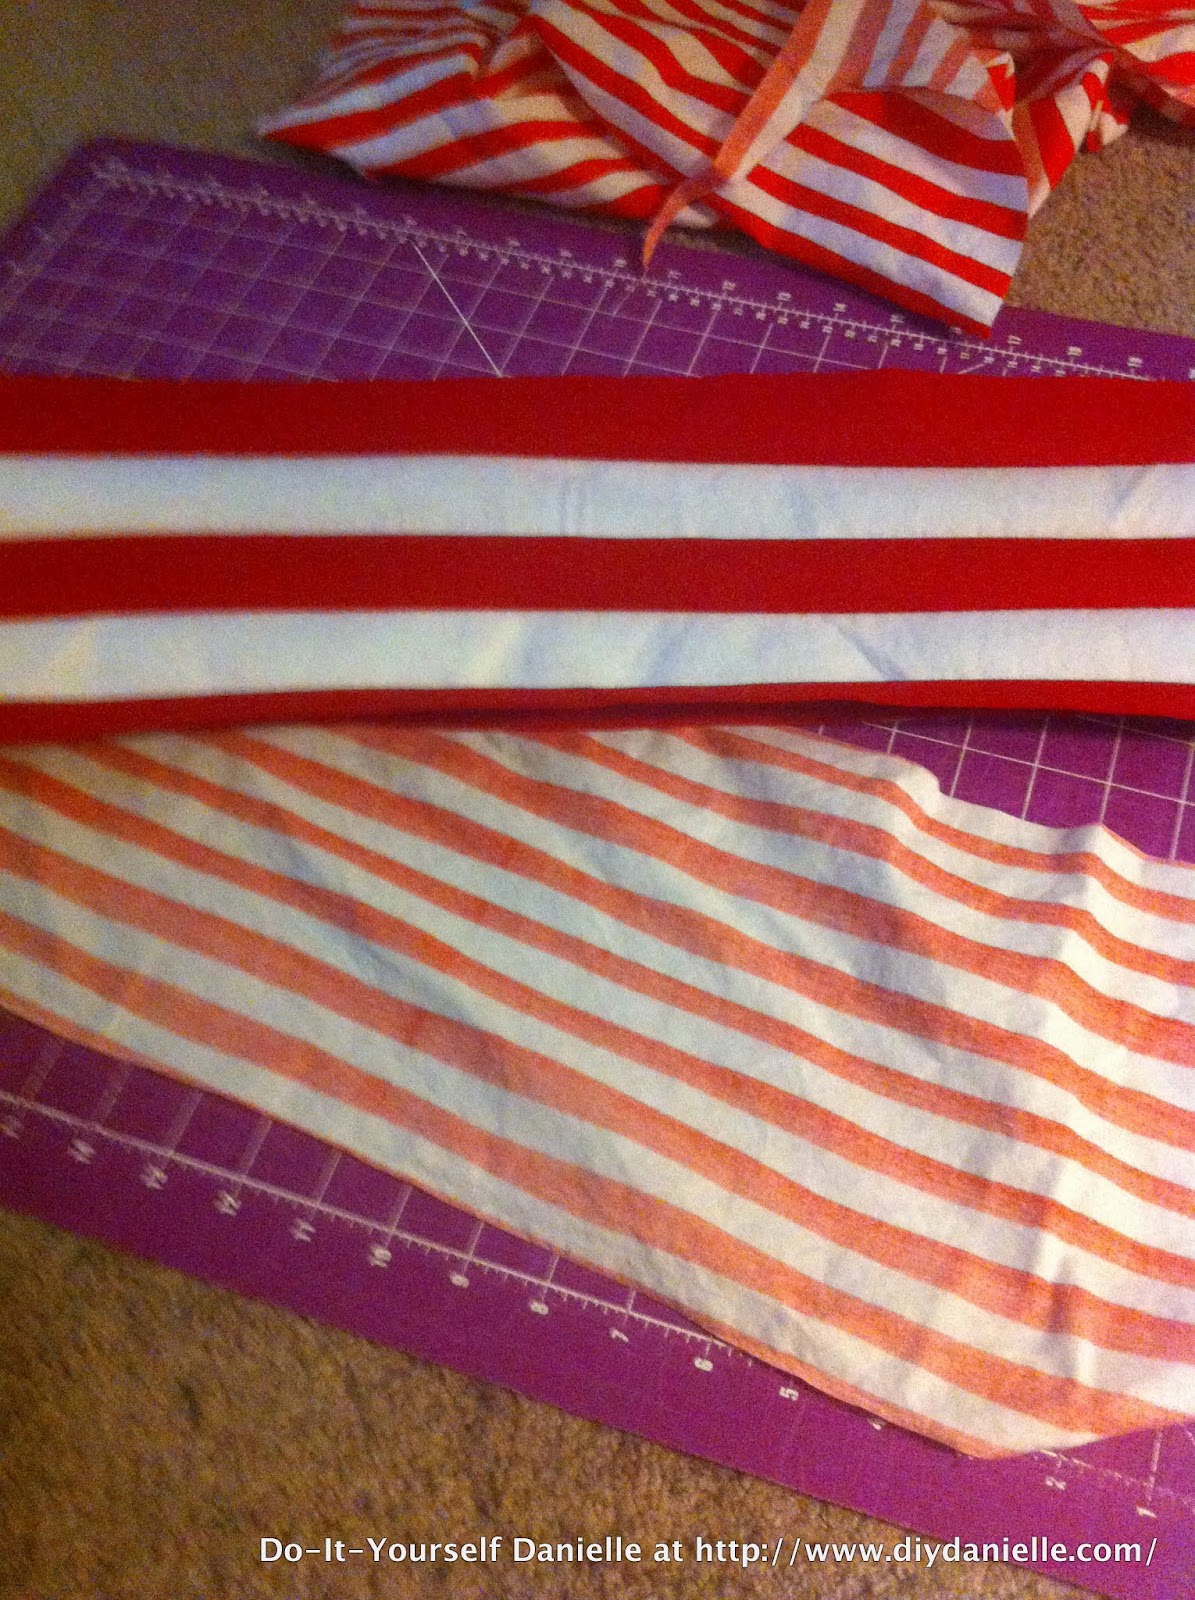
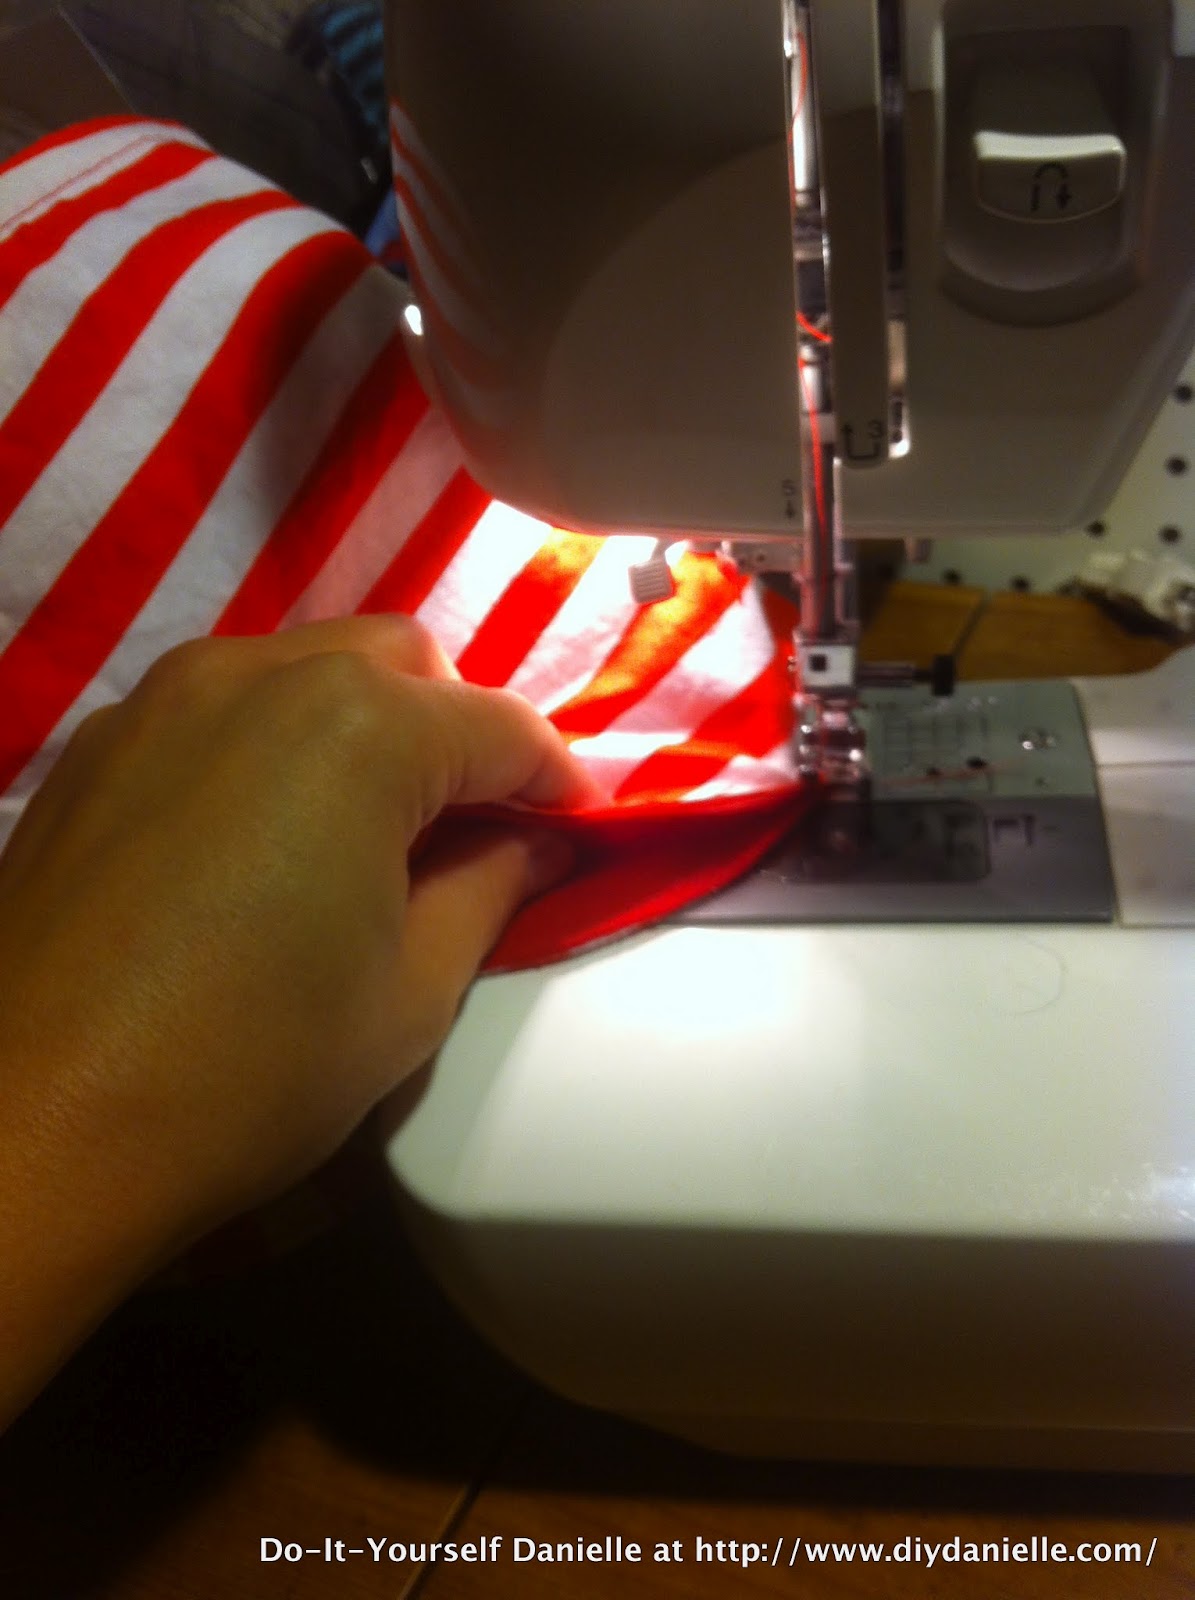
3 red stripes and 2 white stripes: 23″ long x 1″11 of the little inches (there’s no name for them, go figure!) wide. Sew these stripes together, one by one, by sewing each right sides together as you go along.
Really easy. Mine weren’t perfect, but I figured a somewhat sloppy Dr. Seuss hat is perfect! Right?
Measured out the lining (I used the leftover fabric from the striped fabric from Baby G’s pants) and basted it to the stripes.

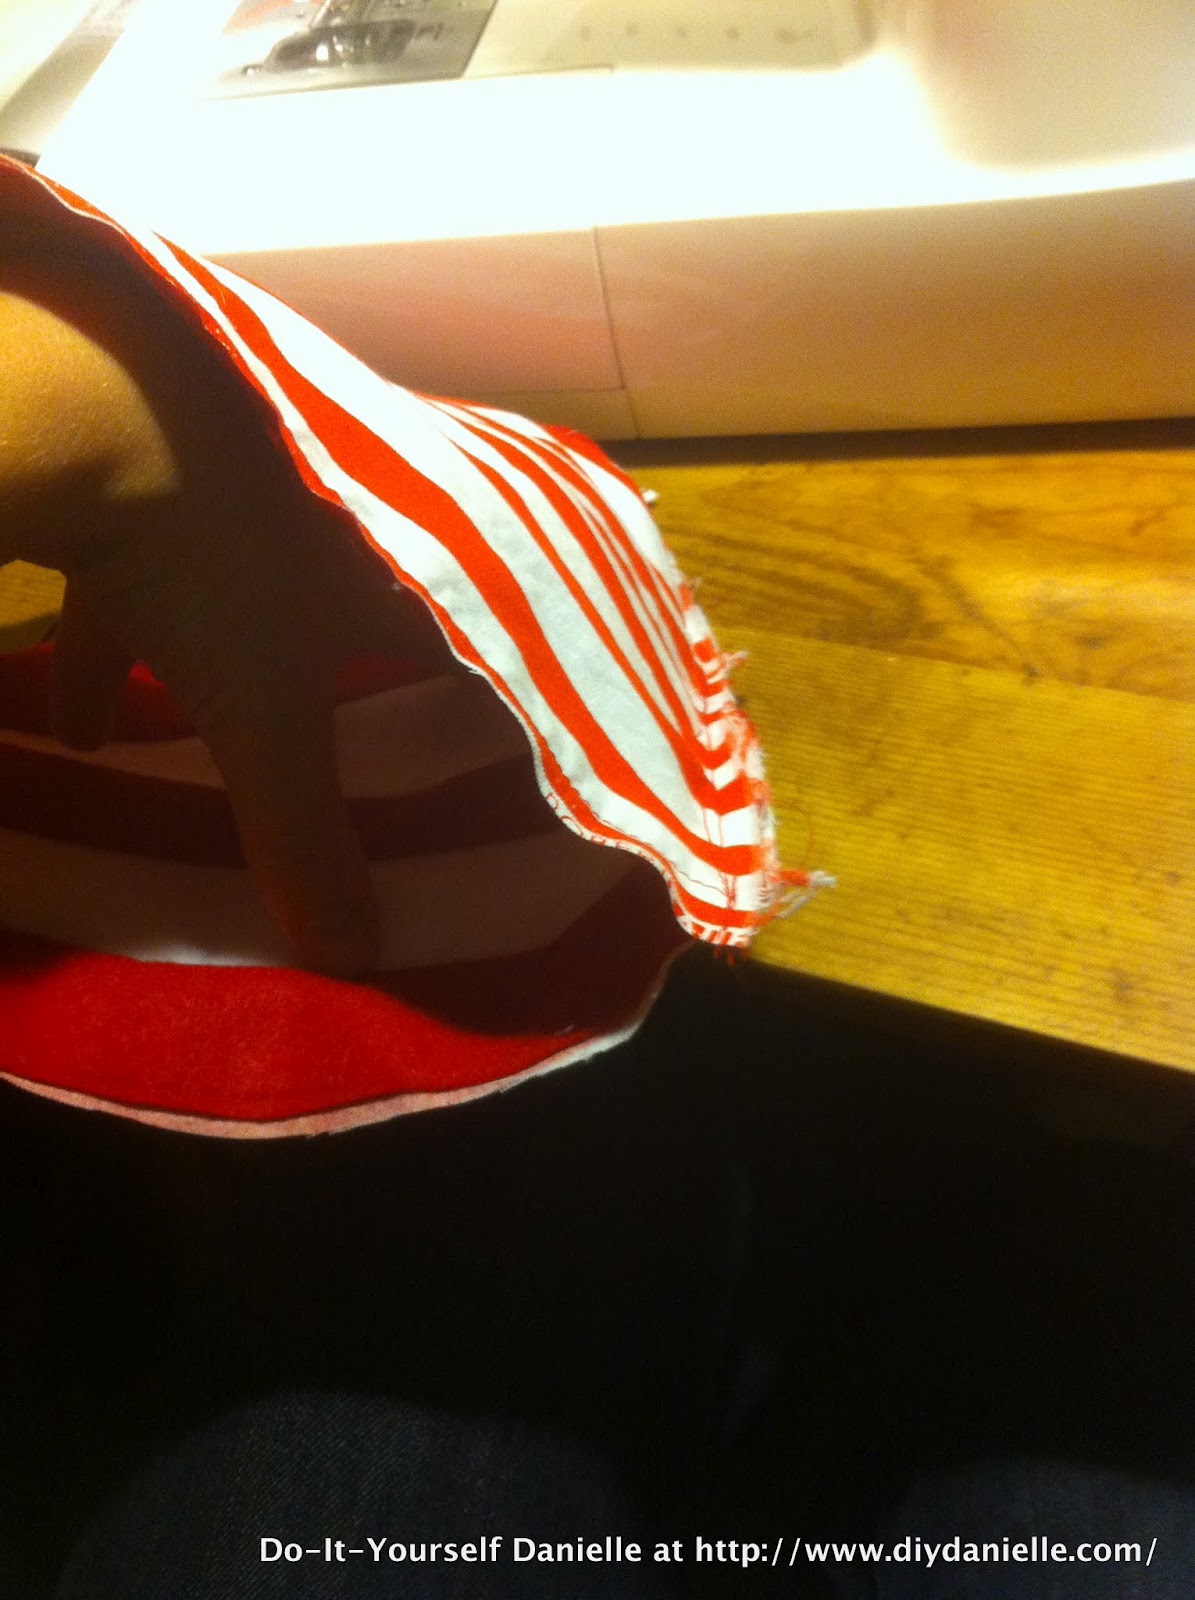
Now take your long side and fold it in half right sides together, sewing the ends together. It’s hard to see in my picture below, but I just zipped along the edge with a straight stitch. I went back and zigzagged it too. You can flip it right sides out just to see how pretty your hat is right now… it’s the whole outside, minus the top and the rim!
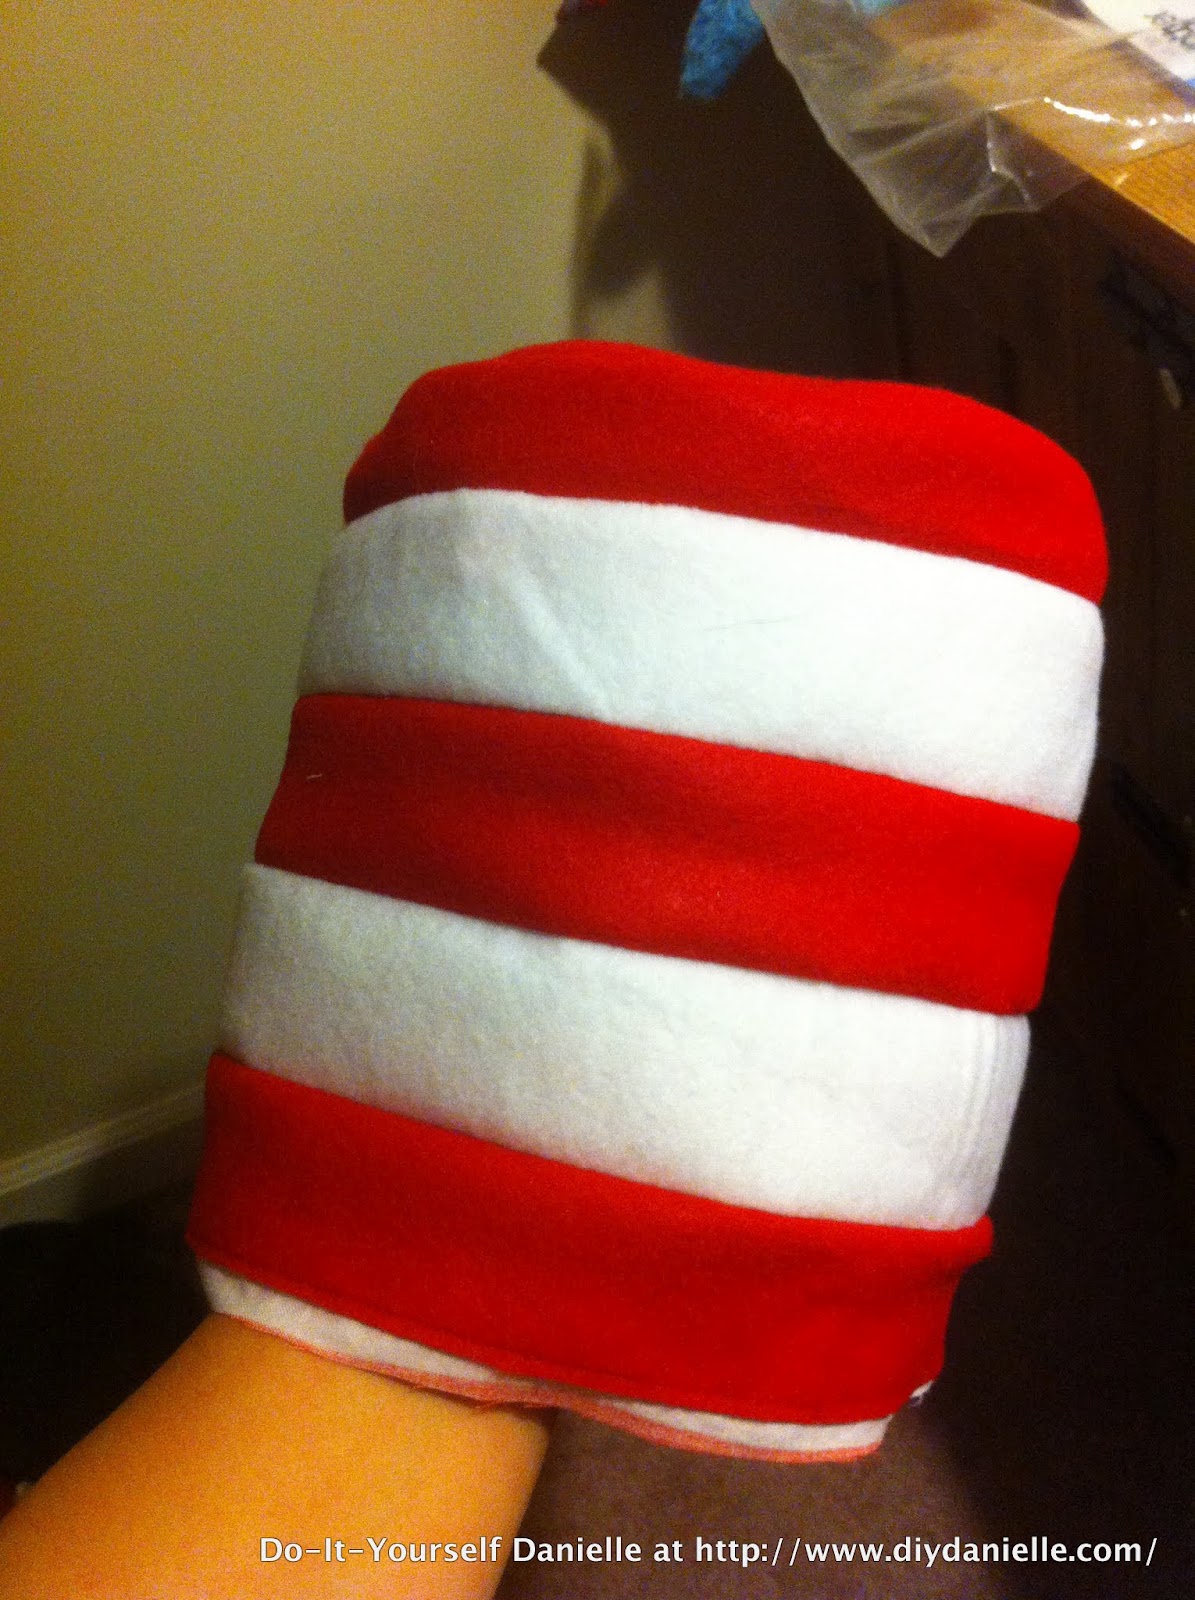
Measured out the lining for the top of the hat and basted it to the top.
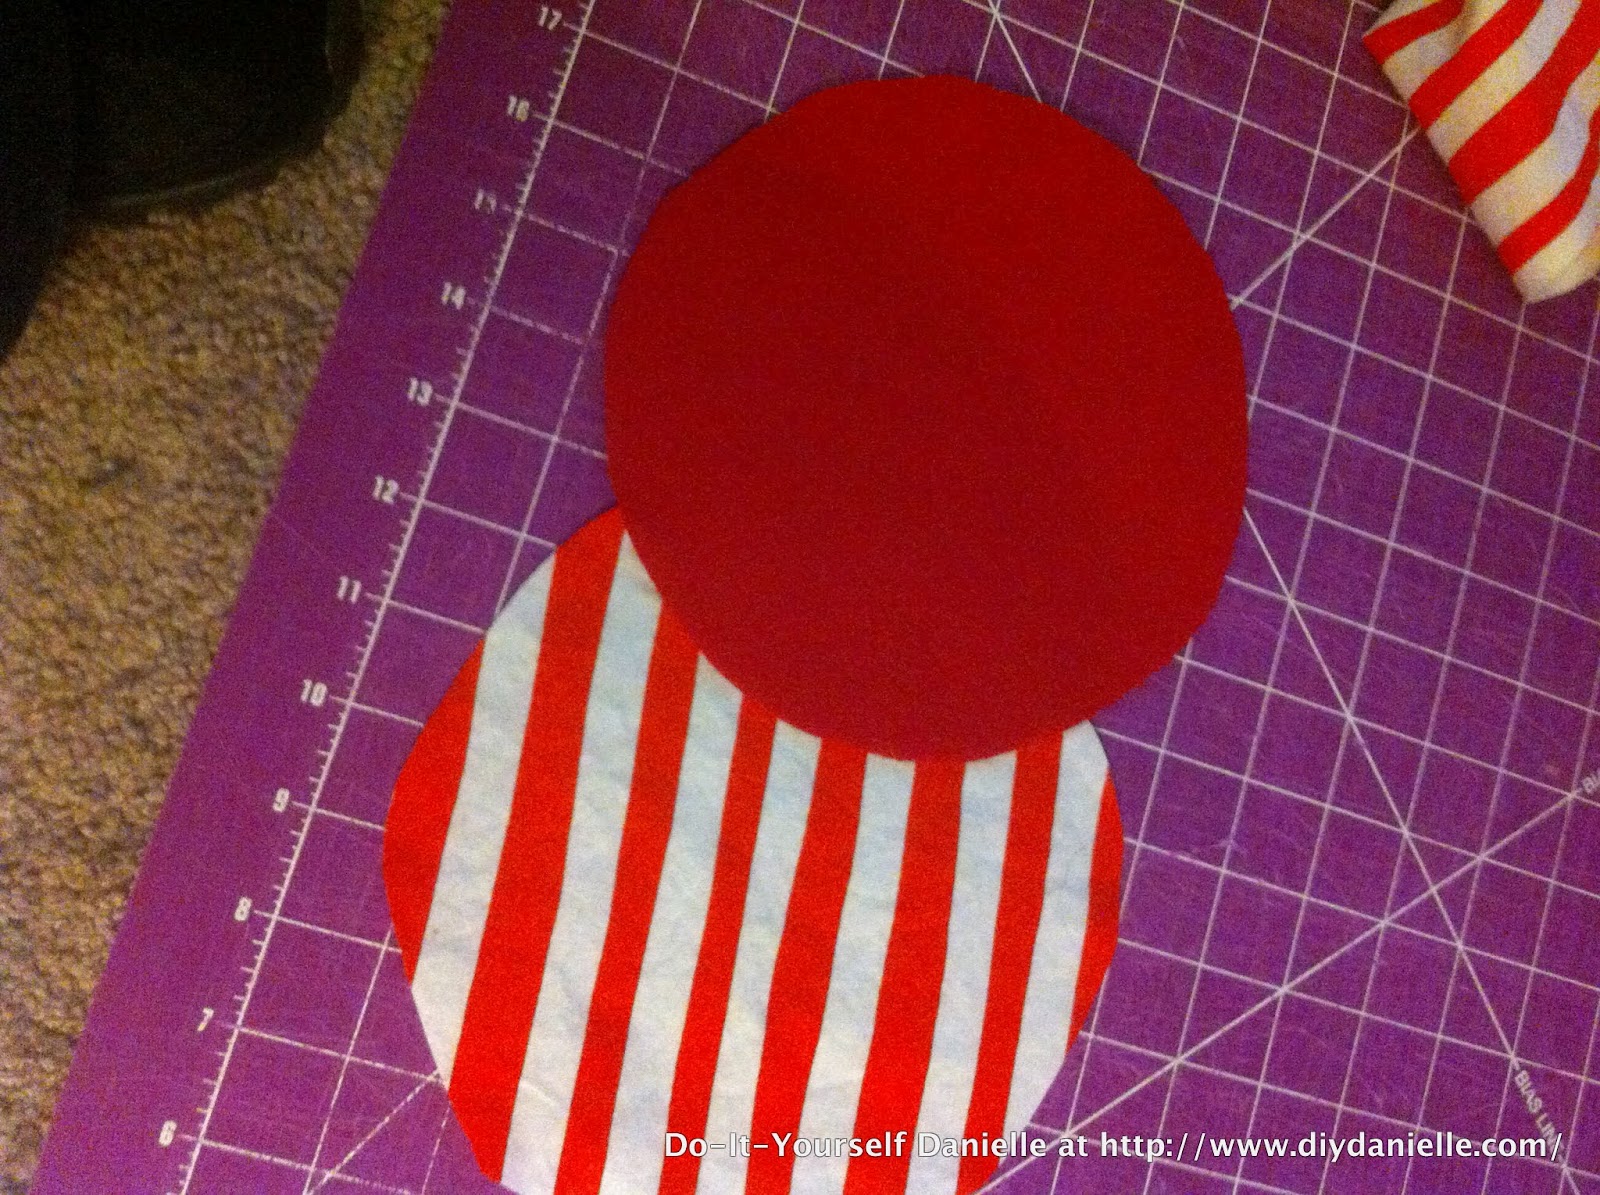
Placing the right sides of the fabrics together, I sewed around the top of the hat… it’s a bit awkward, but I just rotated the fabrics so they matched up as I sewed around the circle so that the top piece and the sides of the hat are all attached. Feel free to zigzag/serge the edges too. If you flip the hat inside out here, you’ll see that it’s now a hat, minus the brim of course.
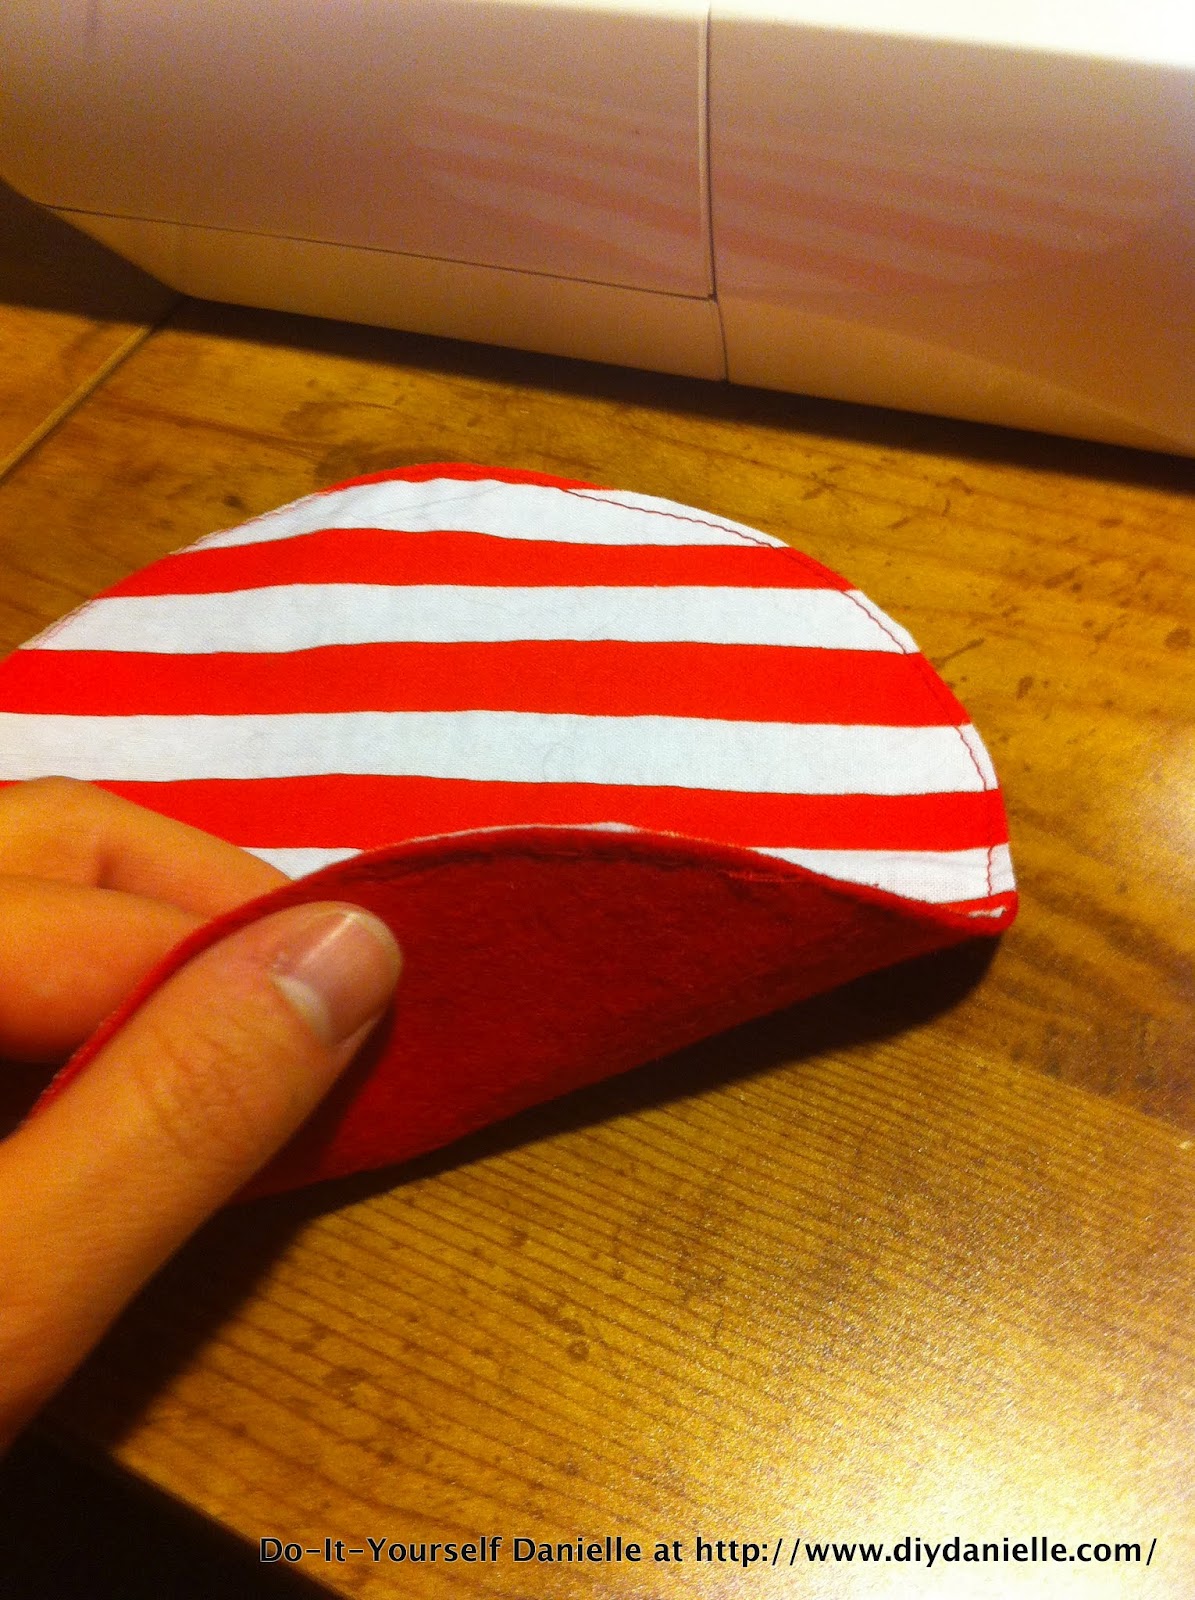
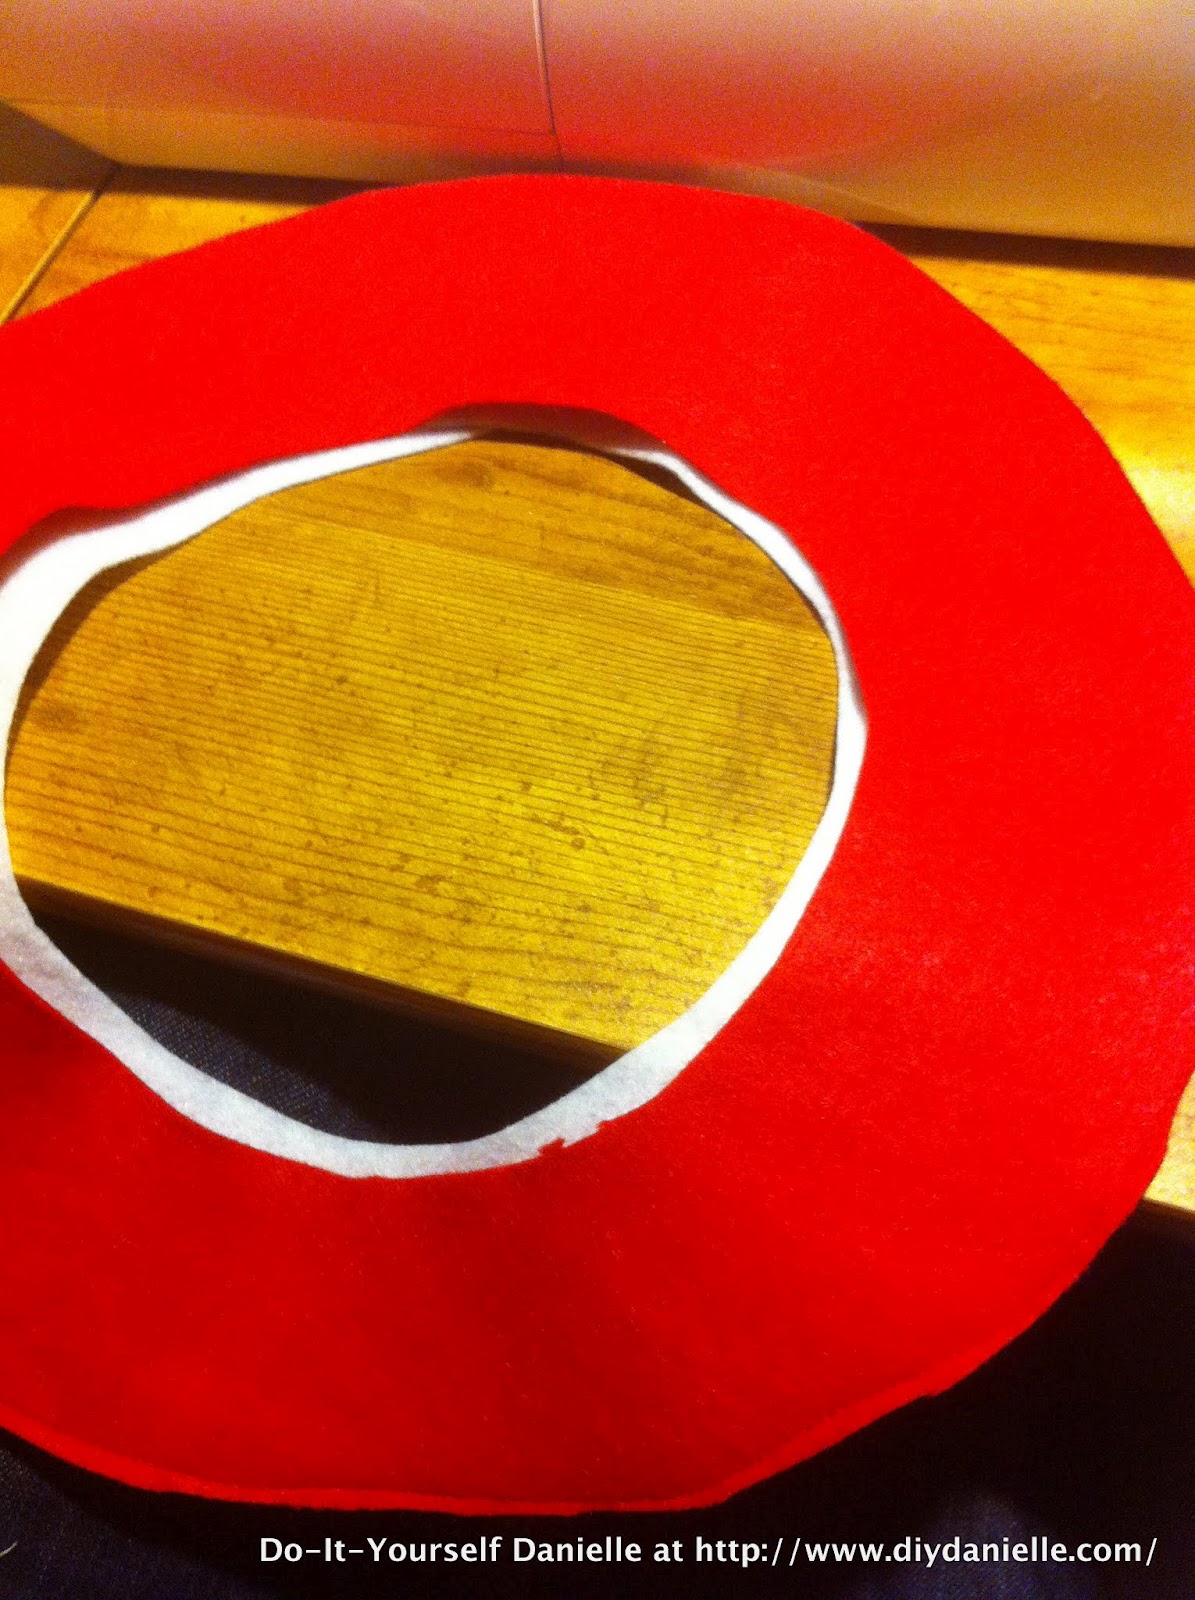
Oh yeah… the rim… so I made mine way too big so I hate to give advice on how to do it. But I used the circle from the top to cut out the middle of the rim, then just added a few inches on the outside and cut around that. Don’t forget you want the rim to be WHITE. I accidentally cut out two red pieces, then realized my mistake. Went back to cut a white piece and just used one of the red pieces for the underneath of the rim… to conserve fabric. I sewed around the outside of the two brims with them facing “right sides” together (in case you’re using something other than felt). I flipped them “right sides” out and top stitched the outside of the rim. Per her instructions, you can baste the inside of the rim, but I skipped that part. Instead I sewed my rim directly to my hat, being careful to catch all of the layers. You’re doing the same thing you did with the top of the hat… just face the right sides of the hat and the rim together, sewing around the edges as you turn the fabrics so they all match up as you go.
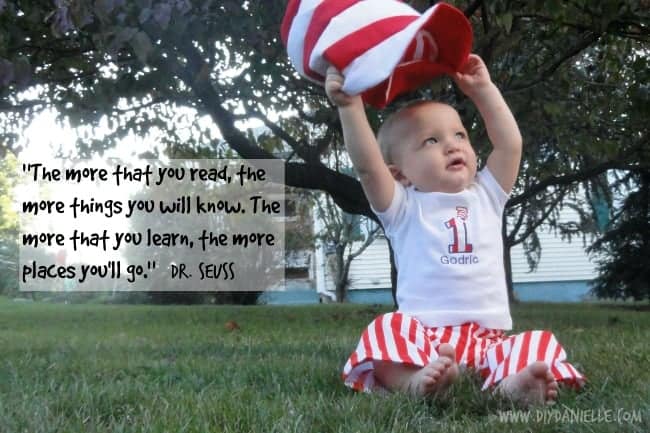
And you’re finished. The hard part is getting the baby to wear it now! I may add on a strap later if I’m feeling motivated, but I feel like it’ll take away the cuteness factor of the hat if I strap it on.
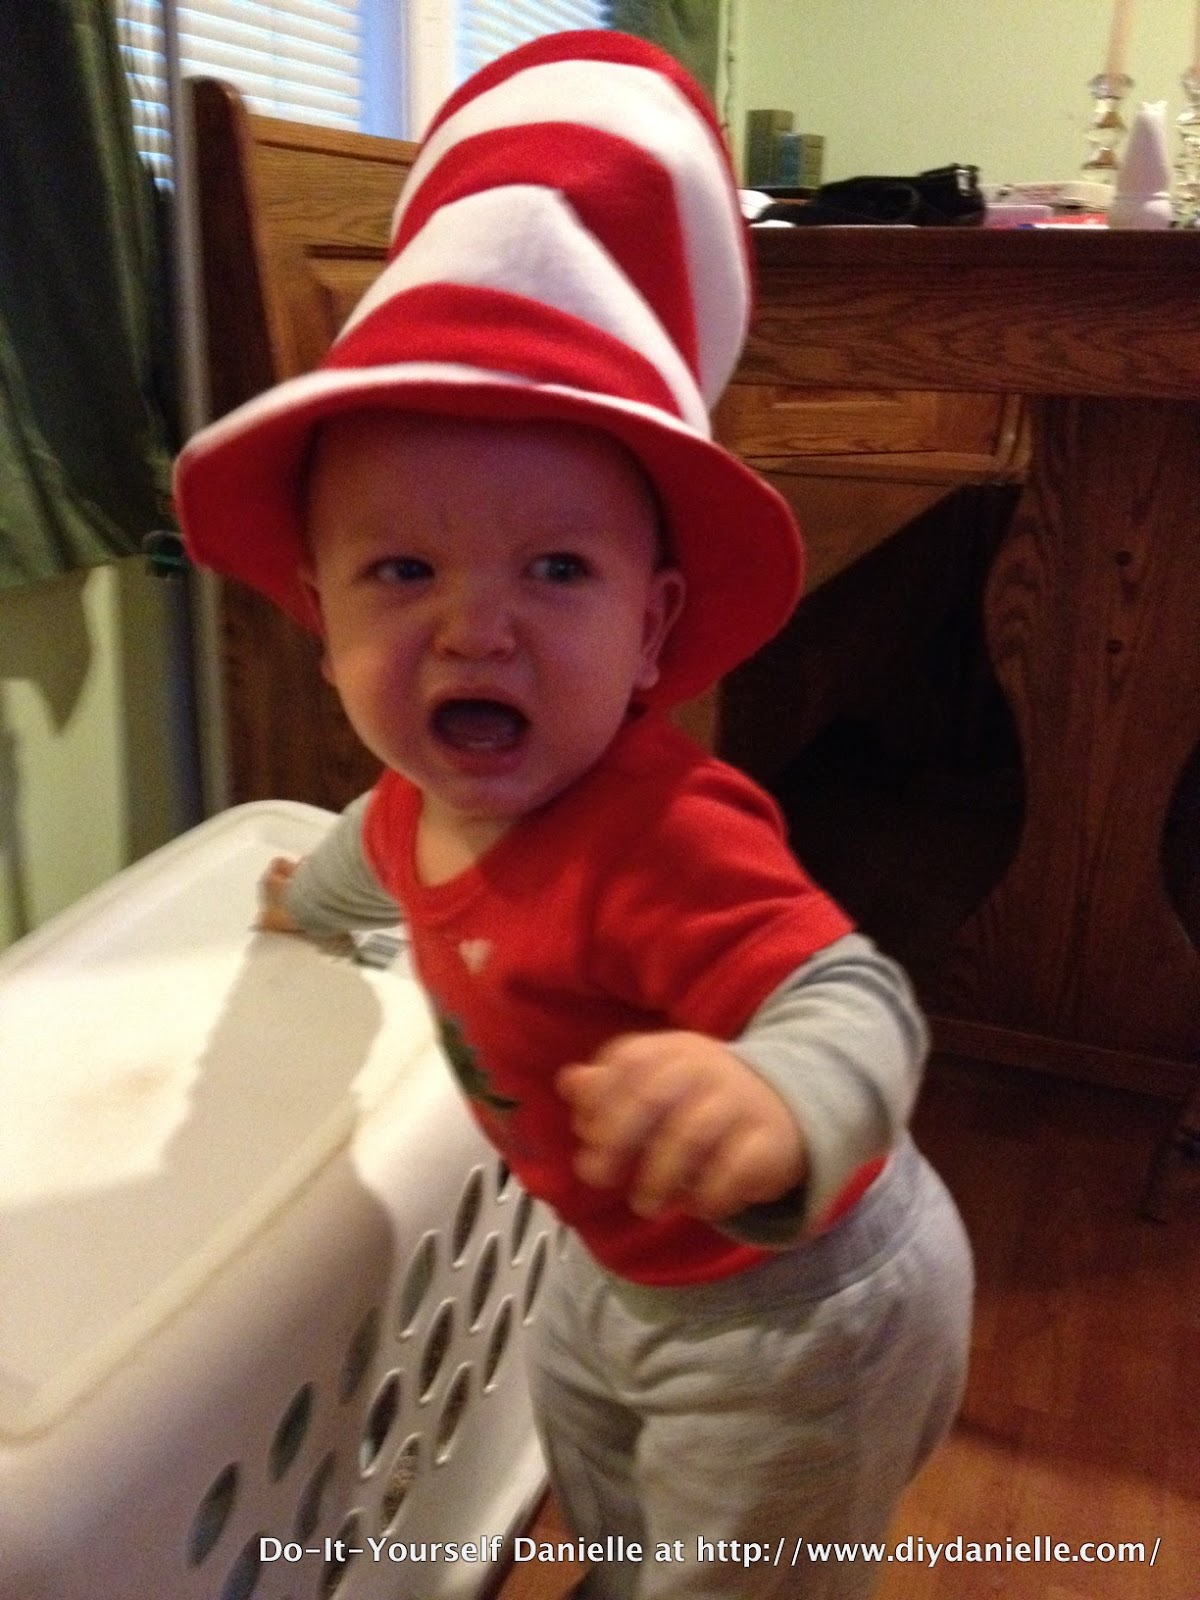
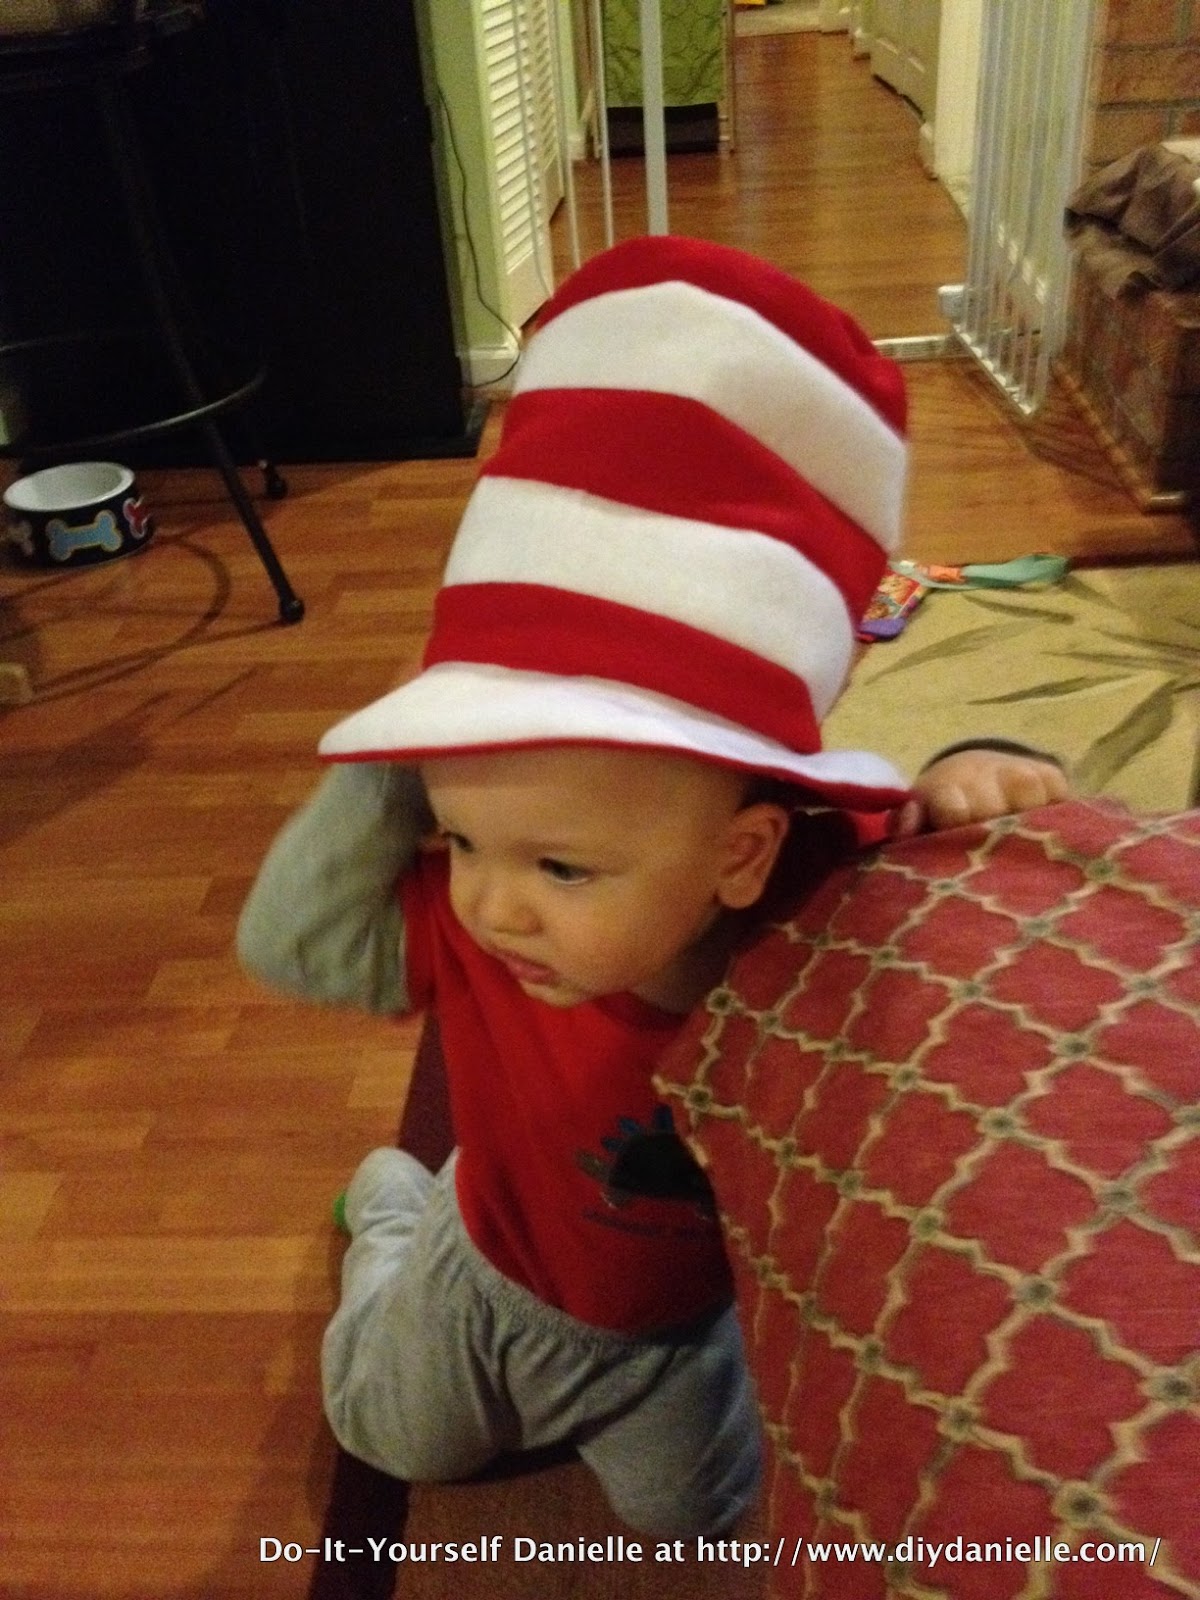
Due to my awkward measurements and mathematical errors, there’s a few mistakes, but it came out okay anyways! Sewing is great… mistakes can often be repaired and if you’re feeling lazy sometimes you don’t even need to!
Posts and projects that are Dr. Seuss or Cat in the Hat themed: Dr. Seuss Birthday Party | Dr. Seuss Romper | DIY Dr. Seuss Shirt | Cat in the Hat Hat DIY | Dr. Seuss Pants DIY | Fabric Birthday Banner in Red and White
Please share and pin this post! Thank you!