
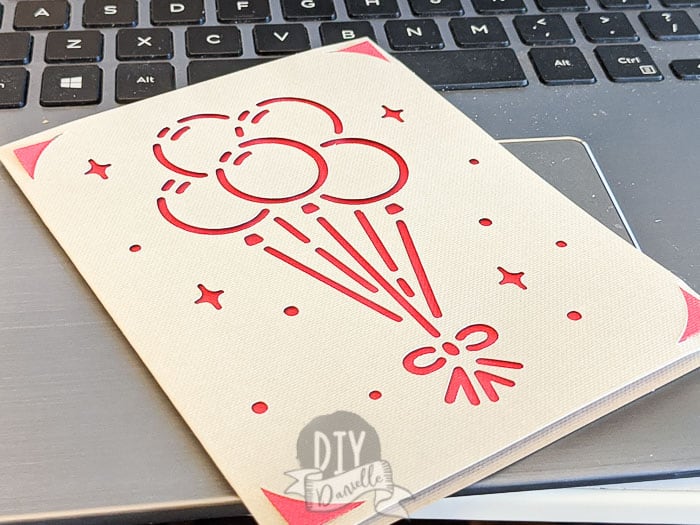
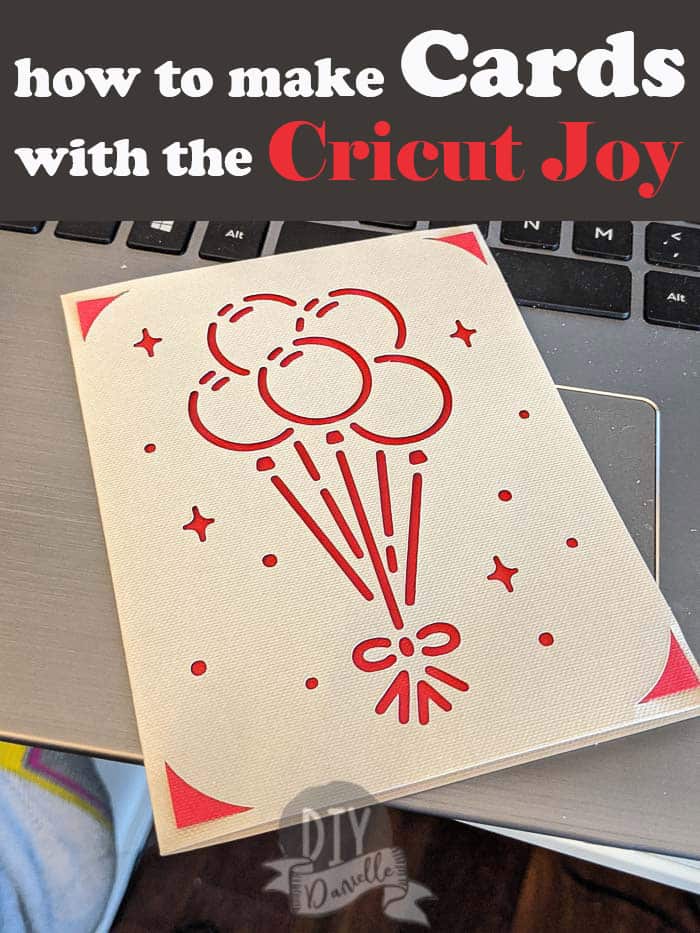
Here’s how easy it is to make your own DIY greeting cards with the Cricut Joy. It takes MINUTES and it’s a great way to whip up a quick card if you forgot to go to the store.
This post may contain affiliate links which may earn me commissions should you click through them and take certain actions. As an affiliate for Amazon, Cricut, xTool, Home Depot, and other sites, I earn from qualifying purchases. Please DIY carefully. View my full legal disclosures here.
Please read the whole post so you don’t miss any important information!
Wooooow it’s been a long month+ that the kids have been off from school. Our friend’s son had a birthday and the party got cancelled so we dropped off a gift and a card. It was a fantastic opportunity to try out the Cricut Joy to make a birthday card.
This took 5 minutes. So I’ve been making cards for Easter and just for fun to send to family, whenever I send out masks.
DIY Greeting Cards with the Cricut Joy
Supplies:
- Cricut Joy and Accessories
- Card mat
- Card Set
Use the Discount Code DIYDANIELLE on cricut.com for 10% off any cutting machine or heatpress (no minimum). Excludes: materials/accessories/mystery boxes/etc. Applies to US/CA only, code expires 12/31/23.
Honestly there isn’t much to these cards. You begin by loading your blank folded piece of the card into the card mat.
Using the Cricut CardMat for Making Cards
This is what the card mat looks like. There’s a plastic piece you peel off that protects the adhesive.
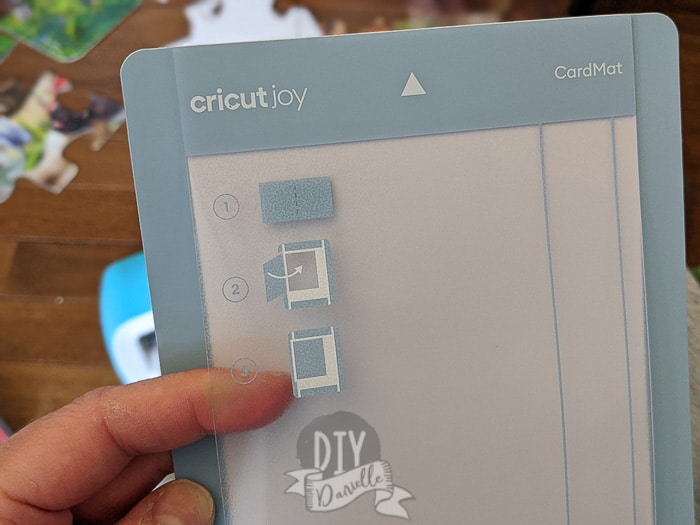
The card mat itself had a thick plastic top layer that you slide the bottom half of the card under. Line it up according to the size of your card.
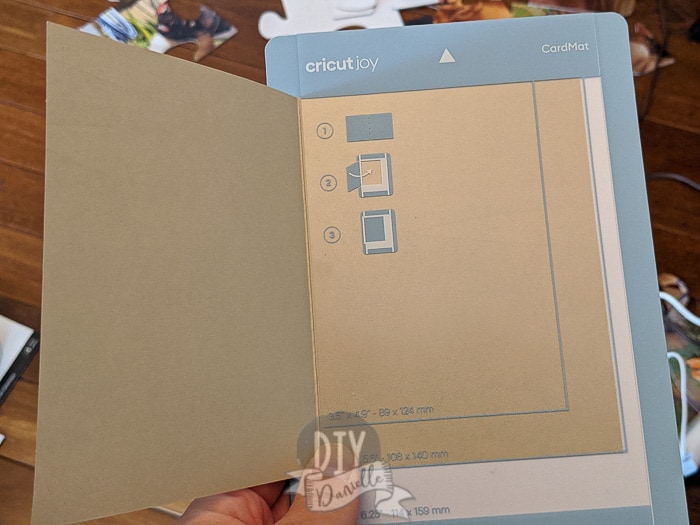
The top part of the card adheres to the top of the mat.
Cutting the Card
All you have to do now is pull up the card you want to make in DesignSpace, follow the prompts to start cutting the card (on the card mat), and load the card in the machine.
It takes a few minutes to cut the design.
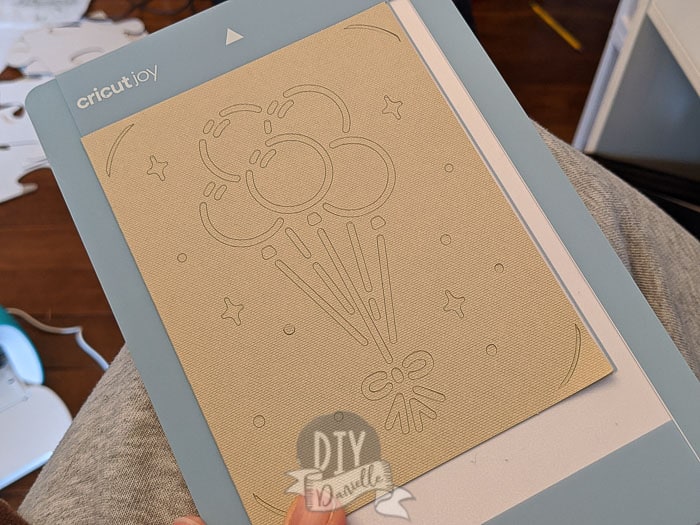
Once this top layer is cut by your machine, you need to carefully peel up the top of the card so you don’t rip the designs. Some of the designs are so intricate that this can be slow work.
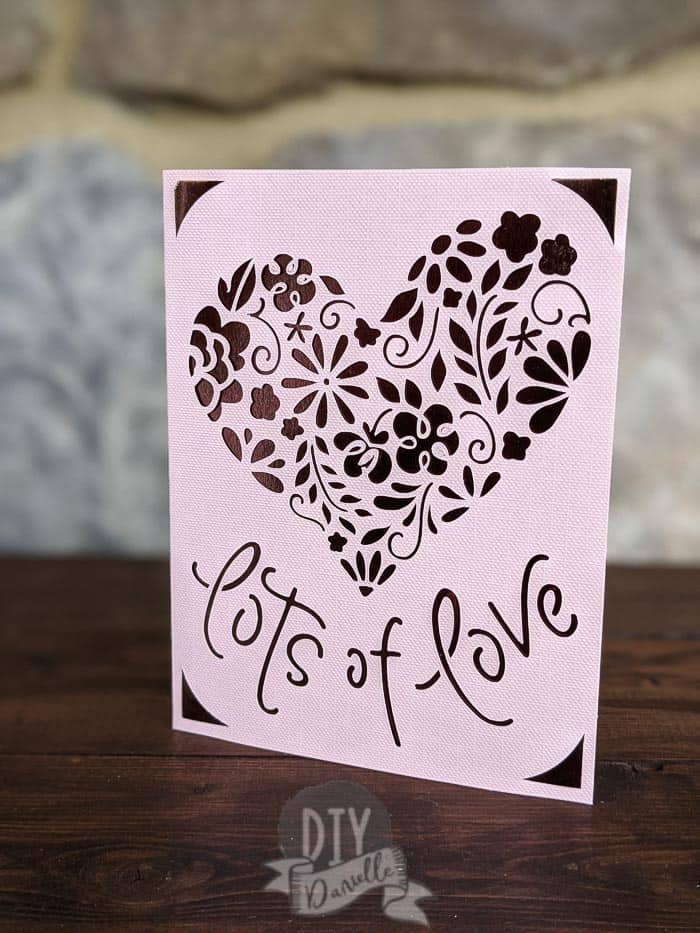
After you pull the top of the card up, you can just slide your card out. You can slip a different colored insert behind the design! Then just fill out the rest of your card by hand.
You could have the Cricut write your message, but who doesn’t love a handwritten message?! I’m team “don’t bother with a print out card” if you can’t write something meaningful.
I’m looking forward to seeing new card designs as this machine gets more popular! Make LOTS of cards to have on hand and store them in this fantastic DIY Card Box!
Do you love cards and keep the cards that you receive? Check out my Cricut Card Keeper! This is a great way to keep all of your cards and photo cards in a special binder so you can flip through them!
Here are some other projects you can make with your Cricut Joy. If you LOVE the Smart Vinyl that the Cricut Joy uses, but want to do wider projects, consider buying the Cricut Maker 3.
Please share and pin this post! If you make this project, share it in our Stuff Mama Makes Facebook Group. We have regular giveaways for gift cards to craft stores. You can also tag me on Instagram @doityourselfdanielle; I love seeing everything you make!
Web Story: Easy Greeting Cards with the Cricut Joy