
Organize your homeschool with these easy Cricut projects. Whether you’re homeschooling, doing virtual learning, or just organizing your child’s office space, these ideas will help organize your space.
This post may contain affiliate links which may earn me commissions should you click through them and take certain actions. As an affiliate for Amazon, Cricut, xTool, Home Depot, and other sites, I earn from qualifying purchases. Please DIY carefully. View my full legal disclosures here.
Please read the whole post so you don’t miss any important information!
When we decided to renovate our office to be kid-friendly for homeschooling or digital learning this year, I knew my Cricut Maker would come in VERY handy. The Cricut Maker is like a fancy label maker, but better. You can make everything from shirt iron on decals to wall decals to coasters with this versatile machine. And everything looks so professional!
If you sew, you should check out the Cricut Maker FAQ for sewists, or if you’re just wondering what type of projects you can do with the machine, here are some of my Cricut projects over the years.
You may also want to check out my store for Cricut and craft related projects. Keep scrolling for the tutorial!
How I Used the Cricut Maker to Customize Our Homeschool Space
These are three projects that I created with my Cricut Maker to help organize our homeschooling space. My tutorial is in the video below… but first, here are the supplies I used for these projects.
Supplies
- Cricut Maker
- Easy Press
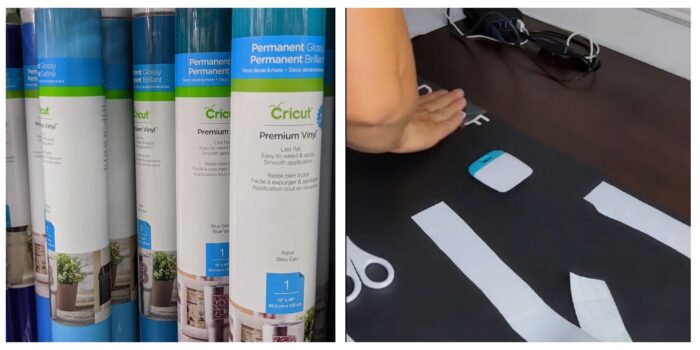
- Permanent Vinyl
- Removable Vinyl
- Infusible Ink Transfer Sheets
- Corner desk with IKEA cabinets for base
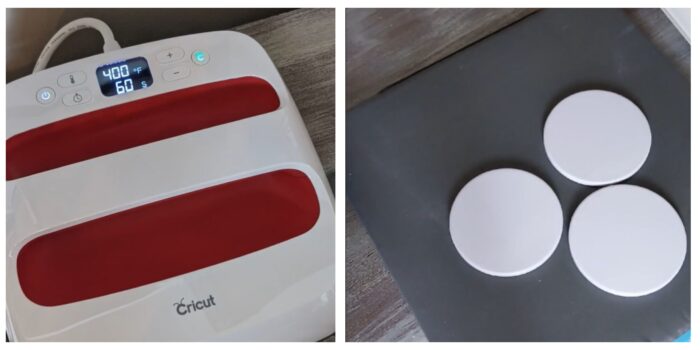
- Infusible Ink Coaster Blanks
- Cork and Leather Desk Mat
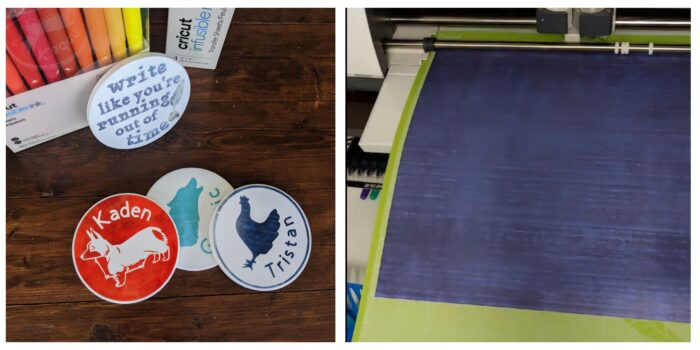
- Infusible Ink Markers
- Cricut Transfer Tape
- Heat Resistant Tape
Use the Discount Code DIYDANIELLE on cricut.com for 10% off any cutting machine or heatpress (no minimum). Excludes: materials/accessories/mystery boxes/etc. Applies to US/CA only, code expires 12/31/23.
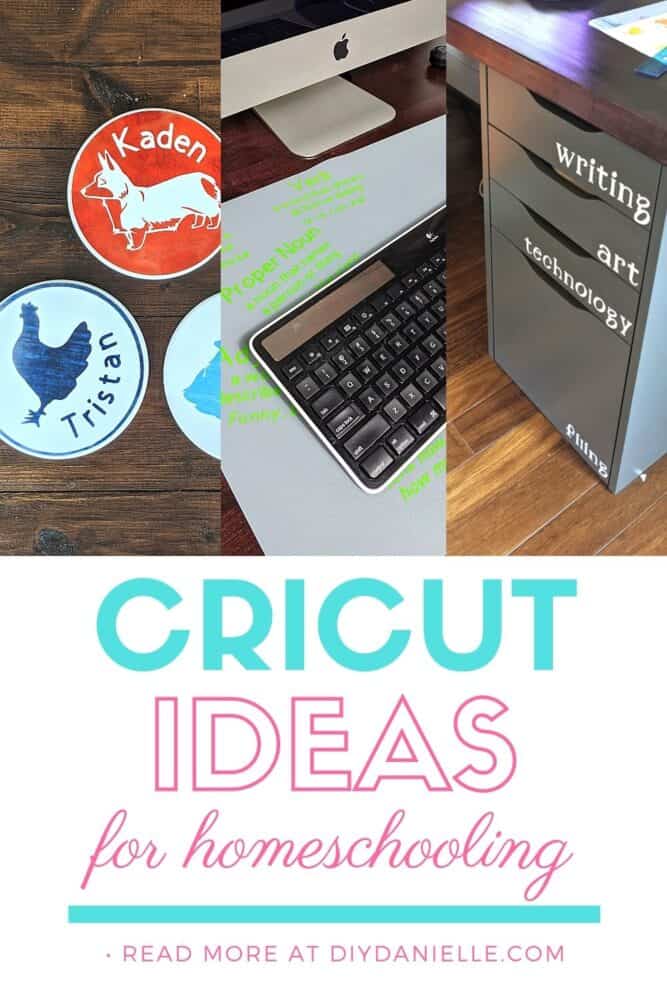
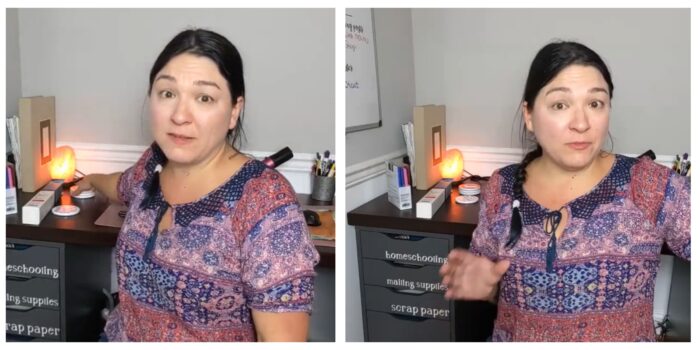
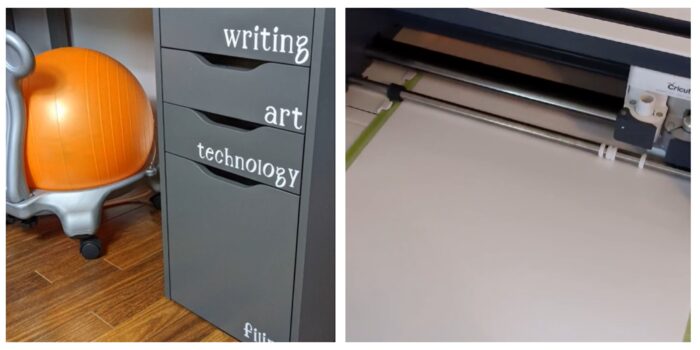
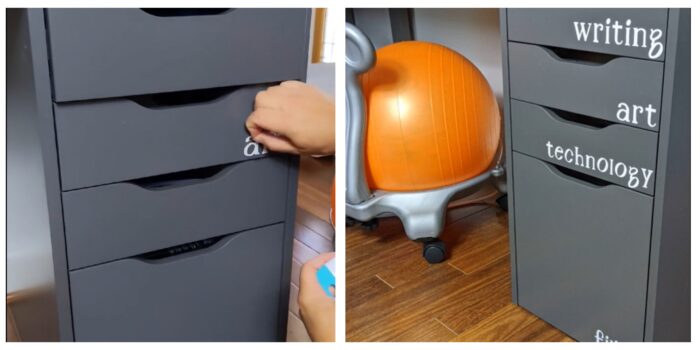
My first project was to add labels to the fronts of our desk drawers. My kids are willing and able to put things away, but they really need a lot of direction to get it done properly. Tell them “clean up” and they’ll throw things in all sorts of random places. I wanted their drawers organized so their supplies were easy to find.
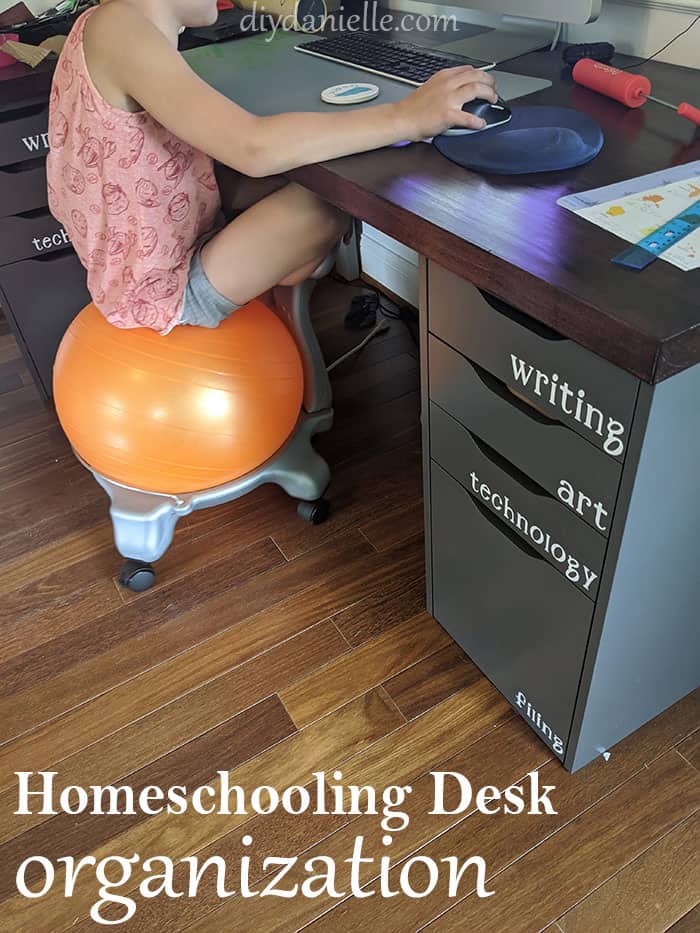
I created four labels on DesignSpace for each desk: Writing, Art, Technology, and Filing. Their technology drawer is for items like a Chromebook, their microscope, etc. I chose an easy to read font because my kids are still learning to read. Their filing section has hanging folders for each subject so they can file their written assignments; they also add their notebooks for each subject to the relevant folder. It makes finding things WAY easier. In our state, Maryland, we have two annual homeschooling reviews so this will allow me to quickly grab examples of our work over the school year.
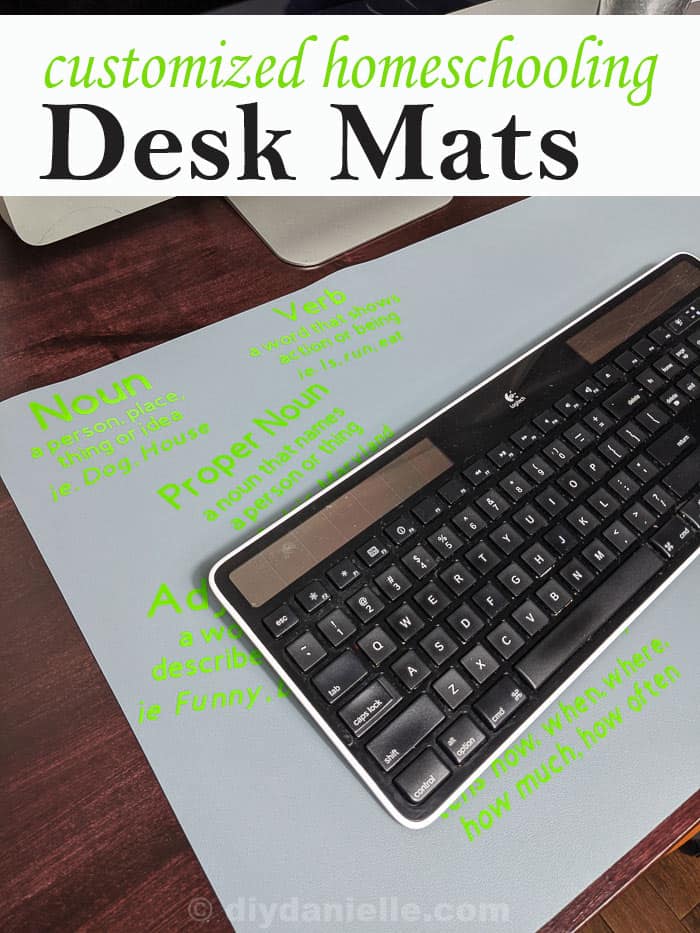
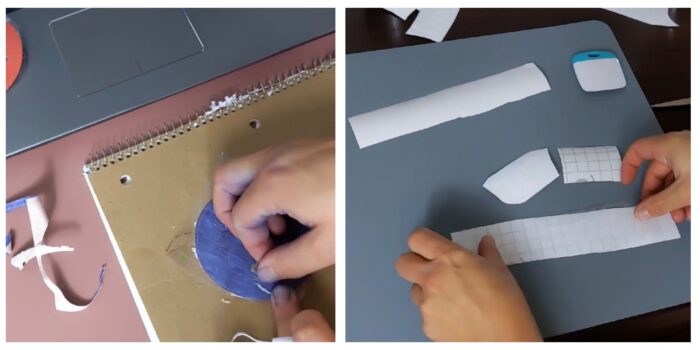
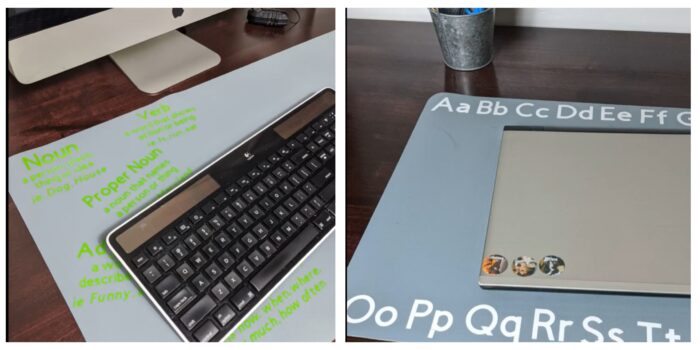
My second project was to customize their desk mats. I purchased some nice cork and leather desk mats to prevent them from ruining the wood desks. They were customized with ABCs for my two younger sons and I added parts of speech to my 3rd grader’s mat. I’m hoping to add some quotes eventually too.
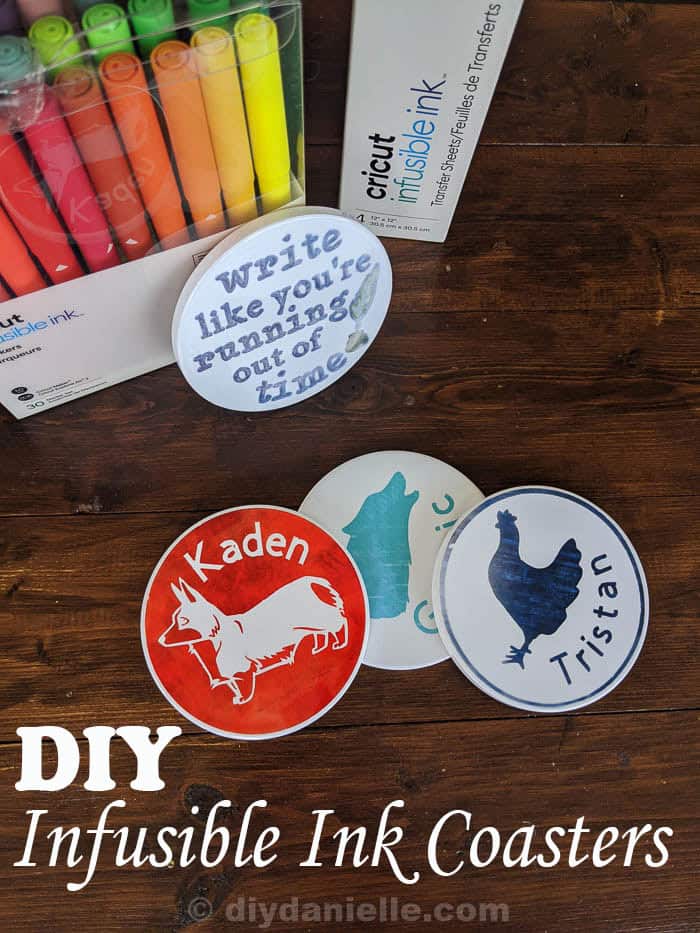
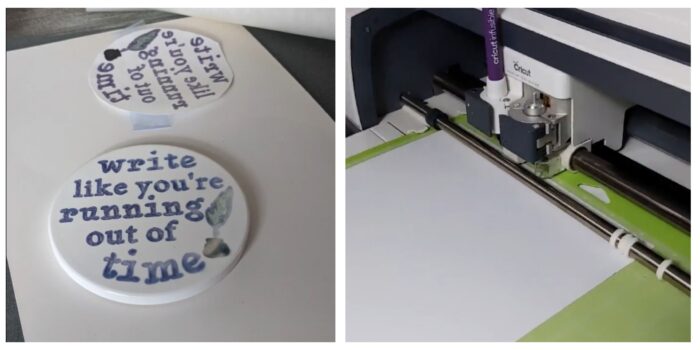
For the third project, I made us all coasters… again, I’m hoping to protect the desks. I used Cricut Infusible Ink for my Hamilton inspired coaster, and Cricut Infisuble Ink blanks for the kids’ coasters.
Here’s the video showing you how I made these projects!
Here’s a tutorial for these three projects… keep scrolling for EVEN MORE projects to check out.
3 Cricut Maker Projects For Homeschool
This video is brought to you by Cricut.
I am using the Cricut Maker…
And the Cricut EasyPress 2 for these projects. “Blanks” are blank items that you can place a design on.

Project #1: Organizing Supplies
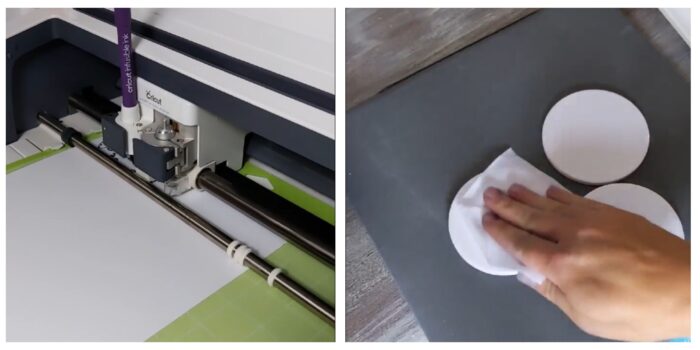
1. Using DesignSpace and your Cricut Maker, cut out your vinyl. I recommend temporary vinyl.
2. Weed your vinyl.
3. Apply transfer tape to your design
4 Place your vinyl on your drawers and carefully remove the transfer tape.
Organize your supplies!
Project #2: Customizing a Desk Mat
Repeat the steps from #1.
Permanent vs. Removable Vinyl
6 Adding letters to the cork desk mats
Project #3: Coasters
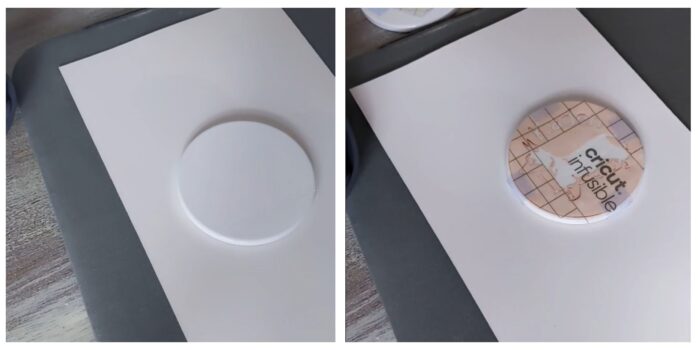
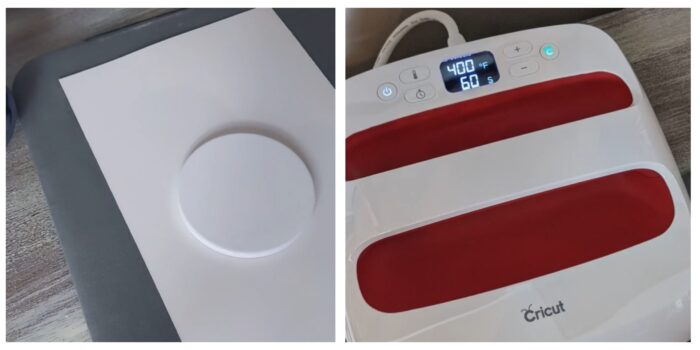
7 Cut your design on an Infusible Ink sheet.
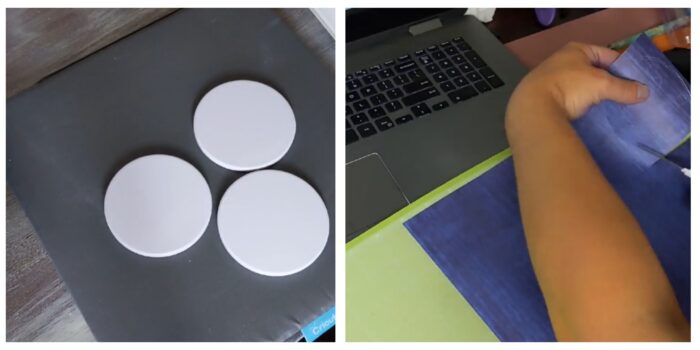
8 Cut around your design. Remove excess paper.
9 Use a lint free wipe to clean off the tops of your Cricut coaster blanks.
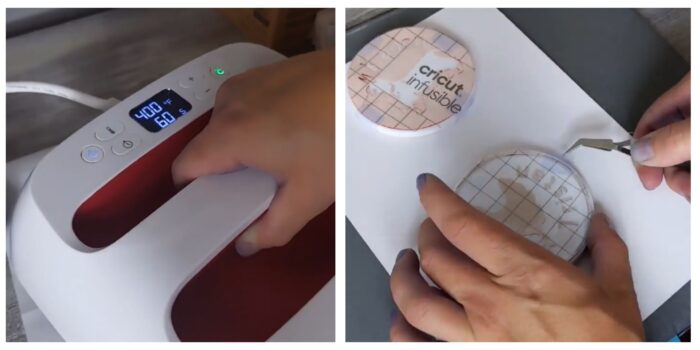
10 Preheat your Cricut EasyPress2 for 400 Degree F and set for 60 seconds.
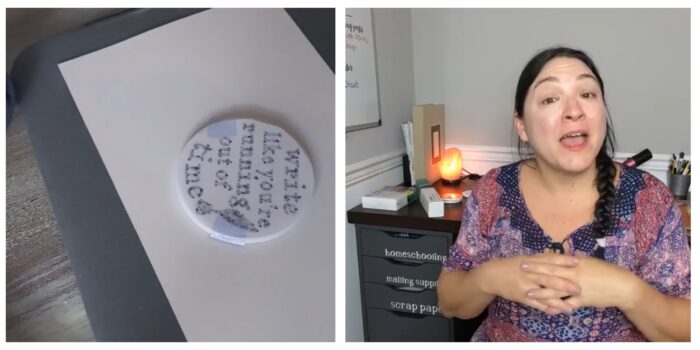
11 Place your coasters on a piece of scrap cardstock.
12 Place your design face down on your coaster and use Cricut heat resistant tape to hold in place.
13 Place butcher paper over your coasters. Place EasyPress2 and let sit for 60 seconds.
14 Remove carefully and LET COOL.
15 Once cool, remove tape and paper with tweezers.
Coasters with Infusible Ink markers
16 Using infusible ink markers to draw the design on quality printer paper.
17 Color in the design if desired with infusible ink markers.
18 Wipe your coasters clean.
19 Place the design and secure with tape. Press for 60 seconds at 400 Degrees F.
20 Remove press and let cool.
21 Remove the design carefully.
Check out the products on Cricut.com!
Other Cricut Projects for Homeschooling
Cricut Homeschooling Projects
Homeschooling ideas that you can create with your Cricut Maker or Cricut Air 2!
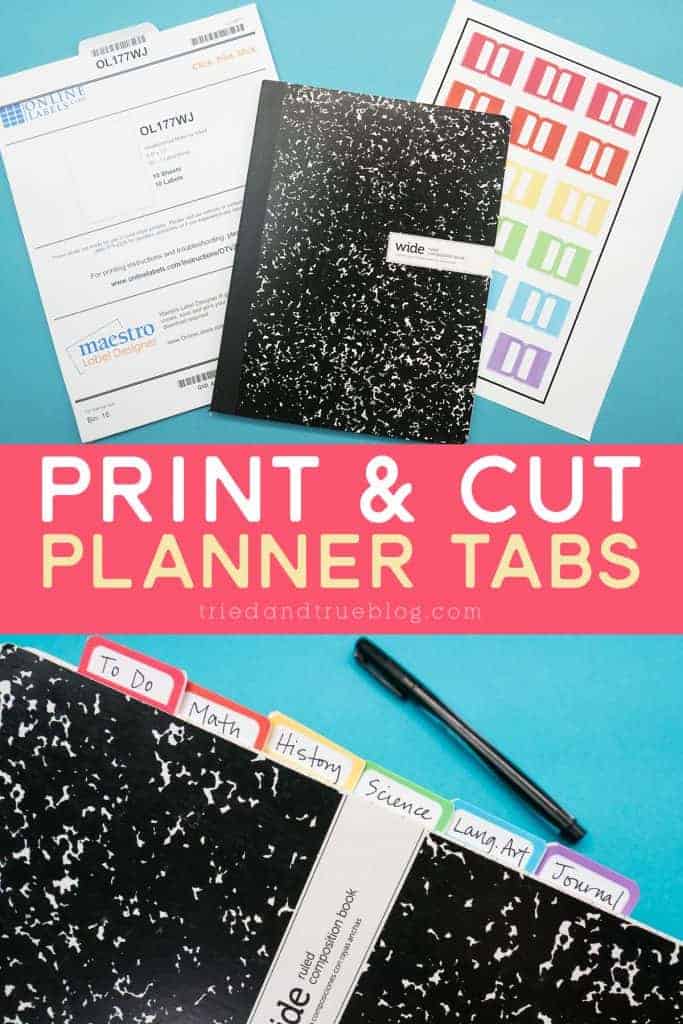
Make planner tabs to add to your composition books to divide them up into different subjects.
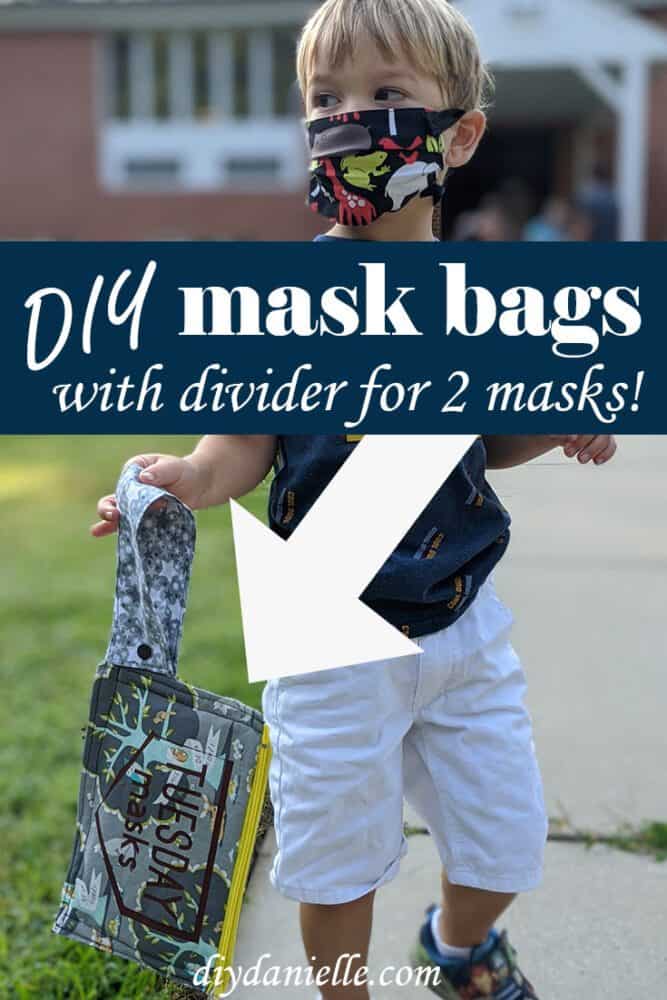
I made my kids mask storage bags so we could store our masks between field trips, and also for my preschooler whose preschool is open this year.
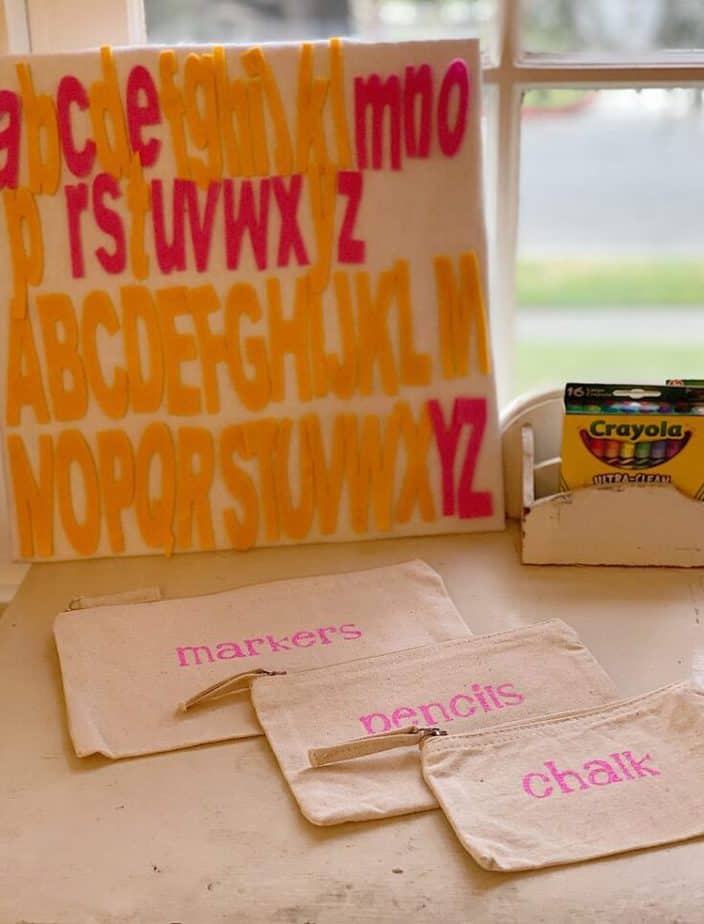
Use the Cricut Maker to cut out felt letters for a felt board!
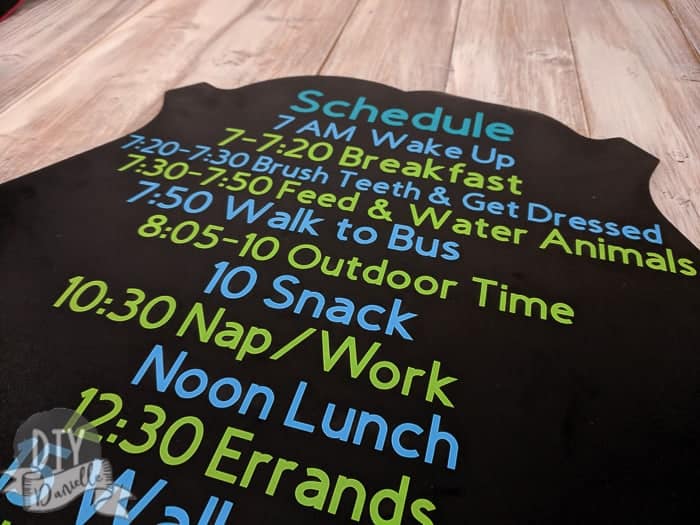
I whipped up this schedule with my Cricut last year for regular school, but I need to redo it for our homeschool schedule this year. It's on the "to do" list!
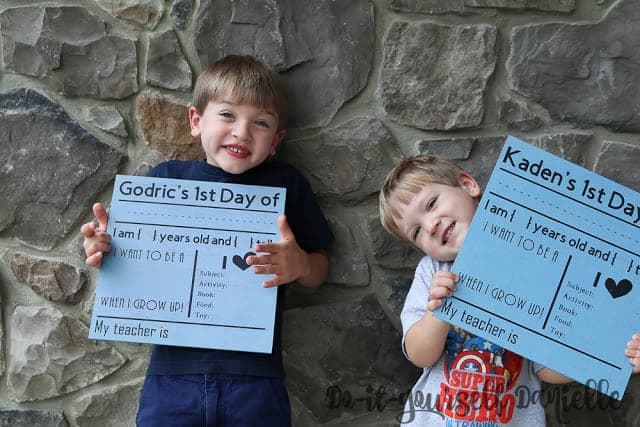
You can use your Cricut to make some easy "first day" and "last day" school signs. These ones are reversible so you can see how big your kids grew over the school year (and weep ugly tears about it).
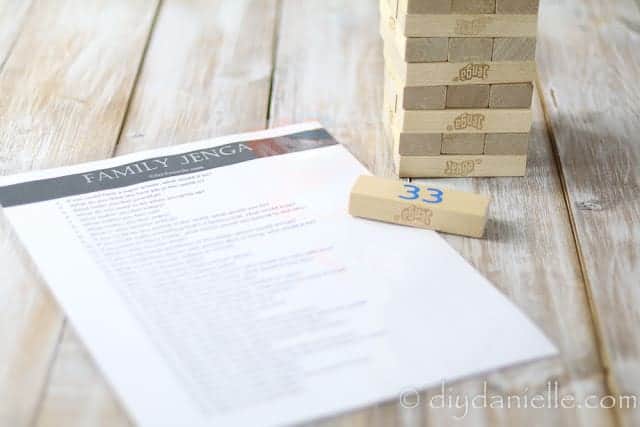
This Jenga game was customized with my Cricut machine in order to open up discussion as a family. You could also tailor it for use with different homeschooling topics!
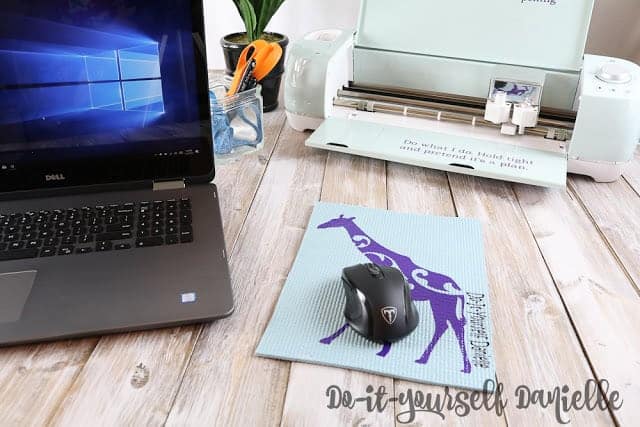
Doing a lot of computer work? Customize some reversible mouse pads for the kids with their names on them or favorite animal! You can even use a printed photo on one side!
Please share and pin this post! If you make this project, share it in our Stuff Mama Makes Facebook Group. We have regular giveaways for gift cards to craft stores. You can also tag me on Instagram @doityourselfdanielle; I love seeing everything you make!