
How to Make a Wall Decal at Home with a Silhouette Machine
This post may contain affiliate links which may earn me commissions should you click through them and take certain actions. As an affiliate for Amazon, Cricut, xTool, Home Depot, and other sites, I earn from qualifying purchases. Please DIY carefully. View my full legal disclosures here.
Please read the whole post so you don’t miss any important information!
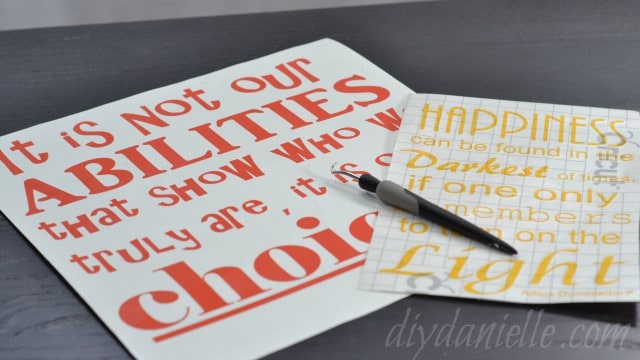
Wall decals are so much fun. I love that they are a decoration that is easily applied and removed without damaging my wall. Plus I’m sort of obsessed with quotes. I feel like I’ve shown a lot of restraint by not having quotes covering every wall of our house. Just sayin’. Making a wall decal at home is easy with a Silhouette or Cricut cutting machine.
The reason I thought of these for a gift idea though is because they’re really light and easy to ship to friends or family. We have a lot of family long distance and shipping gifts gets really expensive. Something light weight like this is always an ideal gift.
Supplies to Make a Wall Decal at Home
- Silhouette Cameo , Cutting Mat, Weeding Tool, and 631 Removable Vinyl
- Cricut Transfer Paper
- Your computer with the Silhouette software installed
How to Make a Wall Decal at Home
To see this one in the detail you may want, you’ll want to expand the screen. Watch the video below or scroll down for the photo tutorial!
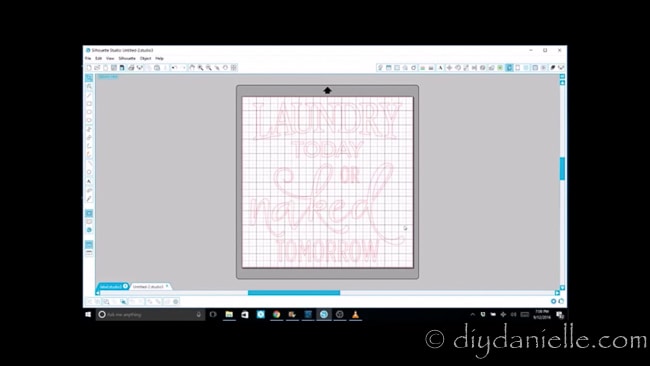
To begin this project, you need to get your design ready on your Silhouette machine. You can use a premade design (like this laundry one), or make your own. It’s pretty easy to just add some text in one or two different fonts.
Once you’ve gotten your design ready, you need to cut it with your Silhouette machine. You need a sticky cutting mat and your 631 vinyl. You place the right sides up for 631 vinyl.
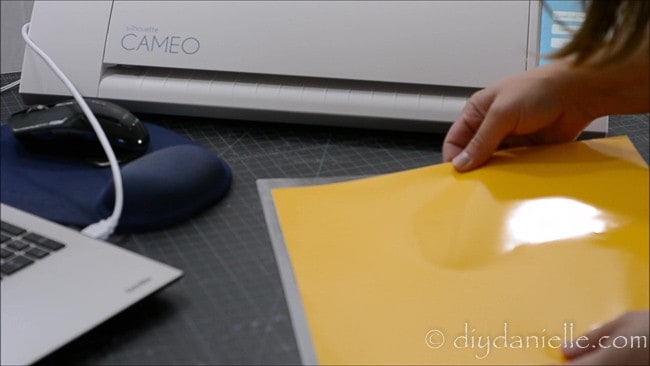
Load into your machine and get your settings correct for 631. Press go.
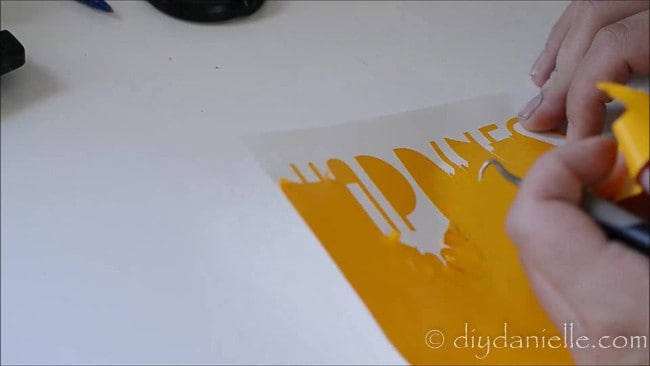
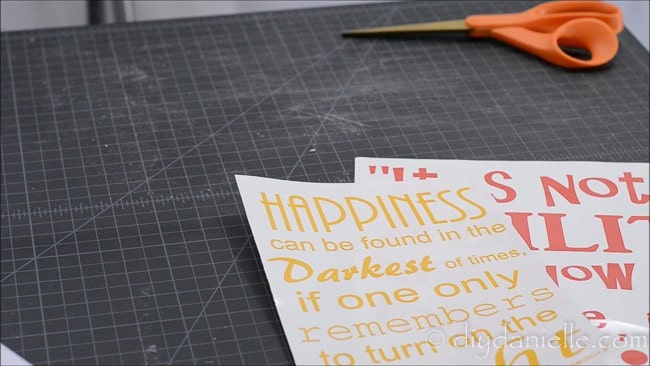
Once the machine has finished cutting, you can remove the cutting mat from the machine and peel off the vinyl. You’ll take your weeding tool to remove the excess vinyl- this is called ‘weeding’ the vinyl. You’re essentially scraping away any vinyl you don’t want to show up on your decal. This includes the centers of the letters (ie. P inside) and outside around the letters.
When you’ve finished weeding, your decal should look like this:
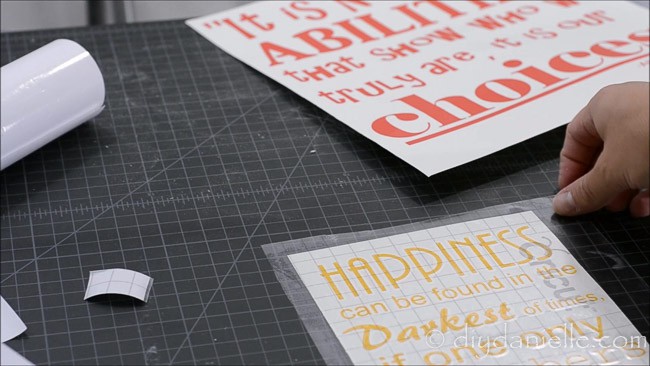
Now you still need a way to transfer this onto your wall. You don’t want to stick each letter on. This is how I thought it was done when I first got my machine. Total game changer when I realized there’s a MUCH easier way to do it. You need something called transfer paper.
You cut a piece of transfer paper the size of your decal and peel the back off it. Carefully lay it on top of your weeded vinyl decal. Press down, making sure all the letters adhere to the transfer paper.
When you want to put the decal on your wall, you just peel the backing off the vinyl, leaving you with the transfer paper with the letters/design stuck to it. Center on your wall. Press on. Rub all of the letters and the design. Then you peel the transfer paper off, very carefully.
If you’re giving this as a gift, you’ll want to make sure to write on the backing to let your gift receiver know how to apply the decal. People often leave the transfer paper on, thinking it needs to stay on.
Removing Homemade Wall Decals and Choosing the Right Vinyl a Decal
These are really easy to make but using the right vinyl is THE most important part of this tutorial. There’s permanent/outdoor/651 vinyl. And then there’s 631/Removable vinyl. You want the removable vinyl for a wall decal.
IF YOU USE 651, you WILL rip your wall off if you ever try to take it off. If you’ve already made this mistake (like I did), you can try to use a blow dryer to heat up the vinyl, then peel- but no promises. 631 should be fairly easy to remove if you want to change things up, but it’s still not perfect… you need to realize that it could peel off some paint. I’ve used store bought vinyl decals and had this issue. I find it’s always helpful to heat up the vinyl before removing.
Don’t forget! Share your final projects on the Stuff Mama Makes Facebook group!
Love it? Pin it!

Other Easy to Make Christmas Gift Ideas
- DIY Grocery Bag Holders
- How to Make Homework or Art Displays
- Easy to Make Cloth Napkins or Wipes
- Mint Extract Recipe
- Reusable Bread Bag DIY (to give with fresh bread)
- MYO Braided Dog Toy
- Make your own Paper Mache Pokeball
- Peach Infused Liquor Recipe
- Sewing Pattern: Extra Large Pot Holder
- Make a Fabric and Wood Cross
- Adult Women’s Apron Pattern
- DIY Cake Mix Cookies in a Mason Jar
- Pillowcase DIY
- How to Make a Library Tote Bag
- Craft Easy Tile Coasters
- Free Coffee Sleeve Pattern
- Craft an Essential Oil Storage Box
- Learn to Make Reusable Bowl and Casserole Dish Covers
- Make your own Dry Oil Perfume
- FREE Lunch Bag Pattern
- DIY Wall Decals
- Pattern for Pokemon Boo Boo Bags
- Cement Candle Holders DIY
- Build Easy Wood Step Stools
- Make Easy Soy Candles
- DIY Cutting Boards
- How to Make T-Shirt Stencils Using Freezer Paper
- DIY Balancing Wine Holder
- How to Make Easy Concrete Planters
- Sew Easy Reusable Gift Bags
Use the Discount Code DIYDANIELLE on cricut.com for 10% off any cutting machine or heatpress (no minimum). Excludes: materials/accessories/mystery boxes/etc. Applies to US/CA only, code expires 12/31/23.