

I reallllly wanted a new rocking chair, but I decided to opt for the expensive DSLR camera so I got some upholstery fabric at a local yard sale to redo our current rocking chair to make myself feel better about the glider not matching with the theme of the room. Ha.
I also decided to add extra padding to the bottom cushion so it’s more comfortable; the old one had worn pretty thin and wasn’t as comfortable.
So upholstery fabric – really expensive normally, but a man in Ellicott City, Maryland has these yard sales twice a year and they’re a lot of fun if you like fabric; he does reupholstering as a business so he sells his leftovers.
This is what I got this year (top left picture below is the whole set of stuff before I took it off the roll, the other three pictures are the fabrics once I took them off the roll and folded them nicely. The only one I didn’t take off the roll is the white fabric because there was so much of it):


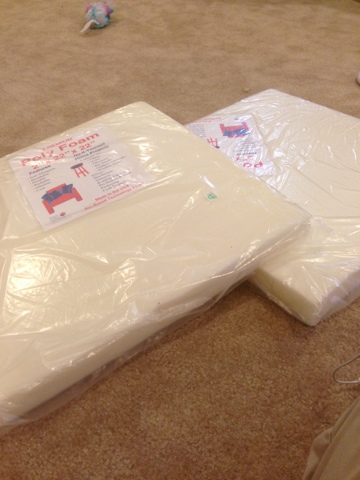
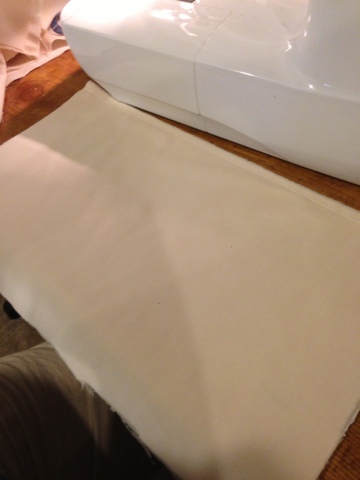
The white/beige fabric is for the nursery. I reupholstered this chair once before, but the brown doesn’t match now and it’s an easy enough task to reupholster (and cheap-ish seeing I got the fabric for $2/pound). I also wanted to replace the padding because it isn’t as comfortable as I’d like: you spend a lot of time in that chair with a newborn!
I bought some pads as the craft store for $9.99 each but I could only use one of them. The other one wasn’t big enough for the back to the chair. Instead of buying more padding though, I decided to just use the old back pad for this. The seat pad was the uncomfortable part that I wanted fixed so I wasn’t too torn up about not being able to do the back.
To make my new seat pad, I traced the old seat pad onto the new pad and then cut it out. I think there are better ways to cut this, but all I had was scissors.
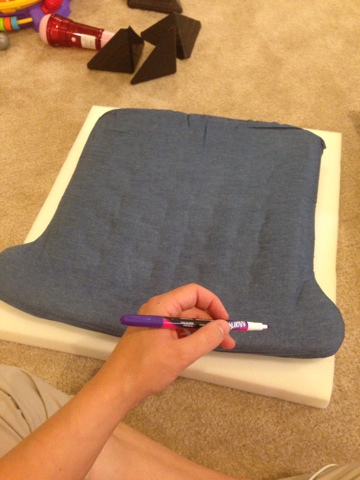
For the back cushion I took off the last cover I made (brown), then I seam ripped the one that came with the pad (jean). I removed that fabric and put it to the side (to use for other projects).


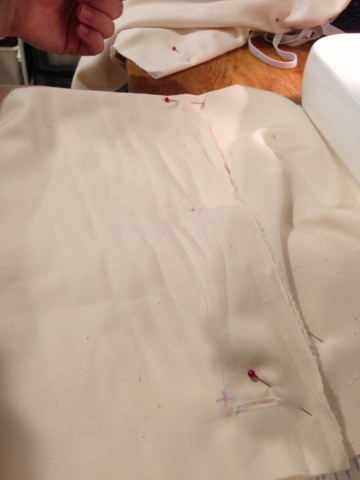
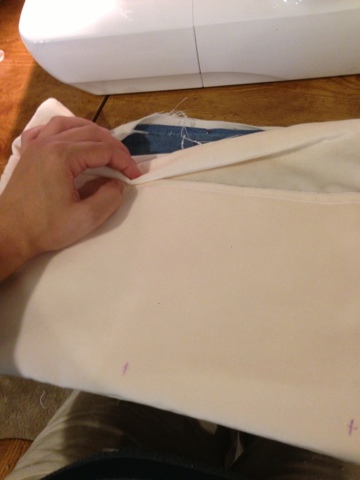
I laid my padding onto the fabric I am using to reupholster the chair. For the back pad, I drew around the pad with a 2″ seam allowance. This was really quite generous and I may have been better doing a slightly smaller one, at least along the sides and top; my intent was to leave enough extra that I could stitch down the middle of the cushion back as well, like the original had. I realized afterwards that my machine wasn’t going to allow for that, however.
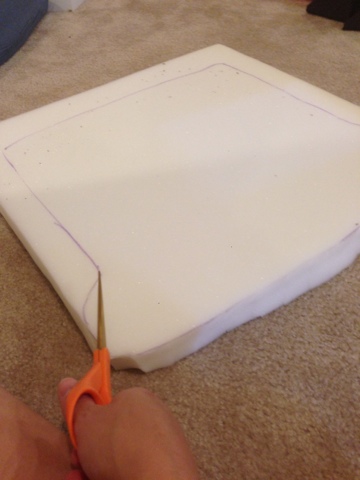
You need the extra around the bottom. What I did to make it all even was to put a dot 2″ from the pad every 5″ or so and around major curves, then connect all the dots. Then I cut out the piece, as well as a matching sized piece for the other side of the cover.
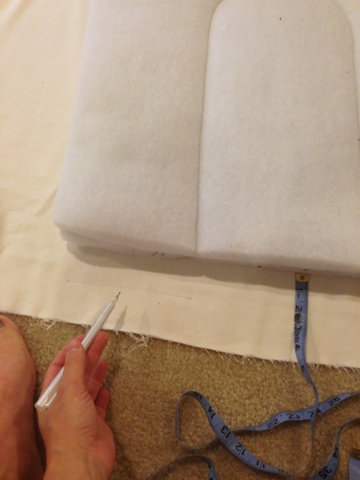

Do the same for the seat pad. For my seat pad, I did a 1.75″ seam allowance.
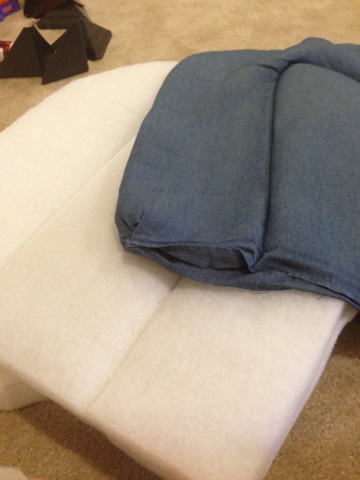
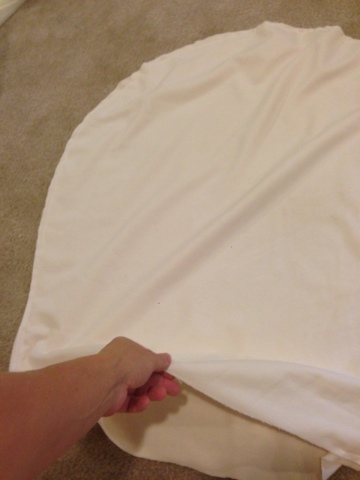
Then face the fabrics right sides together for each pad cover and pin. Sew them right sides together, leaving a large opening at the bottom of the back pad cover and at the back of the bottom cushion cover. I left the whole side open.
If you want to make sure everything fits, put the cushion inside while the fabrics are still right sides together and then pin if you need to take it in at all.
Then turn your covers right sides out and slip your cushions inside them.
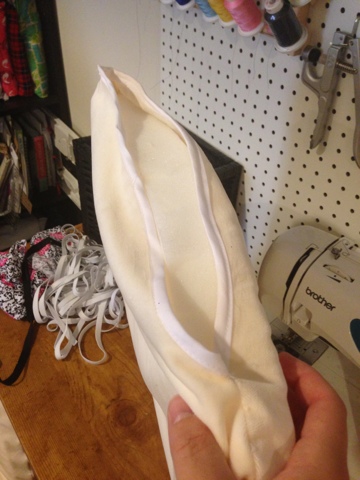
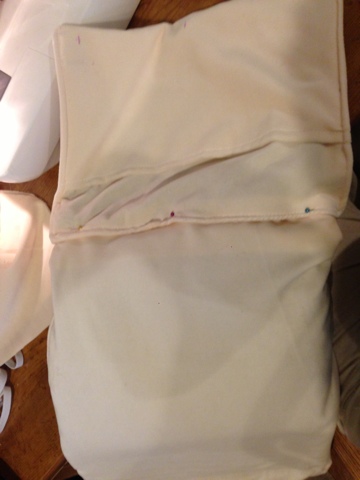
For the back cushion, I decided to sew it on because I wanted to sew the middle as well (maybe I’ll do that by hand later, don’t hold your breath though). That makes it impossible to use as a removable cover. I took the unfinished opening, tucked the edges under until the cover was tight, and then sewed a straight stitch across. Unless I opt to hand sew the middle, this pad is now finished.

I decided to make the bottom cushion removable. I finished the edges of the back side (I used binding but you could fold over edge too and sew, or serge the edges) and then added three snaps along the opening so I could close it that way. Worked perfect.

I tried everything on my chair and of course G (while eating food of course) scrambled right up.

Next for the arms… this won’t be the best or most technical explanation ever because I’m definitely no pro here. Haha. I seam ripped off the old covering I made for it last time. I kept the original jean covering on because it has the original snaps and I don’t have anything to put new snaps on an entirely new armrest if I had made one… I don’t want to buy one just for one small project so I decided to work around the snap issue. It’s not the prettiest option, but it’s cheaper. My armrests come apart into two separate pieces: the armrest portion and then the pocket portion.
I laid the old armrest onto some fabric and cut out a piece, leaving extra around the edge for a seam allowance. My new fabric is actually folded over so I only had three sides to sew to make a sort of pillow case for the armrest. I pinned the new fabric right sides together and marked where the snaps are. Before I sewed the fabric together, I made button holes with my sewing machine where those snaps will go. I’m really terrible at this so don’t look too closely at the picture on the right, ha.

After I added the button holes, I sewed up two of the three sides, leaving the top open for me to slip in my old armrest portion. I made sure to line the snaps up with the button holes, then I sort of tucked the fabric around the snaps (I may go back and hand sew this later, but it’s not strictly necessary). I opted to just sew a straight line above the snaps across to minimize shifting. You could top stitch it too if you wanted, but I did not.


Repeat with the other armrest piece. Save these for later.
For the pouch, I figured out the size of the current piece plus a seam allowance. It’s actually a bit bigger than the old pouch once I made it. I cut two 13 x 15″ pieces for each armrest pocket, and one 18×15″ piece for the pocket itself.
The 18×15″ piece is folded in half so it’s 9×15″ and I just sewed across the top of it to create a nice finished edge to my pocket top.
NOTE: I forgot to do this, but now is a good time to mark where your snaps are and make your button holes on one piece of the 13×15″ fabric. I ended up just cutting a hole where the snaps are to poke them through and I may finish the edges by hand sewing if I decide I’m really motivated some day.
I layered one of the 13×15″ pieces right side up, then the pocket, then the last 13×15″ piece right side down. I pinned, then sewed in a “U” so that the top is the only open part. Make sure you caught all three layers.


Flip right sides out. Slip your original pocket inside the whole cover.


Fold the edges over on the top and sew, top stitching the whole big pocket portion of the armrest.
Finally fold the edges over on the armrest pieces that you set to the side, and sew them to the pocket pieces. You should be closing up the unfinished side of the armrest piece in the process. Then attach to your glider.

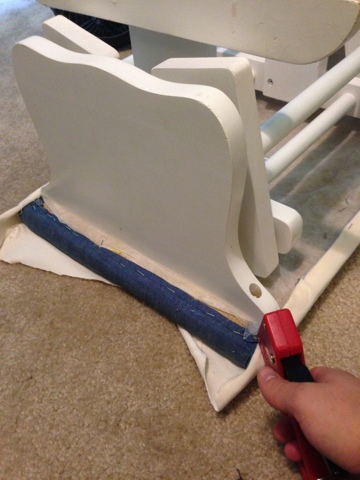
I removed the old cover for the ottoman and then just used a staple gun to staple on a decent size piece of fabric. This is the easiest part, yay. I folded under the edge twice to make sure there were no raw edges showing.
And here’s the final product! I wasn’t feeling very confident about it at first, but I think I love it now that it’s finished! It’s definitely a lot “softer” look than the brown and it fits with the nursery scheme better.

DIYDanielle
Friday 16th of August 2013
Yeah it's a lot of work! I don't think I would've done it if I hadn't gotten the fabric and glider both inexpensively!
Jen@thecraftingfiend
Thursday 15th of August 2013
you are so brave to reupholster!!!! my husband keeps trying to convince me too - but I say no way everytime lol