
We have some birthdays coming up so I decided to make a toddler backpack for the birthday boy to carry small items or books. I was going to make another car carrier, but the specific child I am sewing for likes to read a lot. I also really like to sew drawstring bags, haha.
Materials
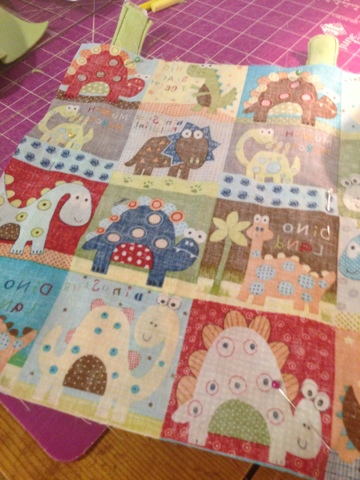
- Two 10.5″ x 12″ pieces of outer fabric (this seems to be a good size for my 20 month old which is how I chose the size)
- Two 10.5″ x 12″ pieces of inner fabric (I did fleece because I wanted something thick for an inner with mine)
- Four 1.5″x14″ pieces of fabric for straps: I did two inner, two outer so the outer showed but the inner was soft towards his skin.
- Ribbon or tshirt yarn
Instructions
1. Cut your fabric.
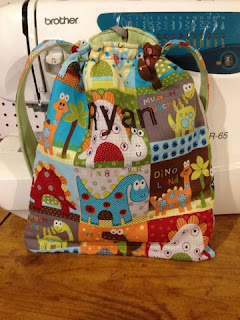
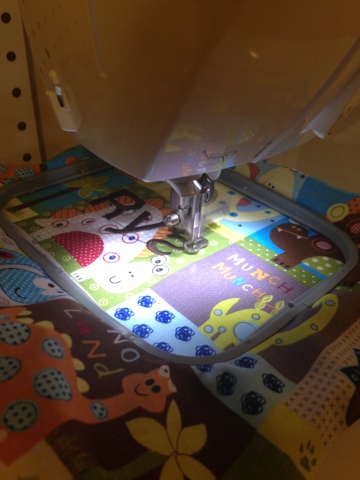
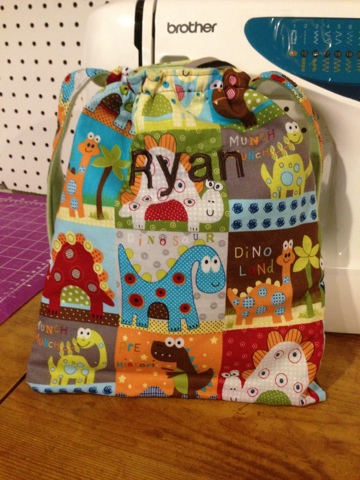
2. Embroidery: Take one of your outer pieces to embroider the child’s name or their initials onto.
3. Create a button hold near the top. This was my first attempt (outside of the scraps I practiced on) for a button hold so um… don’t judge too harshly. I was excited that I figured it out though!

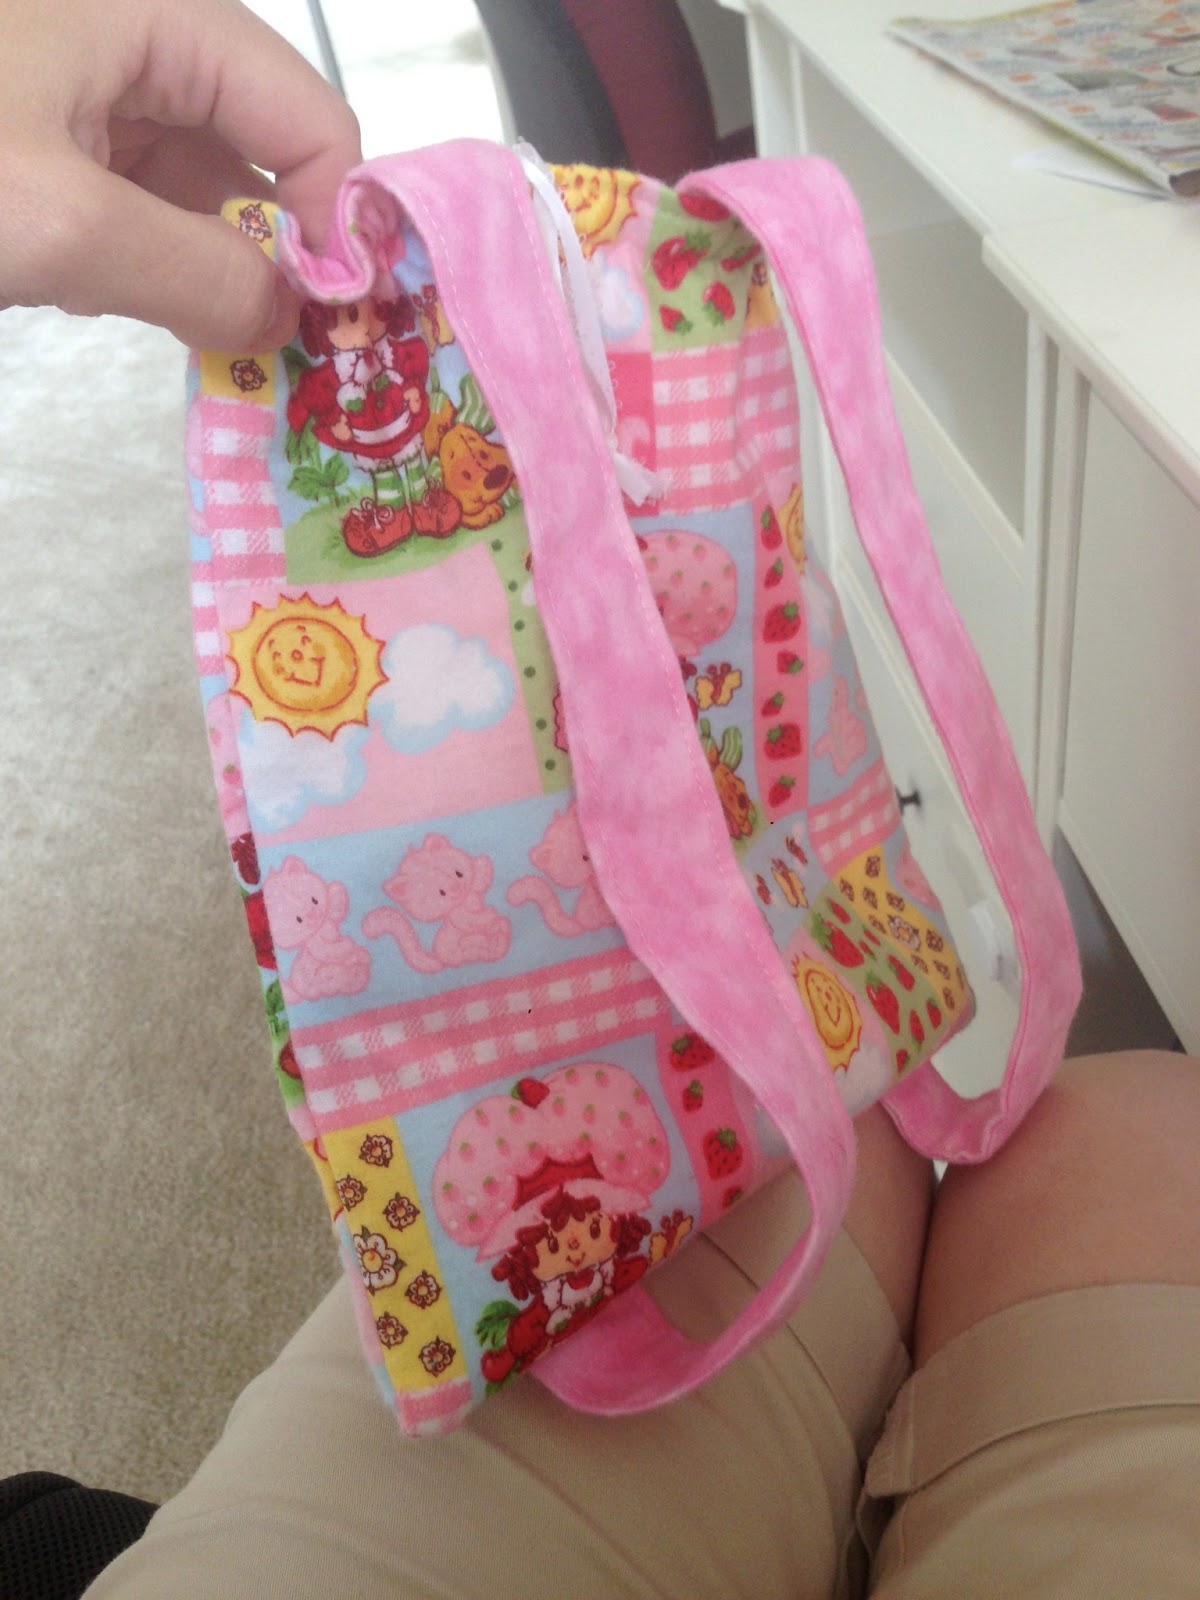
4. Create your straps for the backpack. I faced my fabrics right sides together, sewed around it leaving an opening to turn, turned and topstitched. You don’t need to worry about the short ends being sewn up.


5. Sandwich the bottom of the two straps on each side of the outer fabrics which will be right sides together. You want the top of those straps to not be sewn in yet so they will be sticking out of the top. Make sure everything on the fabric is going in the correct direction.

6. Pin
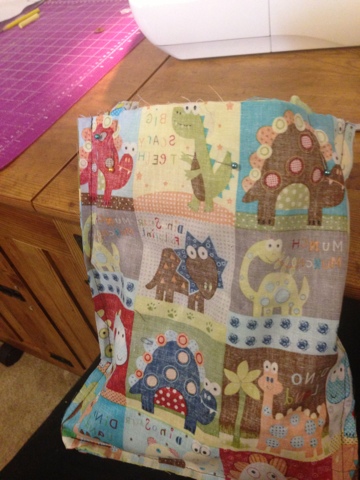
7. Sew your outer fabrics right sides together along the bottom and sides. Reinforce the area where the strap is. Just to clarify, you’re sewing a U with the top being left open.

8. Do the same with your inter fabrics. I cut my inner fabrics bigger than the outer somehow so I had to fix it later. Don’t do that. It’s extra work.

9. Now turn your inner fabric “bag” ONLY right side out.
10. Put inner bag inside outer bag so the right sides face each other.
11. Make sure the outer part of the straps are positioned on the far right and left sides of the top. Make sure they aren’t twisted (did this too, had to seam rip and fix it). The tips of them should be sticking out of the top where you can see them. That makes sure you won’t miss them when you sew everything together.
12. Pin.
13. Sew around the top, reinforcing the area where the straps are positioned. Leave an opening to turn the fabrics right sides out. I highly recommend making this a fairly decent sized opening… mine was too small so I had to seam rip a little to get everything flipped right sides out.

14. Turn right sides out, tucking the inner liner back into the outer bag. Top stitch, closing the hole you turned the fabric through up. Almost done!

15. Sew a casing on each side of the button hole for your drawstring. If you look close you can see the casing.


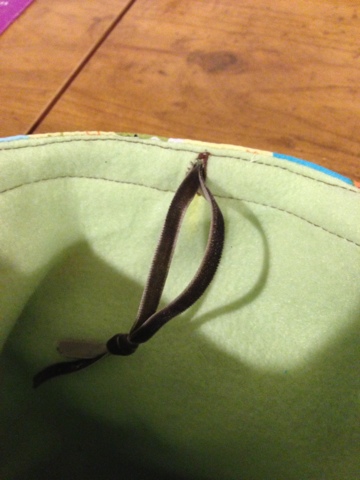
16. Iron your bag. It looked prettier this way.
17. Insert drawstring.
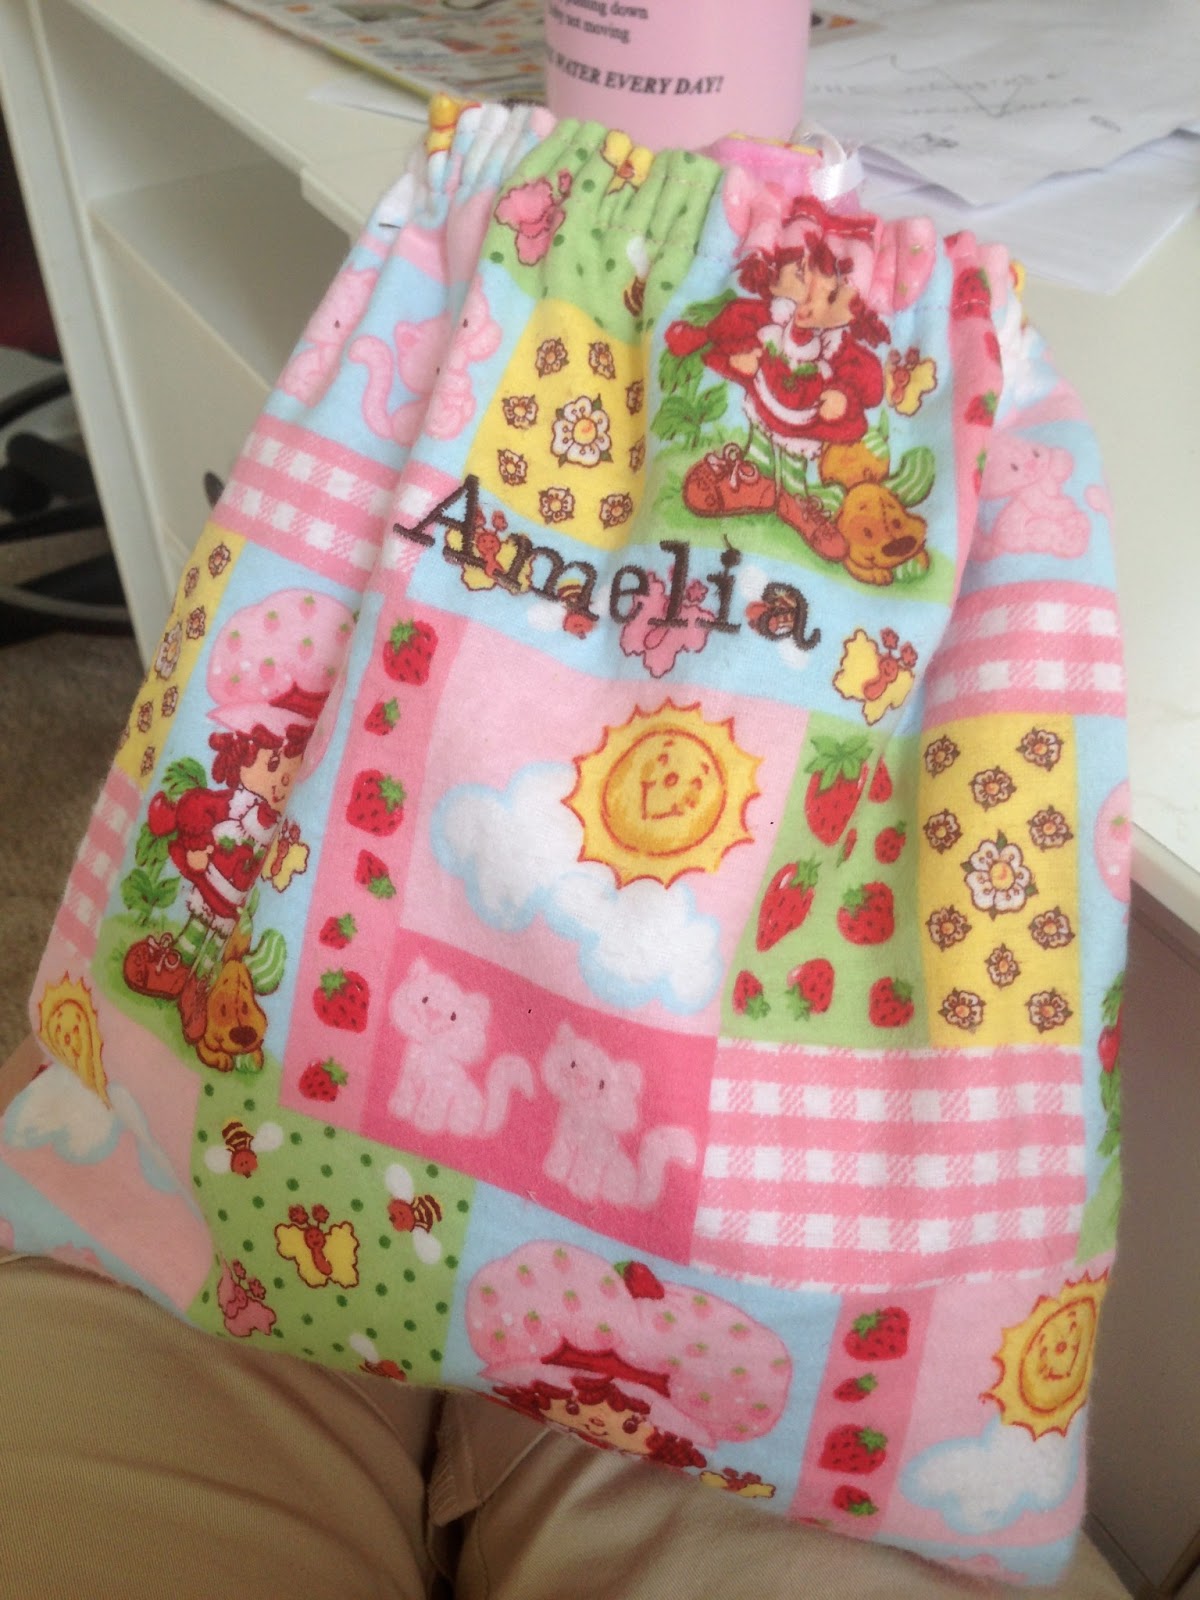
Pretty! ALL DONE! Here’s pictures from the back and front.

Here’s another one that I made for a little girl in our play group:
Elisabeth (Beth)
Monday 24th of June 2013
Wow, super cute! Very nice job on those. :-)