
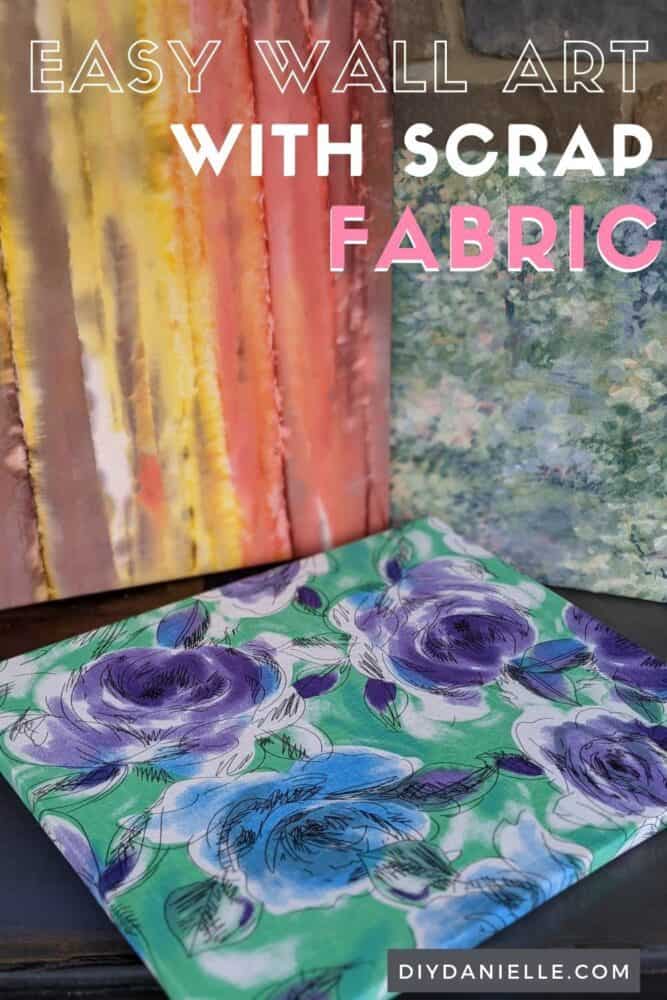
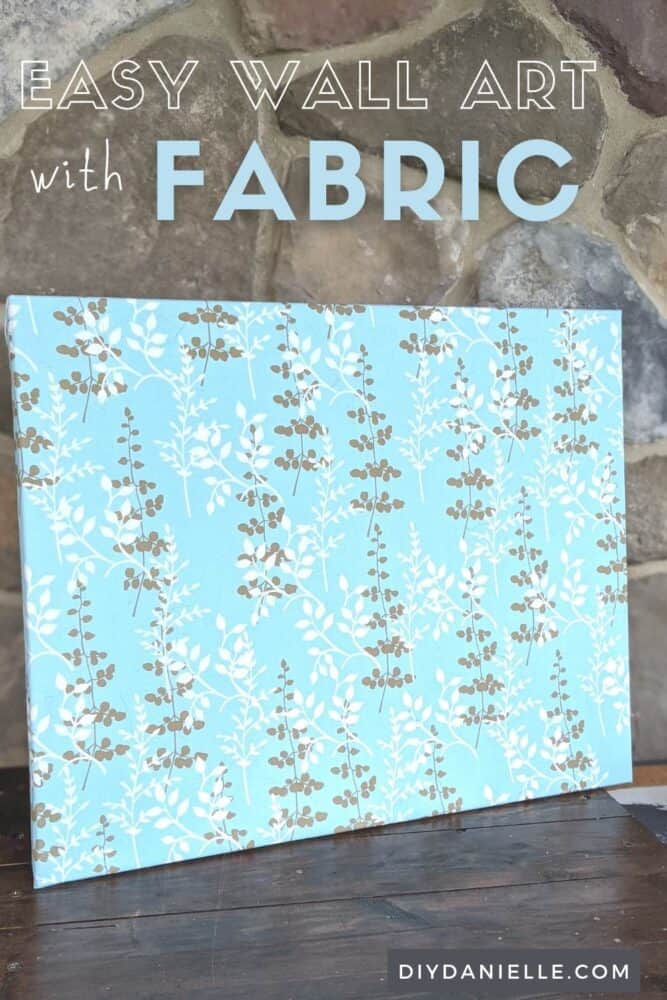
How to make fabric wall art using a staple gun, fabric scraps, and a blank art canvas. This DIY fabric wall art is an EASY, no sew project!
This post may contain affiliate links which may earn me commissions should you click through them and take certain actions. As an affiliate for Amazon, Cricut, xTool, Home Depot, and other sites, I earn from qualifying purchases. Please DIY carefully. View my full legal disclosures here.
Please read the whole post so you don’t miss any important information!
I needed art to stage my condo for resale, but couldn’t really afford to buy the amount of art necessary to do a good job. My painting skills aren’t quite up to par for decorative art. I saw a tip online to use fabric in frames or on a canvas and started going through my gorgeous fabric collection- I thought “Yay, I can do this! I love fabric!”
DIY Fabric Wall Art
For supplies, I used:
- Canvases: You want to use the wood framed canvases that are more typically used for artwork. This gives you something to attach the fabric to.
- Staple gun with extra staples
- Fabric
I had a decent stash of fabric to use for this, but you can also check the fabric store. The remnants bin is a good place to find CHEAP leftover pieces of fabric; just make sure that the size you get is big enough for your canvas. I really like thicker home decor fabric for this project. If a fabric is really thin, you’ll be able to see the canvas through it.
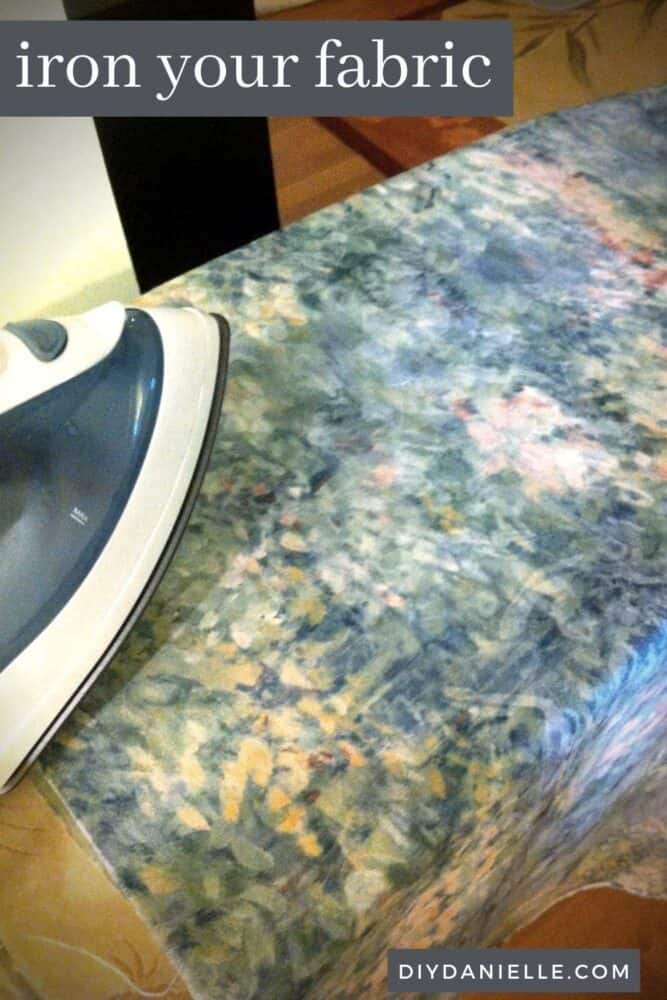
Step 1: I ironed my fabric, getting out any wrinkles. You can use starch here if you want; starch is a great way to make the fabric nice, crisp, and wrinkle free. When I first tried it, I was AMAZED at how much easier starch makes it to iron out wrinkles in fabric.
Your fabric needs to be larger than the front and sides of your canvas.
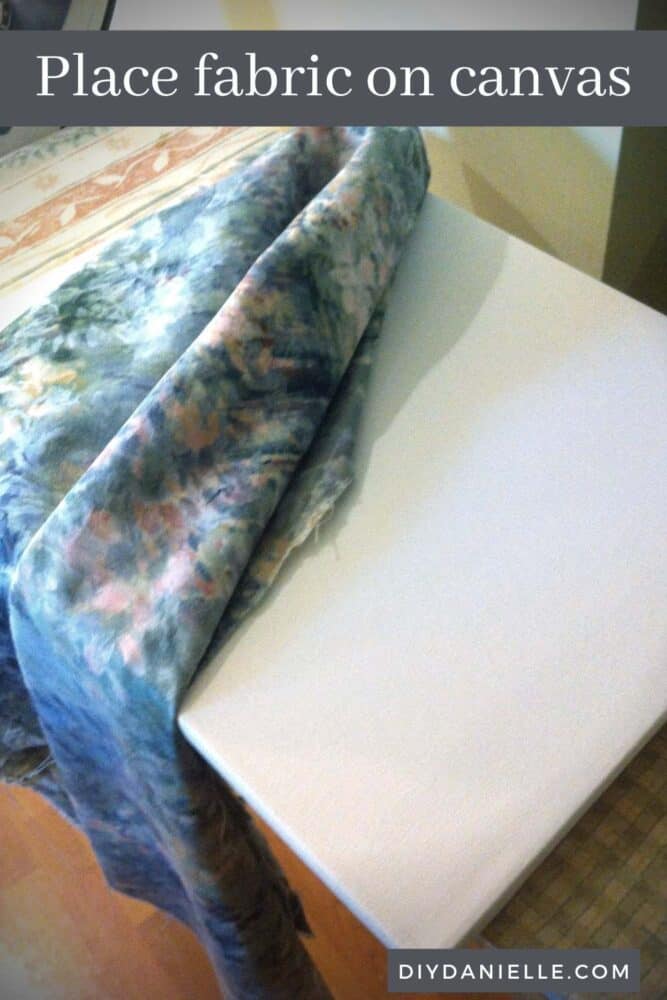
Step 2: Place the fabric on your canvas.
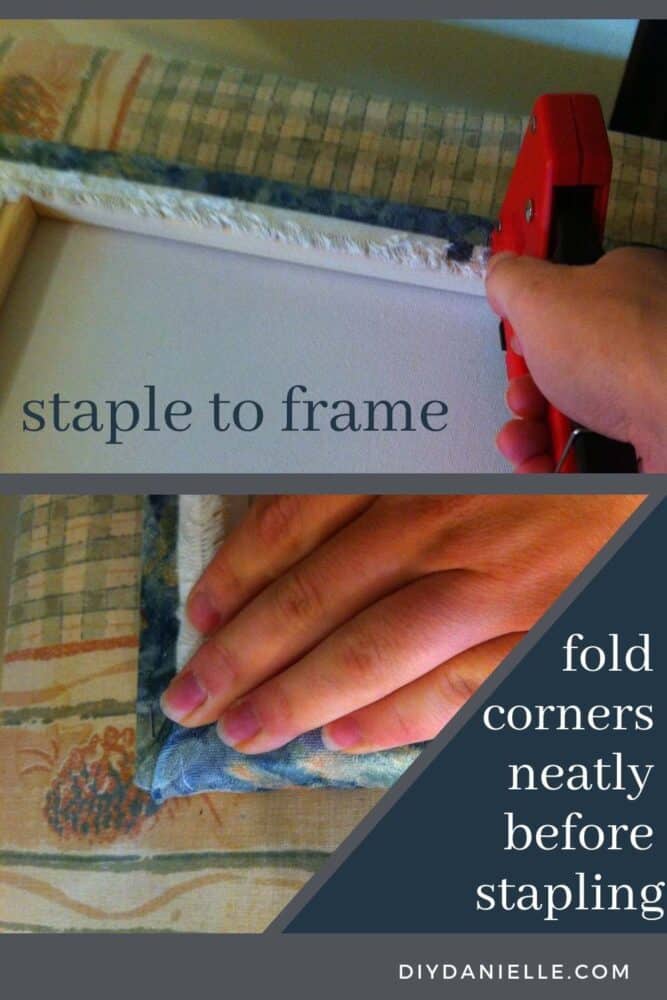
Step 3: Flip your canvas over and, once your fabric is in the position you want it, staple the fabric to the back of the frame. Make sure the fabric is pulled tight. If you’re using a stretchy fabric, make sure to not pull it TOO tight.
I folded my corners neatly before stapling them so there wasn’t any wrinkles on the opposite side or on the back. You want the fabric on the back to lay as flat as possible so it won’t interfere with hanging the canvas.
Step 4: Hang it up!
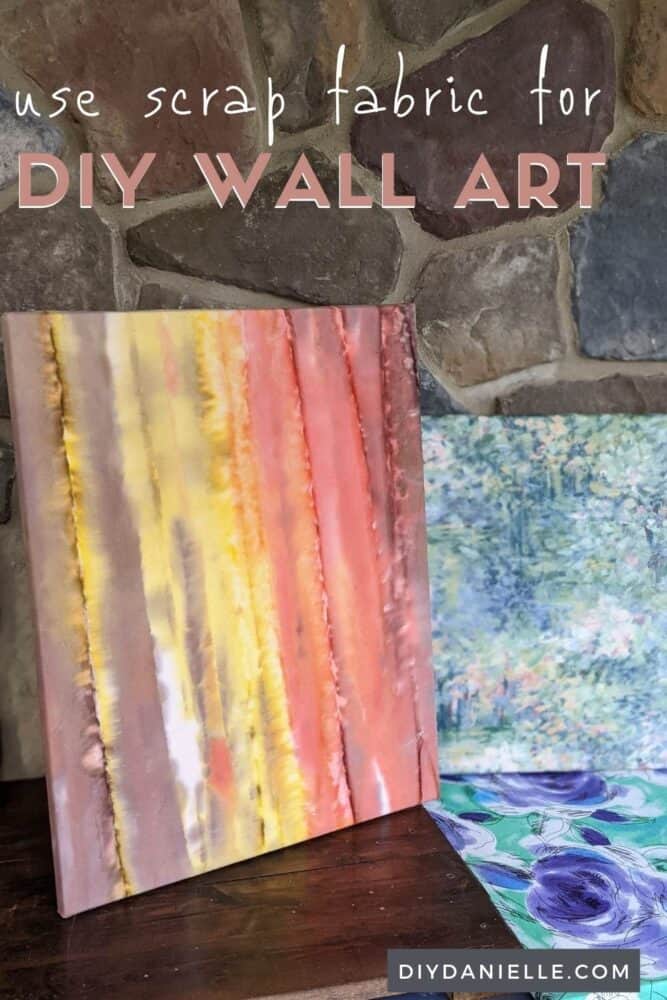
What I love most about this project is that I can showcase some gorgeous fabric on my walls. It’s hard sometimes to find the “right” project for your fabric so this works for me. And if I decide I’d like to use it, I can remove the staples, take the fabric off to wash, and replace the fabric with something new.
I upcycled a couple smaller 8×10 canvases with pictures from last Christmas to cover with fabric too… I can remove the fabric if I want to show the picture again, but it allowed me to use the canvas instead of needing to find somewhere to store it until we sell. The only thing is that your fabric needs to be thick enough or dark enough that the photo won’t show through.
If you’re feeling extra creative, you can use HTV (iron on vinyl) to add a design or quote to the front of the fabric.
Please share and pin this post! If you make this project, share it in our Stuff Mama Makes Facebook Group. We have regular giveaways for gift cards to craft stores. You can also tag me on Instagram @doityourselfdanielle; I love seeing everything you make!
DIYDanielle
Thursday 13th of September 2012
Oooo... I bet I WOULD enjoy it. Is it pretty affordable?
Elisabeth (Beth)
Wednesday 12th of September 2012
Cool! I know you probably don't want anything else to add to your collection at the moment, but there is some really different fabric here that you might enjoy. If you want some just let me know what colors you like!