

Seeing my sweet boy is about to be a toddler, I decided a floor pillow that was his size might be just the right thing for him as an additional birthday gift. I found a lot of tutorials, but I didn’t want it to be round… that looked harder to sew for some reason. I found this tutorial for a square pillow, but it was a little too high for him. What I decided to do was to take the measurements for that tutorial and tweak them. The tutorial called for two 24″x24″ pieces (the top and bottom) and one piece that is 13″x96″. The 13″ seems to be the height on their pillow (just from eyeballing the photo) so I decided to make that smaller. All the other measurements and the instructions should be the same.
The tutorial doesn’t have any pictures of the sewing in process so here’s some of the steps. You’re essentially just sewing all the pieces together with the right sides together, leave a spot open to stuff it, and then- horror of all horrors- hand sew the opening shut (sigh).
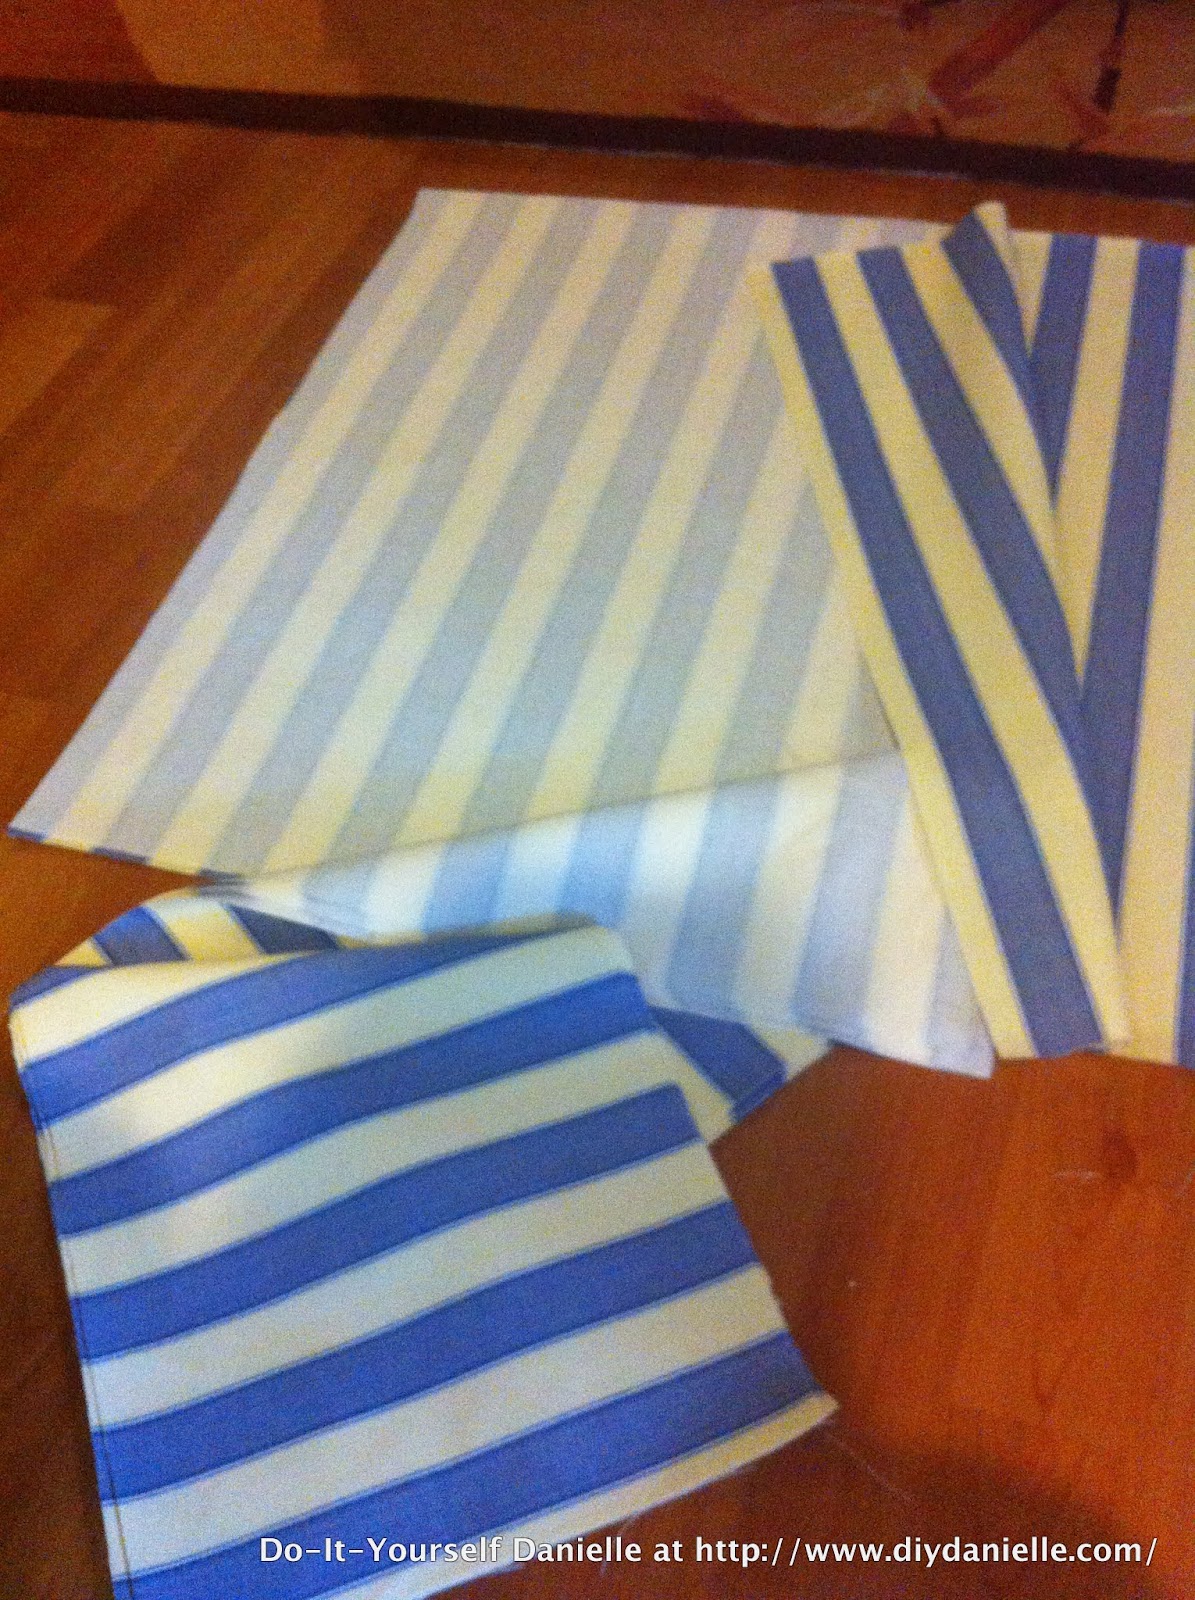
Step 1: Cut out your fabric. My pieces were 24″ x 24″ and 10″ x 96″… as recommended in the tutorial, I ended up cutting four separate pieces of fabric for the 96″ part. They were about 30″ x 10″ each so technically it was 120″ worth of fabric that I sewed together, and then I cut off the excess. I did it this way to ensure that I had exactly 96″ when I was done… it’s less math (because if you cut exactly 96″ worth of fabric, then you wouldn’t be accounting for seam allowances for sewing the individual pieces together).
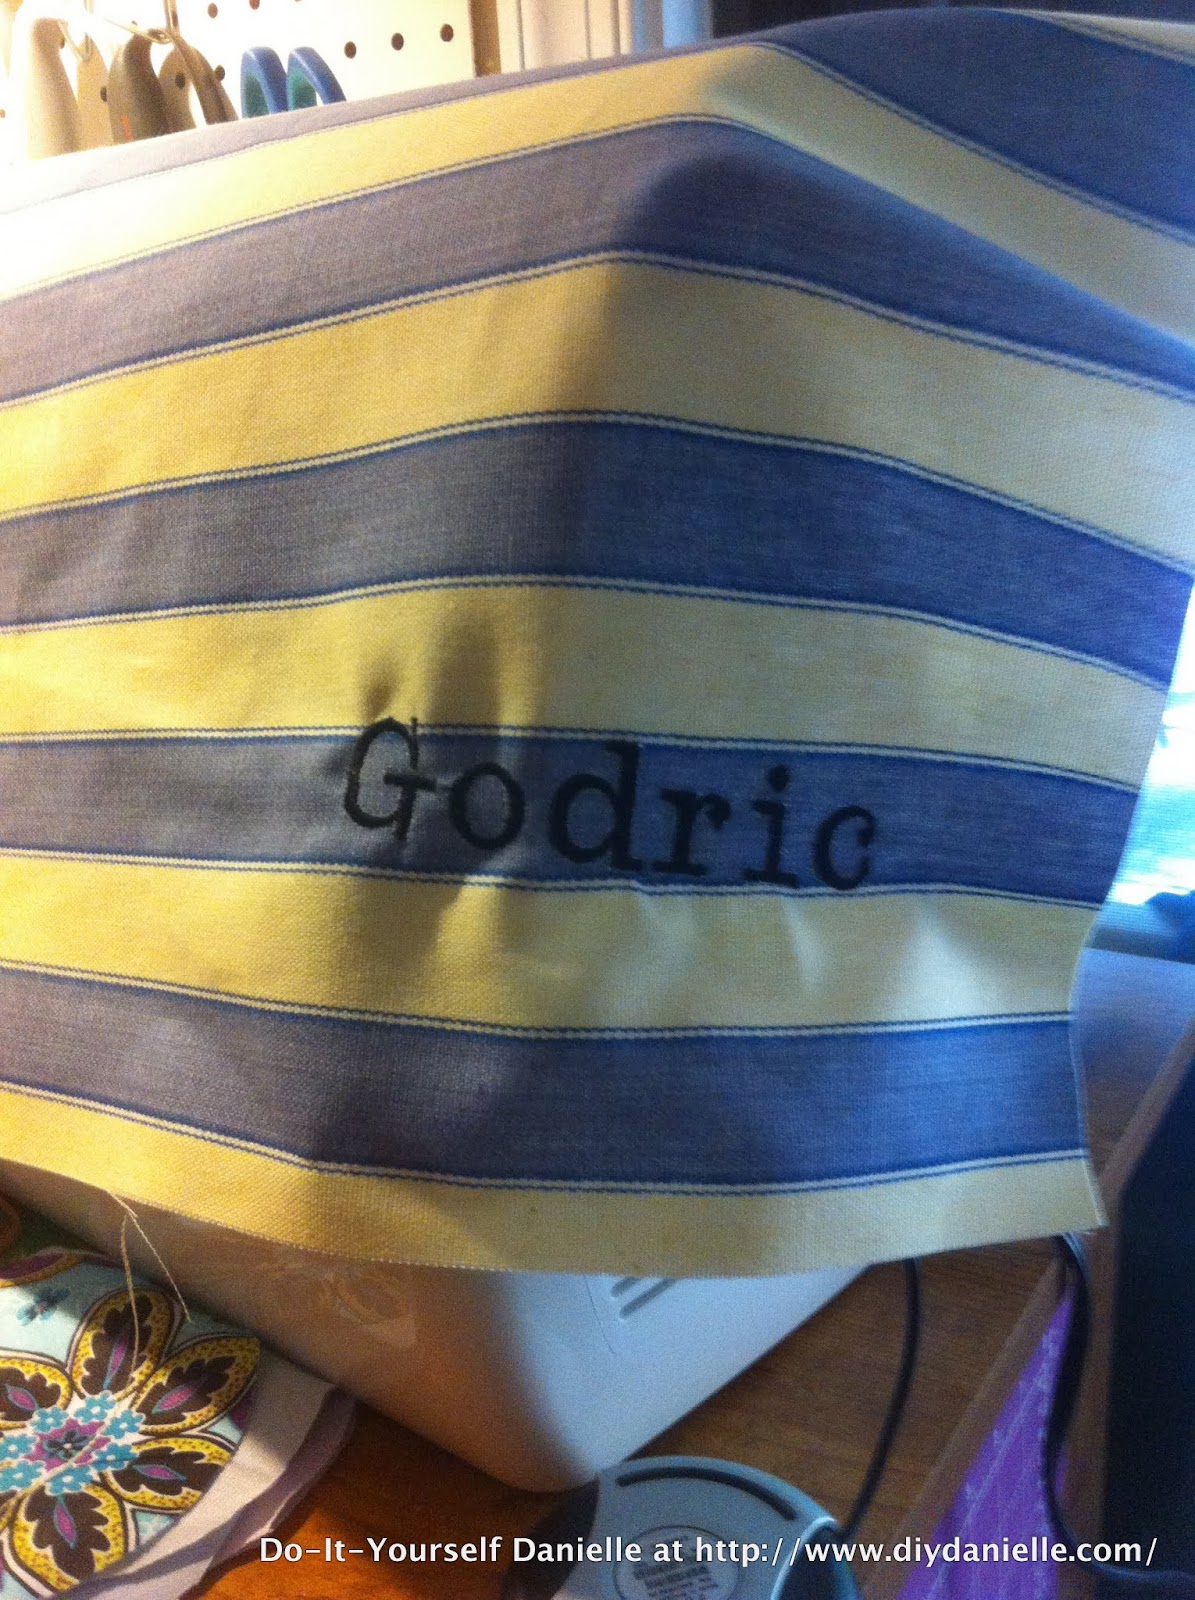
Step 2: I added embroidery here. I wanted to put Baby G’s name on a corner of the pillow. Probably a fail, seeing I’m still embroidering everything lopsided, but oh well.
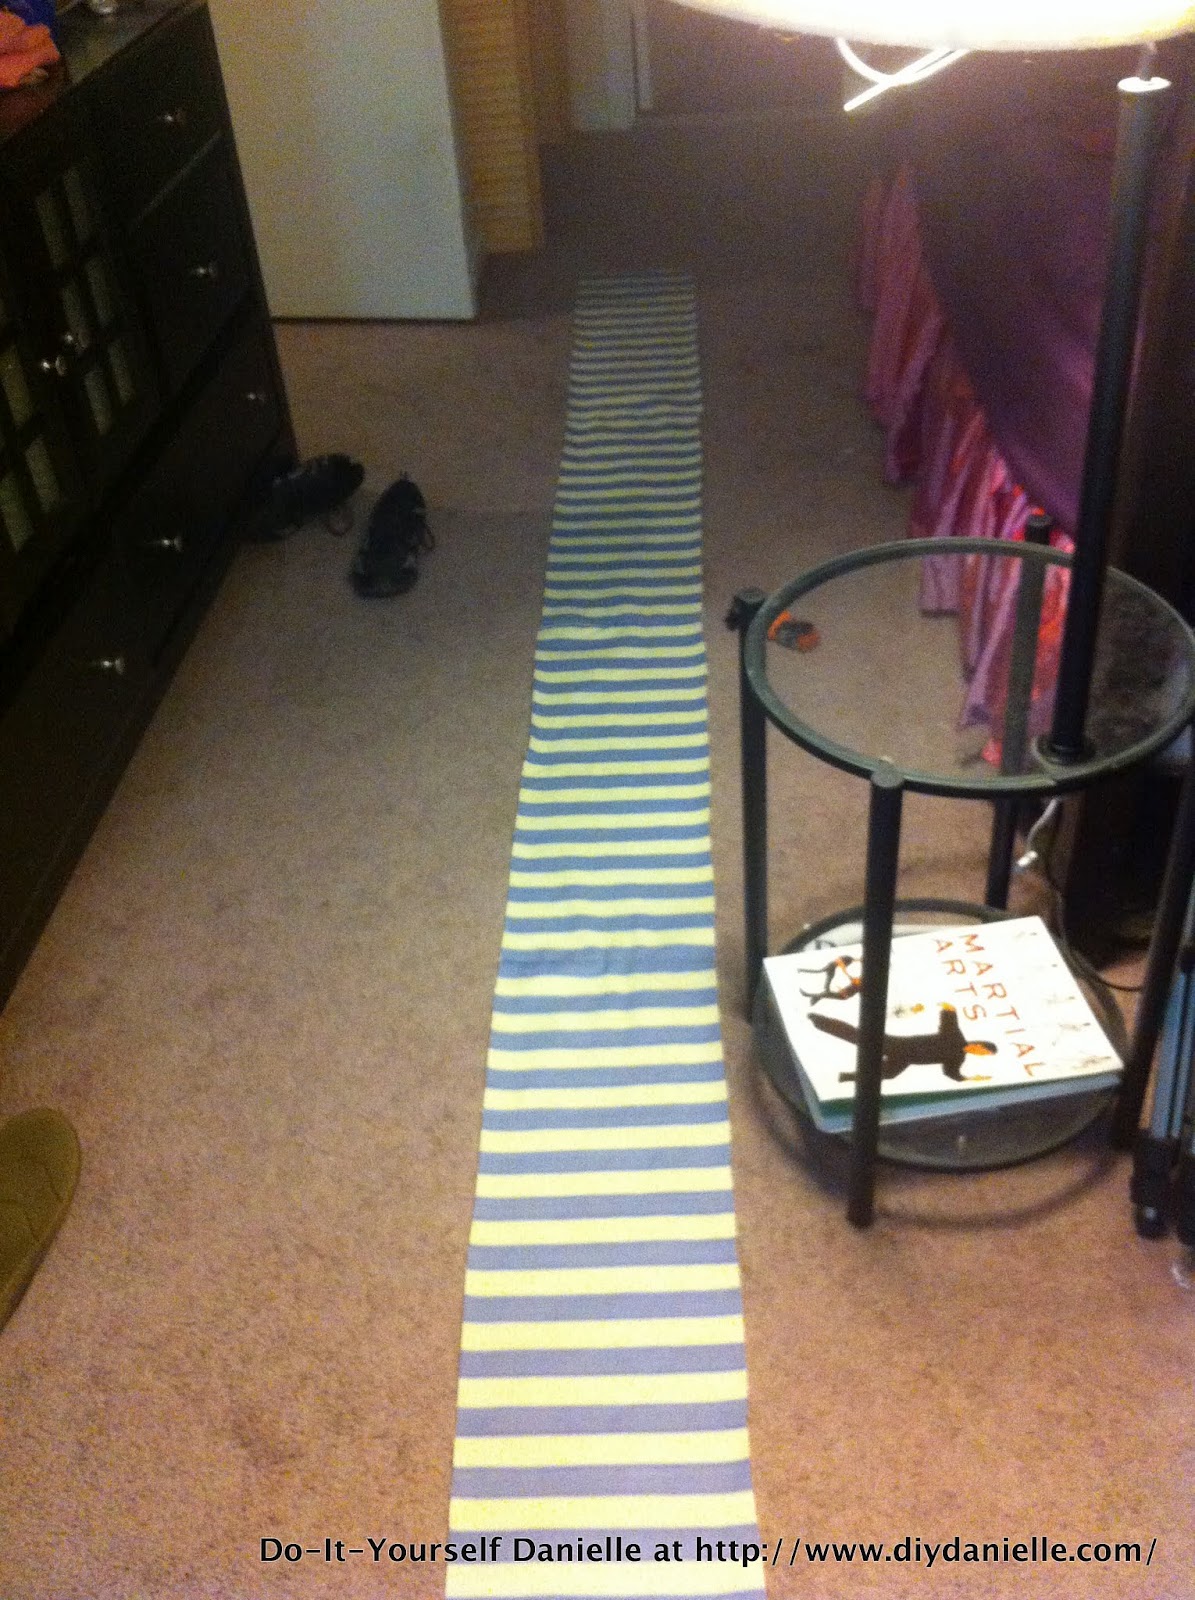 |
| Here is my big long piece for the sides, once I sewed all the pieces together. I cut off the excess (I had a total of 120″ and only needed 96″) |
Step 3: Sew your pieces together, leaving an opening to turn and stuff.
I started with sewing the top to the sides. I did this because there may be some unsightly sewing wherever I leave my opening to stuff the pillow and I’d rather have that be on the bottom!
 |
| Starting out… make sure you’re sewing right sides together. |
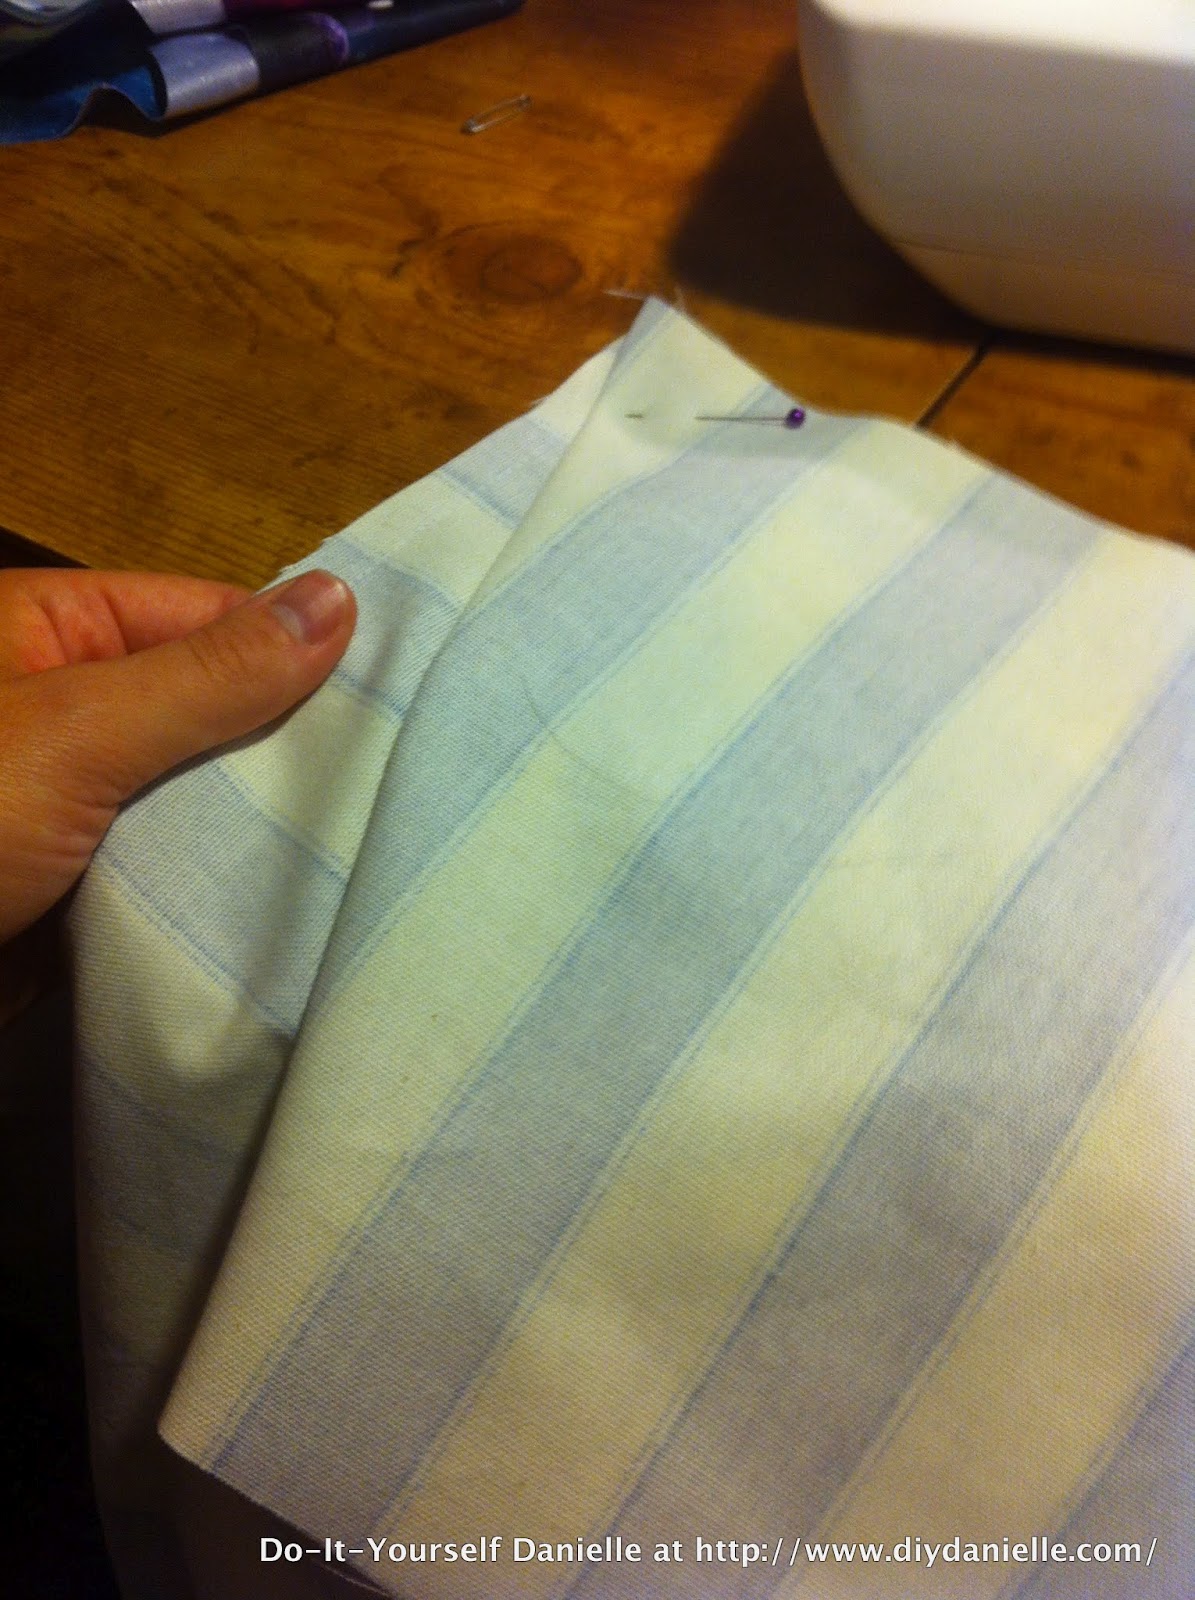 |
| This is how I folded the corners as I moved around each side. It’s a bit complicated for the last piece. |
 |
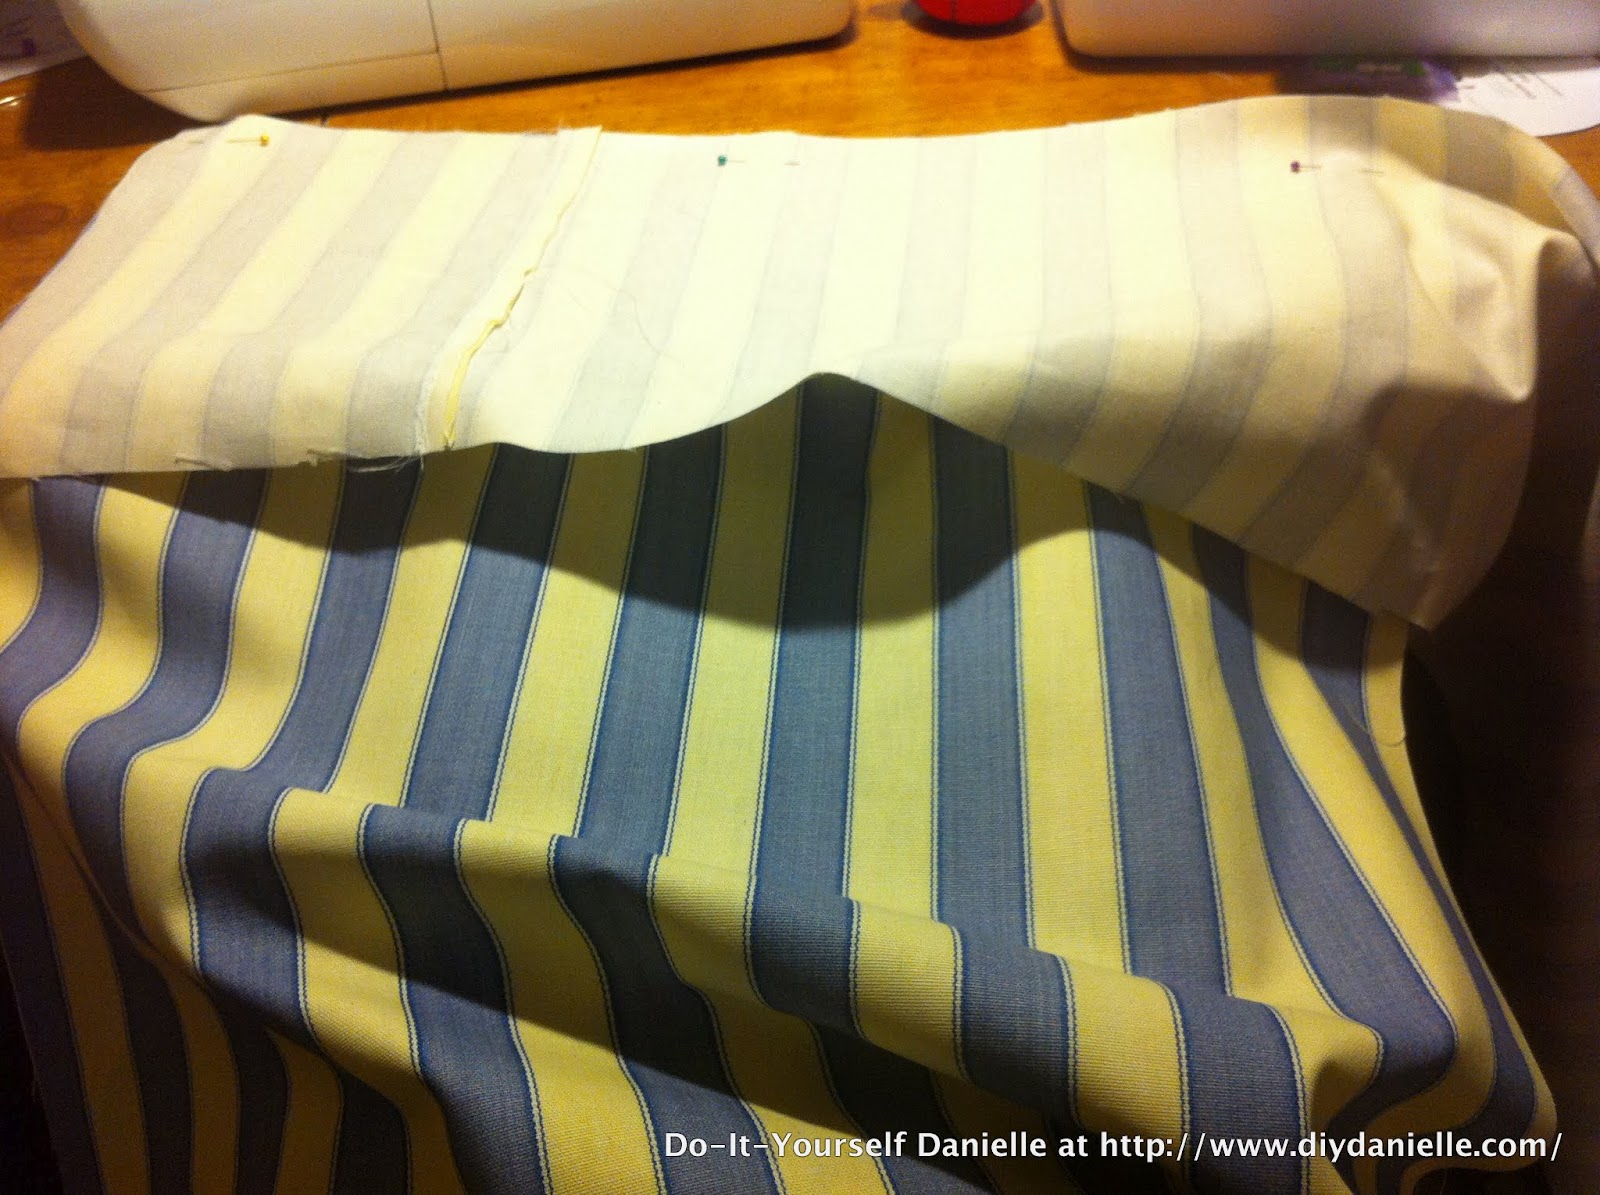
| Okay so you want to sew the ends of your side piece of fabric together. I did this after sewing three of the sides of the square. I seam ripped the beginning of the piece I already sewed on, just enough to face that end right sides together with my other end. Sewed up those two end pieces, then continued to sew the whole piece to the square- just like before. You could probably sew the two ends together BEFORE starting to sew it to the squares, but I like doing it this way so I can see that I have enough fabric (not that I could do much about it if I didn’t). |
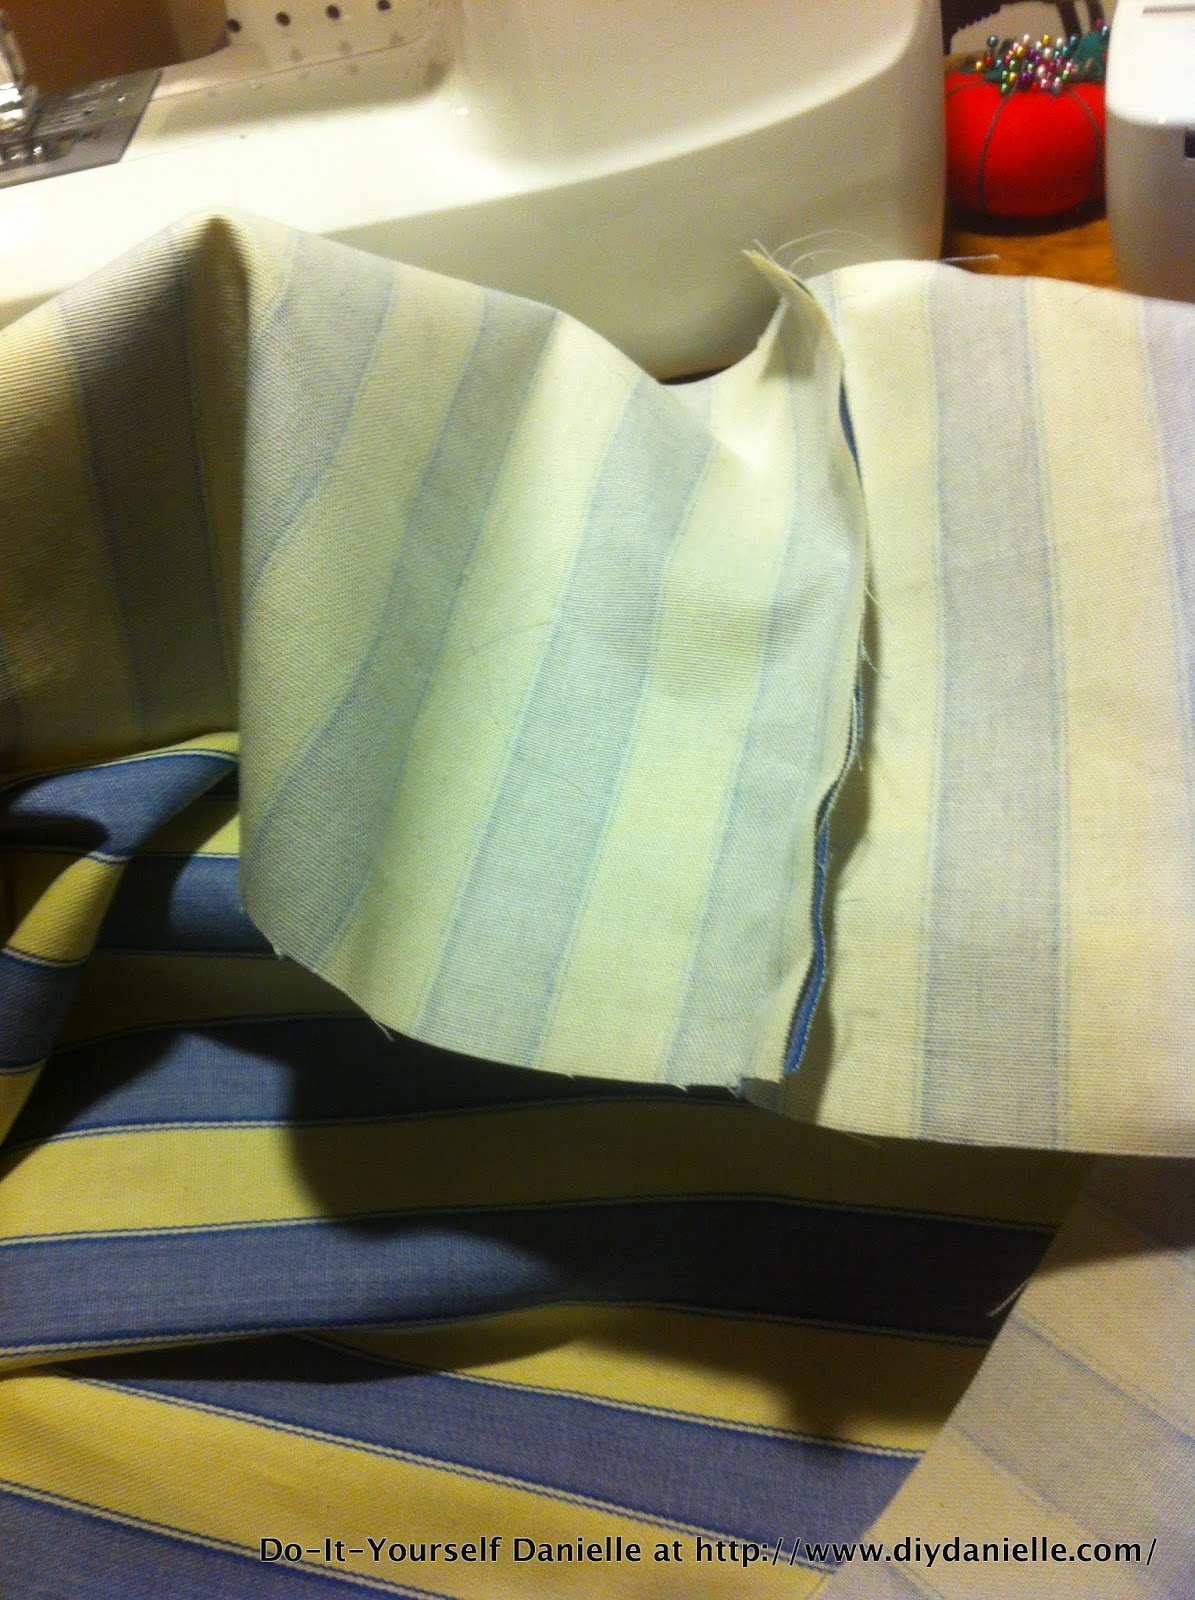
Move on to the bottom. Same thing, just more complicated because there’s more “going on” here. Keep in mind that your side fabric is going to look a little longer than your square (this is because you’re going to need to fold some of that fabric over for the corners)- position the square in the middle of the side fabric (line it up like the top piece is) so that you have fabric leftover to fold for each of the corners. Fold the corners just like with the top piece.
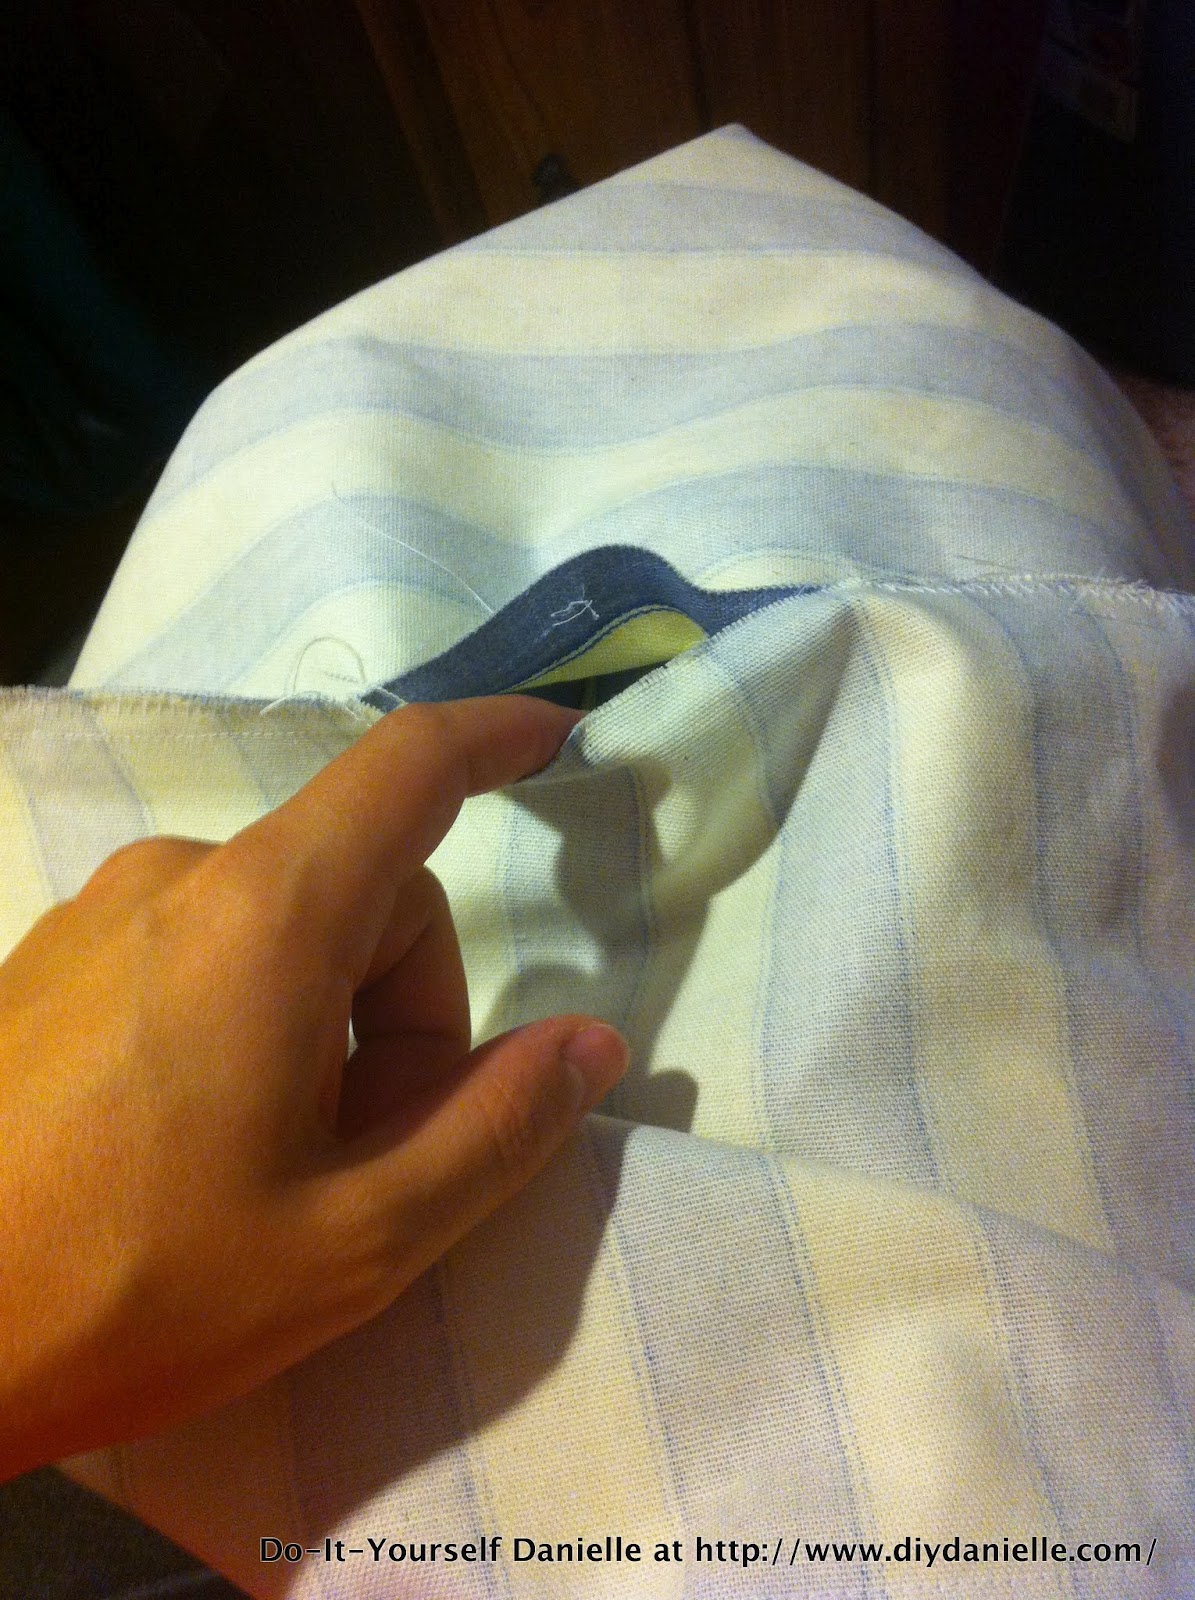 |
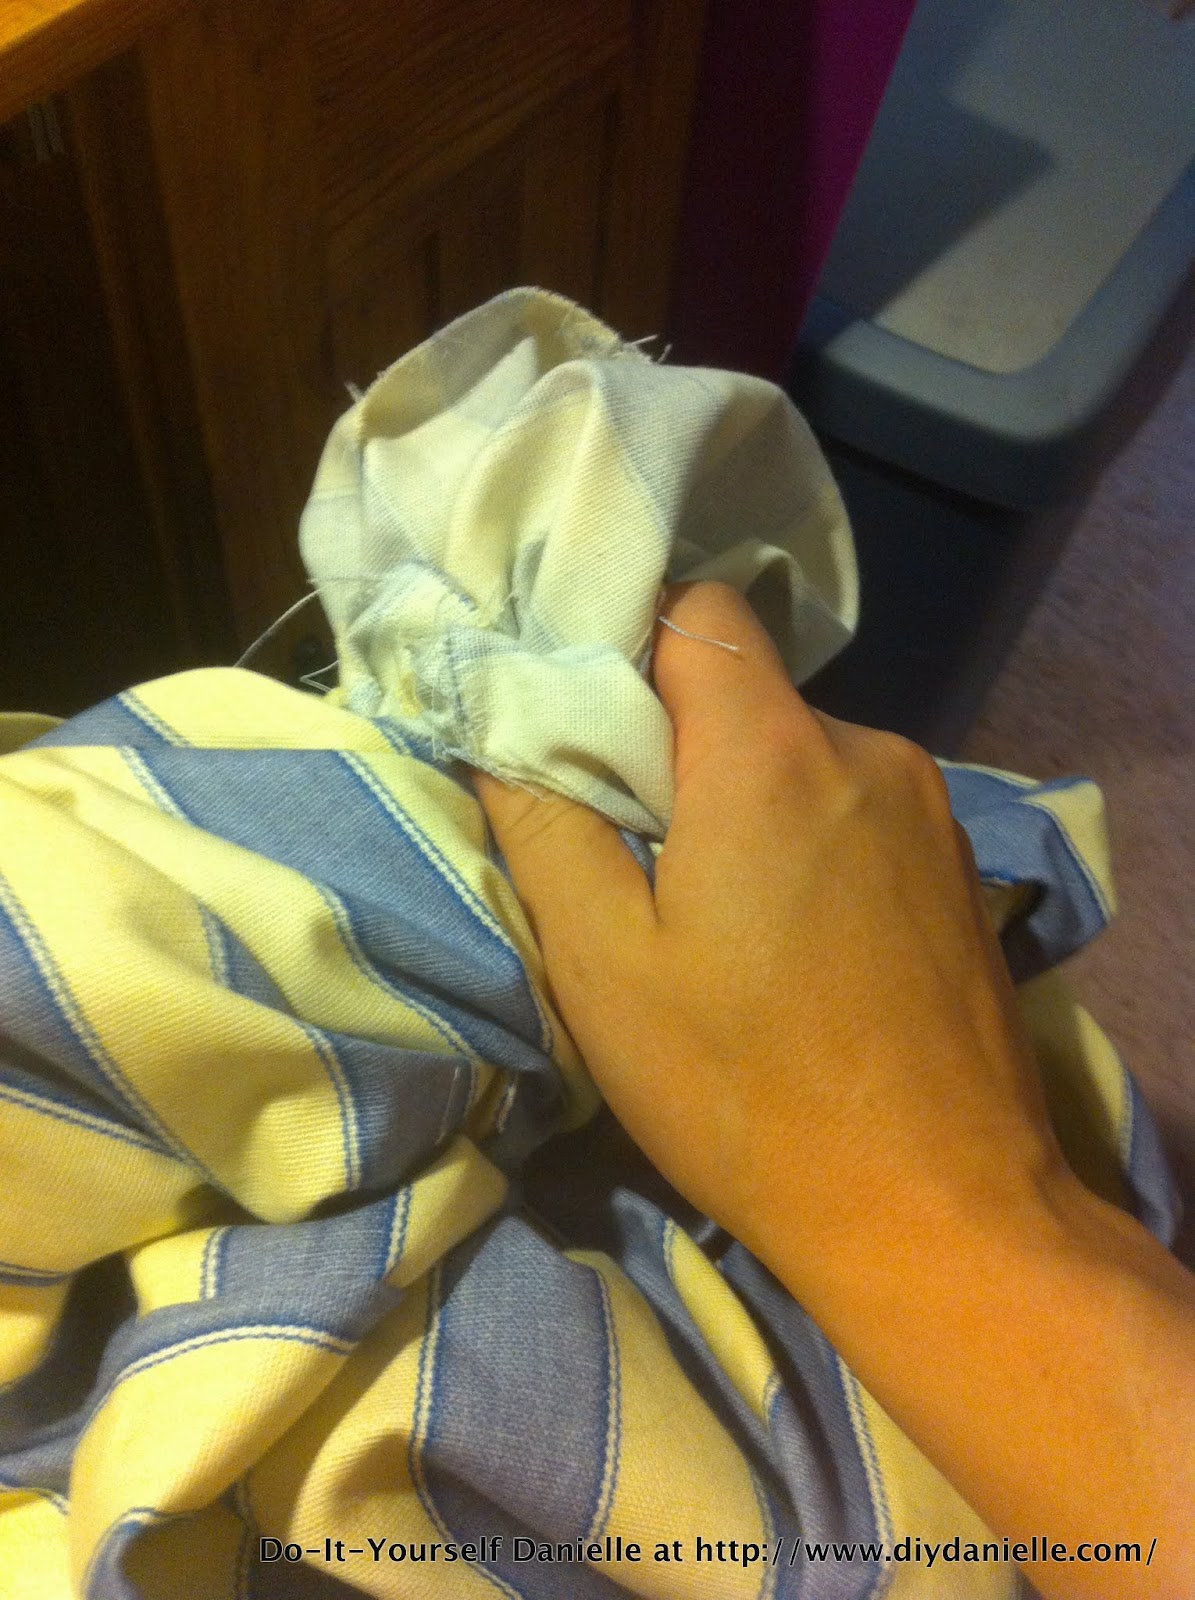
| When you get to the last side of the square, you’ll want to sew the left and right corners, leaving the hole to turn in the middle. You don’t want to be trying to hand sew the more complicated corners. Or maybe you do. Go for it. |
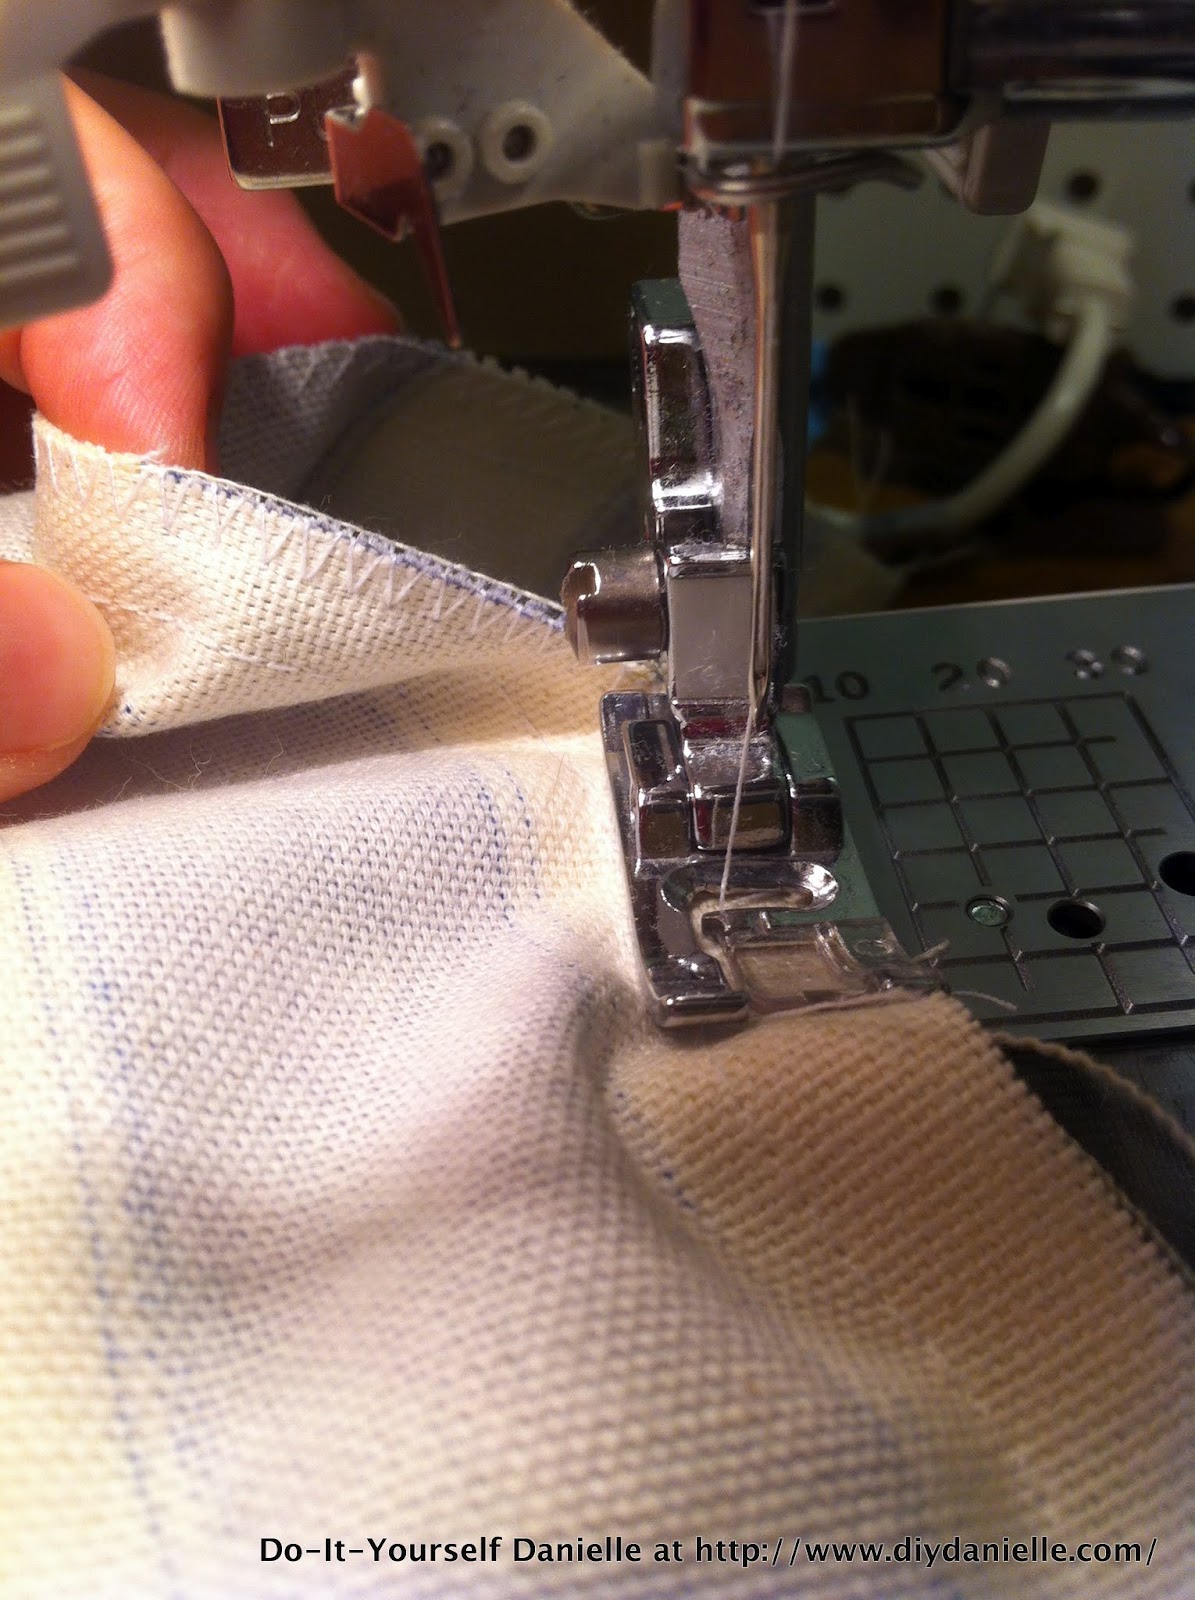 To be safe, I did zigzag all the raw edges before I turned this. My fabric seemed to be fraying quite a bit and I wanted to make sure it would last. I imagine I may unstuff this at some point to wash, then restuff so I want it to be okay to go through the wash. I know some people put a zipper, but I would rather seam rip so I don’t need to worry about Baby G learning to unzip it!

Step 5: Hand sew your opening shut.


Here’s a cute circle pillow tutorial if that’s more to your liking.
DIYDanielle
Wednesday 22nd of August 2012
Thanks! I made it thinking it'd be useful, but it's way fun to lay across so I'm pretty happy with this gift. I haven't actually closed up the hole yet because I've been stuffing extra fabric into it whenever I have scraps. ;)
RhodeyGirl
Wednesday 22nd of August 2012
Saw this on the Babycenter post about 1st birthday gifts and had to click over. I LOVE THIS PILLOW! Looks so fun.