
Make an easy picnic blanket using this free picnic blanket pattern. It’s fun to be able to pick your own fabric so you can make something personalized for your family.
This post may contain affiliate links which may earn me commissions should you click through them and take certain actions. As an affiliate for Amazon, Cricut, xTool, Home Depot, and other sites, I earn from qualifying purchases. Please DIY carefully. View my full legal disclosures here.
Please read the whole post so you don’t miss any important information!
This post was originally published on June 13, 2012 and updated April 5, 2019.
I have been really envious of everyone’s picnic blankets on play dates. I don’t mind sitting in the grass too much, but Baby G has started eating the grass so I was planning to buy a picnic blanket until I realized- duh- that I could make one.
There’s a local reupholsterer by me who sells his remnants for $2 per pound so I’ve made a lot of cool projects with high quality fabric, such as this picnic blanket, a toddler floor pillow, and my couch covers.
DIY Picnic Blanket Supplies
- Fabric: Upholstery fabric stands up really well for this type of project. You want two different coordinating fabrics (assuming you want this to be reversible)
- Sewing supplies
- Snaps: Learn to install snaps like a pro!
How to Sew a Picnic Blanket
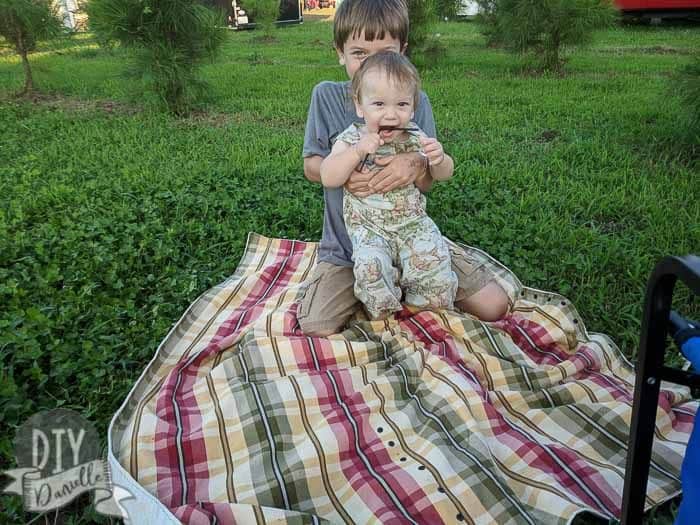
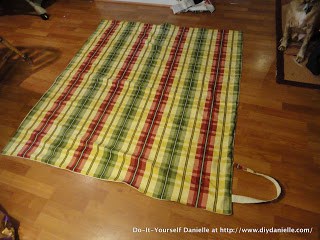
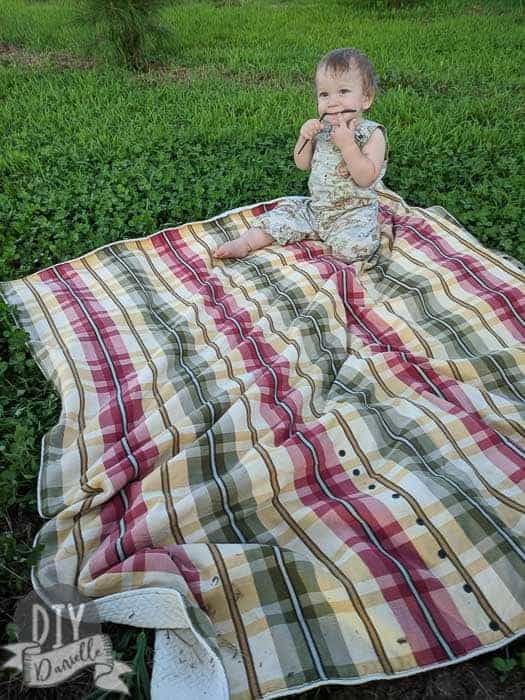
I picked two matching fabrics that I liked and made my picnic blanket the size of the smallest of the two. I laid it out on the floor to make sure it was big enough to allow three people to sit comfortably. It was.
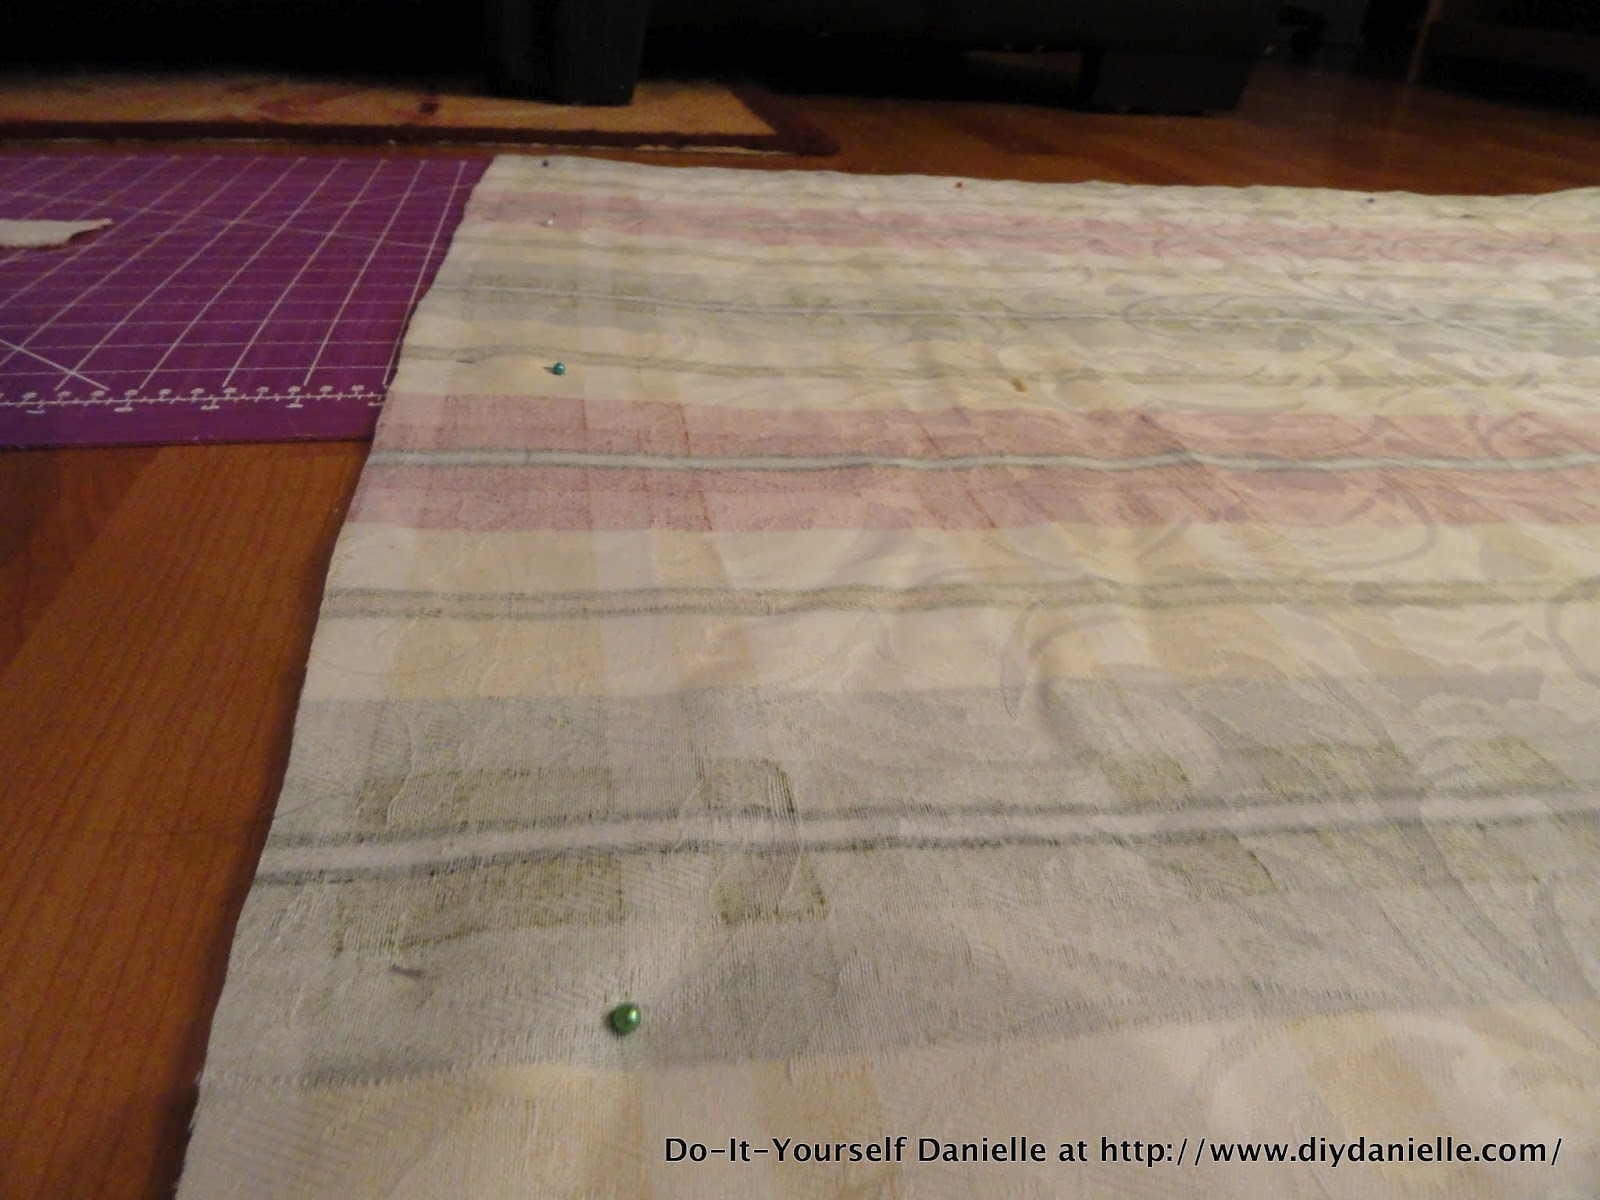
Place the fabrics right sides together and pin.
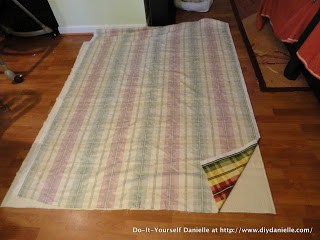
Because I didn’t start by cutting each one the size I wanted, I simply cut the fabric once pinned so it was in a perfect(ish) rectangle.
If you want to keep it simple, here’s what you do:
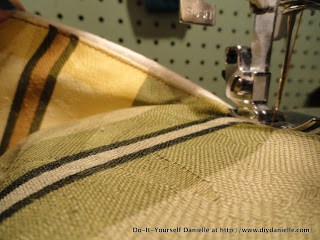
Simple straight stitch all the way around, leaving an area to turn. It helps to start 3/4 of the way down one side of the fabric so that the turning area is in the middle. It also helps to backstitch at the beginning- right when you start sewing- and at the end so that when you go to turn your fabric that the stitched don’t rip out. Make sure you leave a decent amount of space to pull your fabric through.
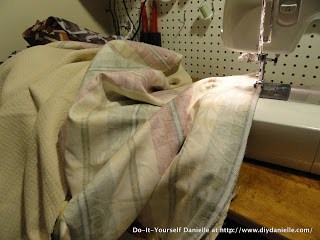
Turn your fabric through your opening.
Top stitch.
Snap Closures and Strap Addition to Picnic Blanket
When I originally made this, I wanted to have a way to fold it up and snap it together. Honestly, this worked initially, but then I forgot how to snap it up once I undid it. Whoops. So you may want to figure out your own way to do this or create a carry case for your picnic blanket instead. Or just remember how it goes haha.
But here are my original instructions if you want them.
Original Instructions from June 13, 2012: My goal was to add snaps to close it all up in the end. I also wanted to add a strap. To figure out where the strap would go, I folded the blanket up how I was planned and then used tape to mark where the strap needed to go between.
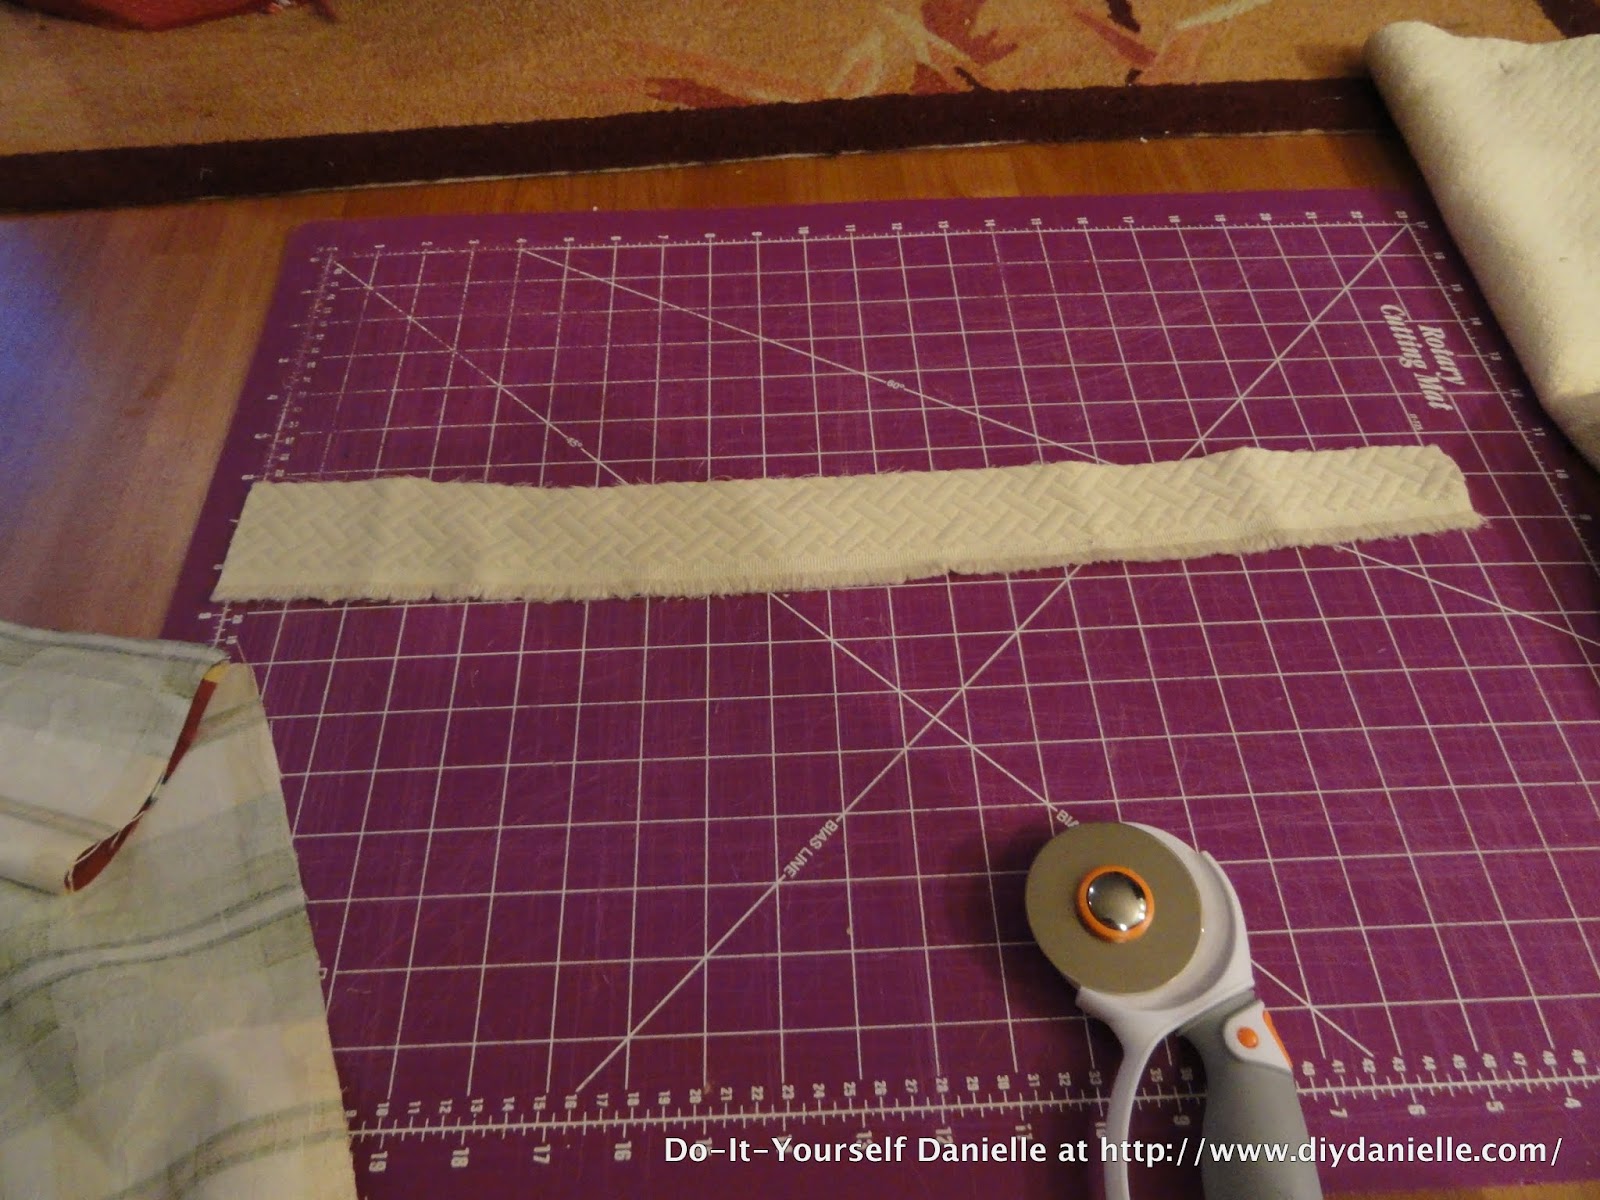
I cut a little fabric for my strap, sewed it right sides together, flipped, turned and top stitched. Then I tucked my strap in where I marked… you want the raw ends of the strap to be sticking out and the rest of the strap to be on the inside, sandwiched between the two fabrics.
To figure out where I wanted to put the snaps for closing it, I folded it up like this…
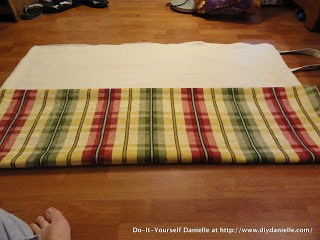

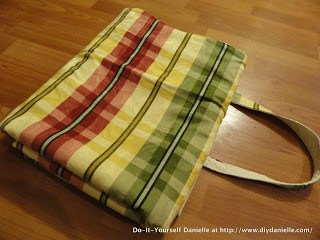
I put a snap every 2″. Mark where you want to place the snaps, then place your snaps.
Not familiar with snaps or snap pliers? Check out my post: Learn to install snaps like a pro
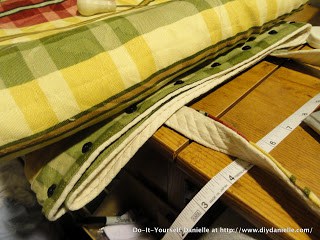
I finished, then realized that my “bag” comes apart when fully snapped because of how it’s folded. Oops. I added two more snaps to a different area (basically the left and the right here) and problem solved! Sorry, I didn’t get any good pictures here. Just see where it flops open- and add them there.
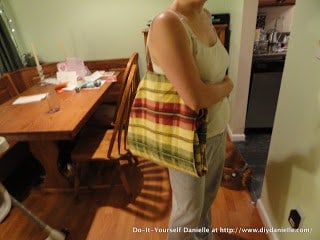
Now I can carry the picnic blanket, assuming I can remember how to fold it up again. Honestly, I think there’s probably a better way to make this, haha. I haven’t attempted to recreate the project so it’ll work better- I think a carry bag would be way easier.
Toy Leashes
I also made a couple of toy leashes (toy tethers) to snap onto the snaps when the picnic blanket was open.
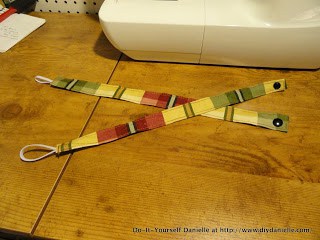
Here’s the toy leashes in action. They snap into the snaps used to hold the blanket together… good for when the picnic blanket is open and you don’t want the toys migrating into the abyss.

Here’s the picnic blanket in action…
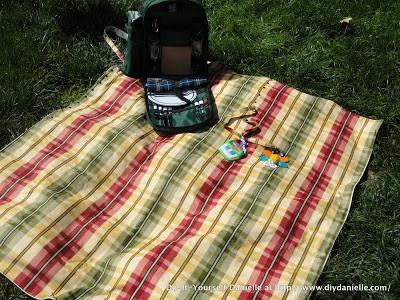
If you’re wondering about that super awesome picnic backpack, this is a similar product. I received this picnic backpack for my wedding shower and it’s one of the coolest gifts I’ve received… just super fun and great for a free date with the husband! It’s my “go to” gift for wedding showers and weddings. At some point I may need to upgrade so we have enough settings for Baby G too… I have a two person one, but the one below is for four.
Please pin this post!
kamsnaps.com
Wednesday 20th of June 2012
Great idea! Thanks for sharing. Judy @ KAMsnaps.com