Post may contain affiliate links. Using these links helps support my blog. Thank you!
I found some potential housekeepers through Care.com and I’m going to have them come by to give me an idea how much it’ll be for regular cleaning. I did the math and it takes us way too long to clean, even with Daddy B and I working together, so it would likely be more economical to work an extra couple hours and just have someone else clean. They will do a better job and I definitely wouldn’t mind help in the cleaning department. I already do about a thousand loads of laundry each week… I’d blame it on the cloth diapers except it’s a lot of towels and darks too. It’s summer so we’re using tons of extra clothes with swimming, exercise, and just regular wear. I’ll keep doing our laundry though… I just really need someone to come in to vacuum, dust, mop, and clean the bathrooms.
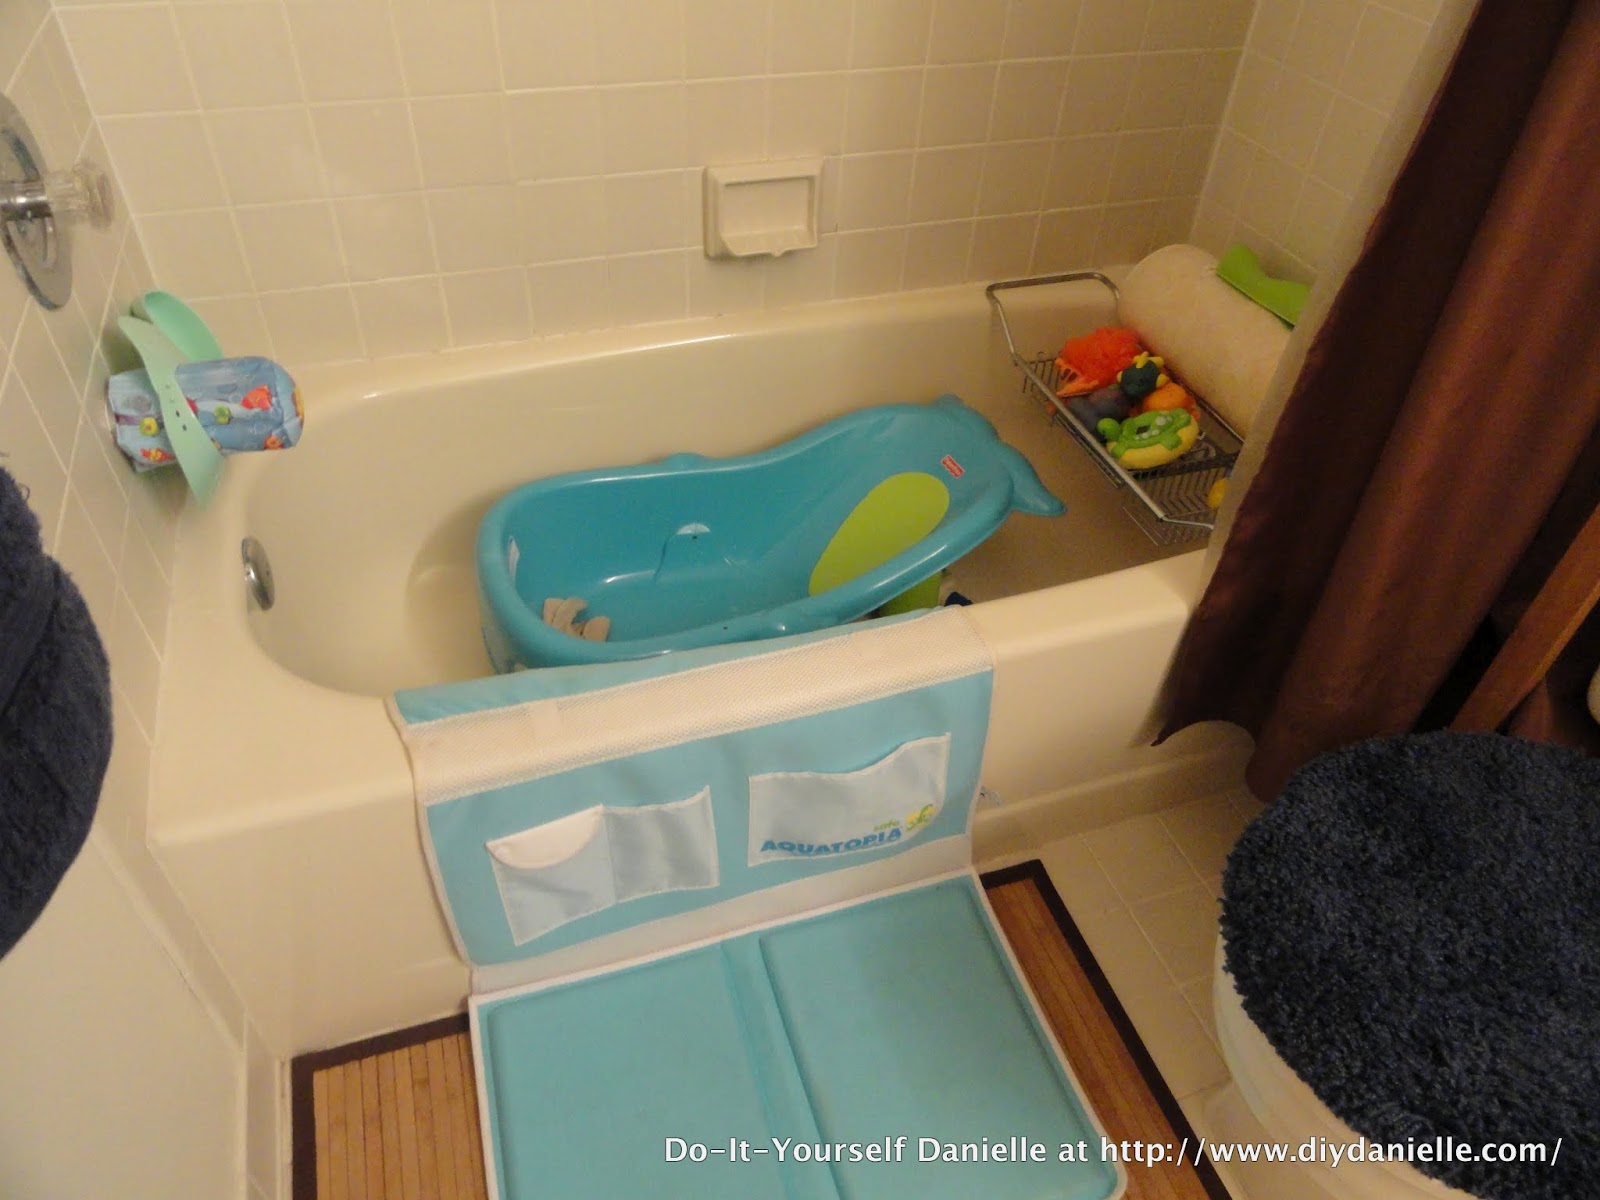
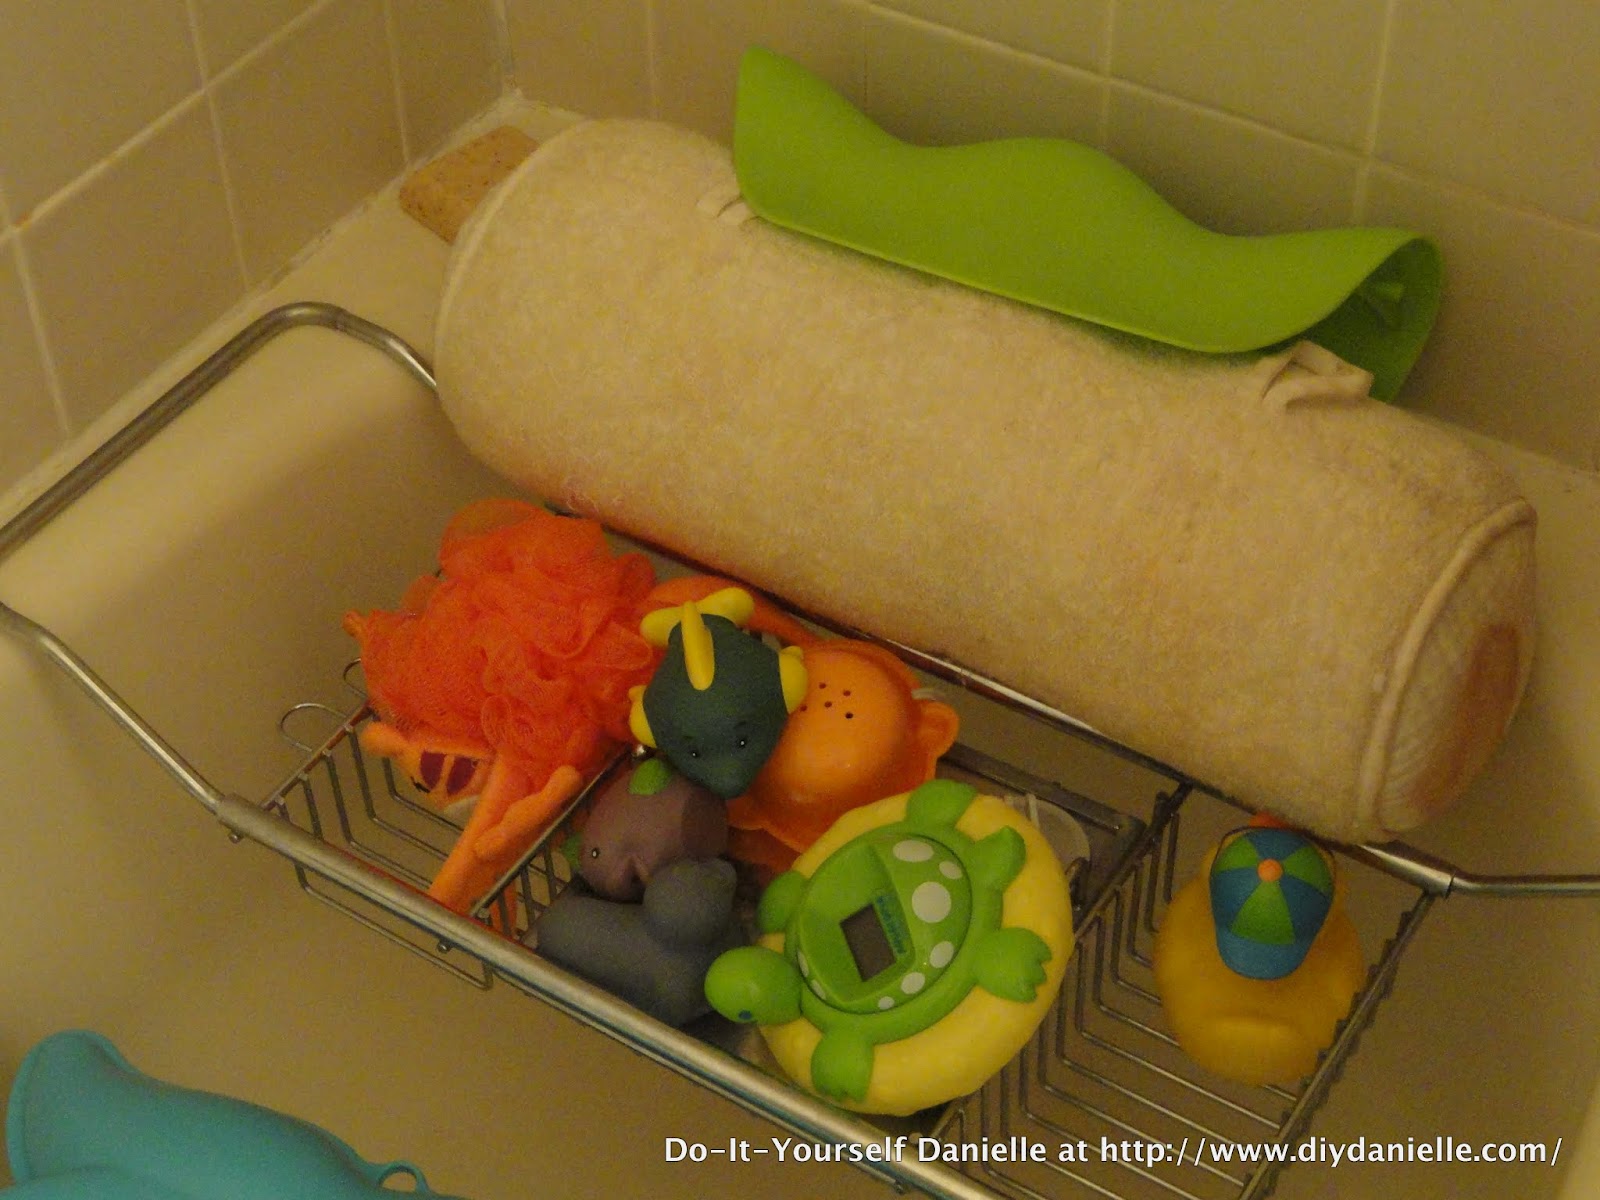
Needless to say, it’s slightly embarrassing to let a housecleaner see exactly how bad your place can get so I decided it would be helpful for me to do a little cleanup today. Our larger spare bathroom has been converted to baby zone and it looked a little chaotic with the toys everywhere.
I originally wanted to get a bathroom organizer, but I never got around to it. Something like this:
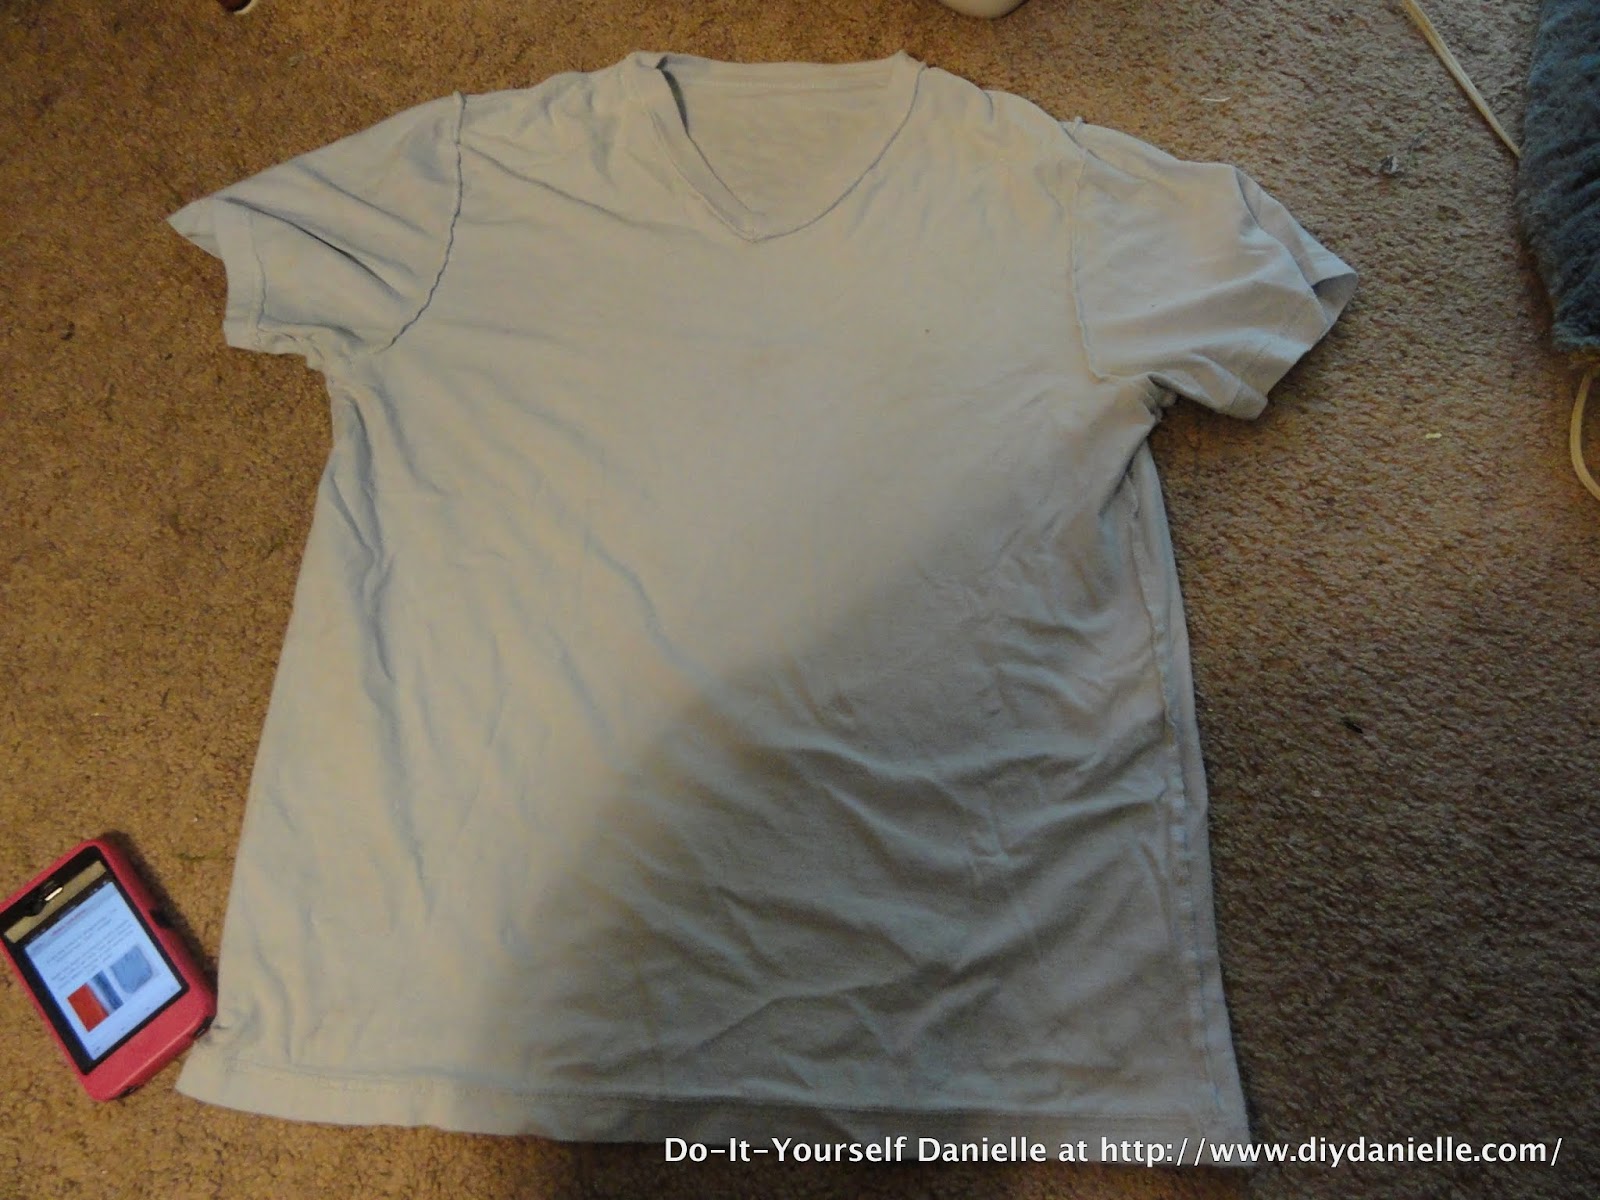
I got to thinking though that I could probably make something that would work and save myself some money. I remembered seeing this tutorial for a tshirt produce bag and thought it would be a perfect solution for toy storage in the bathroom. I had a couple spare suction cups to use to hold it up too. I also have a ton of Daddy B’s tshirts to upcycle… there is literally a pile of clothes to upcycle on the floor near my sewing table. I probably should’ve been finding a place for all of it instead of doing this project, but hey… that doesn’t involve sewing or crafting so it’s no fun.
You can just follow the tutorial that was linked to make one for yourself, but I also took some photos of the process for making mine.
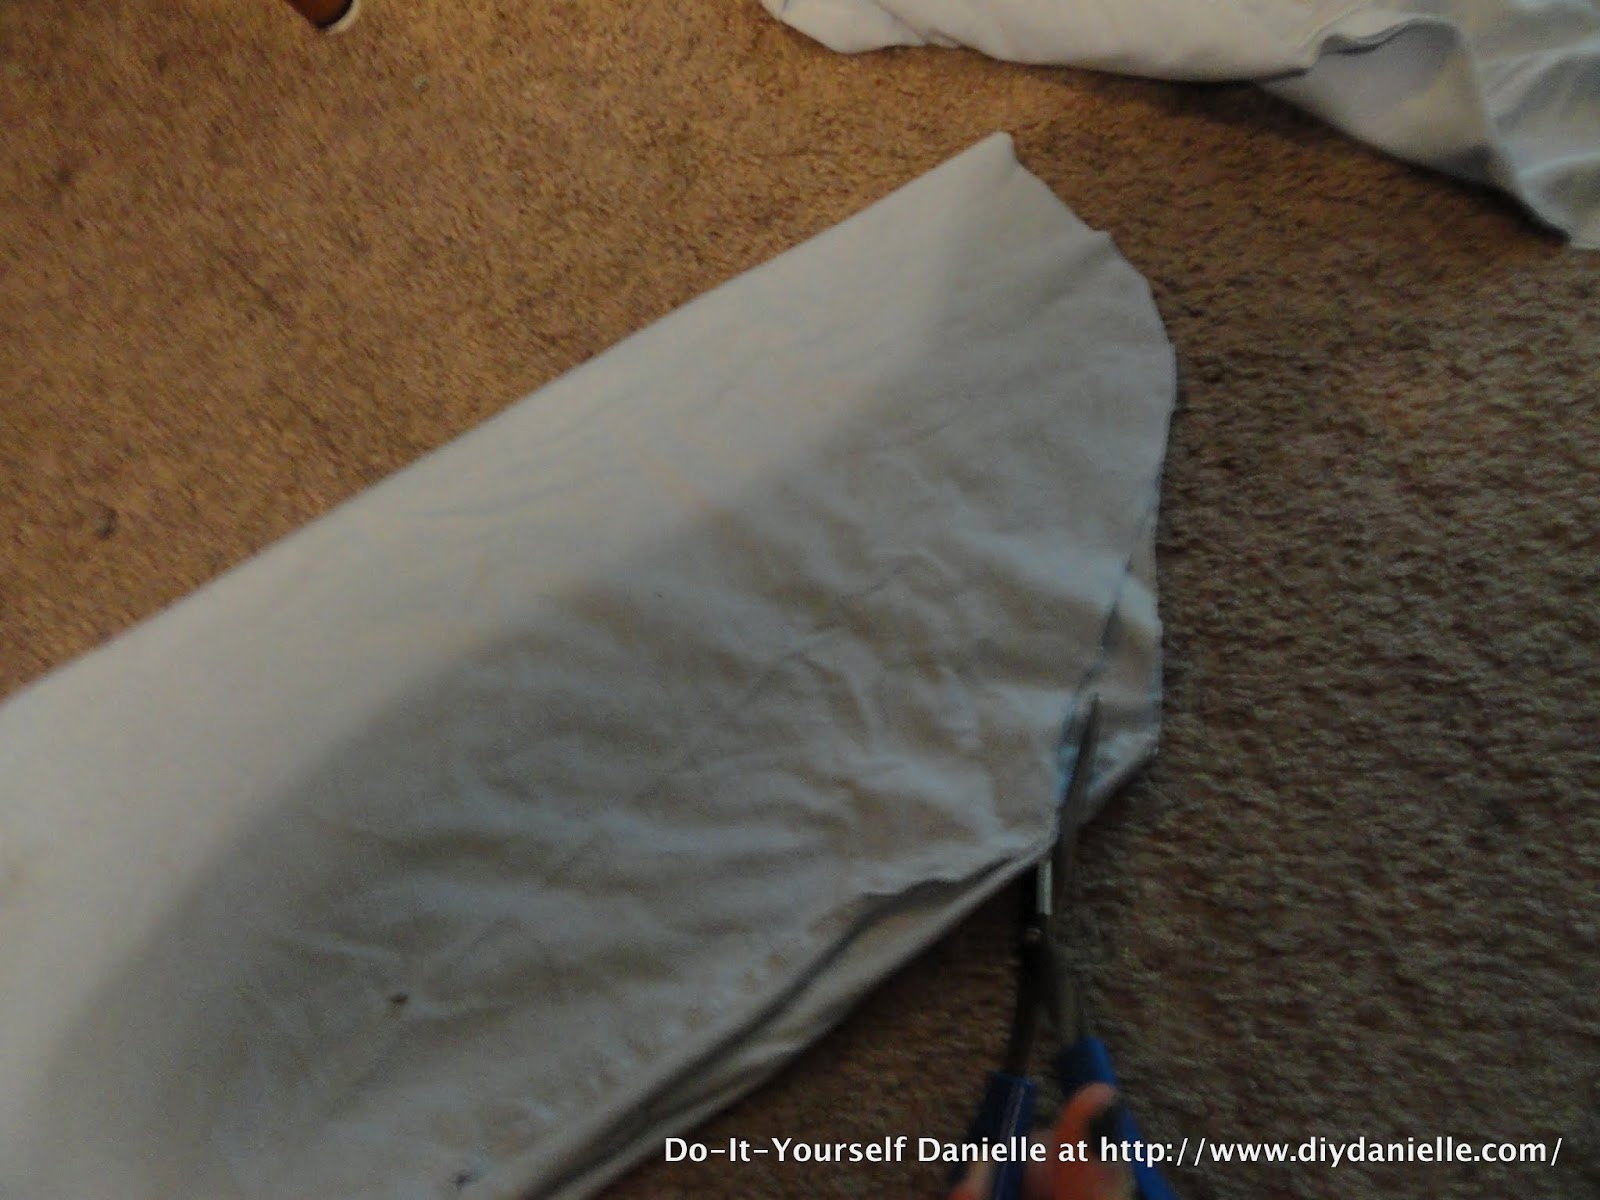
Here’s where I turned the tshirt inside out to cut out the shape of my bag. I had my iPhone with the tutorial on there.
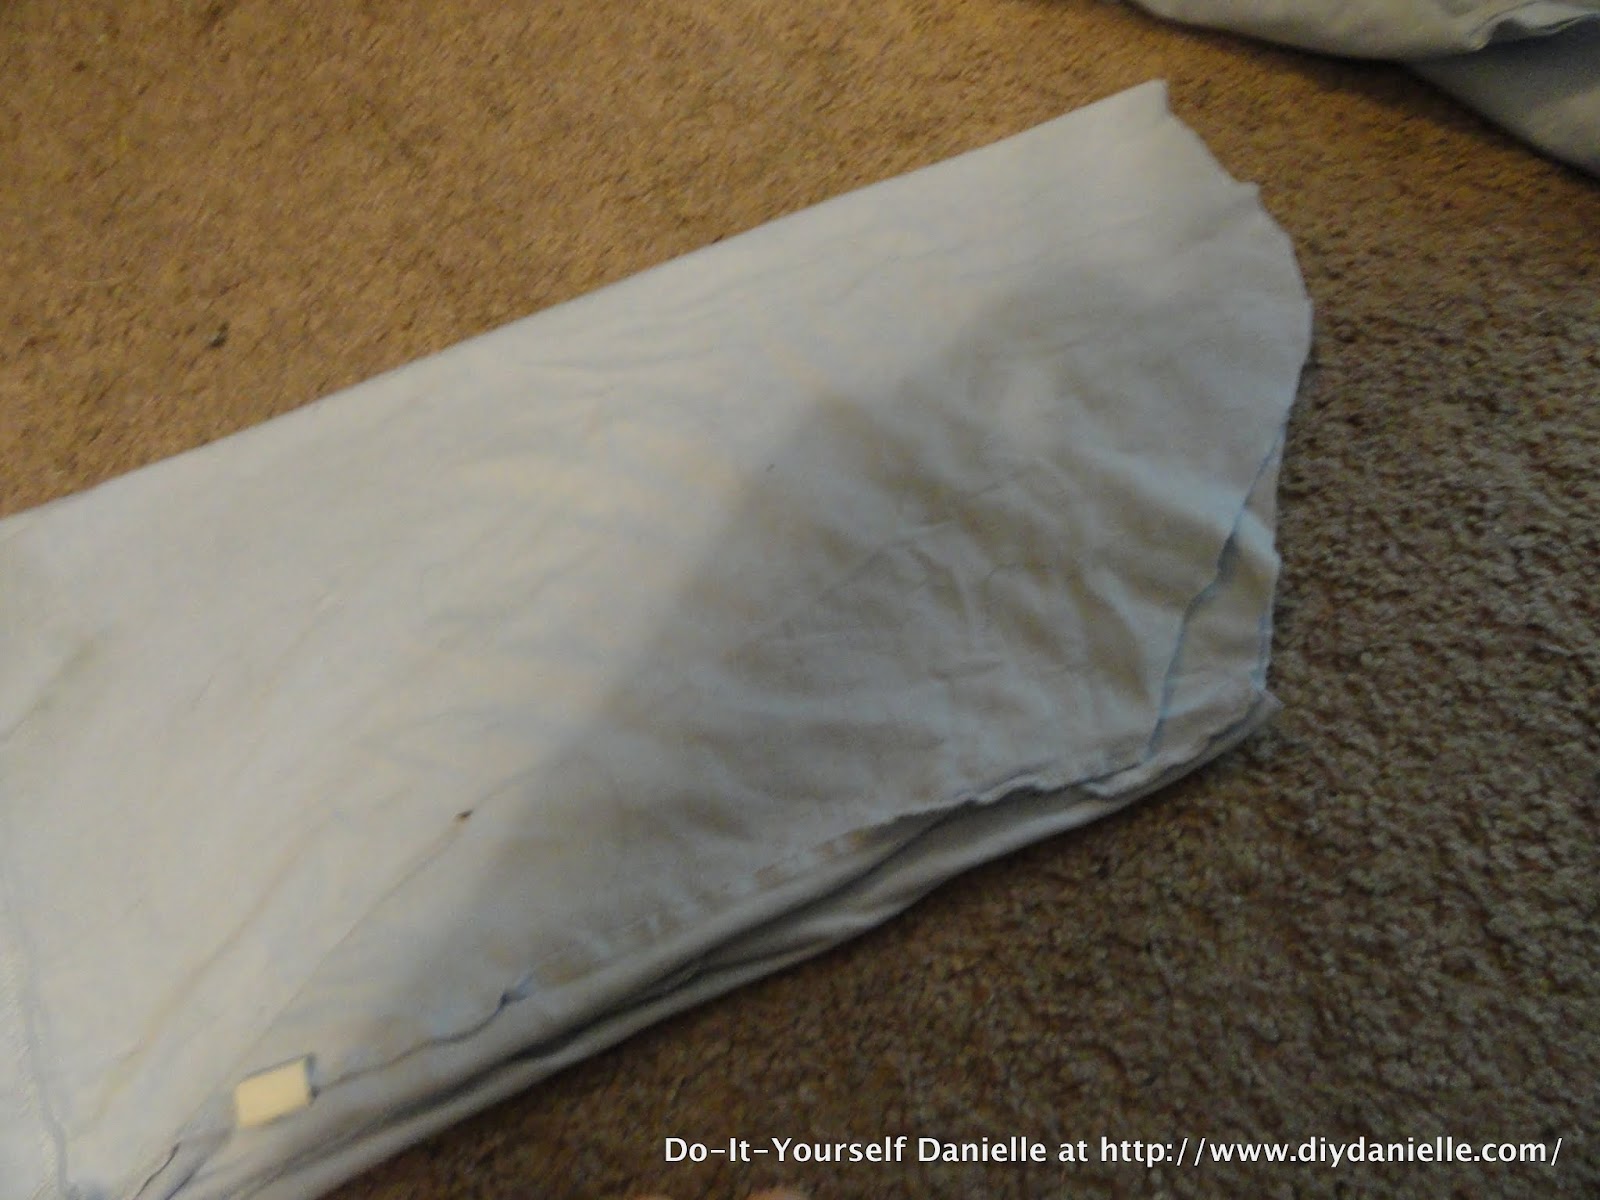
I folded the tshirt in half so that I could make the sides even…
I just cut all four layers together.
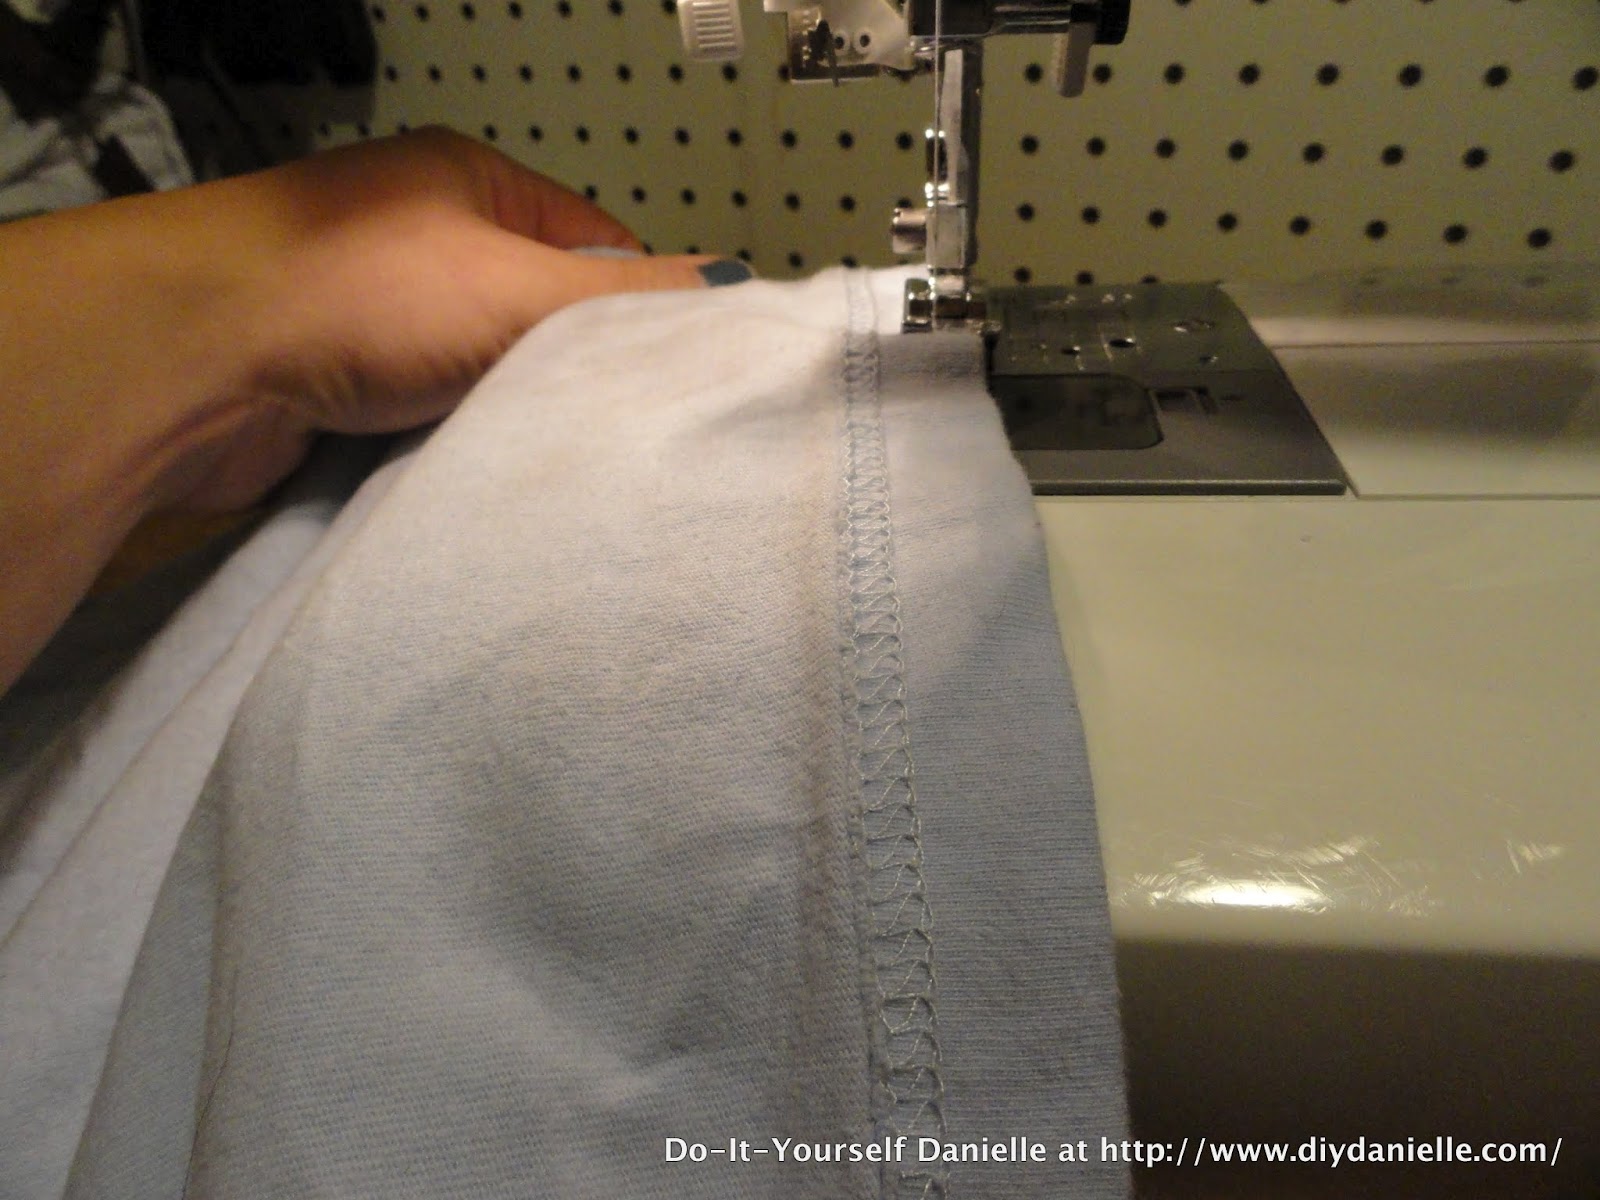
Then I sewed around the entire bag.
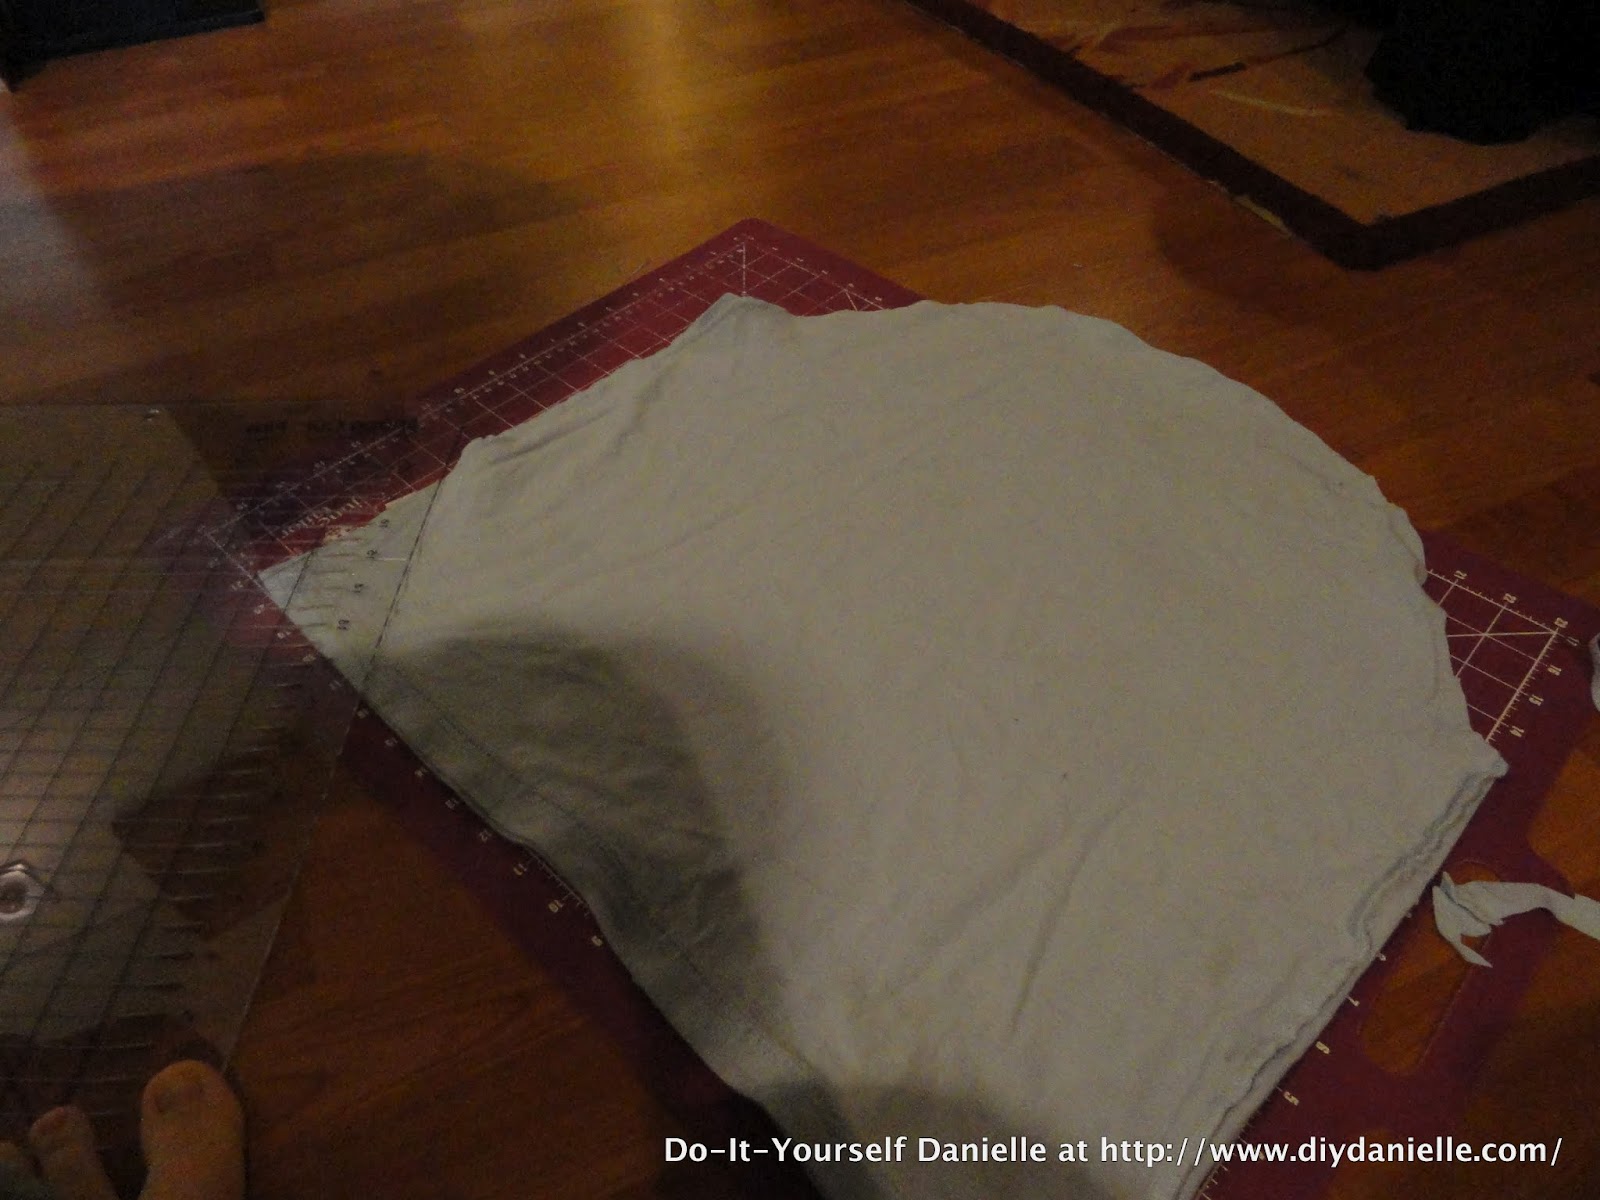
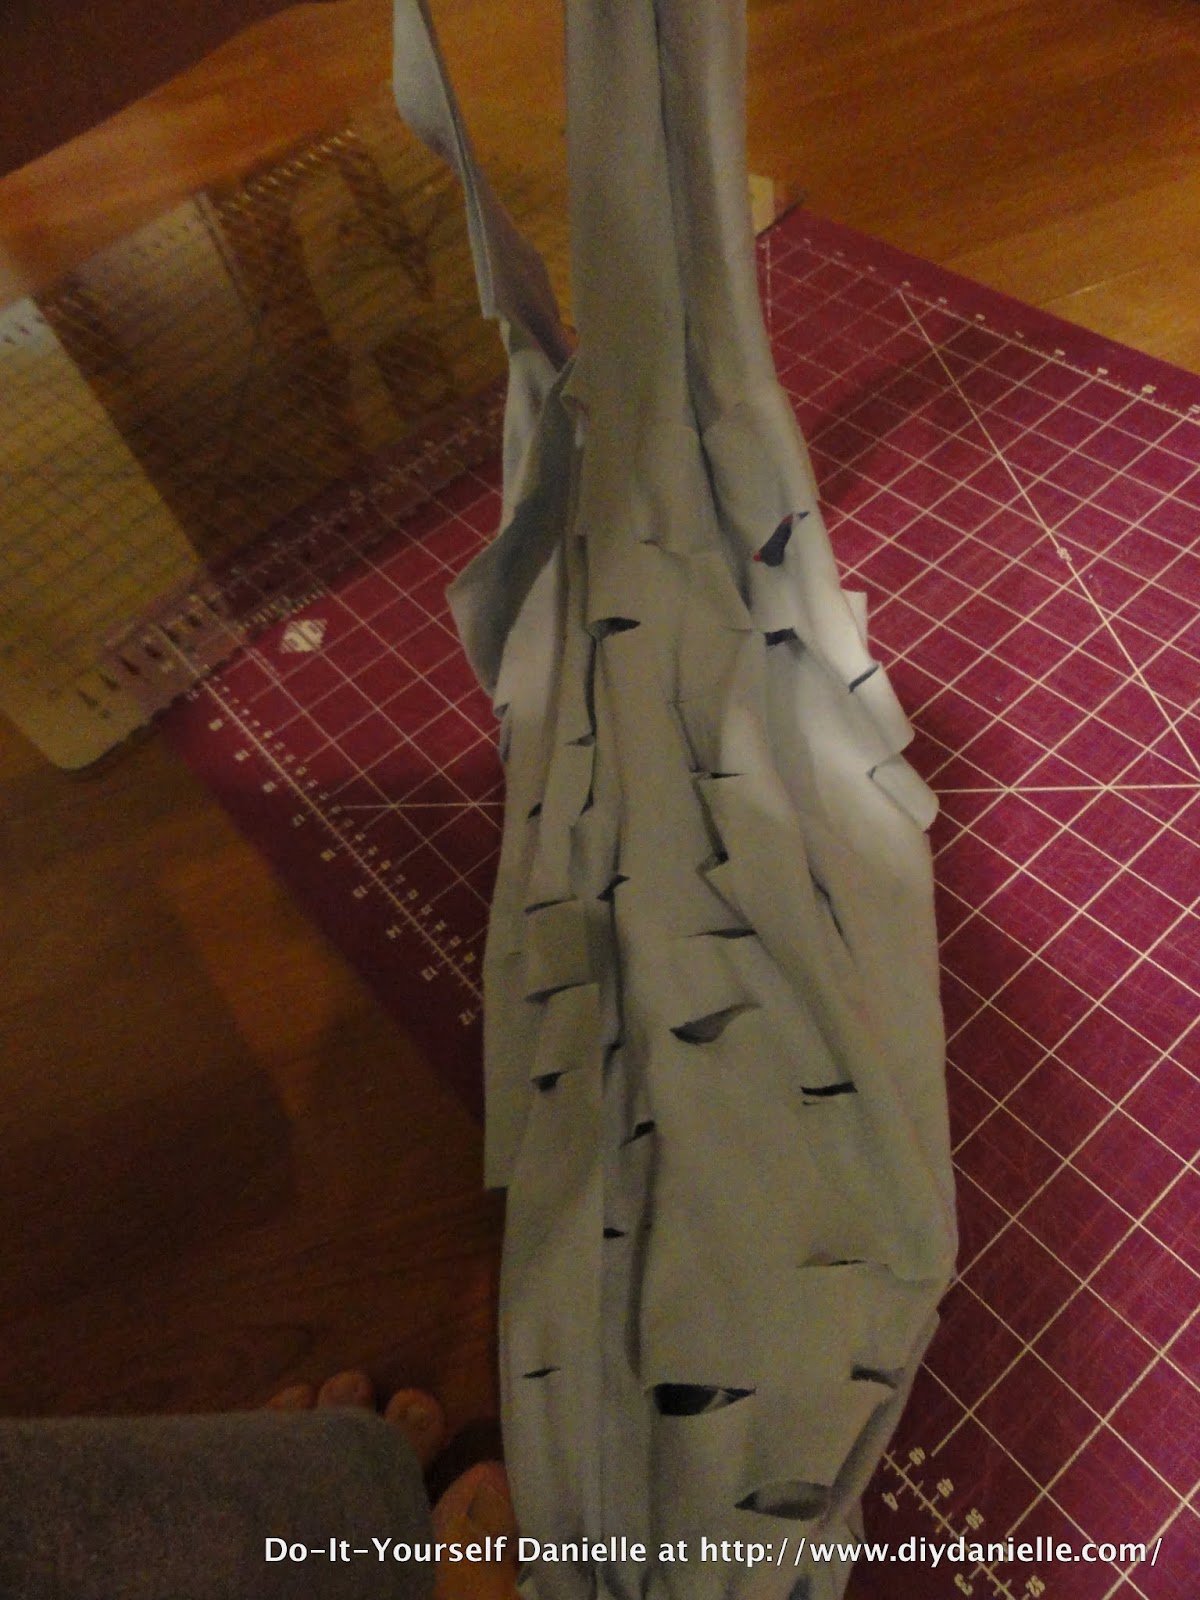
I laid out my tshirt and began to make cuts. I used a rotary cutter and just went crazy.
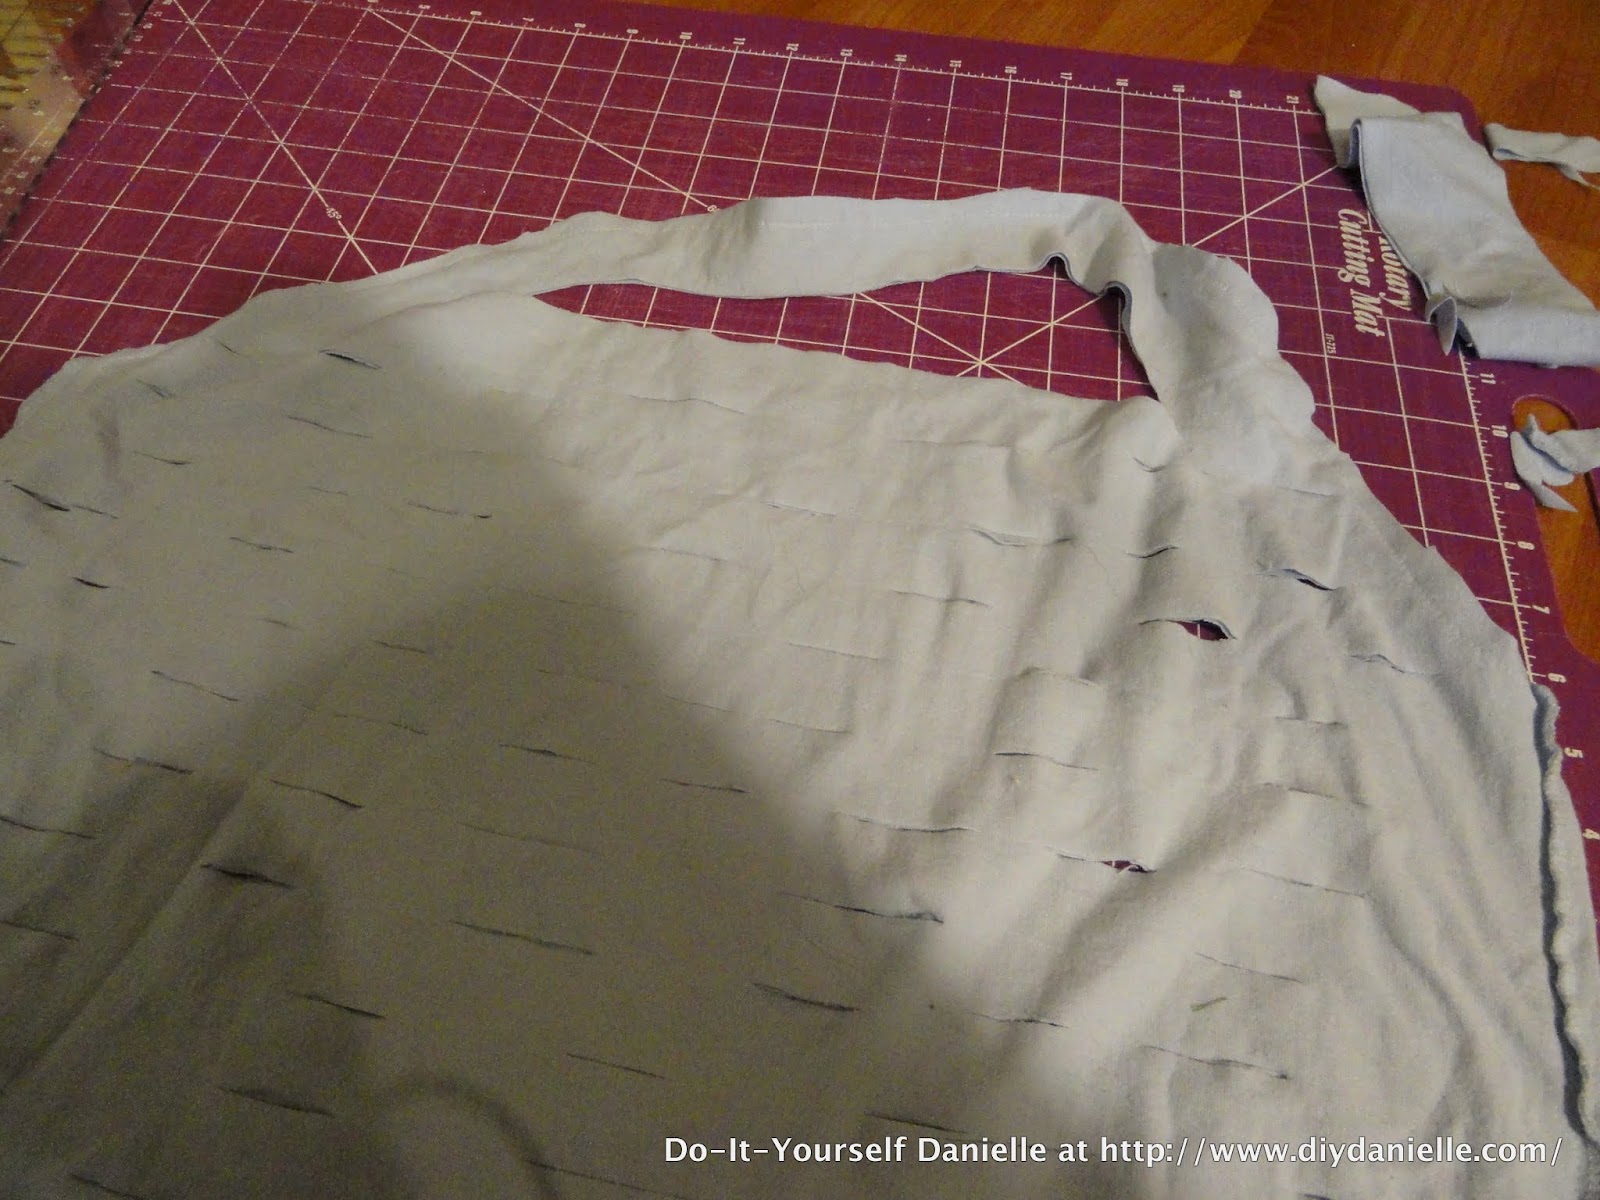
Viola! All my cuts. I finished by cutting out the handle.
The tutorial didn’t mention to do this (unless I missed it), but I flipped my tshirt right side out at this point.
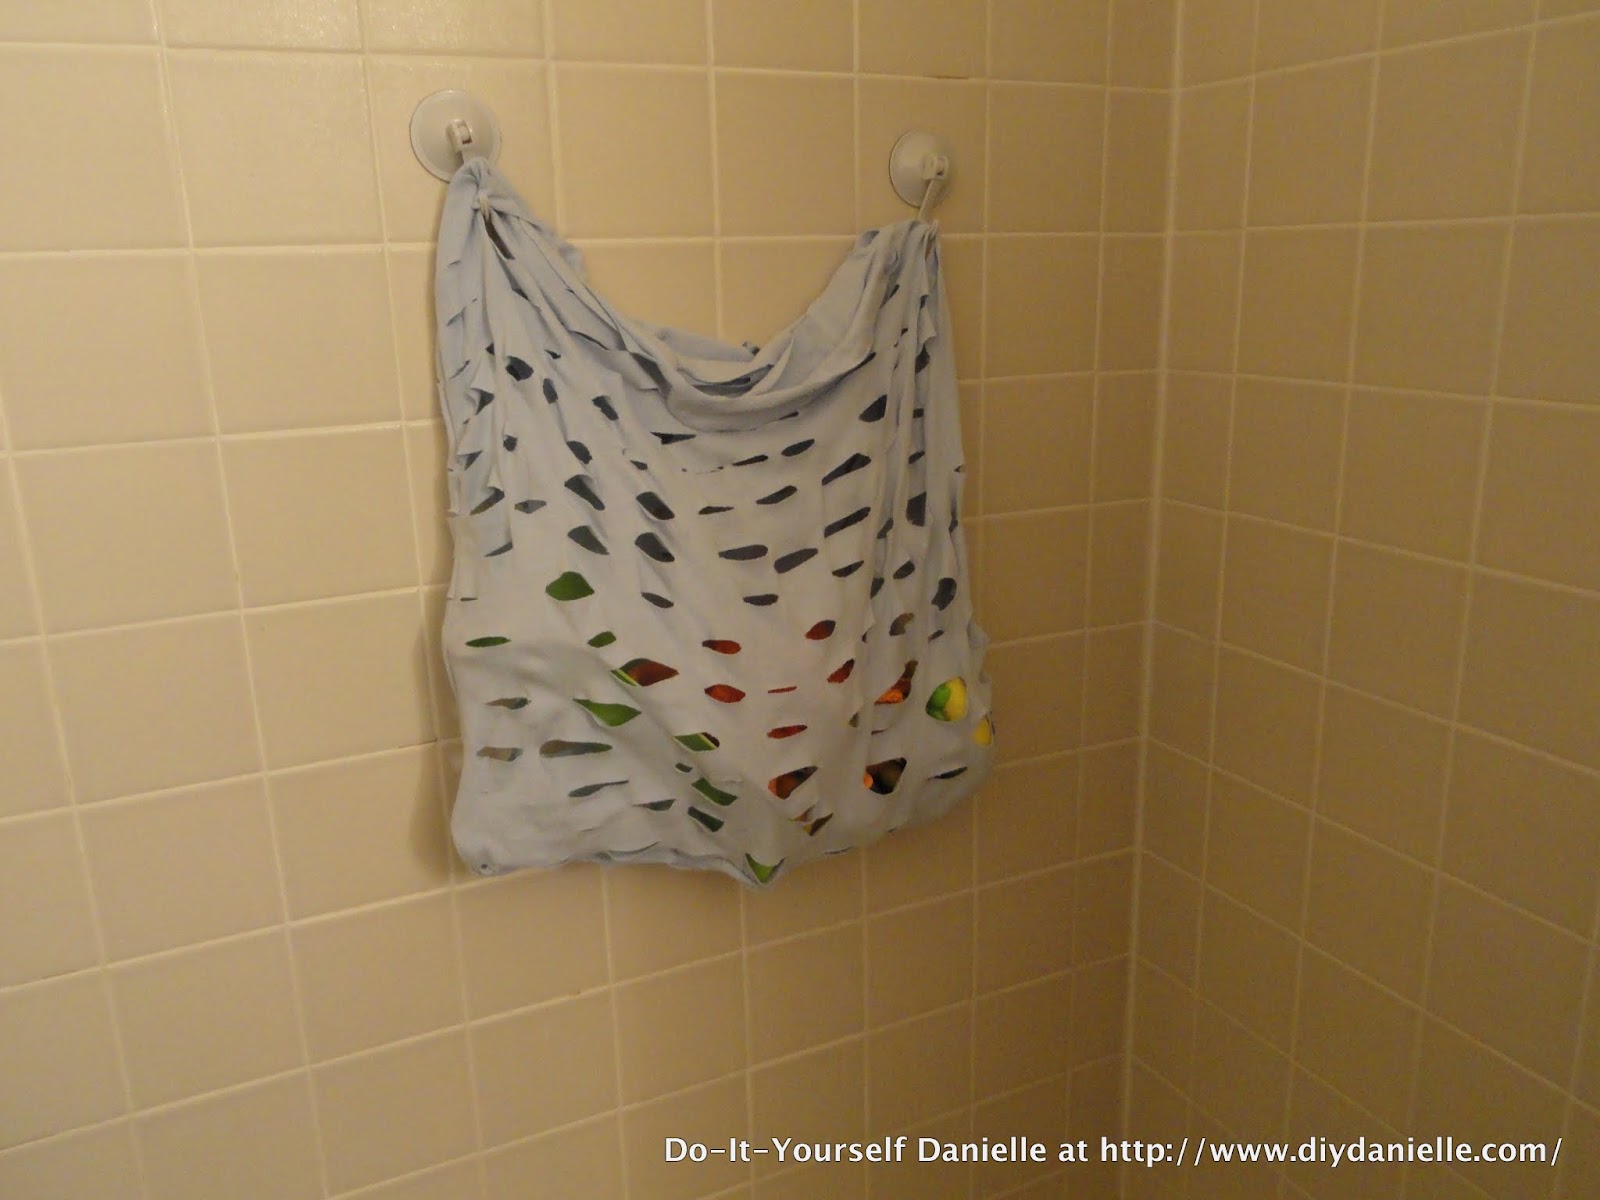
I stretchhhhhhhed…
Added my suction cups to hold it up and FINISHED!
I stood the baby bathtub up to help it drain, put the baby soap into the kneel pad thing, along with a couple clean washcloths. And it just looks so much neater… I hope. It’s cute anyways.
Oh and in case you’re interested, the mat there for the bathtub is this one. I found this at the thrift store actually, but it was a great buy. We spend a lot of time kneeling in front of the bathtub, especially since Baby G loves his bath and we need to stay close to catch him as he tries to climb the bathtub walls. It’s much gentler on the knees:
Are you considering switching to cloth products? Do you love cloth diapering? Curious about cloth products such as cloth menstrual pads, wet bags, and unpaper towels? I just released a fantastic book that is ALL about using, laundering, and sewing reusable cloth products. It even includes instructions on this project! Pick up “The Complete Guide to Using, Laundering, and Sewing Reusable Cloth” today and get started saving money and the environment!